So entfernen Sie Fensterbänke aus dem Badezimmer
To remove bathroom windowsills, start by clearing the area and protecting surfaces with drop cloths. Soften caulk using a remover or warm water, then carefully score along edges with a utility knife. Next, gently pry the sill loose using a putty knife and pry bar, watching for nails or screws you’ll need to remove. Wear gloves for protection and avoid damaging walls. Once the sill is out, clean up debris and prep the space for a new installation—there’s more to know for a smooth process.
Tools and Materials Needed for Removing Bathroom Windowsills
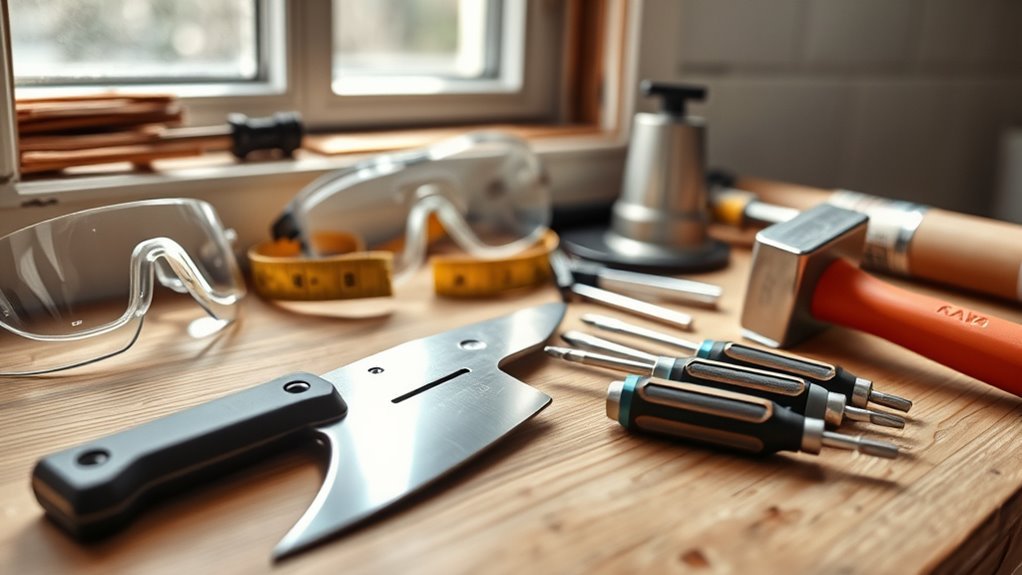
To remove bathroom windowsills effectively, you’ll need a few essential tools and materials on hand. Here’s a concise tools overview: a pry bar for gentle leverage, a utility knife to cut through caulk or paint, a screwdriver set for removing screws, and a hammer for tapping loose nails. Don’t forget safety gear like gloves and goggles to protect yourself.
Your materials checklist should include drop cloths to keep the area clean, painter’s tape to protect surrounding surfaces, and a putty knife for scraping away residual adhesive. Having a bucket and sponge handy will help with cleanup after removal. With this kit ready, you’ll gain the freedom to tackle the windowsill removal confidently, without unnecessary delays or frustration.
Preparing the Bathroom for Windowsill Removal
Once you have your tools and materials ready, the next step is getting your bathroom prepped for the windowsill removal. Start by clearing the area around the window to give yourself enough space to work freely. Since every bathroom layout differs, make certain you consider how the windowsill design interacts with nearby fixtures like sinks or showers. Protect surfaces by laying down drop cloths or old towels to catch debris and dust. Turn off any ventilation fans to prevent dust from circulating. Remove any decorative items or toiletries on the windowsill to avoid damage. Taking these steps guarantees you have a safe, clear workspace, allowing you to tackle the windowsill removal efficiently and with minimal disruption to your bathroom’s flow.
Inspecting the Windowsill and Surrounding Area
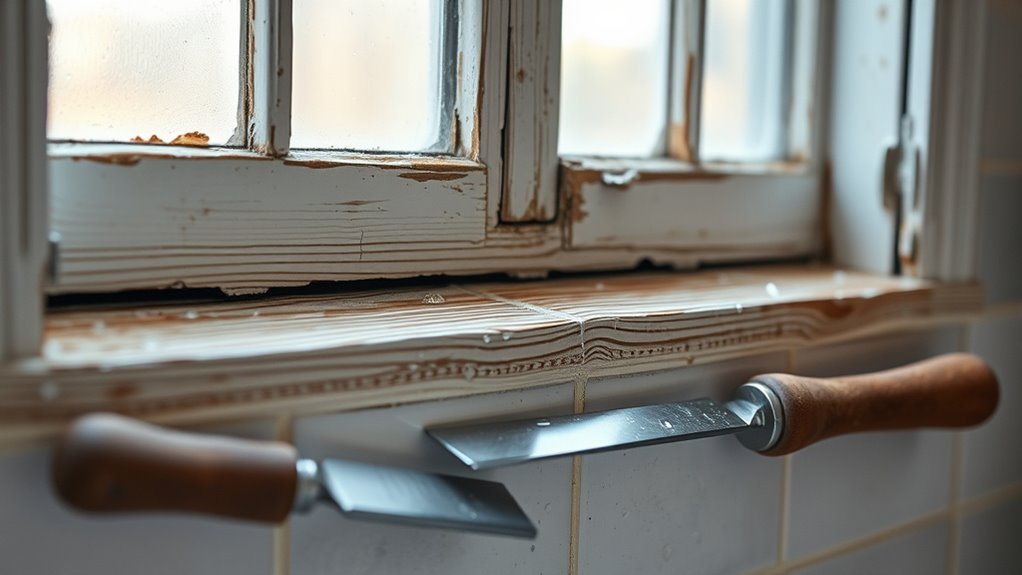
Before you start removing the windowsill, take a close look for any water damage that might have weakened the area. You’ll also want to identify what material the sill is made from to choose the right tools. Finally, check the window frame to make sure it’s still solid and won’t be damaged during removal.
Check for Water Damage
Although the windowsill might look fine at first glance, you should inspect it carefully for signs of water damage that could compromise its structure. Look closely for water damage signs like discoloration, warping, or soft spots on the wood or surrounding wall. Don’t ignore mold growth indicators such as black or greenish patches, musty odors, or peeling paint near the sill. These clues show moisture has been trapped, weakening the area and possibly spreading unseen damage. Catching these issues early gives you the freedom to address them properly before removal. Taking this step guarantees you won’t be surprised by rot or hidden mold once you start the job, making your bathroom renovation safer and smoother.
Identify Material Type
After checking for water damage, you’ll want to figure out what material your windowsill is made of. Proper material identification is key—you need to know what you’re working with before removal. Windowsill materials can range from wood and MDF to stone, tile, or even vinyl. Look closely for texture, color, and weight clues. Wood will feel solid and grainy, while MDF is smooth and engineered. Stone or tile is cold and hard, often with grout nearby. Vinyl tends to be lighter and plastic-like. This step frees you from guesswork, helping you choose the right tools and techniques for a smooth removal. Take your time inspecting the windowsill and surrounding area—it sets the stage for an efficient, damage-free process.
Assess Window Frame Integrity
A careful inspection of the window frame and surrounding area is essential before removing the windowsill. This window frame assessment helps you understand the structural integrity and prevent unexpected damage. Check for cracks, rot, or water damage that might compromise stability. Knowing what you’re dealing with guarantees your freedom to proceed without hassle.
| Inspection Point | What to Look For |
|---|---|
| Frame Condition | Cracks, rot, or warping |
| Seal Integrity | Gaps, moisture, or mold |
| Attachment Points | Loose nails or screws |
| Surrounding Wall Area | Water stains or softness |
Protecting Surfaces and Preventing Damage
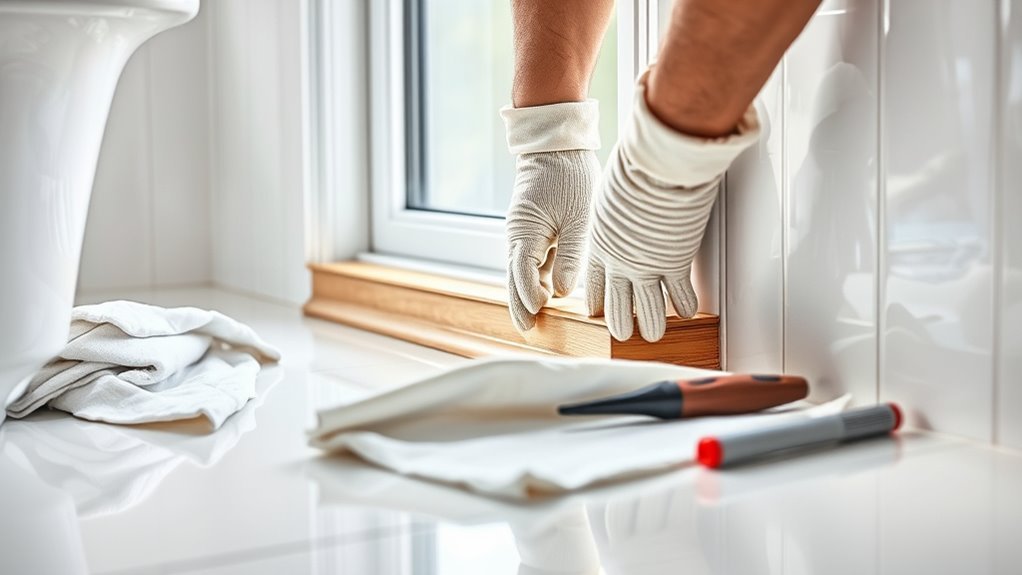
Before you start removing the windowsills, you’ll want to protect the surrounding surfaces to prevent any accidental damage. Lay down drop cloths or old sheets on the floor and cover nearby countertops or fixtures with painter’s tape and plastic sheeting. Use cardboard or foam padding around the window frame edges to shield walls from scratches or dents. This surface protection isn’t just about being careful—it’s about giving yourself the freedom to work confidently without worrying about costly repairs afterward. Take time to secure everything firmly so no debris or tools slip onto vulnerable areas. Prioritizing damage prevention guarantees a smoother removal process and keeps your bathroom looking great, letting you focus on the task without stress or setbacks.
Removing Caulk and Sealant Around the Windowsill
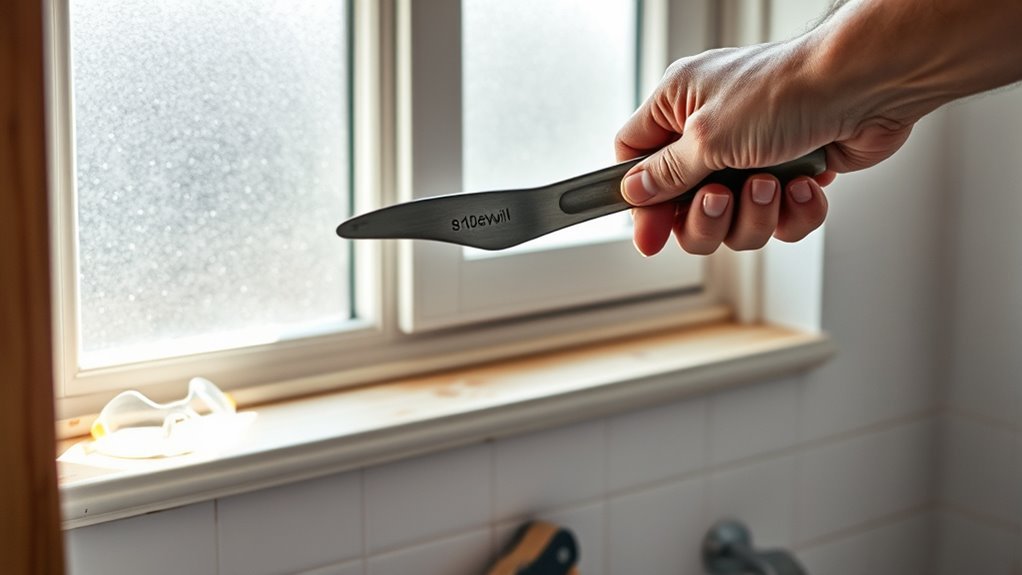
Since caulk and sealant hold the windowsill firmly in place, you’ll need to carefully remove them to avoid damaging the surrounding surfaces. Start by softening the caulk with a caulk remover or warm soapy water to loosen it up. Use a utility knife or a specialized caulk removal tool to gently cut along the edges. Take your time with these caulk removal techniques to prevent scratches or gouges. Once the caulk is free, peel it away slowly. For stubborn sealant, a plastic scraper works best without harming your walls. Remember, the goal is clean removal so you can later apply new sealant seamlessly. When you’re ready to reinstall, keep sealant application tips in mind: apply evenly and smooth it out to guarantee a watertight, durable finish.
Detaching the Windowsill From the Wall
You’ll need a few basic tools like a pry bar and screwdriver to get started. First, locate any screws or nails holding the windowsill in place. Then, carefully use gentle removal techniques to avoid damaging the wall or sill.
Tools Needed
When detaching the windowsill from the wall, having the right tools makes the job much easier and safer. Since windowsill materials vary—from wood to stone—your removal techniques must adapt. To free yourself from frustration, gather these essentials:
| Tool | Zweck |
|---|---|
| Utility Knife | Score caulking and paint seals |
| Pry Bar | Gently lift and separate the sill |
| Hammer | Tap pry bar or remove nails gently |
These tools help you navigate different windowsill materials without damage. A utility knife cuts through sealants, while a pry bar provides the leverage needed to loosen the sill. The hammer assists without forcing destruction. With these in hand, you’re set to reclaim your bathroom space—free from old, stuck windowsills.
Locate Fasteners
Having the right tools ready makes it easier to uncover how your windowsill is attached. To start with fastener identification, inspect the edges and underside of the windowsill for screws, nails, or brackets. These fasteners hold the sill to the wall and frame. Here’s how to pinpoint them:
- Look closely for screw heads or nail tips along the joint between the sill and wall.
- Check for hidden brackets beneath the sill that might be securing it.
- Tap gently along the sill’s edge; a hollow sound can indicate where fasteners are absent or removed.
Once you identify these fasteners, you’ll know exactly where to focus your fastener removal efforts, giving you control and freedom to proceed without guesswork.
Gentle Removal Techniques
Although it might be tempting to apply force, gently loosening the windowsill will help prevent damage to both the sill and surrounding wall. Use gentle pressure and careful leverage with a flat pry bar or putty knife. Insert the tool slowly between the sill and wall, gradually working it free. You want to avoid cracking drywall or splintering wood.
| Tool | Technique | Zweck |
|---|---|---|
| Putty Knife | Slide gently | Create initial gap |
| Pry Bar | Apply careful leverage | Loosen adhesive bonds |
| Hammer | Tap lightly | Assist tool insertion |
| Utility Knife | Score caulk lines | Prevent wall damage |
| Gloves | Wear for protection | guarantee safe handling |
Handling Painted or Stained Windowsills
Dealing with painted or stained windowsills requires extra care to avoid damaging the finish you want to preserve. To maintain the beauty and integrity of your windowsill, follow these key steps:
- Use gentle paint removal techniques like a heat gun or chemical stripper designed for delicate surfaces. Avoid harsh sanding that can ruin the finish.
- Prepare the surface properly by cleaning it with a mild detergent, then lightly sanding to promote adhesion if repainting or staining later.
- Protect surrounding areas with painter’s tape to keep your workspace neat and prevent accidental damage.
Dealing With Nails, Screws, and Adhesive
Before you start pulling off the windowsill, you’ll need to spot whether it’s held by nails, screws, or adhesive. Knowing what fasteners you’re dealing with helps you choose the safest way to remove them without damaging the wall. You’ll also want to plan for cleaning up any leftover glue or residue once the sill is off.
Identifying Fastener Types
When you’re ready to remove your bathroom windowsills, the first step is to figure out how they’re attached. Knowing the fastener types lets you plan the easiest way to free them without damage. Use fastener identification techniques to spot what holds the sill in place. Common fastener types include:
- Nails – Small, often hidden, you’ll see tiny heads or slight indentations.
- Screws – Usually visible, with a slotted or Phillips head, offering a grip point.
- Adhesive – No metal fasteners; the sill feels firmly glued, sometimes with caulk around edges.
Recognizing these will empower you to choose the right tools and approach, giving you freedom to work confidently and efficiently.
Safe Removal Techniques
Although removing bathroom windowsills can seem tricky, using the right techniques for nails, screws, and adhesive will make the process smoother and safer. First, take proper safety precautions: wear gloves and eye protection to shield yourself from sharp edges and debris. When dealing with nails, gently tap a pry bar under the windowsill edge, carefully lifting to loosen the nails without damaging the wall. For screws, use the correct screwdriver to remove them fully; avoid forcing them out to prevent stripping. If adhesive is involved, avoid prying aggressively—this could harm the surface. Instead, focus on loosening fasteners first, ensuring the windowsill comes off cleanly. These removal techniques help you maintain control and avoid damage, giving you freedom to upgrade your space confidently.
Handling Adhesive Residue
Since adhesive residue can be stubborn, you’ll want to tackle it carefully after removing nails and screws. Proper adhesive removal techniques guarantee a clean surface and make your next steps easier. Here are three surface preparation tips to help you reclaim your freedom from sticky mess:
- Use a plastic scraper to gently lift residue without damaging the surface beneath.
- Apply a commercial adhesive remover or a mixture of warm water and vinegar; let it sit for a few minutes to soften the adhesive.
- Wipe the area with a clean cloth, repeating if necessary, until the surface is smooth and residue-free.
Following these steps will free your bathroom windowsill area from unwanted glue, allowing you to move forward confidently with your renovation.
Cleaning Up After Windowsill Removal
After removing your bathroom windowsill, you’ll want to clear away all debris promptly to keep the area safe and ready for the next steps. Use these cleaning tips to speed up the process and manage waste efficiently. Sweep or vacuum dust and small particles first, then wipe down the surface to remove any remaining residue. For disposal methods, sort materials—wood scraps, dust, and old adhesive—into appropriate bins to stay eco-friendly and organized.
| Task | Tools Needed | Disposal Method |
|---|---|---|
| Sweep debris | Broom, dustpan | Compost or trash |
| Vacuum dust | Vacuum cleaner | Trash bin |
| Wipe surface | Damp cloth, cleaner | Recyclable container |
Following these steps keeps your workspace clear and your freedom intact.
Preparing the Area for a New Windowsill Installation
Once you’ve cleaned up the area from the old windowsill removal, it’s time to get the space ready for your new installation. This step is vital to guarantee your chosen windowsill styles enhance your bathroom aesthetics perfectly. Here’s how you can prepare:
- Measure and Level: Double-check the window frame measurements and make certain the surface is level. This ensures your new windowsill fits flawlessly and looks sharp.
- Seal and Protect: Apply a waterproof sealant around the window edges to protect against moisture, keeping your bathroom fresh and damage-free.
- Smooth Surface: Sand down any rough spots or leftover adhesive. A smooth base allows the new windowsill to sit snugly and maintain a polished appearance.
Prepping this way gives you freedom to choose a windowsill style that truly transforms your bathroom’s vibe.
Häufig gestellte Fragen
Can I Remove a Bathroom Windowsill Without Damaging the Wall Paint?
You can totally remove a bathroom windowsill without damaging the wall paint by using careful windowsill removal techniques. First, gently score the edges with a utility knife to separate any caulk or paint. Then, slowly pry the sill away using a putty knife or crowbar, working evenly to avoid sudden pressure. Take your time, and protect the wall paint by covering it with painter’s tape before starting—this way, you keep your freedom to renovate without hassle.
How Long Does It Typically Take to Remove a Bathroom Windowsill?
Removing a windowsill takes patience, precision, and the right tools. Your time estimation depends on the removal techniques you choose and your experience level. For most, it takes about one to two hours to carefully pry, unscrew, and detach the sill without damage. If you’re cautious and methodical, you’ll free yourself from worry and mess. Remember, taking your time means a cleaner removal and a smoother path forward.
Are There Any Safety Precautions Specific to Bathroom Windowsill Removal?
You’ll want to gear up with protective gear like gloves and goggles to keep safe while working. Bathrooms can have moisture hazards, so watch out for slippery surfaces and potential mold around the windowsill. Make sure the area’s well-ventilated to avoid breathing in dust or mold spores. Taking these steps helps you stay free from injury or health issues, letting you tackle the job confidently and safely.
Can I Reuse the Old Windowsill After Removal?
You can definitely reuse your old windowsill, as long as it’s in good shape. Keep in mind, windowsill materials like wood or stone may have wear or damage from moisture. Also, consider the original installation techniques—if it was glued or nailed securely, you might need to carefully remove any residue or fasteners before reinstallation. Reusing gives you freedom to keep the look you love while saving some bucks and reducing waste.
What Should I Do if I Find Mold Under the Windowsill?
If you find mold under the windowsill, you’ll want to act fast with mold removal to protect your space. First, wear gloves and a mask, then clean the area with a mixture of water and vinegar or a commercial mold remover. For prevention tips, keep the bathroom well-ventilated and fix any leaks to stop moisture buildup. This way, you’ll keep your freedom from mold’s grip and enjoy a healthier environment.