Maintaining and Cleaning Your Sewing Machine
To keep your sewing machine running smoothly, regularly clean key parts like the needle, bobbin area, and feed dogs. Use a small brush or compressed air to clear lint and debris, and oil moving parts with sewing machine oil to reduce friction. Always unplug it before cleaning, and replace needles regularly for better stitching. Proper maintenance prevents jams and wear. Stick around to uncover tips on troubleshooting and more detailed care steps to extend your machine’s life.
Understanding Your Sewing Machine Components
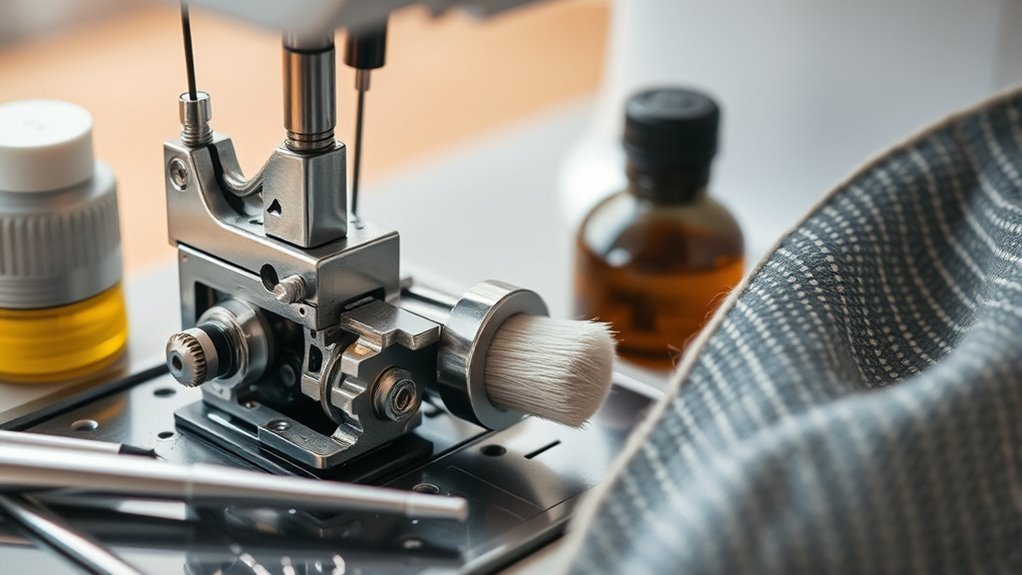
Before you can properly maintain your sewing machine, it’s important to understand its key components. Different sewing machine types—mechanical, electronic, and computerized—share core parts, but their functions might vary slightly. Knowing each component’s role gives you the freedom to troubleshoot and care for your machine confidently. The needle pierces the fabric, while the presser foot holds it steady. The feed dogs move fabric through, and the bobbin supplies the lower thread. The tension discs control thread tightness, and the motor powers the machine. Understanding these component functions guarantees you can identify issues and keep your machine running smoothly. Once you grasp these essentials, maintaining your sewing machine becomes less intimidating and lets you create without limits.
Tools Needed for Maintenance and Cleaning
To keep your sewing machine running smoothly, you’ll need a few essential cleaning tools like small brushes and lint removers. Don’t forget lubrication supplies, as regular oiling helps prevent wear and tear. Having these on hand makes maintenance quick and effective.
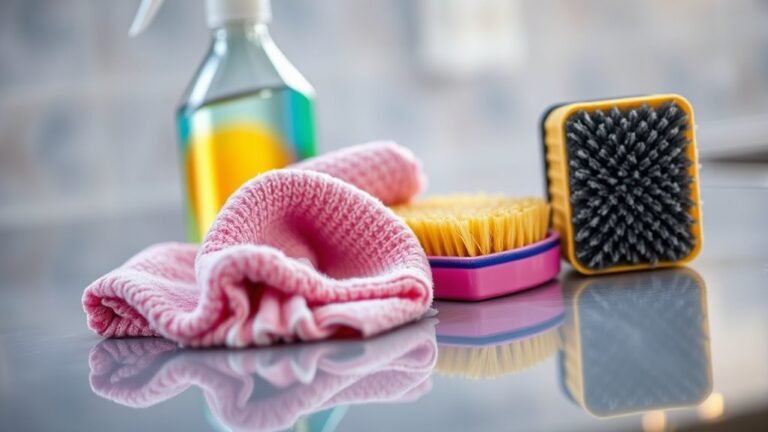
Essential Cleaning Tools
Although sewing machines vary, you’ll need a few essential tools to keep yours running smoothly. Start by creating a cleaning checklist to guarantee you gather all the essential supplies before you begin. Basic tools include a small, soft brush to sweep away lint and dust from tight spaces and a lint-free cloth to wipe surfaces clean without leaving fibers behind. A sturdy seam ripper can help you remove stubborn threads caught in the machine. Additionally, having a small vacuum attachment or canned air can clear out debris from hard-to-reach areas. These tools are your freedom kit, empowering you to maintain your machine independently and confidently, assuring it stays in top shape for every creative project you undertake. Stick to your checklist, and maintenance will be a breeze.
Lubrication Supplies Needed
Since regular lubrication keeps your sewing machine running smoothly, you’ll need the right supplies to do it properly. Start with sewing machine oil specifically designed for your model—using general oils can gum up parts or cause damage. Lightweight, clear sewing machine oil is best; avoid thick or scented oils. Keep a small bottle with a precision tip for easy application in tight spots. Also, have lint-free cloths handy to wipe away excess oil. Understanding your machine’s maintenance frequency is essential—some machines require oiling after every 8-10 hours of use, others less often. Check your manual for guidance and stick to that schedule to keep freedom in your creativity without interruption. With the right oil types and tools, you can maintain smooth operation and enjoy every stitch.
How to Properly Clean the Bobbin Area
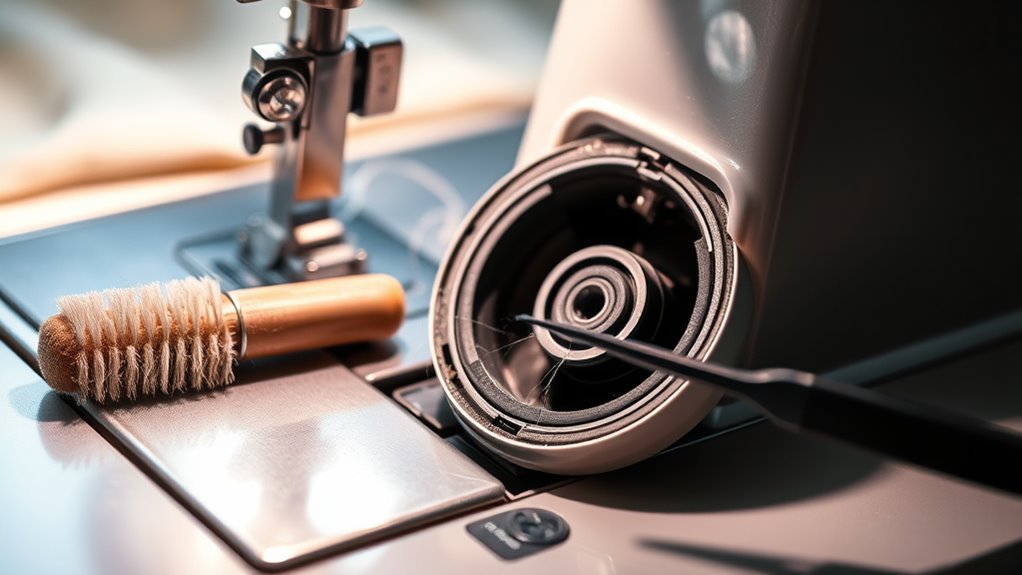
The bobbin area is a crucial part of your sewing machine that often collects lint and thread bits during use. To keep your machine running smoothly, regular bobbin case cleaning is essential. First, unplug your machine and remove the bobbin case. Use a small brush or compressed air to gently remove lint and debris, focusing on hard-to-reach spots. Avoid using sharp objects that might damage delicate components. Pay close attention to lint removal, as buildup can cause thread jams or uneven stitching. Once clean, reinsert the bobbin case carefully, ensuring it’s properly seated. Taking these simple steps frees you from unexpected machine hiccups, letting your creativity flow without interruption. Keeping the bobbin area clean extends your machine’s life and maintains its ideal performance.
Lubricating Your Sewing Machine for Smooth Operation
After cleaning the bobbin area, keeping your sewing machine well-lubricated is the next key step to guarantee it runs smoothly. You want to use the right oil types—specifically, sewing machine oil, which is lightweight and won’t gum up your machine. Avoid household oils; they can damage delicate parts. As for lubrication frequency, it depends on how often you sew. If you use your machine daily, oil it every few weeks. For occasional use, every few months should suffice. Always check your machine’s manual for specific guidance. Applying oil to the moving parts reduces friction, prevents wear, and keeps your machine running freely, so you can focus on creating without unnecessary interruptions or stiffness. A little care goes a long way toward sewing freedom.
Checking and Replacing Needles Regularly

Keep an eye on your sewing machine needle to guarantee your projects turn out perfectly. Regularly checking your needle for signs of wear or damage is essential. Dull or bent needles can cause skipped stitches or fabric damage, limiting your creative freedom. Understanding different needle types helps you pick the right one for your fabric and project, ensuring smooth sewing and clean results. Practice good needle care by changing your needle after every 8-10 hours of sewing or when switching fabric types. This simple habit prevents frustration and keeps your machine running smoothly. By staying on top of needle maintenance, you give yourself the freedom to sew confidently and achieve professional-quality work every time.
Troubleshooting Common Sewing Machine Issues
If your machine’s thread keeps jamming or the stitches look off, you’ll want to check the needle and tension settings first. Sometimes, power issues or motor troubles can also cause problems, so don’t overlook those. Let’s go over some quick fixes to get your sewing back on track.
Thread Jamming Solutions
Whenever your sewing machine thread jams, it can bring your project to a frustrating halt. To get back on track, first check your thread tension—if it’s too tight or too loose, the thread can snag and jam. Adjusting the tension to suit your fabric is key for smooth stitching. Also, consider fabric compatibility; some fabrics, like slippery synthetics or thick denim, require specific threads and tension settings to prevent jams. Clear any lint or debris from the bobbin area and thread path, as buildup can cause snags. When re-threading, make sure the thread is properly seated and not twisted. By understanding these factors, you’ll keep your machine running freely, so your creativity never gets stuck.
Needle and Tension Fixes
Two common issues that can disrupt your sewing are needle problems and tension imbalances. Choosing the right needle type is key—different fabrics call for specific needles to keep your stitches smooth and your freedom intact. Tension adjustments control how tight or loose your stitches appear; if your thread loops or puckers, tweaking tension settings can restore balance.
Keep these in mind:
- Bent or dull needles causing skipped stitches or fabric damage
- Incorrect needle types leading to thread breakage or uneven seams
- Improper tension settings resulting in loose loops or fabric puckering
Motor and Power Troubleshooting
Although sewing machines are designed to run smoothly, motor and power issues can still interrupt your work. If you hear unusual motor noise or your machine won’t start, don’t panic. These problems often have simple fixes that keep you sewing freely.
| Symptom | Possible Cause | Quick Fix |
|---|---|---|
| Strange motor noise | Worn motor brushes | Replace brushes or clean motor |
| Machine won’t power on | Faulty power cord | Check or replace the cord |
| Machine stops suddenly | Overheating or loose wiring | Let it cool or tighten connections |
Häufig gestellte Fragen
How Often Should I Have My Sewing Machine Professionally Serviced?
Imagine a Victorian clockmaker advising you on your sewing machine’s upkeep. You should have professional servicing done at least once a year to keep it running smoothly. Following a maintenance schedule helps prevent breakdowns and guarantees your creative freedom isn’t interrupted. If you sew heavily or notice issues, more frequent check-ups are wise. Staying on top of this means your machine stays reliable, letting you focus on making your masterpieces without worry.
Can I Use Household Oils Instead of Sewing Machine Oil?
You might be tempted to use household oil instead of sewing oil, but it’s best not to. Household oils can be too thick or contain additives that gum up your sewing machine, restricting its freedom to move smoothly. Sewing oil is specially formulated to keep your machine running effortlessly without damaging delicate parts. So, if you want your machine to perform at its best and last longer, stick with sewing oil.
What Are the Signs My Sewing Machine Needs a Deep Clean?
If your sewing machine sounds like it’s auditioning for a rock band with a noisy motor and struggles like it’s wrestling an invisible beast, it’s probably begging for a deep clean. You’ll notice a clogged bobbin making stitches look like a tangled mess, killing your creative flow. Don’t let grime chain your freedom—tidy up those hidden corners, and your machine will hum smoothly, ready to bring your wildest ideas to life without a hitch.
How Do I Store My Sewing Machine to Prevent Dust Buildup?
To keep your sewing machine dust-free, you’ll want to invest in quality dust covers that fit snugly. These covers act like a shield, letting you enjoy your creative freedom without worrying about dirt sneaking in. Also, consider smart storage solutions—like dedicated shelves or cabinets—to keep your machine safe and accessible. This way, you’ll preserve its performance and be ready to sew whenever inspiration strikes.
Is It Safe to Clean My Sewing Machine With Compressed Air?
Using compressed air for cleaning can be tricky, so you need to take into account compressed air safety. It’s tempting to blast away dust, but the strong force might push debris deeper or damage delicate parts. Instead, combine gentle cleaning techniques like soft brushes and lint-free cloths. If you do use compressed air, do it sparingly and from a distance. This way, you keep your machine running smoothly without risking harm.