Removing Laminate From Living Room Effectively
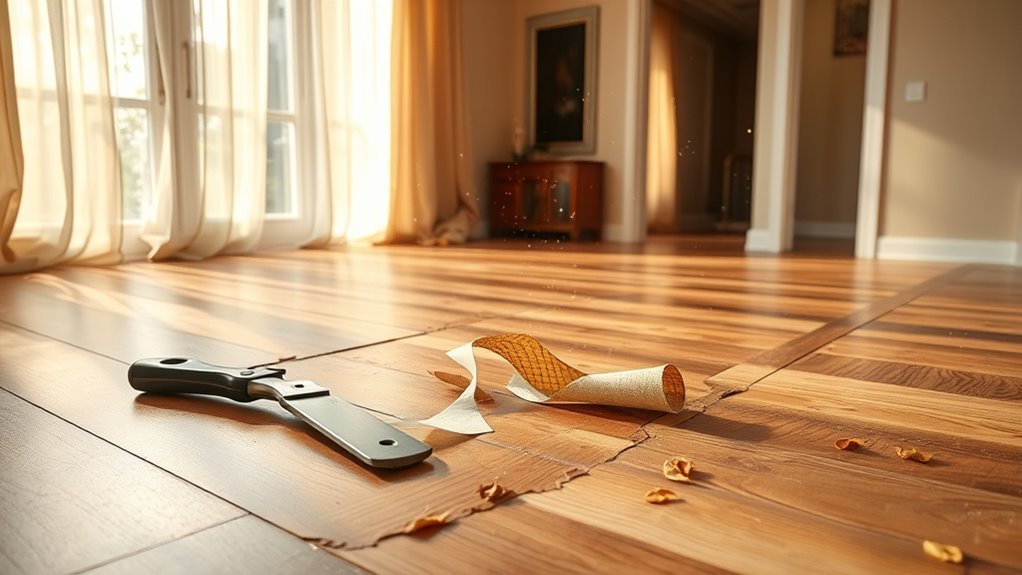
To remove laminate flooring effectively, start by clearing the room and gathering tools like a pry bar, utility knife, and scraper. Carefully lift planks from a corner, prying them up row by row to avoid damage. Use adhesive remover and a scraper to clean the subfloor thoroughly. Protect yourself with gloves and goggles throughout. After removal, prepare the floor properly for your next installation. For detailed steps and tips on cleanup and safety, keep exploring this guide.
Tools and Materials Needed for Laminate Removal

Before you begin removing laminate from your living room, you’ll need to gather the right tools and materials to make the job easier and more efficient. Start with a pry bar and hammer to lift the edges of the laminate, especially if you have click-lock or glued laminate types. A utility knife will help you cut through underlayment or adhesive residues. You’ll also need a floor scraper to remove stubborn glue or padding. Don’t forget gloves and safety glasses to protect yourself during the process. Considering flooring alternatives? Having a measuring tape and a sturdy trash bin ready will help manage debris and plan your next steps. With these essentials, you’ll have the freedom to remove your laminate flooring smoothly and prepare for whatever flooring alternatives you choose next.
Preparing Your Living Room for the Removal Process
Before you start removing the laminate, make sure to clear out all furniture and decor from the living room to give yourself plenty of working space. Gather all the tools you’ll need so they’re within easy reach during the process. Also, protect adjacent areas like baseboards and walls with painter’s tape or plastic sheeting to prevent any accidental damage.
Clear Furniture and Decor
To prepare your living room for laminate removal, start by clearing out all furniture and decor from the space. This step guarantees you have full access to the floor and prevents damage to your belongings. Focus on a practical approach to furniture arrangement and decor storage to keep things organized and safe.
- Move all furniture to another room or centralize it with protective covers
- Use sturdy boxes or bins for decor storage, labeling them clearly
- Remove wall hangings and fragile items to avoid accidents
- Keep essential items handy but out of the work area
Gather Necessary Tools
Once your living room is cleared of furniture and decor, you’ll want to gather the tools needed for laminate removal. Gathering tools in advance saves time and keeps the process smooth. Essential items include a pry bar or crowbar to lift laminate boards, a utility knife for cutting through adhesive or underlayment, and a hammer to assist with prying. You’ll also need gloves to protect your hands and safety goggles to shield your eyes from debris. A putty knife or scraper helps remove stubborn glue or residue. Don’t forget a dust mask to avoid inhaling particles during removal. Having these necessary supplies on hand means you’re prepared to work efficiently and maintain control throughout the project, giving you the freedom to tackle the task confidently.
Protect Adjacent Areas
When you’re ready to remove laminate flooring, protecting the surrounding areas is crucial to prevent damage and keep your living room clean. Start by shielding your walls to avoid scratches from tools or debris. Cover vents to stop dust from spreading through your HVAC system. You’ll also want to secure furniture and delicate items out of the work zone. Here’s how you can effectively protect adjacent areas:
- Use painter’s tape and plastic sheeting for protecting walls.
- Seal vents with plastic and tape to prevent dust infiltration.
- Move or cover furniture with drop cloths to avoid damage.
- Lay down protective floor coverings on any exposed subfloor or thresholds.
This prep work guarantees your living room remains intact and clean, giving you the freedom to focus on laminate removal without worry.
Step-by-Step Guide to Removing Laminate Flooring
You’ll need a few basic tools like a pry bar, hammer, and utility knife to get started. The removal process involves carefully lifting the planks, starting from one corner and working your way across the room. Following these steps will help you take up the laminate efficiently without damaging the subfloor.
Tools Needed
Removing laminate flooring requires a few essential tools to make the process efficient and safe. Since laminate types vary, having the right equipment lets you adapt easily and prepare for flooring alternatives afterward. Here’s what you’ll need:
- Pry bar or crowbar: to carefully lift planks without damaging subfloor
- Hammer: for tapping and loosening stubborn pieces
- Utility knife: to cut through underlayment or adhesive layers
- Gloves and safety goggles: to protect your hands and eyes from splinters and debris
With these tools, you’re set to handle different laminate types and shift smoothly to your next flooring project. Having them ready guarantees you maintain control and freedom throughout the removal process.
Removal Process Steps
A successful laminate removal starts with identifying the starting point, typically at a doorway or an edge where the planks are easiest to lift. Depending on laminate types, removal techniques vary slightly, but the goal remains to preserve subfloor integrity.
| Schritt | Action |
|---|---|
| 1 | Remove baseboards and trim |
| 2 | Pry up the first plank gently |
| 3 | Continue lifting planks row by row |
| 4 | Clear debris and check subfloor |
Work methodically to avoid damage and guarantee freedom to install new flooring. Remember, floating laminate floors snap together, so lifting planks carefully will make the process smoother. If glue-down laminate is involved, expect more effort using a scraper. Following these steps keeps your removal efficient and preps your living room for its next transformation.
Handling Adhesive and Subfloor Cleanup

After pulling up the laminate, you might notice stubborn adhesive residue clinging to the subfloor. Different adhesive types—like glue-down or pressure-sensitive—require specific removers or solvents to avoid damage. Understanding your subfloor materials, whether plywood, concrete, or OSB, is essential to choosing the right cleanup method. To effectively handle adhesive and subfloor cleanup:
Removing laminate adhesive requires knowing your adhesive type and subfloor material to choose the right cleaning method.
- Test a small area with adhesive remover suitable for your subfloor.
- Use a scraper or putty knife gently to avoid gouging.
- Employ a heat gun or iron with a cloth to soften adhesive if necessary.
- Clean the subfloor with a mild detergent and water to remove residue and prepare for new flooring.
Taking these steps guarantees a smooth, clean surface, freeing you to proceed with your next project confidently.
Safety Tips During Laminate Floor Removal
While tackling laminate floor removal, you’ll want to prioritize safety to prevent injuries and damage. Start by wearing proper protective gear—gloves to shield your hands from splinters, safety goggles to protect your eyes from flying debris, and a dust mask to avoid inhaling particles. Sturdy shoes with good grip are essential to prevent slips. Use tools carefully, and always lift boards with your legs, not your back, to avoid strain. Keep your workspace well-lit and clutter-free, reducing trip hazards. If you’re using a pry bar or hammer, work slowly and deliberately to maintain control. Following these safety tips guarantees injury prevention, letting you confidently remove your laminate floor without unnecessary risks, keeping your freedom to work efficiently and safely throughout the project.
Planning for Your Next Flooring Installation

Before you start installing your new flooring, you’ll want to carefully plan each step to guarantee a smooth process and a lasting finish. Choosing the right flooring options is key; consider durability, style, and maintenance. Understanding the installation techniques for your chosen material will save time and reduce errors.
Careful planning and choosing the right flooring ensures a smooth installation and lasting results.
Here’s what to focus on:
- Measure your space accurately to buy the right amount of material.
- Prepare the subfloor by cleaning and leveling it thoroughly.
- Gather all necessary tools and materials before beginning.
- Review manufacturer guidelines and best practices for installation techniques.
Häufig gestellte Fragen
Can Laminate Flooring Be Recycled After Removal?
You might wonder if laminate flooring can be recycled after removal. While traditional laminate recycling options are limited due to its composite materials, some specialized facilities accept it to support flooring sustainability. You’ll want to check local recycling programs or companies focused on laminate recycling. By doing this, you help reduce landfill waste and promote eco-friendly choices, giving you more freedom to make sustainable decisions with your flooring projects.
How Long Does Laminate Removal Typically Take?
How long laminate removal takes depends on your space size and removal tools. If you’re equipped with a pry bar, hammer, and a utility knife, you can expect to spend anywhere from a few hours to a full day on a standard living room. Time estimates vary, but working methodically will save you hassle while freeing up your space quickly. Taking breaks and staying organized helps you keep the process smooth and efficient.
Will Removing Laminate Affect My Home’S Resale Value?
Coincidentally, many buyers have strong resale considerations tied to flooring quality. If you’re thinking about removing laminate, remember it can impact your home’s value depending on what flooring alternatives you choose. Upgrading to hardwood or luxury vinyl might boost appeal, while leaving subfloor exposed could hurt it. So, think about how your flooring choice reflects freedom in style and maintenance, ensuring it fits your resale goals practically and attractively.
Are There Eco-Friendly Disposal Options for Laminate Waste?
You can definitely choose eco-friendly disposal options for laminate waste by focusing on sustainable practices. Look for local recycling centers that accept laminate flooring or consider donating usable pieces to community projects. Proper waste management also means avoiding landfill dumping, so check if waste facilities offer specialized programs for construction materials. By taking these steps, you’re reducing environmental impact and supporting a freer lifestyle that values responsible resource use.
Can I Remove Laminate Flooring Myself Without Professional Help?
Did you know nearly 60% of DIYers successfully remove laminate flooring on their own? You can too, with the right tools required like a pry bar, hammer, and utility knife. Start by loosening the edges, then carefully lift planks using proper removal techniques to avoid damage. Taking your time and working systematically gives you freedom to control the project and save money without needing professional help. Just be patient and thorough!


