Step-By-Step Guide to Cleaning Kitchen
Start by gathering all your cleaning supplies to have everything on hand. Clear and declutter countertops and cabinets, removing expired items. Clean and disinfect all surfaces, including countertops, cabinets, and handles using safe products. Thoroughly clean appliances inside and out, then scrub sinks and faucets with appropriate solutions. Finish by sweeping and mopping floors carefully, and empty trash, replacing liners properly. Following these steps guarantees a spotless kitchen; soon, you’ll discover detailed tips to maintain it effortlessly.
Gather Your Cleaning Supplies
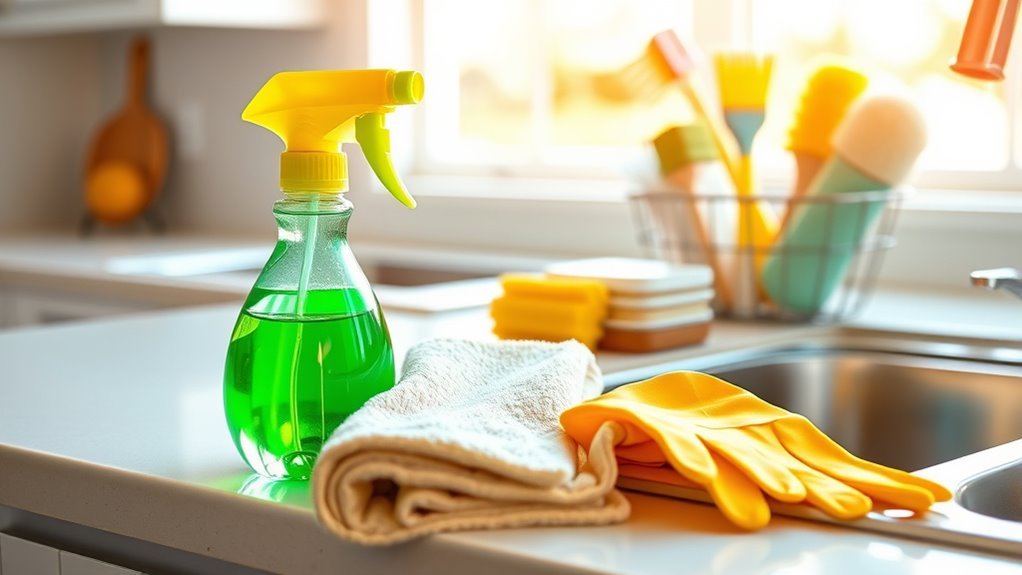
Before you begin cleaning your kitchen, gather all the necessary supplies to secure the process goes smoothly. Start by selecting effective cleaning tools: microfiber cloths, scrub brushes, sponges, and gloves. Choose multipurpose cleaners and degreasers suitable for various surfaces. Organize your supplies in a portable caddy or bucket, allowing easy access and movement throughout the kitchen. Consider storage solutions that keep your cleaning tools neat and ready for future use, such as wall-mounted racks or labeled bins. Having everything prepared reduces interruptions and maximizes efficiency, letting you take control of your kitchen space without hassle. This methodical approach guarantees you’re fully equipped, promoting a streamlined cleaning routine that respects your time and desire for freedom.
Clear and Declutter the Kitchen
With your cleaning supplies ready, the next step is to clear and declutter the kitchen. Start by removing all items from countertops, tables, and sink areas. Sort through these items using effective decluttering strategies: keep only what you use regularly, donate or discard duplicates and unused gadgets. Next, tackle cabinets and drawers, organizing contents by function to enhance kitchen organization. Use bins or dividers to maintain order and prevent clutter buildup. Be thorough—check expiration dates on food and toss anything outdated. This systematic approach frees up space, making cleaning easier and your kitchen more functional. By clearing and decluttering methodically, you create an environment that supports efficiency, calm, and the freedom to cook and enjoy your kitchen without unnecessary distractions.
Clean and Disinfect Countertops
You’ll want to start by choosing cleaning products that are safe for your countertop material to avoid damage. Make certain to remove all debris thoroughly before applying any disinfectant. Finally, use the disinfectant according to the instructions to guarantee effective sanitization.
Choose Safe Cleaning Products
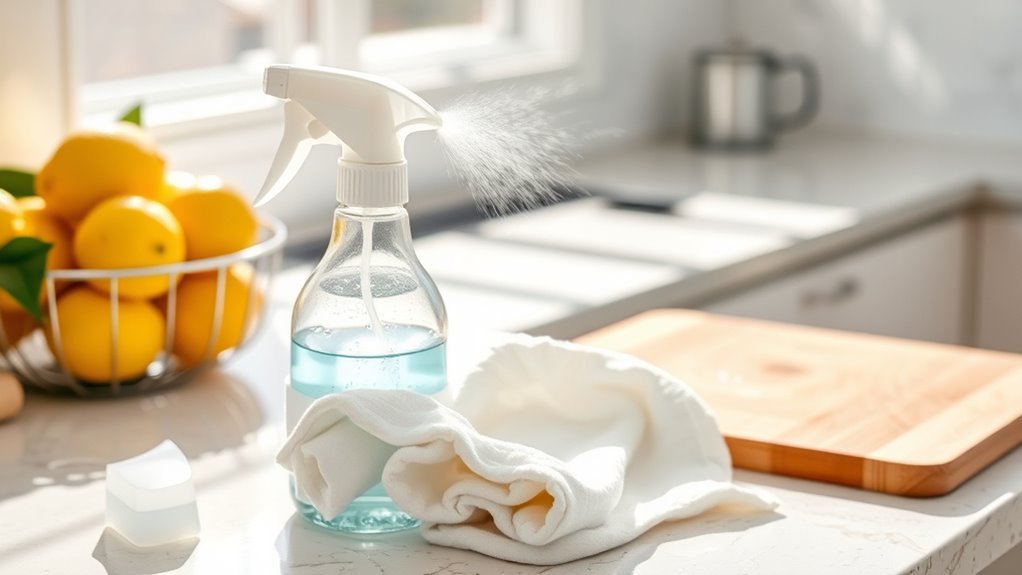
Although many cleaning products promise spotless results, choosing ones that are both effective and safe is essential when cleaning and disinfecting your countertops. Opt for eco friendly options or natural alternatives to minimize harmful chemical exposure and protect your kitchen environment. Here’s a clear comparison to guide your choice:
| Product Type | Key Benefit |
|---|---|
| Vinegar Solution | Natural disinfectant |
| Baking Soda Paste | Gentle abrasive |
| Commercial Cleaner | Powerful, fast-acting |
| Eco Friendly Spray | Biodegradable |
| Hydrogen Peroxide | Non-toxic sanitizer |
Remove Debris Thoroughly
Start by removing all visible debris from your countertops, as even small particles can harbor bacteria and reduce the effectiveness of disinfectants. Focus on common debris types like crumbs, food scraps, and sticky residues. Use appropriate cleaning tools such as a soft brush or microfiber cloth to sweep away loose debris without scratching surfaces. For stuck-on particles, a damp sponge or non-abrasive scrubbing pad works best. Be systematic: clean every corner and edge where debris accumulates unnoticed. Avoid pushing debris into corners; instead, lift and remove it completely. Thorough debris removal guarantees a cleaner surface, preparing your countertops for proper disinfection. Taking this step seriously gives you the freedom to maintain a truly hygienic kitchen environment.
Use Disinfectant Properly
Once you’ve removed all debris, it’s essential to apply disinfectant correctly to guarantee your countertops are truly sanitized. Start by choosing the right disinfectant types for your surface—bleach solutions work well on non-porous surfaces, while natural disinfectants suit more delicate materials. Follow the manufacturer’s instructions for dilution and contact time, as improper use reduces effectiveness. Use a clean cloth or spray bottle to evenly apply the disinfectant, ensuring full coverage without oversaturating. Let it sit for the recommended duration to kill germs effectively. Afterward, wipe down with a damp cloth to remove any residue. By mastering these application techniques, you’ll maintain a hygienic kitchen environment without compromising your freedom to clean efficiently and thoroughly.
Wipe Down Cabinets and Handles

Because cabinets and handles are high-touch areas, regularly wiping them down is crucial to maintain cleanliness and prevent grime buildup. Start by removing any items near cabinet doors to guarantee access. Use a damp microfiber cloth with mild detergent to gently clean cabinet surfaces, paying close attention to corners and edges where dust accumulates. For handle care, focus on disinfecting each handle thoroughly, as these spots harbor germs. Avoid harsh chemicals that can damage finishes; instead, opt for gentle, non-abrasive cleaners. Once wiped, dry cabinets and handles with a clean cloth to prevent moisture damage. Maintaining this routine supports effective cabinet organization by keeping your storage areas fresh and inviting, helping you enjoy a clean, clutter-free kitchen without feeling restricted or overwhelmed by the task.
Clean Appliances Inside and Out
You’ll want to start by emptying the refrigerator to wipe down all surfaces and discard expired items. Next, tackle the oven and microwave by removing racks and thoroughly cleaning both interior and exterior areas. Proper care of these appliances guarantees they operate efficiently and stay hygienic.
Refrigerator Deep Cleaning
Although it may seem intimidating, deep cleaning your refrigerator inside and out is crucial for maintaining food safety and appliance efficiency. Start by unplugging the unit and removing all food items. Use refrigerator organization tips to sort perishables, tossing expired items and grouping similar foods. Remove shelves and drawers, soaking them in warm, soapy water, then wipe down the interior with a solution of baking soda and water to eliminate odors and stains. Pay close attention to door seals, cleaning them thoroughly to guarantee a proper seal that preserves freshness. Dry all surfaces completely before reinserting shelves and drawers. Apply food storage techniques by placing items back thoughtfully—heavy items below, frequently used foods at eye level—to optimize space and airflow. Finally, clean the exterior, including coils if accessible, to enhance efficiency. Plug the refrigerator back in and enjoy a fresh, organized space.
Oven and Microwave Care
Two key appliances that require regular attention are your oven and microwave, as both can accumulate food residue that affects performance and hygiene. Implement these oven maintenance tips and microwave cleaning hacks consistently to keep them efficient and safe.
| Appliance | Cleaning Frequency | Recommended Method |
|---|---|---|
| Oven | Monthly | Use baking soda paste inside, wipe after 30 mins |
| Oven Door | Weekly | Clean glass with vinegar solution |
| Microwave | Weekly | Heat water and lemon juice inside, wipe down |
| Microwave Plate | After Use | Wash with warm soapy water |
| Controls | Monthly | Wipe gently with damp cloth |
Scrub the Sink and Faucets
Start by clearing the sink of any dishes and debris to guarantee easy access. Next, rinse the sink thoroughly with warm water to loosen grime. Apply a gentle, non-abrasive cleaner and scrub using a soft sponge, focusing on corners and the drain. Use effective sink polishing techniques by buffing with a microfiber cloth to restore shine. For faucets, follow faucet maintenance tips: use a toothbrush to clean around handles and crevices, removing buildup carefully. Wipe faucets with a mild vinegar solution to dissolve mineral deposits, then dry thoroughly to prevent water spots. Check for leaks or drips and tighten fittings if needed. This methodical approach guarantees your sink and faucets remain spotless and functional, freeing you from frequent deep cleans and maintaining kitchen hygiene effortlessly.
Sweep and Mop the Floor
Anyone cleaning a kitchen knows that sweeping and mopping the floor is essential for removing dirt, spills, and bacteria that accumulate daily. To guarantee a thorough clean, consider your floor types and apply appropriate mopping techniques. Here’s how to do it methodically:
- Sweep the entire floor, reaching corners and under cabinets.
- Choose a mop suited for your floor type—microfiber for hardwood, sponge for tile.
- Use a cleaning solution compatible with your floor to avoid damage.
- Mop in small sections, moving with controlled strokes to lift grime.
- Rinse the mop frequently to prevent redistributing dirt.
Take Out Trash and Replace Liners
Empty the trash regularly to prevent odors and maintain a clean kitchen environment. Efficient trash disposal techniques are crucial for kitchen organization and hygiene. Start by tying the bag securely to avoid spills, then replace it with a fresh liner that fits snugly. This method prevents leaks and keeps your kitchen tidy. Use the table below to track your trash routine and optimize your kitchen organization:
| Schritt | Action | Tipp |
|---|---|---|
| 1 | Tie the trash bag | Avoid overfilling |
| 2 | Remove bag carefully | Carry upright |
| 3 | Clean the bin if needed | Use disinfectant |
| 4 | Insert new liner | guarantee snug fit |
| 5 | Secure liner edges | Prevent slipping |
Adopting these steps grants you freedom from mess and odor.
Häufig gestellte Fragen
How Often Should I Deep Clean My Kitchen Appliances?
You should deep clean your kitchen appliances every 3 to 6 months to guarantee peak appliance maintenance. This cleaning frequency helps prevent buildup, extends their lifespan, and keeps everything running smoothly. If you use appliances heavily, consider deep cleaning more often. Staying consistent with this schedule not only saves you time later but also gives you the freedom to enjoy a spotless kitchen without unexpected breakdowns or hygiene issues.
What Natural Cleaners Are Safest for Kitchen Surfaces?
You’ll find that a vinegar solution and baking soda are among the safest natural cleaners for kitchen surfaces. Mix equal parts water and white vinegar in a spray bottle for an effective, non-toxic cleaner. For tougher stains, sprinkle baking soda, then gently scrub with a damp cloth. These ingredients are thorough yet gentle, letting you clean freely without harsh chemicals, ensuring your kitchen stays spotless and safe for your family.
How Can I Prevent Mold in My Kitchen Sink Area?
To guarantee mold prevention around your kitchen sink, start with regular sink maintenance. Keep the area dry by wiping down surfaces after use and fix leaks promptly. Use natural cleaners like vinegar or baking soda to disinfect and remove moisture buildup. Improve ventilation to reduce humidity, and avoid leaving wet sponges or cloths nearby. Consistent care and attention will help you maintain a clean, mold-free sink area, giving you the freedom to enjoy your kitchen worry-free.
Are Antibacterial Wipes Effective for Kitchen Cleaning?
Antibacterial wipes can be effective for kitchen hygiene when used correctly. They provide quick surface disinfection by killing many common germs and bacteria. However, you shouldn’t rely on them alone; thorough cleaning with soap and water is essential before disinfecting. Also, make certain surfaces stay wet for the recommended time to maximize effectiveness. Using wipes as part of a regular cleaning routine helps maintain a safer, cleaner kitchen environment.
What’S the Best Way to Organize Cleaning Supplies?
To organize your cleaning supplies effectively, start by taking a supply inventory to know exactly what you have. Use cleaning caddies to group essentials by task or room, making them easy to grab and go. Label each caddy for quick identification. Keep frequently used items within reach and store backups in a designated spot. This methodical approach saves time and gives you the freedom to clean efficiently without hunting for supplies.