Weekly Cleaning Routine for Keyboard
You should start your weekly keyboard cleaning by powering down and unplugging it, then use compressed air to remove debris between keys. Wipe the surface gently with a microfiber cloth, and use cotton swabs dipped in isopropyl alcohol for deeper cleaning around keys. Let it dry thoroughly before reconnecting. This routine prevents sticky keys and extends your keyboard’s lifespan. Keep up with these steps, and you can discover even more ways to keep your workspace clean and efficient.
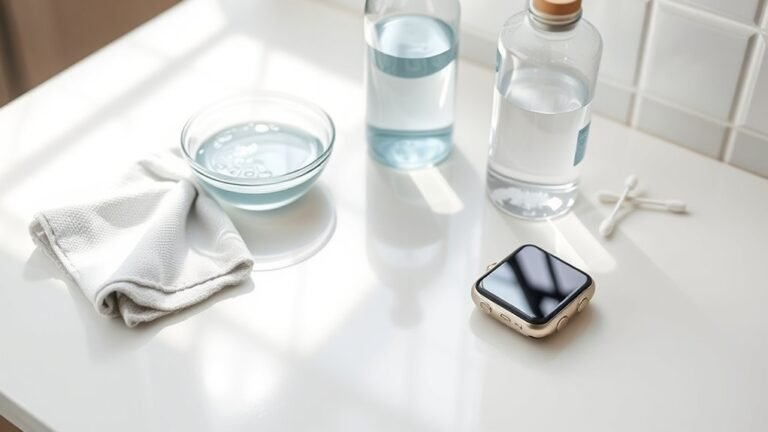
Gather Necessary Cleaning Supplies

Before you begin cleaning your keyboard, make sure you’ve gathered all the necessary supplies. Having the right cleaning supplies on hand sets you free from interruptions and keeps the process smooth. You’ll want disinfecting wipes to tackle germs without hassle, allowing you to maintain a hygienic workspace effortlessly. Along with these, grab a soft microfiber cloth to avoid scratches and a small brush or compressed air to reach between keys. Avoid harsh chemicals that can damage your keyboard; choose gentle, effective tools that respect your device’s longevity. By preparing properly, you take full control, making keyboard cleaning a quick, empowering ritual that keeps your work area fresh and ready for anything. Freedom starts with readiness—so don’t skip this essential step.
Power Down and Unplug Your Keyboard
Two simple steps guarantee your safety and protect your keyboard: power down and unplug it. Before you engage in cleaning, verify your keyboard is completely turned off. This prevents accidental inputs and shields you from electrical issues. Unplugging is just as vital—it cuts power completely, giving you the freedom to clean without worry.
Following these power precautions isn’t just about safety; it preserves your keyboard’s longevity. Even wireless keyboards benefit from removing batteries or switching off power to avoid damage during cleaning. Taking these measures means you won’t risk short circuits or data loss. By prioritizing keyboard safety now, you’re setting a solid foundation for a thorough and worry-free cleaning session every week. Freedom from hazards starts with these essential power steps.
Remove Loose Debris With Compressed Air
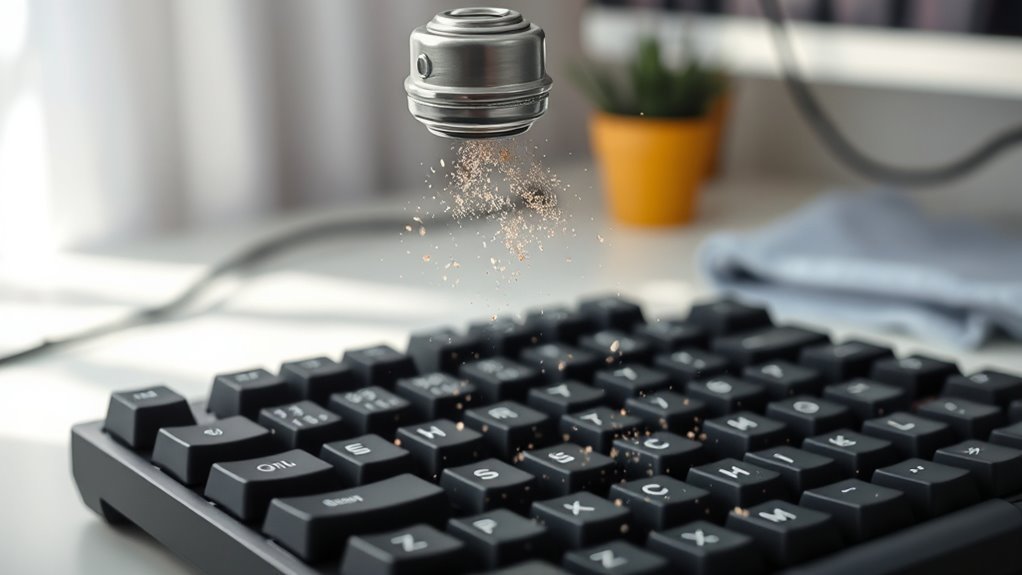
Starting with a can of compressed air is one of the easiest ways to get rid of loose debris trapped between your keyboard keys. You don’t have to dismantle anything—just hold the keyboard at an angle and spray in short bursts. This blasts away dust, crumbs, and particles that accumulate over time, keeping your keyboard functioning smoothly. Regular keyboard maintenance like this guarantees your device stays free from sticky keys and malfunctions. Aim to include this step in your cleaning routine at least once a week to maintain top-notch performance. By sticking to this cleaning frequency, you free yourself from frustrating buildup and enjoy a cleaner, more responsive keyboard every day. It’s a simple way to take control and keep your workspace hassle-free.
Wipe Surface With a Microfiber Cloth
You’ll want to pick a soft microfiber cloth that won’t scratch your keyboard’s surface. Wiping gently in a consistent pattern helps remove oils and dust without damage. Doing this once a week keeps your keyboard looking clean and functioning well.
Choosing the Right Cloth
Although many cloths can clean surfaces, a microfiber cloth is your best choice for wiping down your keyboard. Its unique fibers trap dust and dirt without scratching, offering superior microfiber benefits compared to cotton or paper towels. When choosing cloth types, avoid materials that leave lint or fibers behind, as they can clog your keyboard’s crevices. Microfiber cloths are durable, washable, and designed to pick up grime without needing harsh chemicals, giving you freedom from frequent replacements and harsh cleaning products. By selecting the right cloth, you guarantee a gentle yet effective clean that preserves your keyboard’s finish and functionality. So, grab a quality microfiber cloth and enjoy a straightforward, efficient way to keep your keyboard spotless every week.
Effective Cleaning Technique
When you wipe your keyboard’s surface with a microfiber cloth, you make sure dust and grime are removed without damaging the keys. This technique respects the delicate keyboard materials, preventing scratches or wear that harsh fabrics or chemicals might cause. Simply take a clean, dry microfiber cloth and gently glide it over the keys and surrounding surface. If needed, slightly dampen the cloth with water or a mild cleaner suitable for electronics. Sticking to this method guarantees your keyboard stays fresh while maintaining its integrity. While cleaning frequency varies by use, incorporating this wipe into your weekly routine supports a clean and inviting workspace. This simple act not only preserves your keyboard but also gives you the freedom to focus on what truly matters—your work or play.
Frequency of Wiping
Regularly wiping your keyboard with a microfiber cloth helps keep dust and oils from building up on the keys. To maintain a clean and free workspace, you need to set a consistent wiping frequency that fits your lifestyle. Ideally, including a quick wipe in your weekly cleaning schedule prevents grime from settling in, making deeper cleanings easier and less time-consuming. If you use your keyboard heavily or share it with others, consider increasing the wiping frequency to two or three times a week. This simple habit guarantees your keyboard stays fresh and responsive without restricting your freedom to focus on what matters. Stick to this cleaning schedule, and your keyboard will remain a reliable, clean companion in your daily routine.
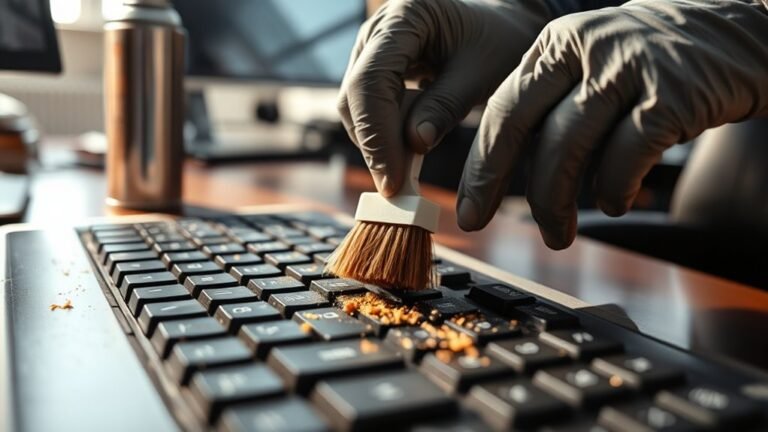
Clean Between Keys Using Cotton Swabs
Since dust and debris often get trapped in tight spaces, cleaning between your keyboard keys with cotton swabs is a simple way to keep it functioning smoothly. You can easily reach those narrow gaps where crumbs and grime hide. Start by gently sliding a dry cotton swab between each key, using precise cotton swab techniques to avoid pushing dirt further in. Rotate the swab as you go to maximize dirt removal from every crevice. This key gap cleaning prevents buildup that can affect key responsiveness and your overall typing experience. By adopting this quick, focused step in your weekly routine, you maintain your keyboard’s freedom from sticky or malfunctioning keys without hassle. It’s an effortless habit that preserves your device’s smooth operation and your productivity.
Use Isopropyl Alcohol for Deep Cleaning
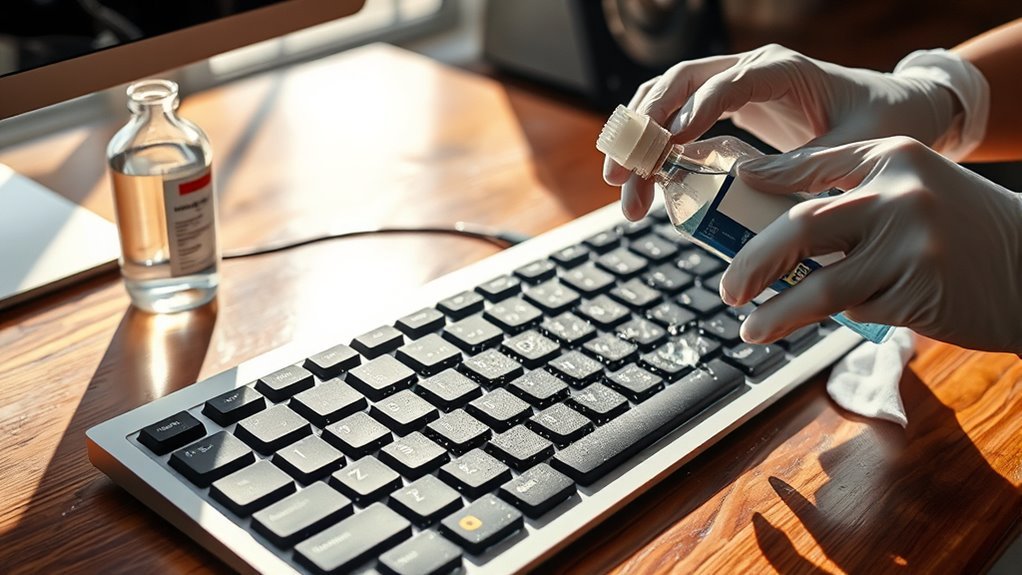
After clearing out debris from between the keys, you’ll want to give your keyboard a deeper clean to remove oils and stubborn grime. Using isopropyl alcohol is one of the best deep cleaning techniques you can rely on. Its benefits include quick evaporation, which prevents moisture damage, and strong disinfectant properties that eliminate bacteria and germs. Simply dampen a lint-free cloth or cotton swab with isopropyl alcohol—avoid soaking it—and gently wipe the key surfaces and surrounding areas. This method not only refreshes your keyboard’s appearance but also extends its lifespan by keeping it hygienic. Embrace this simple, effective step in your weekly routine to maintain freedom from sticky, dirty keys and enjoy a cleaner, smoother typing experience.
Address Sticky or Stuck Keys
When you notice keys sticking or failing to register properly, it’s important to act quickly to prevent further damage. Sticky keys can slow you down and disrupt your flow, but you don’t have to be stuck. Start by carefully removing the affected keycap to clean underneath with a cotton swab dipped in isopropyl alcohol. This often clears away grime causing the stickiness. If cleaning doesn’t fix the issue, consider a key replacement. Many keyboards allow you to swap out individual keys, letting you regain full freedom without buying a new device. Addressing sticky keys promptly keeps your keyboard responsive and your typing smooth, so you stay in control and unbound from frustrating interruptions.
Dry the Keyboard Thoroughly
After cleaning, you’ll want to dry your keyboard thoroughly to prevent any moisture damage. Using a soft cloth and letting it air dry in a well-ventilated area works best. Taking these steps guarantees your keyboard stays safe and fully functional.
Importance of Drying Well
Although cleaning your keyboard is essential, drying it thoroughly is just as important to prevent damage. When moisture lingers, it can seep into the internal components, causing malfunctions or corrosion that limit your freedom to use your device whenever you want. Proper moisture prevention is key to keeping your keyboard reliable and extending its lifespan. Skipping this step risks sticky keys or complete failure, trapping you in frustrating downtime. While you’ll explore specific drying techniques later, right now, recognize that rushing the drying process can undo all your cleaning efforts. Taking the time to guarantee your keyboard is completely dry means you maintain control over your tech, avoiding unexpected issues and keeping your workspace smooth and efficient. Don’t let moisture hold you back.
Effective Drying Techniques
Taking the time to dry your keyboard thoroughly protects the effort you put into cleaning it. After wiping down, set your keyboard in a well-ventilated spot for air drying. Avoid rushing this step because moisture trapped inside can cause issues later. To speed things up, gently press absorbent materials like microfiber cloths around keys to soak up excess water without forcing moisture deeper. You can also tilt the keyboard slightly to help any lingering liquid drain out naturally. Remember, patience here guarantees your keyboard stays in top shape and ready for use. By using air drying combined with absorbent materials, you give your keyboard the freedom to dry safely without risking damage or residue buildup. It’s a simple, effective way to preserve your device’s longevity.
Avoiding Moisture Damage
Since moisture can easily damage your keyboard’s internal components, you’ll want to guarantee it’s completely dry before plugging it back in. After cleaning, give your keyboard ample time to air dry in a well-ventilated space, avoiding direct heat sources that could warp plastic parts. Use a soft, absorbent cloth to gently wipe away any remaining moisture on the surface. This step is essential for moisture prevention and overall keyboard care. Never rush this process by powering the device too soon—doing so risks short circuits or corrosion. By thoroughly drying your keyboard, you protect your investment and maintain its freedom of use without interruptions. Prioritizing moisture prevention guarantees your keyboard stays functional, letting you work or play with confidence week after week.
Reconnect and Test Your Keyboard
After completing the cleaning process, you’ll want to reconnect your keyboard to verify everything is working properly. Plug it back into your computer or reconnect the wireless dongle, then power it on. This step is essential to avoid keyboard connectivity issues that can disrupt your workflow and freedom to create. Once connected, move on to testing responsiveness by pressing each key to guarantee none are sticking or failing to register. If any keys feel off or don’t respond, it’s a sign you might need to clean again or check for internal debris. Taking this moment to confirm your keyboard’s full functionality helps keep your setup smooth and free from frustrating interruptions, allowing you to stay focused and in control.
Tips to Maintain Keyboard Cleanliness Between Weekly Cleanings
Even if you clean your keyboard weekly, small habits can help keep it tidy between deep cleans. To maintain freedom from grime buildup, try simple daily maintenance tricks like wiping your keyboard with a microfiber cloth to remove dust and oils. Avoid eating over your keyboard to prevent crumbs from sneaking in. Use compressed air briefly to blow out loose debris trapped between keys. Practicing good keyboard hygiene tips, such as washing your hands before use, also cuts down on dirt and germs. Keeping a dedicated keyboard cover can shield your device and is easy to clean regularly. By integrating these small actions into your routine, you’ll enjoy a cleaner keyboard daily without sacrificing the liberty to work or game comfortably anytime.
Häufig gestellte Fragen
Can I Use Water Instead of Isopropyl Alcohol for Cleaning?
Imagine your keyboard as a delicate garden—using water instead of isopropyl alcohol is like watering with a flood; it risks water damage that could wilt your device’s spirit. While water seems like a free-flowing alternative, it’s safer to choose cleaning alternatives like alcohol wipes or specialized keyboard cleaners. These let you clean with freedom and confidence, avoiding the sticky trap of moisture seeping inside, keeping your keys shining without harm.
How Often Should I Replace My Keyboard if It Gets Damaged?
You should consider replacing your keyboard when its damage indicators start affecting your experience—like unresponsive keys, sticky buttons, or erratic behavior. The keyboard lifespan varies, but if repairs or cleaning don’t fix these issues, it’s time for a new one. Don’t feel tied down to a broken device; your freedom to type smoothly matters. Keep an eye on performance, and swap it out whenever it no longer serves you well.
Are Silicone Keyboard Covers Effective for Cleanliness?
You’ll find silicone keyboard covers pretty effective for cleanliness since they block dust, crumbs, and spills from reaching your keys. The silicone benefits include being easy to clean and flexible, so they don’t restrict your typing freedom. Plus, their cover durability means they last a while without tearing or wearing out. If you want to keep your keyboard neat without hassle, a silicone cover’s a smart, low-maintenance choice that won’t cramp your style.
Can Cleaning Void My Keyboard’S Warranty?
Like handling a delicate vintage watch, you’ve got to be careful with your keyboard. Warranty policies often have fine print about cleaning methods—using harsh chemicals or disassembling parts can void your warranty. But gentle cleaning with approved tools usually keeps you safe. You want the freedom to maintain your gear without losing protection, so always check your manufacturer’s guidelines before diving in. Stay free, but stay informed.
What’S the Best Way to Clean Mechanical Keyboard Switches?
When tackling mechanical keyboard switches, you’ll want to focus on gentle cleaning techniques that keep your freedom intact. Start by removing keycaps carefully, then use compressed air or a soft brush to clear out dust and debris. For deeper switch maintenance, consider using isopropyl alcohol on a cotton swab to clean the switch housing—but avoid soaking parts. This way, you maintain smooth keypresses without risking damage or voiding warranties.