Deep Cleaning Checklist for Baseboards
To deep clean your baseboards, start by gathering supplies like a microfiber cloth, gentle cleaner, and a scrub brush. Dust and vacuum loose debris, then prepare a mild cleaning solution. Wipe down all surfaces thoroughly, scrubbing stubborn stains with vinegar or baking soda if needed. Dry completely and inspect for missed spots, touching up paint where necessary. Regular upkeep is key to keeping them fresh and neat. Keep going to uncover tips that make this task even easier.
Gather Cleaning Supplies
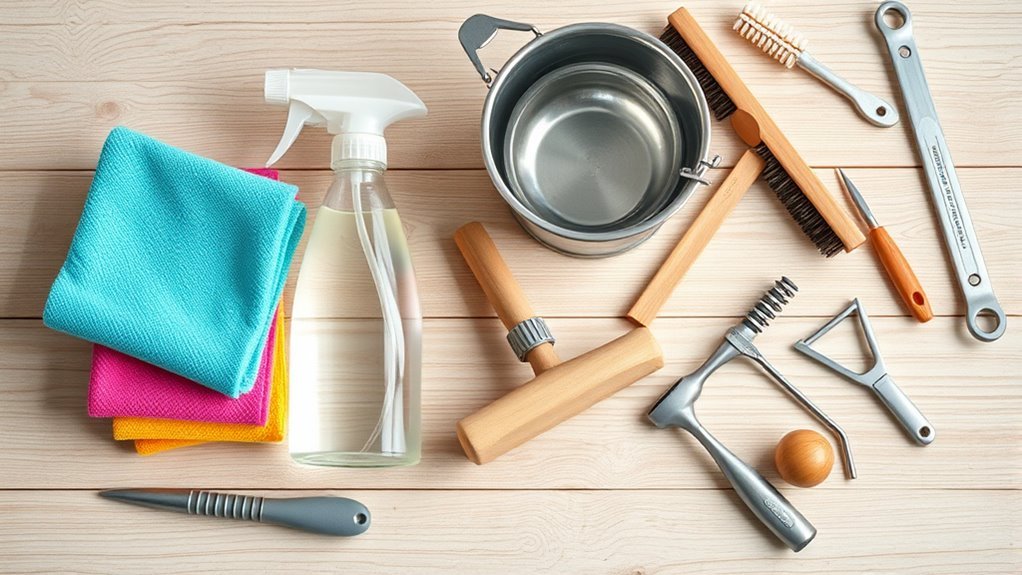
Before you begin deep cleaning your baseboards, you’ll want to gather all the necessary supplies. Having the right tools at your fingertips gives you the freedom to clean efficiently and effectively. Start with a microfiber cloth or a soft-bristle brush to avoid damaging surfaces. A bucket with warm water and a mild detergent will help loosen grime without harsh chemicals. Don’t forget a vacuum with a brush attachment for tight corners. For stubborn spots, a gentle cleaner or vinegar solution can be your best friend. Incorporating these cleaning techniques into your routine guarantees your baseboards stay pristine longer. Keep maintenance tips handy, like wiping down baseboards regularly to prevent buildup, so you can enjoy a fresh, clean space without hassle.
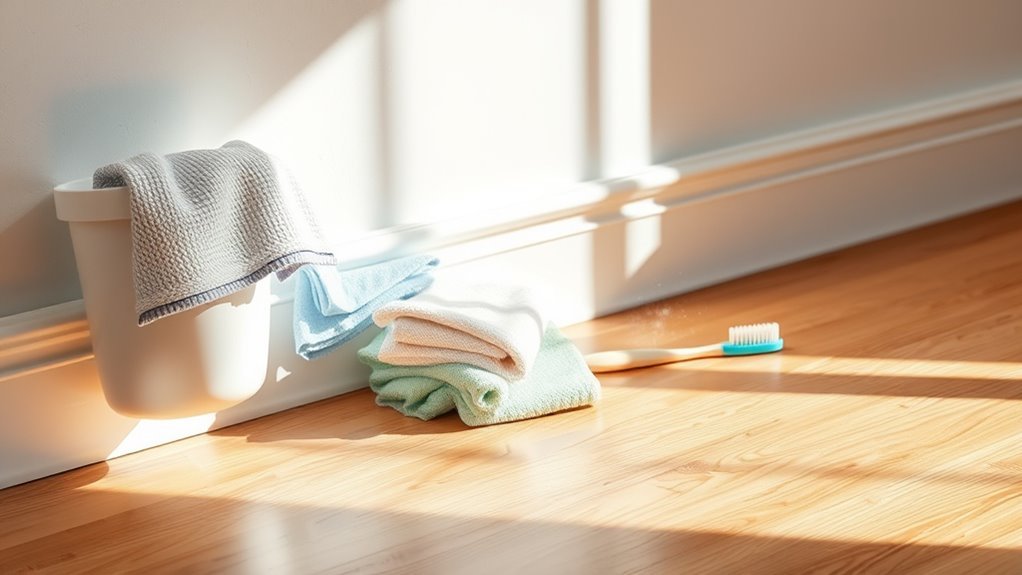
Remove Loose Dust and Debris
A crucial step in deep cleaning your baseboards is removing loose dust and debris. This clears the surface, making your cleaning more effective and freeing you from stubborn grime buildup. To get started, employ simple yet effective dusting techniques that fit your lifestyle and cleaning frequency. Here’s how you can do it:
Removing loose dust is essential for effective baseboard cleaning and preventing stubborn grime buildup.
- Use a microfiber cloth or a soft brush to gently sweep away dust.
- Vacuum with a brush attachment for hard-to-reach spots.
- Work from top to bottom to avoid redistributing dust.
- Schedule regular dusting sessions to maintain cleanliness and reduce deep cleaning time.
Prepare a Cleaning Solution
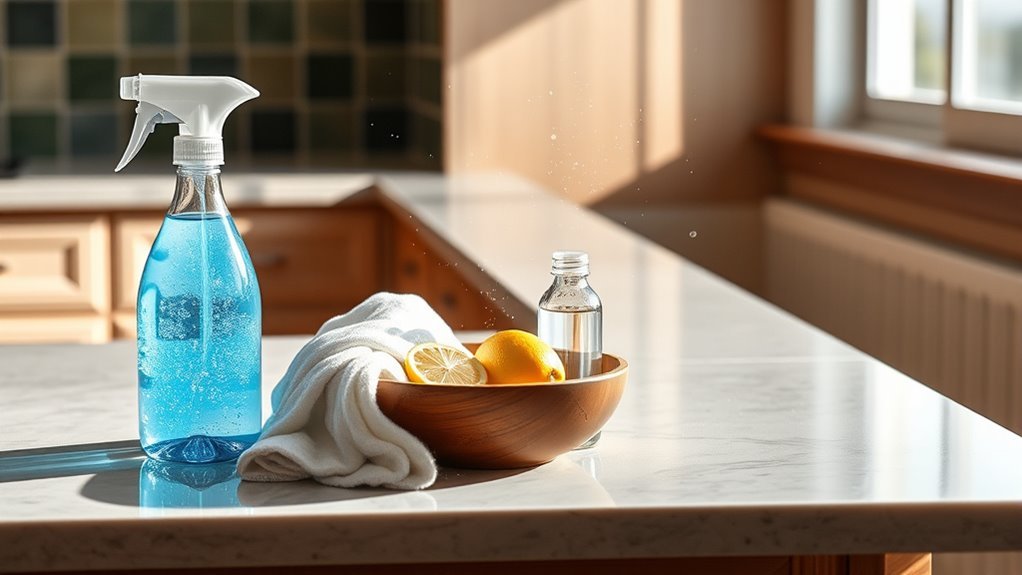
Before you start scrubbing, pick the right cleaning agents for your baseboards to avoid damage. Mix your solution carefully, following the recommended ratios for the best results. Always test the solution on a small, hidden area to make sure it won’t cause discoloration or harm.
Choose Appropriate Cleaning Agents
Choosing the right cleaning agents is essential to avoid damaging your baseboards while ensuring they get thoroughly clean. You want solutions that respect your home’s surfaces and your values. While commercial cleaners are effective, they can sometimes be harsh or contain chemicals you’d rather avoid. Luckily, eco friendly options offer a safer, sustainable alternative without sacrificing power.
Consider these when selecting your cleaning agents:
- Mild dish soap mixed with warm water for gentle, everyday cleaning
- Vinegar solution for tackling tough grime naturally
- Commercial cleaners labeled safe for wood or painted surfaces
- Baking soda paste for scrubbing stubborn spots without scratching
Mix Solution Properly
Mixing your cleaning solution properly guarantees it’s both effective and safe for your baseboards. Start by following simple mixing techniques that balance power and gentleness. Pay attention to solution ratios—too strong can damage finishes, too weak won’t clean well. Use clean water and measure carefully to maintain freedom from guesswork.
Here’s a quick guide to common solution ratios:
| Cleaning Agent | Water Ratio |
|---|---|
| Mild Dish Soap | 1 teaspoon : 1 cup |
| White Vinegar | 1/2 cup : 1 quart |
| Baking Soda (paste) | 3:1 (powder to water) |
Stick to these ratios, mix thoroughly, and you’ll have a reliable solution that respects your baseboards and your freedom to clean without hassle.
Test on Small Area
How do you know if your cleaning solution is safe for your baseboards? Before diving into a full clean, you need to test it on a small area first. Proper test methods guarantee you won’t damage the finish or paint. When choosing your area selection, pick a discreet spot, like a corner or behind furniture. Follow these steps:
- Apply a small amount of solution with a soft cloth
- Wait 5-10 minutes to observe any discoloration or peeling
- Check for changes in texture or softness
- Rinse lightly to see how the solution reacts on removal
This simple test lets you proceed confidently, giving you the freedom to deep clean without worry. It’s an essential step for preserving your baseboards’ look and longevity.
Wipe Down Baseboards Thoroughly
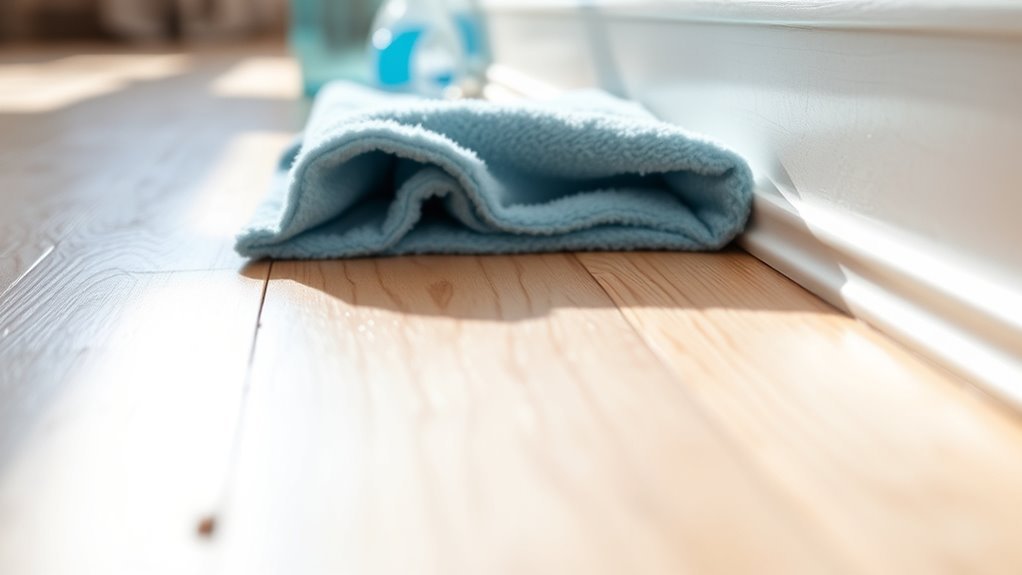
Start by grabbing a damp cloth or sponge to wipe down your baseboards thoroughly. Depending on your baseboard materials—whether wood, vinyl, or MDF—you’ll want to choose a gentle cleaner that won’t damage the finish. Don’t rush this step; take your time moving along each baseboard to remove dust, dirt, and surface grime. Maintaining a consistent cleaning frequency, like once a month, helps prevent buildup and keeps your space feeling fresh and open. This simple routine lets you take control of your environment without hassle. Remember, the goal is to clear away what dulls your baseboards’ appearance, freeing your home from neglected corners. Keeping this habit solid means your baseboards stay in great shape, ready for the next deep clean.
Scrub Stubborn Stains and Grime
When you come across stubborn stains and grime on your baseboards, using the right cleaning solutions is key. You’ll want to grab tools like a soft brush or a sponge to help lift away tough dirt without damaging the surface. Choosing effective products and tools makes the scrubbing process much easier and more efficient.
Effective Cleaning Solutions
Although baseboards may seem simple to clean, stubborn stains and grime often require more than just a quick wipe. You want solutions that’re both effective and gentle on your home and the planet. Eco friendly cleaners and homemade solutions give you that freedom, letting you avoid harsh chemicals while still tackling buildup efficiently. Here are some options to try:
- A mixture of white vinegar and water for natural disinfecting power
- Baking soda paste to lift tough spots without scratching
- Mild dish soap diluted in warm water for everyday grime
- Castile soap combined with essential oils for a fresh, non-toxic clean
Using these, you can maintain your baseboards’ charm without compromising your values or the environment.
Tools for Stain Removal
Since stubborn stains on baseboards can resist simple wiping, having the right tools makes all the difference. You’ll want to equip yourself with a sturdy scrub brush, microfiber cloths, and a gentle putty knife for scraping tough grime without damage. Different stain types call for specific cleaning techniques: greasy marks respond well to degreasing sprays, while scuff marks might need a magic eraser or baking soda paste. Don’t forget gloves to protect your hands and a spray bottle for applying solutions evenly. By choosing the right tools, you’re not just cleaning—you’re reclaiming control over your space, freeing yourself from stubborn grime that holds you back. These tools empower you to tackle any baseboard challenge efficiently and confidently.
Dry and Inspect for Missed Spots
Once you’ve wiped down the baseboards, you’ll want to dry them thoroughly to prevent any moisture damage. Dry cleaning at this stage guarantees the wood stays intact and free from warping or mold. After drying, it’s time to inspect every inch using effective inspection techniques to catch missed spots and stubborn dirt.
Dry baseboards prevent damage and warping—inspect carefully to catch hidden dirt and ensure thorough cleaning.
Here’s how you can sharpen your inspection:
- Use a bright flashlight to highlight shadows and dirt.
- Run your hand along the surface to feel for any residue.
- Check corners and edges carefully where grime tends to hide.
- Step back occasionally to spot inconsistencies in color or texture.
Touch Up Paint if Necessary
After thoroughly drying and inspecting your baseboards, you might notice some areas where the paint has chipped or faded. To keep your space feeling fresh and free, it’s important to apply touch up paint if necessary. Start by choosing the right paint type that matches your existing baseboard finish—whether it’s matte, satin, or semi-gloss. Using proper touch up techniques, like applying thin layers with a small brush, guarantees a smooth, even look without overloading the surface. Take your time to blend the edges so the repair stays subtle and seamless. By addressing these small imperfections, you maintain your home’s clean, polished vibe, giving you the freedom to enjoy a space that looks effortlessly well cared for.
Maintain Clean Baseboards Regularly
Keeping your baseboards clean doesn’t have to be a chore you tackle only once in a while. By maintaining them regularly, you preserve their appearance and extend their life, regardless of the baseboard materials. Here’s how to stay ahead with your cleaning frequency:
- Dust your baseboards weekly using a microfiber cloth or vacuum attachment.
- Wipe down with a damp cloth every two weeks to remove grime buildup.
- Adjust cleaning frequency based on your home’s environment, like pets or high traffic.
- Use appropriate cleaners for different baseboard materials to avoid damage.
Sticking to this simple routine gives you the freedom to enjoy a fresh, polished look without the stress of deep scrubbing. Keep your space feeling open, clean, and effortlessly inviting by making baseboard maintenance part of your regular flow.
Frequently Asked Questions
How Often Should Baseboards Be Deep Cleaned?
You should set your cleaning frequency based on your lifestyle and environment but aim for a deep clean every three to six months. If you have pets or allergies, you might want to do it more often. Maintenance tips include wiping baseboards regularly with a damp cloth to prevent buildup, so deep cleaning feels less intimidating. This way, you keep your space fresh without sacrificing your freedom or time.
Can I Use a Vacuum Cleaner on Baseboards?
You might be surprised to find that vacuuming baseboards is actually a smart move in your cleaning routine. Using the right vacuum attachment helps you effortlessly lift dust and pet hair without scrubbing. This technique saves time and keeps your baseboards looking fresh. Just be gentle to avoid scratches. Combining vacuuming with occasional wiping gives you the freedom to maintain clean baseboards without breaking a sweat or losing your weekend vibe.
Are There Eco-Friendly Cleaning Solutions for Baseboards?
Absolutely, you can use eco-friendly cleaning solutions for your baseboards. Natural cleaners like vinegar, baking soda, and lemon juice are great homemade solutions that won’t harm your indoor air or the planet. You don’t have to rely on harsh chemicals; mixing these ingredients lets you keep your space fresh and clean while staying true to a more natural lifestyle. It’s all about freedom to choose cleaner, safer options that work well.
How Do I Prevent Mold on Baseboards?
You want to keep your baseboards dry, clean, and well-ventilated. Mold prevention starts with controlling humidity—use dehumidifiers, open windows, and fans to let air flow freely. Wipe down any spills or condensation quickly, and avoid clutter that traps moisture. By balancing airflow, reducing moisture, and staying vigilant, you’ll keep mold at bay and enjoy a fresher, healthier space without feeling tied down by constant cleaning chores.
What Tools Work Best for Cleaning Baseboard Corners?
When tackling baseboard corners, you’ll want tools that give you freedom to reach every nook. Corner brushes are perfect—they’re designed to slip into tight angles and scrub away grime effortlessly. Pair those with soft cleaning pads to wipe down surfaces without scratching. Using these together lets you clean thoroughly without feeling trapped by awkward spots. You’ll appreciate how easy it is to keep your baseboards looking fresh and mold-free.


