Deep Cleaning Checklist for Bike
You’ll want to start by prepping your workspace and gear up with gloves and safety glasses. Gather brushes, degreaser, lubricant, and rags before removing accessories and wheels carefully. Clean the frame gently, degrease the drivetrain thoroughly, and wipe down brake calipers and rims. After lubricating the chain and moving parts, reassemble everything with proper adjustments. Finish with a safety check and test ride. Keep going to uncover detailed tips for each step to perfect your bike care.
Preparation and Safety Measures
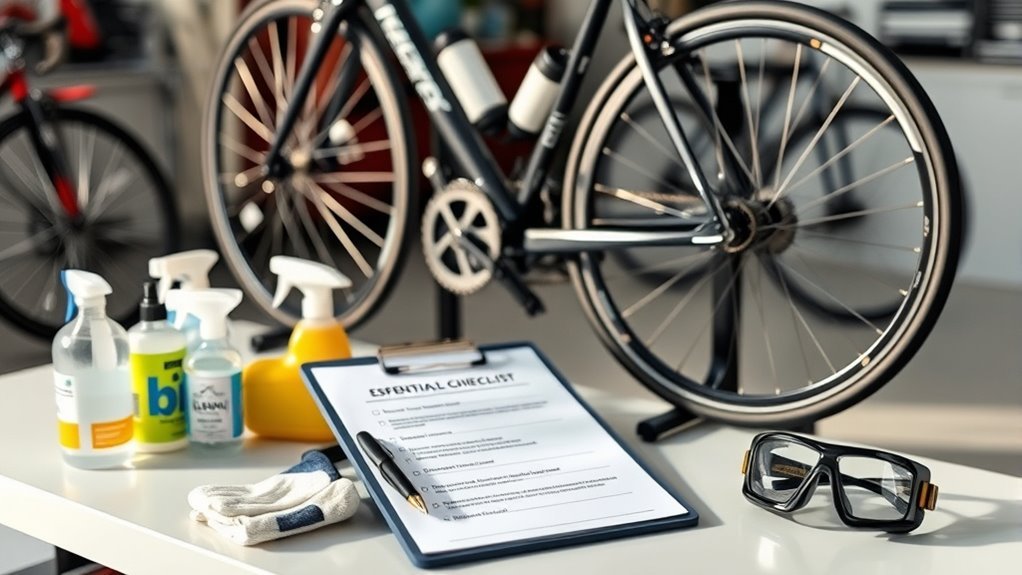
Before you plunge into cleaning your bike, make certain you’ve gathered all the necessary tools and chosen a well-ventilated, flat workspace. Setting up the right cleaning environment is vital—it keeps you comfortable and guarantees your bike stays stable while you work. You don’t want any slips or falls interfering with your ride’s freedom. Next, don’t skip putting on your safety gear. Gloves protect your hands from harsh chemicals and grime, while safety glasses shield your eyes from splashes. Wearing the right gear also keeps you focused and confident as you tackle every spot. Ready yourself mentally and physically by preparing the space and equipping safety essentials. This careful preparation assures a smooth, efficient cleaning session that honors both your bike and your love for the open road.
Gathering Cleaning Supplies
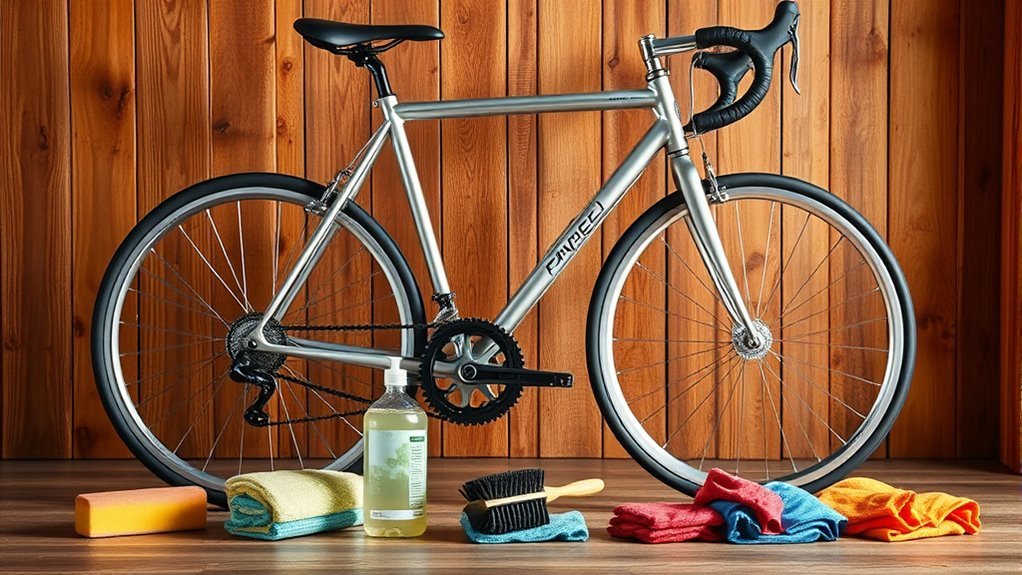
Before you start cleaning, make sure you have the right tools on hand. You’ll need brushes, rags, and a bucket, plus some bike-specific cleaning products like degreaser and lubricant. Having these essentials ready will make the process smoother and more effective.
Essential Cleaning Tools
When you’re ready to give your bike a thorough cleaning, having the right tools on hand makes all the difference. You’ll want a sturdy brush set to tackle grime in hard-to-reach places, along with a soft cloth for delicate parts. A bucket for soapy water and a spray bottle for rinsing simplify cleaning techniques. Don’t forget a chain brush or a toothbrush to get into tight spots, vital for effective maintenance tips. Gloves protect your hands, and a stand or a way to elevate your bike frees you to work efficiently. With these essential cleaning tools, you’re set to maintain your bike’s performance and enjoy the freedom of the open road without worry.
Recommended Cleaning Products
Choosing the right cleaning products is key to keeping your bike in top shape without causing damage. You want eco friendly cleaners that protect both your ride and the environment. Opt for bike maintenance products designed specifically for your bike’s materials to guarantee long-lasting performance and freedom on every trail.
Here’s a quick guide to must-have products:
| Product Type | Purpose |
|---|---|
| Eco Friendly Cleaner | Removes dirt without harsh chemicals |
| Degreaser | Breaks down stubborn grease |
| Chain Lubricant | Keeps chain smooth and rust-free |
| Protective Spray | Shields frame from corrosion |
With these, you’ll keep your bike clean, efficient, and ready for your next adventure!
Removing Accessories and Detaching Wheels
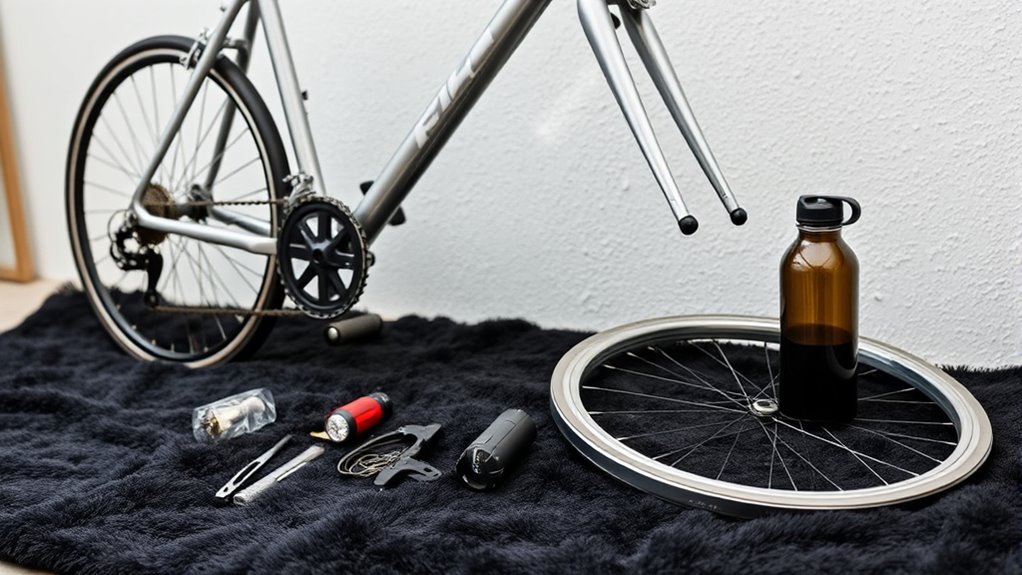
Taking off accessories and wheels is an essential step to guarantee a thorough bike cleaning. To unlock your bike’s full potential and keep it running smoothly, you need to focus on wheel removal and accessory cleaning first. Here’s how to get started:
- Remove detachable accessories like lights, water bottle holders, and saddlebags to avoid damage and clean them separately.
- Shift the chain to the smallest gear to ease wheel removal.
- Release the brakes if necessary to let the wheels come off without hassle.
- Use quick-release levers or appropriate tools to detach both front and rear wheels carefully.
Cleaning the Frame and Fork
Although the frame and fork might seem sturdy, they still collect dirt and grime that can affect your bike’s performance and longevity. Start by choosing a gentle cleaner suitable for your bike’s specific frame materials—whether aluminum, carbon fiber, or steel—to avoid damage. Use a soft brush or sponge to lift off stubborn dirt without scratching the surface. Pay attention to fork types too; suspension forks need careful cleaning around seals to prevent dirt infiltration, while rigid forks are easier to maintain. Rinse thoroughly with water but avoid high-pressure sprays, which can force grime into bearings or delicate parts. Taking this careful approach guarantees your bike stays light, responsive, and ready for the open road, helping you keep your freedom on two wheels.
Degreasing and Cleaning the Drivetrain
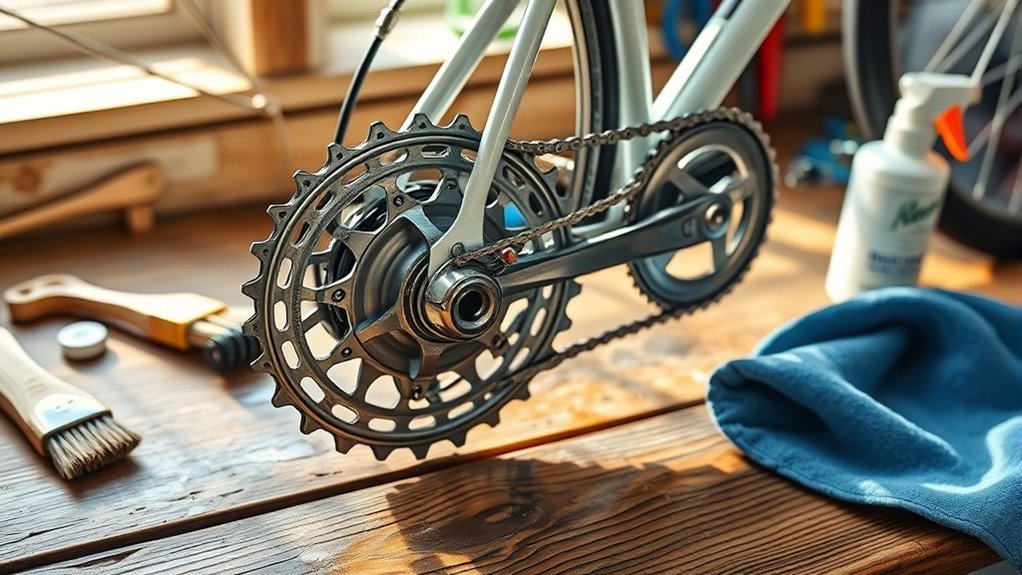
Since your drivetrain is the heart of your bike’s movement, keeping it clean and well-lubricated is essential for smooth shifting and efficient power transfer. Proper drivetrain maintenance frees you from unnecessary resistance and wear. Here are key cleaning techniques to follow:
- Apply a biodegradable degreaser generously to the chain, cassette, and chainrings.
- Use a stiff brush or a dedicated chain-cleaning tool to scrub away grime and old lubricant.
- Rinse thoroughly with water, avoiding high pressure that can force water into bearings.
- Once dry, apply fresh lubricant evenly to the chain, wiping off excess to prevent dirt buildup.
Washing and Inspecting the Wheels and Tires
Now it’s time to wash away dirt and debris from your wheels and tires to keep them in top shape. You’ll want to check the tire pressure to guarantee a smooth ride and inspect the tread for any signs of wear or damage. These quick steps help maintain your bike’s performance and safety.
Removing Dirt and Debris
Start by thoroughly washing your bike’s wheels and tires to remove all dirt and debris that can affect performance. Dirt accumulation not only slows you down but also wears down your tires prematurely. Focus on debris removal to keep your ride smooth and unrestricted. Here’s how to get it right:
- Use a soft brush to loosen stubborn dirt stuck in the tire treads.
- Rinse with water to wash away loosened debris without damaging the wheel.
- Wipe the rims and spokes carefully to prevent dirt build-up that can affect braking.
- Inspect tires for embedded stones or sharp objects that could cause flats.
Checking Tire Pressure
After washing and inspecting your wheels and tires for dirt and debris, the next step is to check the tire pressure. Proper tire pressure guarantees your ride stays smooth and efficient, giving you the freedom to conquer any path without unnecessary resistance. Use a reliable pressure gauge to measure the inflation level, comparing it to the recommended range found on your tire’s sidewall. Keep in mind that underinflated tires can slow you down and increase the risk of flats, while overinflated tires may reduce traction and comfort. Inflation tips include checking pressure before every ride, especially if you’ve stored your bike for a while. Adjust the pressure based on your weight, terrain, and riding style to maximize performance and enjoy the open road with confidence.
Inspecting Tire Tread
Tire tread plays an essential role in your bike’s grip and safety, so it’s important to give it a close look during your cleaning routine. After washing your wheels and tires, inspect the tread carefully to spot any signs of wear or damage that could impact your ride. Keep in mind that proper tire pressure complements tread condition for peak performance.
Here’s how to assess your tire tread effectively:
- Look for uneven or excessive tread wear that reduces traction.
- Check for embedded debris like glass or stones that might cause punctures.
- Examine sidewalls for cracks or bulges indicating tire fatigue.
- Compare tread depth to manufacturer recommendations to decide if replacement is needed.
Cleaning the Brakes and Brake Pads
One of the most essential steps in deep cleaning your bike is giving the brakes and brake pads a thorough scrub. Proper brake maintenance guarantees you experience smooth, reliable brake performance every time you ride, letting you feel confident and free on any path. Start by removing dirt and grime with a soft brush and mild soap, avoiding harsh chemicals that could damage the pads. Check the brake pads for wear and replace them if they’re too thin to maintain safe stopping power. Clean the brake calipers and rims or rotors carefully, making sure no residue remains. Keeping your brakes spotless and well-maintained is key to preserving your bike’s control and your freedom to explore without worry.
Lubricating the Chain and Moving Parts
Keeping your brakes clean guarantees safety, but your bike’s performance also depends on smooth movement from its chain and other parts. Proper chain maintenance and lubrication techniques are essential for a free, efficient ride. Here’s how to keep everything running smoothly:
- Wipe down the chain to remove dirt and old lubricant before applying anything new.
- Use a lubricant designed for your riding conditions—wet lube for rain, dry lube for dusty trails.
- Apply lubricant sparingly to each chain link, focusing on the rollers, then wipe off excess to prevent grime buildup.
- Don’t forget other moving parts like derailleurs and pivot points—light lubrication keeps them agile and responsive.
With these steps, you’ll keep your bike’s freedom flowing seamlessly.
Reassembling and Adjusting Components
After cleaning and lubricating, it’s time to reassemble your bike’s components carefully. Start by ensuring perfect component alignment—misaligned parts can hinder your ride’s smoothness and freedom. Reattach each piece securely, paying close attention to gears, derailleurs, and cables. When you get to the brakes, make sure to perform precise brake adjustments. Check for proper pad positioning and tension so your stopping power is reliable and responsive. Tighten all bolts firmly but avoid overtightening, which can damage threads or parts. Taking the time here means your bike will perform like new, giving you the confidence to hit the open road or trail without limits. This careful reassembly sets the foundation for a safe, enjoyable ride every time you pedal out.
Final Inspection and Test Ride
Once you’ve carefully reassembled and adjusted every component, it’s time to give your bike a thorough final inspection. This step guarantees all final adjustments are spot-on and your ride is ready to perform freely. Begin with a detailed performance evaluation to catch any missed issues before hitting the road.
Check these key points during your inspection:
- Confirm brakes engage smoothly and firmly.
- Verify tires are properly inflated and secure.
- Verify gears shift cleanly without hesitation.
- Test the headset and handlebars for stability.
After this, take your bike for a test ride. Feel the responsiveness, listen for unusual sounds, and notice how it handles. This final step releases the freedom of a perfectly tuned bike, ready for your next adventure.
Frequently Asked Questions
How Often Should I Deep Clean My Bike?
You should deep clean your bike at regular intervals to keep it running smoothly and extend its life. The ideal cleaning frequency depends on how often and where you ride. If you’re hitting muddy trails or riding daily, a deep clean every few weeks is smart. For casual riders, every couple of months works. Staying on top of maintenance lets you enjoy the freedom of the open road without unexpected breakdowns.
Can I Use Household Cleaners for Bike Cleaning?
You might be tempted to use household cleaner alternatives for your bike, but it’s best to stick with bike cleaning products specifically designed for the job. Household cleaners can contain harsh chemicals that damage your bike’s finish or components. Using proper bike cleaning products lets you keep your ride looking great while maintaining freedom to explore without worrying about corrosion or wear. So, choose wisely and protect your freedom on the road!
Is It Necessary to Remove the Chain for Cleaning?
You don’t always have to remove the chain for cleaning, but it can make chain maintenance easier and more thorough. If you want to free your ride from grime completely, taking it off lets you use specialized cleaning tools to reach every link and roller. However, if you’re short on time or tools, a good scrub while it’s on can still keep things running smoothly and give you the freedom to hit the road sooner.
How Do I Prevent Rust During Bike Cleaning?
You might think rust prevention is complicated, but it’s simpler than you expect. To keep your bike free from rust during cleaning, dry it thoroughly after rinsing—water’s the main culprit. Then, apply protective coatings like bike-specific lubricants or wax to shield metal parts. This not only stops rust but keeps your ride smooth and ready for your next adventure. Embrace these steps, and your bike will stay as free as you feel on the open road.
What’S the Best Way to Dry My Bike After Washing?
After washing your bike, the best drying techniques involve using a clean microfiber cloth to wipe down every part, especially the chain, gears, and frame, to prevent moisture buildup. You don’t want water lingering because it invites rust and wear. Letting your bike air dry in a shaded, well-ventilated spot also helps with moisture prevention. This way, you keep your bike ready to roam freely without worrying about damage from leftover water.