Deep Cleaning Checklist for Coffee Machine
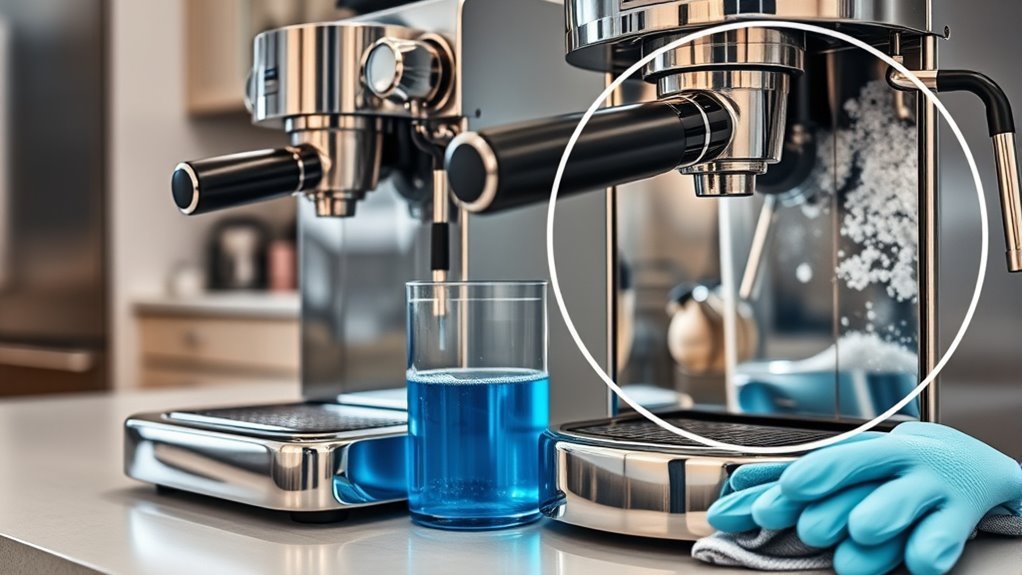
To deep clean your coffee machine, unplug it and gather supplies like a soft brush, microfiber cloths, and food-safe descaling solution. Disassemble removable parts, soak and scrub them with warm, soapy water, then dry thoroughly. Use a vinegar or manufacturer-approved descaling solution to dissolve mineral buildup by running full brewing cycles, pausing as needed. Clean the exterior with mild detergent, and sanitize the water reservoir carefully. For thorough steps and maintenance tips, keep exploring effective cleaning techniques and schedules.
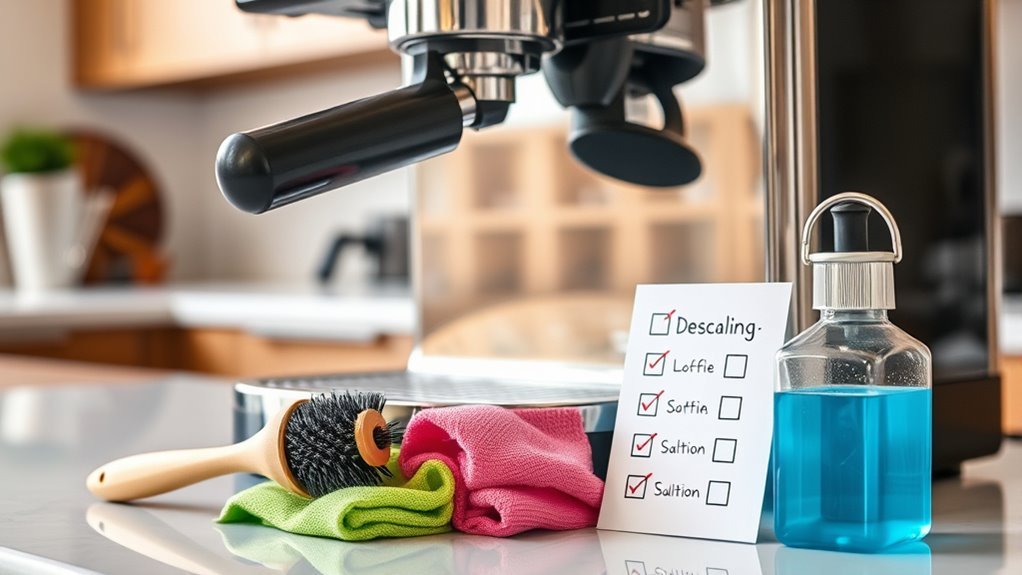
Gather Necessary Cleaning Supplies
Before you begin the deep cleaning process, you’ll need to gather all necessary cleaning supplies to guarantee efficiency and thoroughness. Start by preparing a supplies checklist that includes essential cleaning tools such as a soft brush, microfiber cloths, a small bowl, and a syringe or pipe cleaner for narrow passages. Include food-safe descaling solution or vinegar for mineral buildup removal. Confirm you have warm water and mild detergent to clean removable parts without damage. Avoid abrasive materials that can scratch surfaces. Having all items ready prevents interruptions, allowing a systematic approach to deep cleaning your coffee machine. This preparation grants you control and freedom in maintaining your machine’s highest performance and longevity. Carefully assembling your supplies checklist is the critical first step toward a successful, thorough cleaning routine.
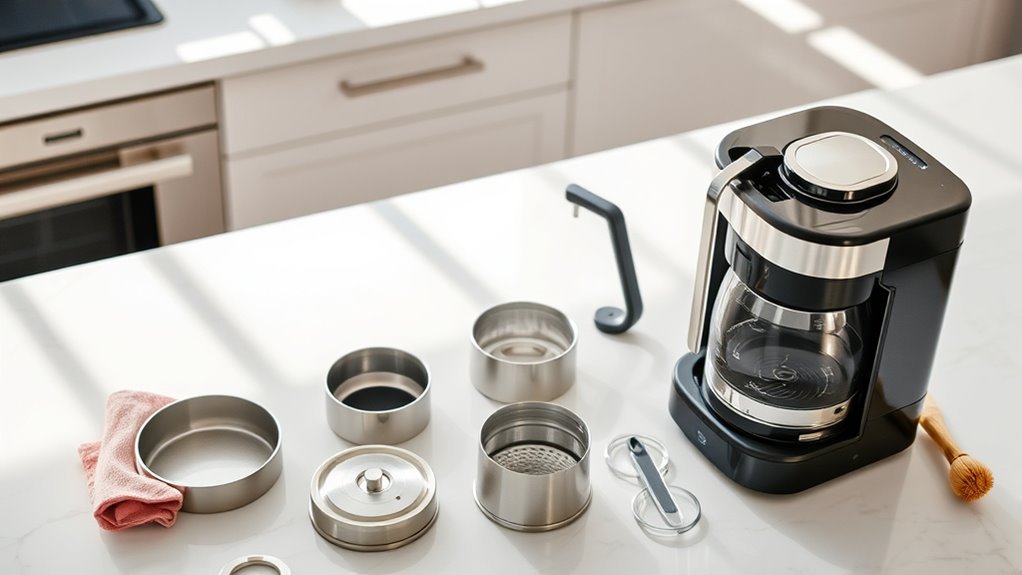
Unplug and Disassemble the Coffee Machine
To begin the deep cleaning process, start by unplugging your coffee machine to guarantee safety and prevent electrical hazards. Coffee machine safety is paramount; ensuring the device is completely disconnected from power eliminates risks during disassembly. Next, apply careful disassembly techniques: consult your machine’s manual for specific instructions to avoid damaging delicate components. Remove external parts like the water reservoir, drip tray, and filter basket systematically. Use gentle pressure and avoid forcing pieces apart. Keep track of screws and small parts by placing them in a container. By mastering these precise disassembly techniques, you maintain your freedom to clean thoroughly without compromising your machine’s integrity, ensuring it’s ready for a meticulous cleaning phase. Proper cleaning frequency is important to avoid damage, as excessive washing can wear down fabric and delicate materials.
Clean Removable Parts Thoroughly
Once you’ve detached the removable parts, soak them in warm, soapy water to loosen any coffee residue. Use a soft brush to scrub all surfaces gently, paying close attention to crevices and mesh filters. Finally, rinse each component thoroughly with clean water and allow them to dry completely before reassembling. Be sure to check if your parts are dishwasher-safe to ensure safe and effective cleaning.
Detach and Soak Parts
Detaching the removable parts of your coffee machine is essential for effective deep cleaning, as it allows you to access and eliminate hidden residues. Begin by carefully removing components such as the water reservoir, drip tray, and portafilter. Then, prepare an appropriate soaking solution—typically a mixture of warm water and a mild detergent or a specialized descaling agent. Submerge the parts fully, guaranteeing no air pockets trap debris. Pay attention to the recommended soaking duration, which varies depending on the cleaning frequency and residue buildup. Regular soaking prevents mineral deposits and oil accumulation, maintaining peak machine performance and flavor purity. After soaking, rinse each part thoroughly with clean water to remove residual chemicals before reassembly. Following this routine grants you freedom from frequent malfunctions and assures consistent coffee quality.
Scrub With Soft Brush
After soaking, you’ll need to address any remaining buildup by scrubbing the removable parts with a soft brush. Focus on gentle yet thorough brush techniques to avoid surface damage while removing residue lodged in crevices. Aim for a consistent cleaning frequency—ideally weekly—to prevent hardened deposits.
| Area | Recommended Brush Technique |
|---|---|
| Filter Basket | Circular motions, moderate pressure |
| Water Reservoir | Vertical strokes, light pressure |
| Portafilter & Group Head | Back-and-forth brushing, gentle touch |
Use a brush with soft nylon bristles to navigate tight spots efficiently. This guarantees excellent cleanliness and prolongs part lifespan. Following this systematic approach grants you freedom from clogging issues and maintains peak machine performance.
Rinse and Dry Completely
Although thorough scrubbing removes most residue, you’ll need to rinse each removable part under warm running water to eliminate any remaining cleaning agents and debris. Pay close attention to crevices where detergent can linger, as residues may alter your coffee flavor adversely. After rinsing, pat dry with a clean microfiber cloth to prevent water spots and potential bacterial growth. Allow parts to air dry fully before reassembling; moisture trapped inside can affect brewing consistency and machine longevity. Following these brewing tips guarantees your coffee machine delivers peak taste and performance. Properly rinsed and dried components maintain the purity of your brew, preserving the nuanced flavors you seek. This meticulous approach grants you the freedom to enjoy each cup without compromise.
Descale the Machine to Remove Mineral Deposits
Because mineral deposits accumulate over time, descaling your coffee machine is essential to maintain peak performance and prevent damage. Mineral buildup restricts water flow and reduces heating efficiency, compromising taste and longevity. Start by selecting a manufacturer-recommended descaling solution or a balanced vinegar-water mixture. Fill the water reservoir with the solution, then run a complete brewing cycle without coffee grounds. Pause mid-cycle to let the solution sit for 15–20 minutes, ensuring thorough mineral dissolution. Repeat the brewing cycle until the reservoir is empty. After descaling, flush the system by running two to three cycles of clean water to remove residual solution and loosened deposits. Regular descaling, ideally every 1–3 months depending on water hardness, preserves your machine’s functionality and your freedom to enjoy consistent, high-quality coffee. Maintaining a routine cleaning schedule, similar to how you would care for hard water deposits, is key to extending the life of your machine.
Clean the Brew Basket and Filter Holder
Once you’ve descaled your machine to clear mineral buildup, attention should turn to the brew basket and filter holder, where coffee oils and fine grounds accumulate. For effective brew basket maintenance, remove the basket and soak it in warm water mixed with a mild detergent. Use a soft brush to scrub all crevices, ensuring the removal of residual oils that can impact flavor. Simultaneously, detach the filter holder and rinse it thoroughly under running water. Pay close attention to the mesh or perforations, as clogging here impairs water flow. Regular filter holder care involves gently cleaning with a non-abrasive brush and ensuring all parts are dry before reassembly. Consistent cleaning of these components preserves peak extraction and prolongs your machine’s lifespan, giving you freedom from flavor contamination.
Wipe Down the Exterior and Control Panel
Start by preparing a soft, lint-free cloth slightly dampened with a mixture of warm water and a mild, non-abrasive detergent. For effective exterior cleaning and care of the control panel, follow these precise steps:
- Gently wipe the machine’s exterior surfaces to remove dust, oils, and stains without scratching.
- Use a cotton swab dipped in the cleaning solution to access tight spaces around buttons and crevices on the control panel.
- Avoid excessive moisture to prevent liquid ingress that can damage electronics.
- Dry all surfaces immediately with a clean, dry microfiber cloth to prevent water spots.
- Inspect for residue buildup and repeat the process as needed for thorough maintenance.
This method guarantees superior performance and longevity of your coffee machine’s exterior and control panel components. Always power off your device before cleaning to protect sensitive components and avoid accidental damage during the process, a vital step in proper device maintenance.
Sanitize the Water Reservoir
You’ll want to start by removing mineral deposits using a descaling solution tailored for your machine to prevent buildup that can impair function. Next, thoroughly disinfect the reservoir interior with a food-safe sanitizer to eliminate bacteria and mold. Ensuring both steps are done meticulously maintains water quality and prolongs your coffee machine’s lifespan.
Removing Mineral Deposits
Removing mineral deposits from your coffee machine’s water reservoir is vital for maintaining peak performance and preventing blockages. Over time, mineral buildup from hard water restricts water flow and degrades taste. To manage this, adhere to a strict cleaning frequency based on water hardness and usage.
Follow these precise steps to remove mineral deposits effectively:
- Empty the reservoir and rinse thoroughly with warm water.
- Prepare a descaling solution using equal parts white vinegar and water.
- Fill the reservoir with the solution and let it sit for 15–30 minutes.
- Use a soft brush to scrub mineral deposits from corners and crevices.
- Rinse multiple times with clean water to eliminate any residual solution.
Consistent removal of mineral buildup guarantees your coffee machine operates freely and extends its lifespan.
Disinfecting Reservoir Interior
After eliminating mineral deposits, focus on disinfecting the reservoir interior to prevent microbial growth and guarantee water quality. Begin by emptying the reservoir completely, then prepare a sanitizing solution using one part white vinegar to three parts water or a commercial food-safe disinfectant. Fill the reservoir with this solution and let it sit for 15 minutes to confirm effective microbial elimination. Use a soft brush or cloth to reach all surfaces, paying close attention to corners and seams where biofilm can accumulate. Rinse thoroughly with clean water multiple times to remove any residual disinfectant. Regularly applying these cleaning techniques as part of your reservoir maintenance will preserve the integrity of your coffee machine, ensuring peak performance and extending its lifespan while maintaining the freedom to enjoy fresh, contaminant-free brews.
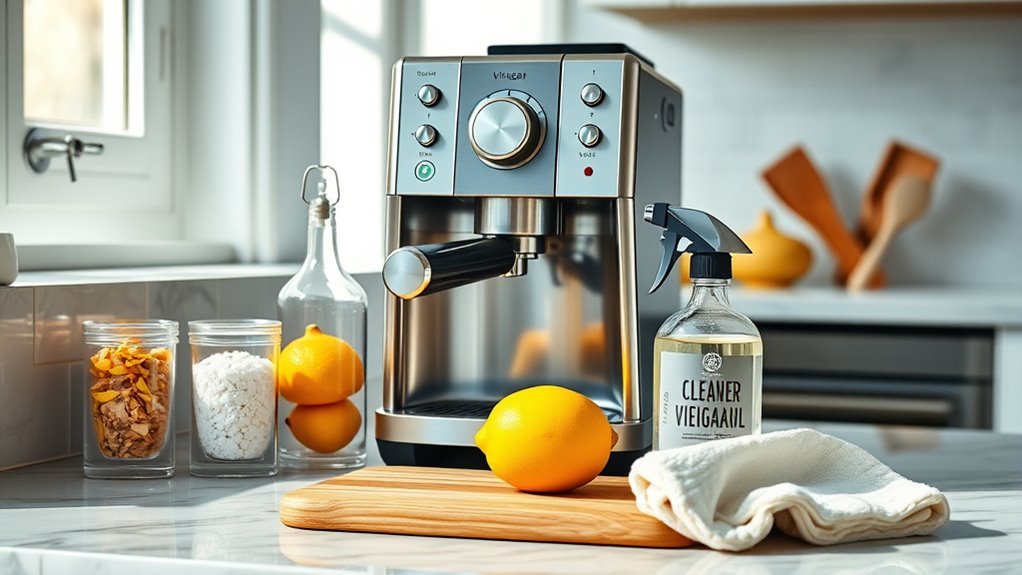
Run a Cleaning Cycle With Vinegar Solution
Although it may seem simple, running a cleaning cycle with a vinegar solution is essential for dissolving mineral deposits and eliminating bacteria inside your coffee machine. Vinegar benefits include its natural acidity, which breaks down limescale buildup effectively. For ideal performance and taste, maintain a cleaning frequency of once a month or more if you use hard water. To run the cycle properly:
- Mix equal parts white vinegar and water to create the cleaning solution.
- Fill the reservoir with this solution, avoiding overfilling.
- Start the brew cycle and let half the solution run through before pausing for 30 minutes.
- Resume and complete the cycle to guarantee thorough cleaning.
- Repeat the process if heavy scaling is present.
This method safeguards your machine’s longevity and guarantees fresh coffee flavors. Regularly performing this maintenance helps prevent mineral buildup that can impair functionality.
Rinse and Reassemble the Coffee Machine
Once the vinegar cleaning cycle is complete, you’ll need to thoroughly rinse your coffee machine to remove any residual acidity that could affect flavor or damage components. Start by filling the water reservoir with fresh, clean water and run multiple rinse cycles until no vinegar smell or taste remains. This step is vital for ideal machine maintenance and preserving your coffee’s purity. Next, disassemble all removable parts—filters, drip trays, and water tanks—and rinse them separately under warm water. Dry each component completely before reassembling to prevent mold and mineral buildup. Adhering to a consistent cleaning frequency, ideally monthly, guarantees your machine operates efficiently and prolongs its lifespan. Proper rinsing and reassembly free you from contamination risks while maintaining peak performance. Using eco-friendly options like vinegar also helps ensure your cleaning routine is safe for both you and your machine.
Frequently Asked Questions
How Often Should I Deep Clean My Coffee Machine?
You should follow a frequency guide for deep cleaning your coffee machine to guarantee peak performance and taste. Typically, deep cleaning every 1-3 months is recommended, depending on usage. Maintenance tips include descaling, cleaning removable parts, and sanitizing internal components. Sticking to this routine helps prevent buildup and prolongs your machine’s lifespan, giving you the freedom to enjoy consistently great coffee without unexpected breakdowns or flavor issues.
Can I Use Bleach Instead of Vinegar for Cleaning?
You shouldn’t use bleach instead of vinegar for cleaning your coffee machine. Bleach can damage internal components and leave harmful residues. Instead, consider safer bleach alternatives like citric acid or specialized coffee machine descalers. Regarding cleaning frequency, deep clean every 1-3 months depending on usage to maintain peak performance and taste. Choosing proper cleaning agents guarantees your machine’s longevity while letting you enjoy coffee freedom without risks or unpleasant odors.
Is It Safe to Put Coffee Machine Parts in the Dishwasher?
Imagine the relief of tossing your coffee machine parts into the dishwasher, freeing you from tedious scrubbing. But hold on—dishwasher safety varies. Some machine parts, like removable filters and drip trays, are dishwasher-safe, crafted from durable plastics or stainless steel. However, delicate components, seals, or electronic parts can warp or degrade. Always consult your manufacturer’s guide to guarantee dishwasher use won’t damage your machine parts, preserving your coffee freedom with precision care.
How Do I Prevent Mold Growth Inside the Machine?
To prevent mold growth inside your coffee machine, focus on mold prevention through thorough drying after each use. Remove and dry all removable parts, guaranteeing no moisture lingers. Control humidity by storing the machine in a well-ventilated area with low humidity levels. Regularly descale and clean internal components to eliminate residues that encourage mold. Using these precise steps helps maintain your machine’s hygiene and assures your freedom from mold-related issues.
What Are the Signs My Coffee Machine Needs Deep Cleaning?
Imagine your coffee machine as a loyal ship steering through daily seas of water and grounds. When the coffee taste turns bitter or stale, or the machine sputters irregularly, it signals clogged filters or mineral buildup—warning signs demanding deep cleaning. Neglecting this risks shortening your machine’s lifespan and limits your freedom to brew perfect coffee. Regular, precise maintenance guarantees smooth operation, preserving both flavor integrity and your brewing independence.