Deep Cleaning Checklist for Range Hood
Start by gathering microfiber cloths, a degreaser, a non-abrasive brush, warm soapy water, and gloves. Turn off power, then remove and soak filters in hot degreasing water for 15–20 minutes. Gently scrub filters and rinse thoroughly. Wipe the hood’s exterior and interior with a soft cloth and gentle cleaner, avoiding abrasives. Clean vents if accessible, then reassemble filters and test the hood’s functionality. Follow these steps methodically to keep your range hood efficient and safe—more detailed guidance can enhance your results.
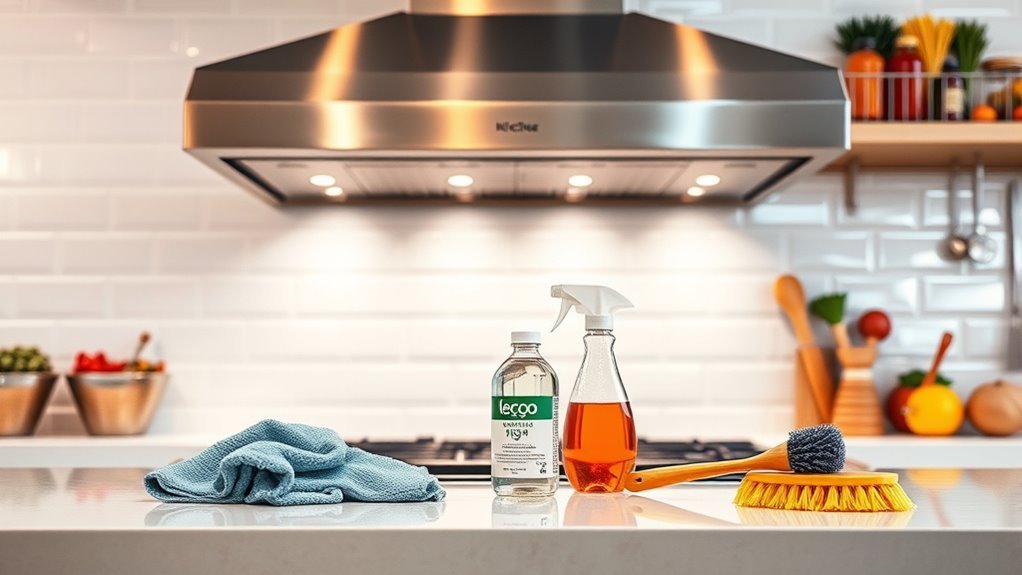
Gather Necessary Cleaning Supplies
Before you begin the deep cleaning process, you’ll need to gather all the necessary supplies to guarantee an efficient and thorough job. Start by assembling essential cleaning tools: microfiber cloths, a non-abrasive scrubbing brush, degreaser, warm soapy water, and a spray bottle. Don’t forget protective gloves to keep your hands safe. Effective supply organization is key—lay out each item within reach to streamline your workflow and avoid interruptions. Arrange tools in order of use, so you won’t waste time searching mid-clean. This methodical preparation frees you from distractions, letting you focus solely on restoring your range hood’s performance. By managing your cleaning tools and supplies thoughtfully, you embrace a sense of control and freedom during the deep cleaning process. Knowing the types of range hoods you have will help you choose the right cleaning approach and avoid damage.
Turn Off Power and Remove Filters
To guarantee your safety and prevent any electrical hazards, start by turning off the power to your range hood at the circuit breaker or unplugging it if possible. This critical step guarantees you avoid accidents during cleaning. Next, carefully locate the filters; most range hoods have metal or charcoal filters secured by clips or screws. Gently release these fasteners, keeping track of any small parts for reassembly. Removing the filters with care supports effective filter maintenance and prevents damage. Always follow safety precautions by handling filters with dry hands and placing them on a clean surface. Taking these methodical steps allows you to proceed confidently to the next phase of deep cleaning, knowing your range hood is safely prepared and your filters are ready for thorough attention. Regularly checking and cleaning the range hood filters helps maintain optimal air quality and prolongs the life of your kitchen ventilation system.
Soak and Scrub Filters Thoroughly
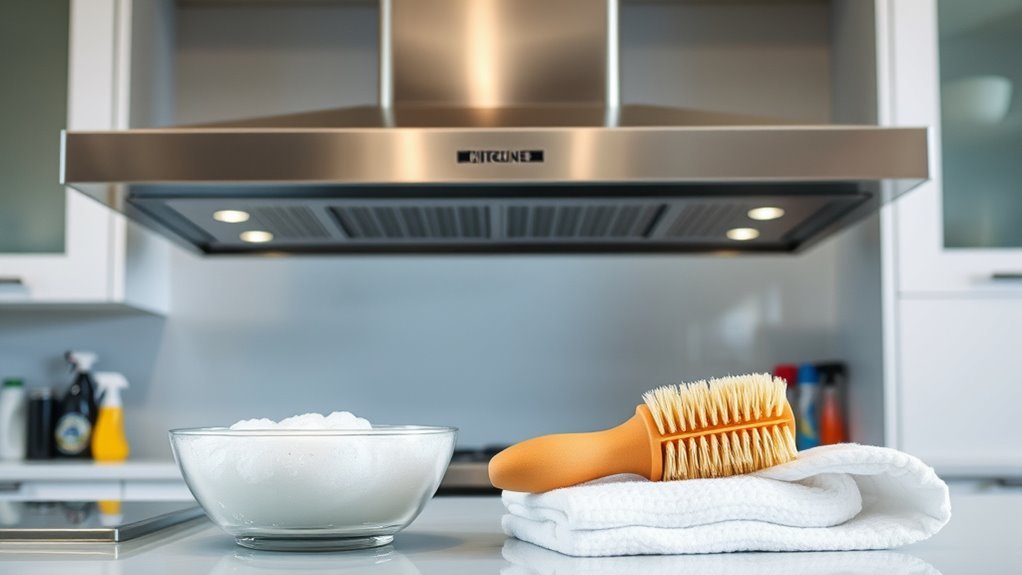
Soak the filters in a basin filled with hot water and a degreasing detergent designed to break down stubborn grease and grime. This step is essential for effective filter maintenance and eliminating persistent grease buildup. After soaking for 15–20 minutes, follow these steps:
Soaking filters in hot water with degreasing detergent loosens stubborn grease for easier cleaning.
- Gently scrub each filter with a non-abrasive brush, focusing on corners where grease accumulates.
- Rinse thoroughly under hot running water to remove loosened debris and detergent residue.
- Inspect the filters for any remaining grease buildup; repeat soaking if necessary. Using a chemical agent can offer a fast-acting and highly effective solution for tough grease removal.
Clean the Range Hood Exterior
Start by selecting cleaning supplies that are safe for your range hood’s material to prevent damage. Next, methodically wipe down all exterior surfaces, paying close attention to grease buildup in corners and crevices. Don’t forget to remove the grease filters for a thorough cleaning, ensuring no residue remains. Regular cleaning of the exterior and filters is essential to maintain efficient hood operation and a healthy kitchen environment.
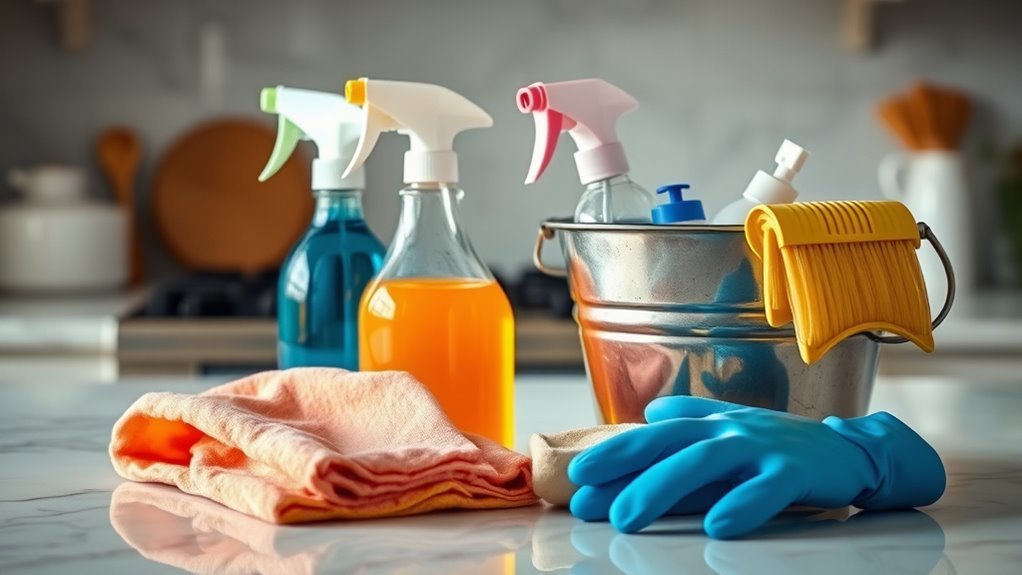
Choose Appropriate Cleaning Supplies
Selecting the right cleaning supplies is essential for effectively maintaining your range hood’s exterior without causing damage. To guarantee a thorough yet safe cleaning, consider these key items:
- Choose eco friendly options like biodegradable sprays or natural vinegar solutions—these protect both your appliance and the environment.
- Invest in effective degreasers designed specifically for kitchen use; they break down stubborn grease without harsh chemicals.
- Use soft, non-abrasive cloths or sponges to avoid scratching the surface while applying your cleaning agents.
Wipe Down Surfaces Thoroughly
A careful wipe down of your range hood’s exterior is essential to remove accumulated grease and dust that can dull its finish and impair functionality. Begin by selecting a non-abrasive cloth or sponge to avoid scratching the surface during surface cleaning. Dampen it with a mild detergent solution, making sure it’s not overly saturated to prevent moisture from seeping into electrical components. Methodically wipe all visible surfaces, paying close attention to corners and edges where grime tends to build. Afterward, use a clean, damp cloth to remove any soap residue, then dry thoroughly with a microfiber towel. This process guarantees thorough sanitization, eliminating bacteria and grease that can hinder performance. By following this precise routine, you maintain your range hood’s appearance and promote a cleaner, healthier kitchen environment.
Remove and Clean Grease Filters
Carefully detach the grease filters from your range hood, ensuring you handle them gently to avoid bending or damaging the metal mesh. Different grease filter types—such as aluminum mesh, baffle, or charcoal—require specific care. Follow these filter maintenance tips for best results:
- Soak the filters in hot, soapy water for 15-20 minutes to break down accumulated grease.
- Use a soft brush to scrub away stubborn residue, paying close attention to corners and crevices.
- Rinse thoroughly with warm water and allow them to air dry completely before reinstalling.
Wipe Down the Interior Surfaces
Before you start wiping down the interior surfaces of your range hood, make certain it’s completely cool and disconnected from power to guarantee safety. Use a soft cloth dampened with a gentle degreaser to methodically clean all interior surfaces, focusing on corners and crevices where grime accumulates. Avoid abrasive tools that could damage the finish. Employ these cleaning techniques regularly to maintain peak performance and freedom from stubborn buildup. For best results, incorporate eco-friendly cleaning products that are safe for both your health and the environment.
| Step | Tool Needed | Purpose |
|---|---|---|
| 1. Dust Removal | Microfiber cloth | Remove loose dust and debris |
| 2. Degrease | Mild detergent | Break down grease |
| 3. Detail Clean | Soft brush | Reach tight spots |
| 4. Final Wipe | Damp cloth | Remove residue and dry |
Check and Clean the Vent and Ductwork
Since the vent and ductwork play an essential role in removing smoke and odors, you’ll want to inspect them regularly for blockages or buildup. Start with these vent maintenance tips to keep airflow smooth and efficient. First, visually examine the vent exterior for debris or damage. Second, use a brush or vacuum to remove dust and grease from the ductwork interior, applying ductwork cleaning techniques to loosen stubborn grime. Third, check the vent cap outside your home to guarantee it’s clear and functioning properly. Following these steps methodically helps prevent fire hazards and maintains your kitchen’s fresh air. Consistent attention to vent and duct cleanliness gives you freedom from lingering odors and improves overall ventilation performance. Remember to ensure proper ventilation during cleaning to safely disperse any fumes that may arise.
Reassemble and Test the Range Hood
Once all components are thoroughly cleaned and dried, you’ll need to methodically reassemble the range hood to guarantee it functions correctly. Begin by carefully aligning and securing the filters back into their slots, making sure they fit snugly without gaps. Next, reattach the fan blades and motor housing, confirming all screws and clips are tightened appropriately. Reassemble components in the reverse order of disassembly, paying close attention to wiring connections to avoid damage. Once fully assembled, restore power and test functionality by turning on the hood’s fan and lights. Listen for unusual noises and verify that airflow is strong and consistent. This step verifies your work and assures your range hood operates efficiently, giving you the freedom to cook without worry or interruption. Regularly monitoring the fan and motor operation helps maintain optimal performance and prevents larger issues.
Frequently Asked Questions
How Often Should I Deep Clean My Range Hood?
You should set your cleaning frequency for the range hood based on how often you cook and the type of food you prepare. Typically, deep cleaning every 3 to 6 months works well for maintenance. To keep it efficient, follow maintenance tips like regularly wiping filters and checking the fan. Staying consistent with this routine prevents grease buildup and guarantees your kitchen stays fresh, giving you the freedom to cook without worry.
Can I Use Vinegar Instead of Commercial Cleaners?
You might think vinegar is a magical potion that can tackle every greasy disaster in your kitchen—and honestly, it’s pretty close! Vinegar benefits include cutting through grime without harsh chemicals, making it a fantastic cleaning alternative. To deep clean your range hood, mix equal parts vinegar and water, spray it on greasy surfaces, let it sit for 10 minutes, then scrub gently. It’s effective, eco-friendly, and liberates you from commercial cleaner dependence!
What Signs Indicate My Range Hood Needs Cleaning?
You’ll know your range hood needs cleaning when you notice visible grease buildup on the filters or surfaces, which can become sticky and thick over time. If you start experiencing persistent odor issues in your kitchen, even after cooking, that’s another clear sign. Also, if the fan sounds louder or less efficient, it’s time to clean. Regular maintenance frees you from lingering smells and keeps your kitchen fresh.
Are There Professional Services for Range Hood Cleaning?
Like having a guardian angel for your kitchen, professional range hood services are available to keep your cooking area spotless and safe. You can trust expert range hood services for thorough, methodical cleaning that removes grease and grime you might miss. These professionals use specialized tools and eco-friendly products, ensuring your hood functions efficiently and extends its lifespan. So, if you want freedom from hassle, calling in professional cleaning is the way to go.
How Do I Maintain My Range Hood Between Deep Cleanings?
To maintain your range hood between deep cleanings, focus on regular filter maintenance by removing and washing filters every one to three months. This prevents grease buildup, which can reduce efficiency and cause odors. Wipe down the exterior and interior surfaces weekly with a degreaser or mild soap to keep grease from accumulating. Staying consistent with these steps guarantees your range hood stays effective and gives you freedom from frequent heavy cleanings.


