Deep Cleaning Checklist for Refrigerator
To deep clean your refrigerator, start by gathering cleaning supplies like microfiber cloths, mild soap, and gloves. Fully empty the fridge, checking expiration dates as you go. Remove shelves and drawers to wash separately in warm, soapy water. Wipe interior walls and seals with a gentle cleaner, then dry thoroughly. Don’t forget to clean the drip pan and coils for efficiency. Finally, organize food items by type before reassembling. Following this, you’ll uncover more tips to keep your fridge spotless and efficient.
Gather Necessary Cleaning Supplies
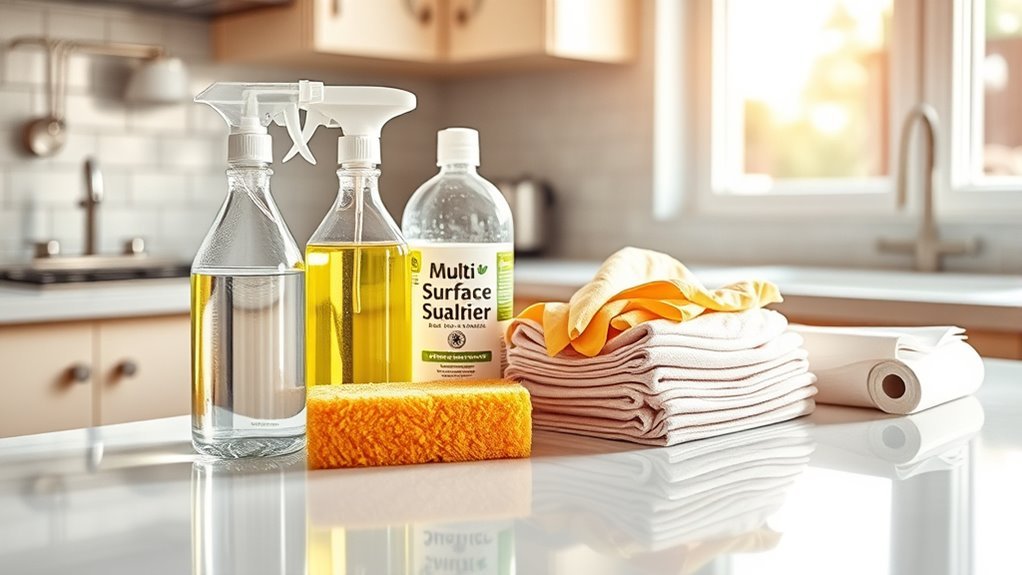
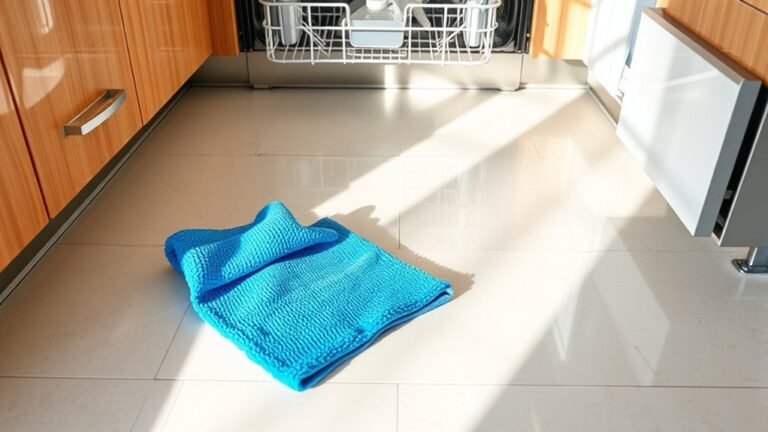
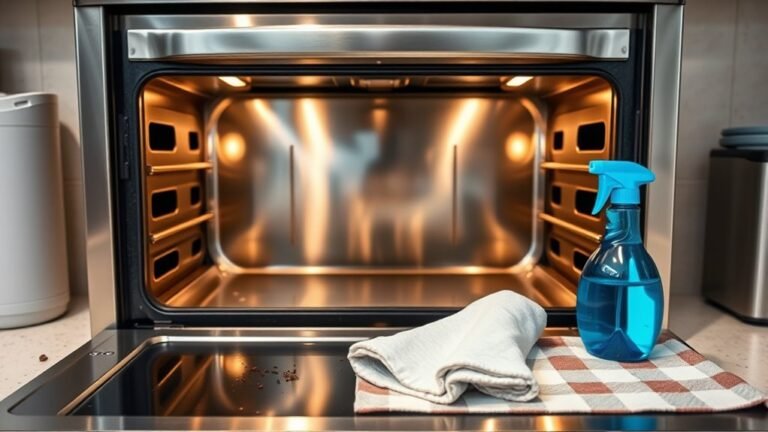
Before you begin cleaning your refrigerator, gather all the necessary supplies to guarantee a smooth and efficient process. Start with basic cleaning supplies: a soft sponge or cloth, a bucket, and a spray bottle. Choose eco friendly options like vinegar and baking soda, which effectively disinfect without harsh chemicals. Have a microfiber cloth ready for wiping surfaces dry, preventing streaks. Rubber gloves protect your hands, allowing you to work freely without irritation. For stubborn stains, a gentle brush or toothbrush is ideal. Collect these items in one place to streamline your workflow. With this preparation, you maintain control over your cleaning routine and enjoy the freedom of a fresh, toxin-free environment. Your careful selection of supplies sets the foundation for an organized, thorough refrigerator deep clean. Regularly inspecting and cleaning filters and spray arms helps maintain overall appliance efficiency and prevents buildup.
Empty the Refrigerator Completely
With all your cleaning supplies ready, the next step is to empty the refrigerator completely. This clears the way for thorough cleaning and guarantees better refrigerator organization. Start by removing all food items, checking expiration dates to maintain food safety. Place perishables in a cooler if needed to keep them fresh.
Use the table below to categorize your items, helping you decide what to keep, toss, or relocate:
| Keep (Fresh) | Toss (Expired) | Relocate (Non-Refrigerated) |
|---|---|---|
| Milk, fresh veggies | Old leftovers | Bread, onions |
| Eggs, cheese | Moldy fruits | Potatoes |
| Condiments | Expired sauces | Snacks |
Emptying your fridge methodically sets the foundation for a deep clean, promoting freedom from clutter and maintaining ideal food safety.
Remove and Clean Shelves and Drawers

Carefully remove all shelves and drawers from your refrigerator, noting their placement to ascertain proper reassembly. This attention to detail guarantees your shelf organization remains intact, preserving the efficiency and accessibility you desire. Once removed, place shelves and drawers in the sink or a large basin filled with warm, soapy water. Use a soft sponge or cloth to scrub away spills, stains, and sticky residues. For stubborn grime, let components soak briefly before scrubbing. Rinse thoroughly and dry completely to prevent moisture buildup. Regular drawer maintenance not only prevents odors but also prolongs the lifespan of these parts. After cleaning, inspect for any cracks or damage to avoid future issues. Finally, return each piece to its original position, restoring your refrigerator’s clean, organized state. Aim for deep cleaning two to four times a year to prevent odors, spills, and bacteria buildup.
Clean the Interior Walls and Door Seals
Start by carefully wiping down the interior walls to remove any stains or spills using a mild cleaning solution. Next, pay close attention to the door seals, as grime can accumulate in the crevices, so sanitize them thoroughly with a disinfectant. Ensuring these areas are spotless helps maintain your refrigerator’s efficiency and hygiene.
Removing Stains and Spills
To tackle stains and spills inside your refrigerator, you’ll want to use a gentle yet effective cleaning solution that won’t damage surfaces or seals. Start by mixing equal parts water and white vinegar or a mild dish soap diluted in warm water. Dampen a soft cloth with the solution and gently scrub the stained areas on the interior walls and door seals. For stubborn stains, apply the solution directly and let it sit for a few minutes before wiping. Always avoid harsh chemicals, as they can degrade seals and surfaces, compromising spill prevention. After cleaning, dry the area thoroughly with a microfiber cloth to prevent moisture buildup. Regular attention to stain removal not only keeps your refrigerator fresh but also enhances its efficiency and lifespan.
Sanitizing Door Seals
Anyone who wants to maintain a hygienic and odor-free refrigerator should prioritize sanitizing the door seals. Start by gently pulling back the rubber seals to expose hidden dirt and debris. Use a soft cloth dampened with a solution of warm water and mild dish soap to wipe down every groove and fold. This precise seal maintenance prevents mold buildup and guarantees an airtight closure, vital for energy efficiency. For bacteria prevention, follow with a disinfectant spray safe for food contact surfaces, wiping thoroughly to remove residue. Don’t forget to dry the seals completely, as moisture encourages bacterial growth. Regularly inspecting and sanitizing these seals not only preserves your fridge’s freshness but also frees you from unwanted odors and potential contamination, giving you confidence in your food’s safety.
Wipe Down the Exterior Surfaces
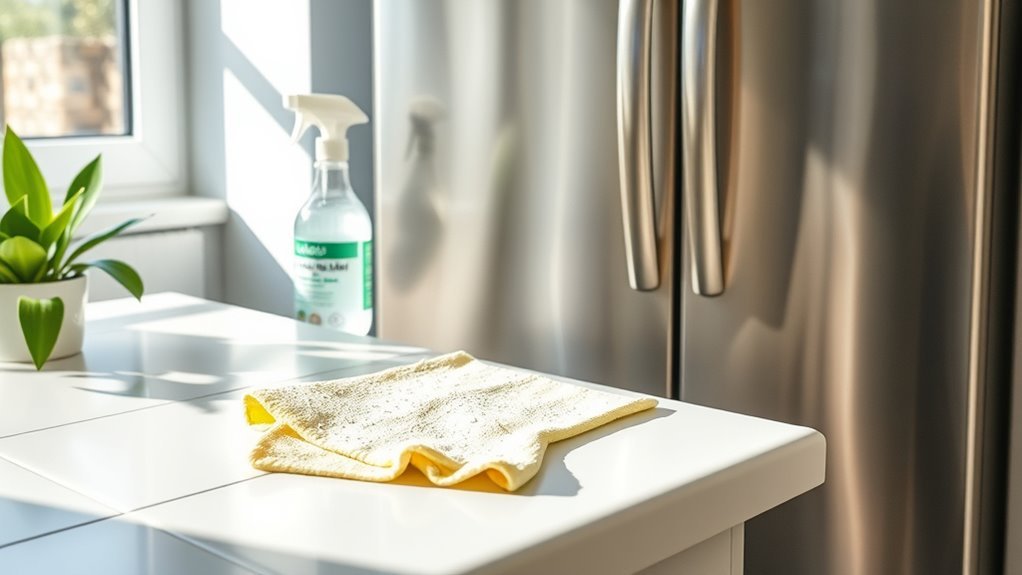
Start by selecting a cleaner suitable for your refrigerator’s finish to avoid damage. Focus on scrubbing handles and seals thoroughly, as these areas collect the most grime. Finish by drying the surfaces completely and polishing to restore a streak-free shine.
Choosing the Right Cleaner
Although the exterior of your refrigerator might not seem as critical to clean as the interior, selecting the right cleaner is vital for maintaining its finish and preventing damage. Start by identifying your refrigerator’s surface material—stainless steel, painted metal, or plastic—and choose a cleaner with proven surface compatibility to avoid discoloration or corrosion. Eco friendly cleaners are an excellent choice; they effectively remove grime without harsh chemicals that can harm both your appliance and the environment. Look for non-abrasive formulations that lift dirt gently while preserving the surface’s integrity. Always test the cleaner on a small, inconspicuous area first. By carefully selecting a compatible, eco friendly cleaner, you guarantee a spotless, protected exterior that supports both your appliance’s longevity and your commitment to a healthier planet.
Cleaning Handles and Seals
Once you’ve selected a suitable cleaner, focus on the refrigerator handles and seals, as these areas accumulate frequent contact and hidden grime. Start by applying your cleaner to a soft cloth, then wipe each handle thoroughly, paying attention to crevices where dirt and oils gather. This step is essential for maintaining handle hygiene, preventing bacteria buildup from daily use. Next, gently clean the door seals—these rubber gaskets require careful attention to avoid damage. Use a damp cloth to remove debris and guarantee seal maintenance, which preserves their flexibility and airtight function. Avoid harsh scrubbing; instead, methodically work along the entire seal surface, including folds. By maintaining these key points, you’ll keep your refrigerator’s exterior clean and its seals functioning at peak performance, freeing you from frequent breakdowns or contamination concerns.
Drying and Polishing Tips
After thoroughly cleaning the handles and seals, you’ll want to guarantee the refrigerator’s exterior surfaces are completely dry before polishing. Effective drying techniques prevent streaks and water spots, ensuring a flawless finish. Here’s how you can proceed:
- Use a microfiber cloth to absorb moisture gently without scratching surfaces.
- Allow the refrigerator to air dry briefly in a well-ventilated space to eliminate residual dampness.
- Apply polishing methods using a clean, soft cloth with a small amount of appliance polish or a mixture of water and vinegar for stainless steel models.
Deodorize the Refrigerator Interior
Since refrigerators can easily absorb odors from various foods, deodorizing the interior is crucial to maintain a fresh environment. Start by removing all items and thoroughly wiping down all surfaces with a mixture of equal parts water and white vinegar; this natural solution helps neutralize lingering smells. Next, leave an open box of baking soda inside the fridge to continuously absorb odors from the refrigerator air. For enhanced odor elimination, you can also place a small bowl of activated charcoal or coffee grounds, which are highly effective at trapping unwanted smells. Make certain the fridge door stays open for a while after cleaning to allow fresh air circulation. By methodically addressing odor sources and promoting clean refrigerator air, you guarantee a fresher, more inviting space every time you open the door. Additionally, regularly checking expiration dates and promptly discarding spoiled food is essential to prevent odor buildup and maintain a clean fridge environment.
Check and Clean the Drip Pan
Maintaining a fresh refrigerator goes beyond deodorizing; you also need to inspect the drip pan, which collects condensation and spills that can cause odors or mold if neglected. To keep your fridge hygienic and odor-free, follow this drip pan cleaning routine with the right cleaning frequency:
- Locate and remove the drip pan carefully—usually found underneath or at the back of your refrigerator.
- Empty any standing liquid and wash the pan with warm, soapy water, scrubbing away any residue or mold.
- Dry the drip pan thoroughly before reinserting it to prevent moisture buildup.
Aim to clean the drip pan every three months or more frequently if you notice odors. This simple step guarantees your fridge stays fresh and functioning smoothly without unwanted smells or bacterial growth.
Organize and Inspect Food Items
Start by removing all food items from your refrigerator to get a clear view of what you have. Place them on a clean surface and begin inspecting each item carefully. Check food expiration dates and discard anything that’s past its prime or spoiled. This step frees up space and prevents unwanted odors. Next, categorize items by type—dairy, meats, vegetables, condiments—to streamline your fridge’s organization. Grouping similar products together not only maximizes accessibility but also helps you track inventory efficiently, reducing waste. As you return items to their designated spots, verify containers are sealed properly. This methodical approach to organizing and inspecting food items enhances your refrigerator’s functionality and supports your freedom from clutter and food waste. Remember to maintain a regular cleaning schedule to balance between deep cleaning and regular maintenance.
Clean the Refrigerator Coils
First, locate the refrigerator coils, which are typically found either at the back or beneath the appliance. You’ll need a coil cleaning brush or a vacuum with a brush attachment to effectively remove dust and debris. Using the right tools guarantees you clean thoroughly without damaging the coils or surrounding components. Regular cleaning of these coils helps maintain the refrigerator’s efficiency and prevents dust buildup.
Locate Refrigerator Coils
The refrigerator coils, often tucked away behind or beneath your appliance, play an essential role in keeping your fridge cool and efficient. Proper coil maintenance boosts energy efficiency and prolongs your refrigerator’s lifespan. To locate the coils:
- Check the back of your fridge: Many models have exposed coils visible behind a metal grille.
- Look underneath: Some refrigerators house coils beneath a front kickplate or bottom panel.
- Consult the manual: Your fridge’s user guide often specifies coil location and access instructions.
Knowing exactly where the coils reside lets you plan effective cleaning, ensuring your fridge runs smoothly and energy costs stay low. By mastering this step, you gain freedom from unnecessary repairs and wasted electricity.
Use Proper Cleaning Tools
Two essential tools you’ll need to clean refrigerator coils effectively are a coil brush and a vacuum cleaner with a crevice attachment. Start by unplugging your fridge to guarantee safety. Use the coil brush to gently dislodge dust and debris from the coils, reaching into tight spaces with precise, controlled strokes. Then, employ the vacuum cleaner’s crevice attachment to carefully suck up loosened dirt without damaging delicate components. These cleaning tools, combined with systematic cleaning techniques, help maintain peak coil function and improve your fridge’s efficiency. Avoid harsh chemicals or excessive moisture, as they can harm the coils. By using the right tools and methodical cleaning techniques, you gain the freedom to keep your refrigerator running smoothly and extend its lifespan without hassle.
Reassemble and Restock the Refrigerator
Once all the interior components are thoroughly cleaned and completely dry, you can begin reassembling your refrigerator with care to guarantee everything fits correctly and functions properly. Follow these steps to efficiently restock essentials and organize food:
After cleaning and drying, carefully reassemble your refrigerator to ensure proper fit and optimal function.
- Replace Shelves and Drawers: Fit all shelves and drawers back into their designated spots, ensuring they lock securely to avoid shifting.
- Organize Food Strategically: Arrange items by type and frequency of use. Keep perishables in the coldest zones and group similar items together to maintain order.
- Restock Essentials Thoughtfully: Place staples like milk, eggs, and fresh produce in accessible areas for convenience, while ensuring nothing blocks vents to maintain airflow.
Also, be sure to store meats on the bottom shelf to prevent cross-contamination and maintain food safety.
Frequently Asked Questions
How Often Should I Deep Clean My Refrigerator?
You should deep clean your refrigerator every 3 to 4 months to guarantee peak performance and food safety. While regular cleaning helps maintain cleanliness, refrigerator maintenance through thorough deep cleaning tackles hidden grime and bacteria. This methodical approach not only prolongs your appliance’s life but also gives you the freedom to store food without worry. Staying consistent with this schedule keeps your fridge fresh and functioning efficiently.
Can Vinegar Damage Refrigerator Surfaces?
You might wonder if vinegar can damage refrigerator surfaces. Generally, vinegar benefits cleaning by cutting grease and killing bacteria safely. However, it’s acidic, so you shouldn’t use it on sensitive surfaces like marble or natural stone inside your fridge. For most plastic and metal parts, diluted vinegar is surface safe and effective. Always test a small spot first to verify no discoloration or damage, giving you freedom to clean confidently.
What Temperature Should My Refrigerator Be Set To?
Imagine your refrigerator as a chilly fortress guarding your food’s freshness. To keep it strong, set the refrigerator temperature between 37°F and 40°F (3°C to 4°C). This range guarantees ideal food safety by slowing bacterial growth without freezing your items. Regularly check with a thermometer—accuracy matters. Keeping this precise temperature balance gives you the freedom to store food confidently, avoiding spoilage while maintaining taste and nutrition.
How Do I Prevent Mold Growth Inside the Fridge?
To prevent mold growth inside your fridge, you need consistent mold prevention and fridge maintenance. Start by keeping the temperature between 35-38°F to inhibit mold spores. Regularly wipe down shelves and seals with a mixture of water and vinegar to eliminate moisture and residue. Avoid overcrowding to guarantee proper air circulation, and promptly discard expired food. By following these methodical steps, you’ll enjoy a fresh, mold-free fridge that supports your freedom from worry.
Are There Natural Alternatives to Commercial Deodorizing Products?
Imagine you’re in a Victorian parlor, relying on natural remedies instead of bulky commercial products. You’ll find baking soda benefits impressive—it absorbs odors effectively without harsh chemicals. To enhance freshness, add a few drops of essential oils like lemon or lavender on a cotton ball placed inside your fridge. This method’s precise and gentle, giving you freedom from synthetic scents while keeping your space naturally deodorized and inviting.