Deep Cleaning Checklist for Windowsills
To deep clean your windowsills, first gather eco-friendly supplies and clear all items to dust loose debris gently. Vacuum corners using a narrow tool, then wipe down with a mild cleaning solution using a damp cloth. Scrub stubborn grime, clean window tracks thoroughly, and dry the surface well. Inspect for damage or mold, and apply a protective sealant suited to your windowsill material. Keep going to reveal tips on proper maintenance and long-lasting care.
Gather Necessary Cleaning Supplies
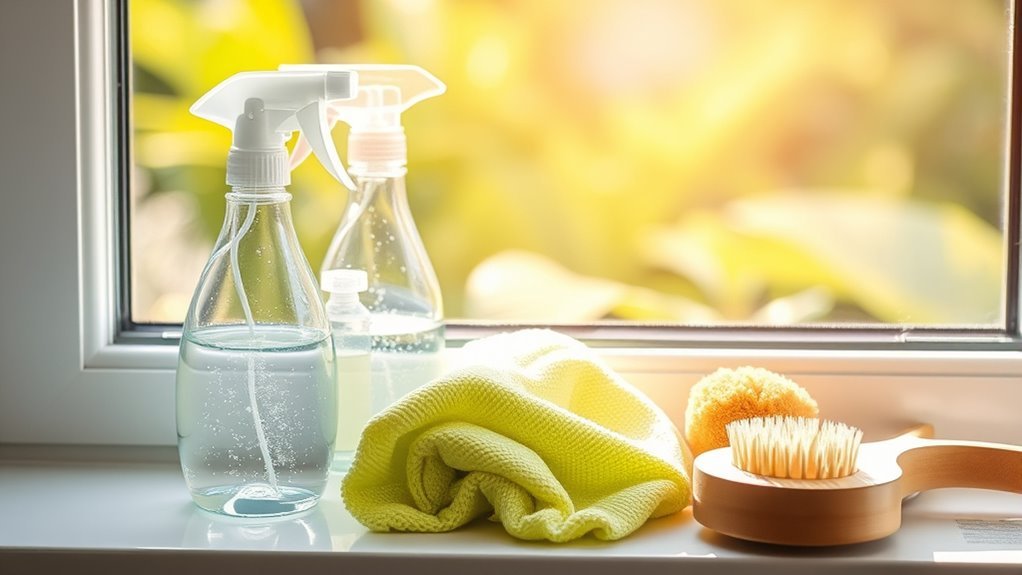
Before you begin cleaning your windowsills, gather all the necessary supplies to make the process smooth and efficient. You’ll want to have the right cleaning tools ready to avoid interruptions. Choose eco friendly supplies like biodegradable sprays or natural cleaners made from vinegar and baking soda. These options let you maintain your space without compromising your values or the environment. Grab some microfiber cloths, a soft brush for corners, and a small bucket for water. Having everything at hand helps you work faster and with less hassle, freeing you from the usual cleaning stress. By preparing thoughtfully, you take control of your cleaning routine, making it both effective and aligned with your desire for a healthier, more liberated lifestyle.
Remove Objects and Dust Loose Debris
Start by clearing away all items on your windowsills, giving you full access to the surfaces. This step is essential for effective object organization, allowing you to sort through belongings and decide what stays or goes. Removing clutter not only frees up space but also reduces spots where dust can accumulate, making dust prevention easier in the long run. As you take objects off, gently dust loose debris using a soft cloth or brush, so dirt doesn’t spread when you clean further. Keeping your windowsills clear of unnecessary items enhances airflow and light, boosting your sense of freedom and cleanliness. Prioritize regular removal of objects to maintain a fresh, dust-free environment that feels open and inviting every day.
Vacuum Windowsill and Surrounding Areas

Before you start vacuuming, make sure to clear away any larger debris from the windowsill. Use a vacuum attachment that’s designed for tight spaces to avoid scratching surfaces. This will help you get the area thoroughly clean without any damage.
Choose Appropriate Vacuum Attachment
One key step in cleaning your windowsills is picking the right vacuum attachment to tackle dust and debris effectively. Choosing the proper vacuum attachments boosts your cleaning efficiency, making the task quicker and more thorough. A narrow crevice tool is perfect for tight corners and edges, while a soft brush attachment helps loosen dust without scratching surfaces. Using these specialized tools lets you reach every nook and cranny, freeing you from stubborn buildup. Don’t settle for a generic vacuum head that misses hidden dirt. Instead, select attachments designed to adapt to your windowsill’s shape and material. This smart choice not only saves time but also guarantees a deeper clean, giving you the freedom to enjoy spotless windowsills with minimal effort.
Clear Debris Before Vacuuming
A quick sweep of loose debris on your windowsill and surrounding areas makes vacuuming much more effective. Before you plug in your vacuum, take a moment to remove larger dirt chunks, leaves, or dust piles manually. This debris removal step prevents clogging and guarantees your vacuum tackles finer dust with ease. When you begin vacuuming, use gentle, deliberate vacuuming techniques—short strokes and careful angles—to reach corners and crevices without damaging surfaces. Clearing debris beforehand not only speeds up the process but also gives you greater control over your cleaning, freeing you from repetitive passes. By combining debris removal with smart vacuuming, you’re setting yourself up for a truly deep clean that leaves your windowsills fresh and inviting.
Wipe Down With Mild Cleaning Solution
Grab a soft cloth and dampen it with a mild cleaning solution to gently wipe down your windowsills. Choosing mild cleaners guarantees surface safety, preserving your windowsills’ finish while removing dust and light grime. This step lets you clean thoroughly without risking damage or harsh residues. Here’s a simple guide to follow:
| Step | Action | Tip |
|---|---|---|
| 1 | Select mild cleaner | Check label for surface safety |
| 2 | Dampen cloth, not soak | Avoid excess moisture |
| 3 | Wipe windowsill gently | Use circular motions |
| 4 | Flip cloth to clean side | Prevent spreading dirt |
| 5 | Let air dry naturally | Keeps surface fresh |
This approach gives you freedom to clean confidently and protect your windowsills effectively.
Scrub Stubborn Stains and Grime
After wiping down your windowsills with a mild cleaner, some stubborn stains and grime might still linger. Don’t let them hold you back from a truly clean space. Grab a soft brush or sponge with a bit of baking soda mixed into water for effective stain removal without harsh chemicals. Gently scrub the affected areas, focusing on those persistent spots. This method not only tackles grime but also helps with grime prevention by breaking down buildup before it sets in. Rinse with a damp cloth and dry thoroughly to avoid moisture damage. Taking these steps empowers you to keep your windowsills fresh and free, giving you more control over your environment and the freedom to enjoy a spotless home.
Clean Window Tracks and Crevices
Two simple tools can make cleaning window tracks and crevices much easier: a vacuum with a narrow attachment and a small brush. Using these cleaning techniques helps you maintain your windows effortlessly and keeps dirt from building up in those hard-to-reach spots. Start by vacuuming loose debris, then scrub with the brush to dislodge grime stuck deep inside. This step is essential for effective window maintenance and prevents damage over time.
| Task | Tool Needed |
|---|---|
| Remove loose dust | Vacuum attachment |
| Loosen stubborn dirt | Small brush |
| Clean corners | Toothpick or cotton swab |
| Wipe tracks | Damp cloth |
| Final check | Flashlight |
Keep your windowsills free and clear to enjoy the open air without worry!
Dry and Polish the Surface
Buff the windowsill gently to remove any remaining moisture and bring out its natural shine. Depending on your windowsill’s surface materials—whether wood, vinyl, or metal—you’ll want to choose the right polishing techniques to avoid damage and enhance its look. For wooden sills, a soft cloth with a bit of natural oil works wonders, restoring warmth and depth. Vinyl or metal surfaces respond well to microfiber cloths and a mild polish, leaving a streak-free finish. Avoid harsh chemicals that could strip finishes or cause discoloration. Taking these simple steps lets you enjoy a clean, polished windowsill that adds brightness and freedom to your space—no fuss, just a smooth, inviting surface that reflects your care and style.
Inspect for Damage or Mold
Before you move on from polishing, you’ll want to carefully inspect the windowsill for any signs of damage or mold. This step guarantees your space stays healthy and your windowsill lasts longer. Use these damage assessment methods to spot problems early:
- Look for cracks, peeling paint, or warping that could signal structural issues.
- Check for discoloration or a musty smell, common indicators of mold growth.
- Tap gently to detect soft spots that suggest moisture damage.
Addressing these issues now lets you implement effective mold prevention strategies before they worsen. By staying vigilant during your deep cleaning, you protect your freedom from costly repairs and unhealthy air. This simple inspection empowers you to maintain a safe, fresh environment without feeling trapped by hidden problems.
Apply Protective Coating or Sealant
Once you’ve confirmed the windowsill is clean and dry, it’s essential to apply a protective coating or sealant to guard against future damage. This step reveals protective benefits that extend the life of your windowsill by shielding it from moisture, dirt, and wear. To do this effectively, choose a sealant suited to your windowsill material—wood, metal, or vinyl. Use smooth, even application techniques like brushing or rolling to avoid drips and guarantee full coverage. Don’t rush; let each layer dry completely before adding another. By mastering these application techniques, you maintain the freedom to enjoy a pristine windowsill without constant upkeep. This simple action protects your investment and keeps your space feeling fresh and open to possibilities.
Frequently Asked Questions
How Often Should I Deep Clean My Windowsills?
You should follow frequency guidelines that fit your lifestyle, but generally, deep cleaning your windowsills every 3 to 6 months works well. Setting up cleaning schedules helps you stay on track without feeling tied down. Of course, if you live somewhere dusty or have pets, you might want to clean more often. Ultimately, choose what gives you the freedom to enjoy a fresh, clean space without stress or hassle.
Can I Use Vinegar Instead of Commercial Cleaners?
You can definitely use vinegar as a cleaning alternative instead of commercial cleaners. Vinegar effectiveness comes from its natural acidity, which helps break down dirt and grime without harsh chemicals. It’s a great choice if you want a safer, eco-friendly option that gives you more control over what you use. Just mix it with water, spray on your windowsills, and wipe clean. You’re freeing yourself from relying on store-bought products!
What Causes Mold Growth on Windowsills?
You might think mold just shows up randomly, but it’s really about moisture and poor air flow. Mold growth on windowsills happens when moisture lingers—like from condensation or leaks—creating the perfect breeding ground. To keep mold at bay, you’ve got to focus on mold prevention through moisture control. That means ventilating well, fixing leaks, and wiping down damp spots regularly. Stay proactive, and you’ll enjoy a fresher, mold-free space.
Are There Eco-Friendly Products for Cleaning Windowsills?
You’ll find plenty of eco friendly solutions for cleaning windowsills that use natural ingredients like vinegar, baking soda, and lemon juice. These products let you clean effectively without harsh chemicals, giving you the freedom to maintain a healthy home and protect the environment. Plus, they’re often inexpensive and easy to make yourself. Choosing these natural options helps you keep your space fresh and safe, all while staying true to your values.
How Do I Prevent Dust Buildup on Windowsills?
To prevent dust buildup on your windowsills, you’ll want to focus on preventive measures like sealing gaps around the window and using weather stripping. Regular maintenance is key—make it a habit to dust and wipe them down weekly. This way, you won’t be stuck with stubborn grime later. By staying consistent, you’ll enjoy cleaner windowsills without feeling tied down by heavy cleaning sessions. Freedom from dust starts with small, steady steps!