Disinfecting High-Touch Areas in Washer
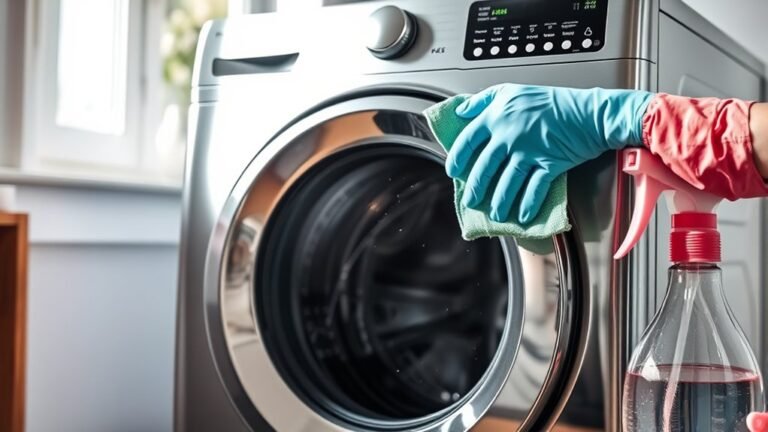
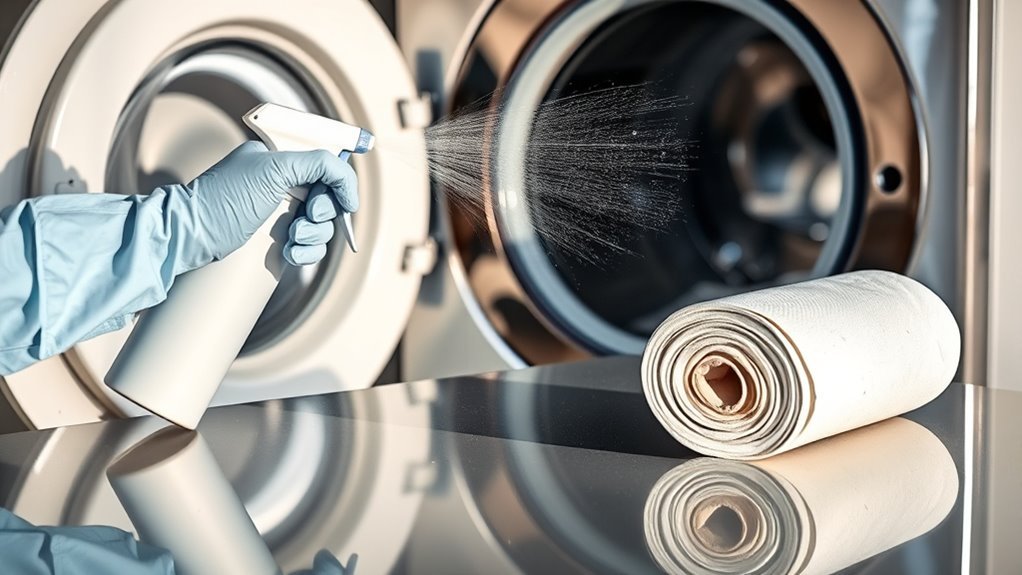
To disinfect your washer’s high-touch areas, focus on the control panel, door handle, and detergent dispenser. Use a safe disinfectant like diluted vinegar or hydrogen peroxide, applying it with a microfiber cloth to avoid damage. Wear gloves and avoid spraying directly onto surfaces; instead, spray your cloth first. Clean crevices with a soft brush, rinse the dispenser drawer, and dry all parts before reassembling. Keep a regular schedule for best hygiene. You can get detailed steps and tips to maintain a germ-free washer.
Identifying the Most Frequently Touched Spots on Your Washer
Anyone who uses a washer regularly knows that certain areas get touched more often than others. To keep your machine in top shape and reduce germ hotspots, focus on these key spots during washer maintenance. The control panel, including buttons and knobs, is frequently handled and can harbor bacteria. The door handle is another germ hotspot, as you grip it each time you load or unload clothes. Don’t overlook the detergent dispenser drawer, which you open and close regularly. Identifying these areas helps you target your cleaning efforts efficiently. By routinely disinfecting these high-touch spots, you minimize contamination risks and maintain a hygienic laundry environment, ultimately giving you the freedom to enjoy fresh, clean clothes without worry. Always clean surfaces first to remove dirt and grime for effective disinfection.
Choosing the Right Disinfectants for Washer Surfaces
When selecting disinfectants for your washer surfaces, it’s important to choose products that are both effective against germs and safe for the materials involved. Start by considering natural disinfectant options like diluted vinegar or hydrogen peroxide, which provide antimicrobial effects without harsh chemicals. If you opt for commercial products, check their labels to verify they’re suitable for the washer’s finish and avoid damage. Always follow chemical safety precautions: wear gloves, use in a well-ventilated area, and never mix disinfectants. Test a small, hidden area first to confirm no discoloration or corrosion occurs. By balancing effectiveness with material safety and using proper precautions, you maintain your washer’s integrity while keeping high-touch areas hygienically clean, giving you the freedom to disinfect confidently and responsibly. Additionally, maintaining clean surfaces helps reduce the circulation of dust and allergens, contributing to a healthier indoor environment.
Step-by-Step Guide to Cleaning Door Handles and Control Panels
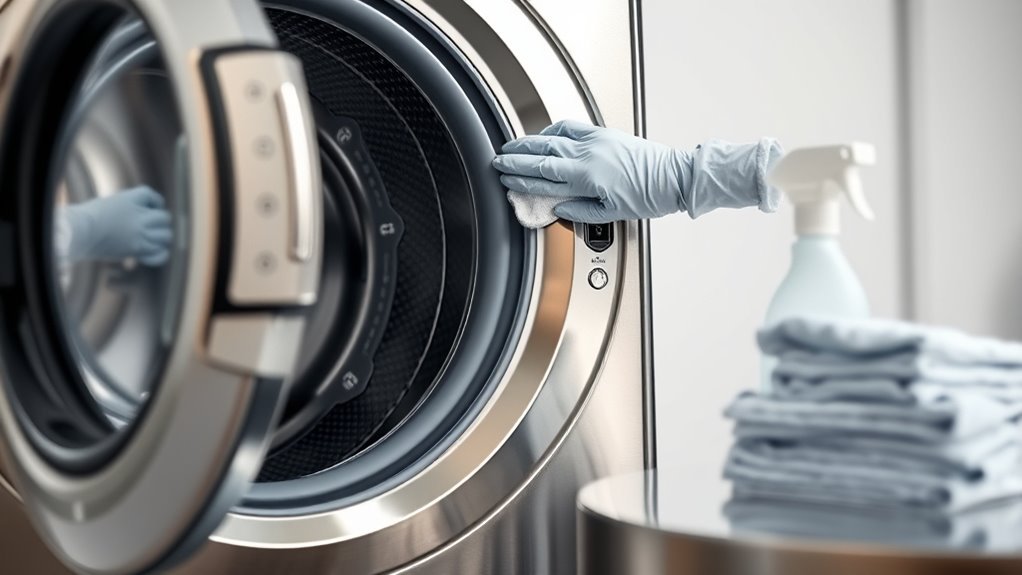
Start by gathering all necessary supplies: your chosen disinfectant, microfiber cloths, gloves, and a small soft brush. First, put on gloves to protect your hands. Spray the disinfectant lightly on the microfiber cloth—avoid spraying directly on control panels to prevent damage. Wipe down door handles thoroughly, focusing on all contact points. Use the soft brush to clean around buttons and crevices on control panels, loosening dirt and grime. Then, wipe the control panel surface carefully with a dampened cloth. Follow the recommended sanitization frequency for your environment—typically daily or after heavy use—to maintain hygiene. These cleaning techniques guarantee effective removal of contaminants without harming sensitive components, giving you freedom to use your washer confidently and safely. Always ensure you use alcohol-based disinfectants for electronics to avoid damage while effectively killing germs.
Best Practices for Maintaining the Detergent Dispenser
After thoroughly disinfecting the door handles and control panels, turning your attention to the detergent dispenser will help guarantee overall washer hygiene. Start by removing the dispenser drawer according to your washer’s manual. Rinse it under warm water to dissolve any detergent residue, using a soft brush to reach corners and crevices. Detergent residue buildup can cause mold and unpleasant odors, so regular dispenser maintenance is essential. Next, clean the dispenser cavity inside the washer with a damp cloth, avoiding harsh chemicals that might damage surfaces. Allow all parts to dry completely before reassembling. By routinely maintaining the detergent dispenser, you secure smooth detergent flow and prevent bacterial growth, safeguarding both your washer’s performance and your freedom from unnecessary complications. Incorporating regular sanitization routines helps minimize cross-contamination risks and keeps high-touch areas hygienic.
Tips for Regular Sanitization to Prevent Germ Buildup

Anyone aiming to keep their washer hygienic should establish a consistent sanitization routine. Start by creating a sanitization schedule that fits your lifestyle—weekly or biweekly works well. Focus on germ hotspots like the detergent dispenser, door seals, and control panel. Use a disinfectant suitable for appliances, applying it with a microfiber cloth to avoid damage. After wiping, leave the washer door open to air dry, preventing moisture buildup. Avoid harsh chemicals that can degrade surfaces. Regularly remove and clean removable parts, then dry them thoroughly before reinstalling. Sticking to this routine minimizes germ buildup, ensuring your washer stays fresh and safe. With a clear plan, you maintain freedom from worry while extending your machine’s lifespan. Additionally, inspecting and maintaining the door seals helps prevent grime buildup and keeps your washer functioning effectively.
Frequently Asked Questions
How Often Should I Replace the Washer’s Water Filter?
Did you know that regular water filter maintenance can improve appliance efficiency by up to 30%? For your washer, the filter replacement frequency typically ranges from every 6 to 12 months, depending on water quality and usage. To keep your machine running smoothly, check the filter monthly and replace it when you notice buildup or reduced water flow. Staying on top of filter care guarantees longer washer life and better performance without hassle.
Can UV Light Be Used to Disinfect Washer Interiors?
You can use UV technology to disinfect washer interiors, but you should follow washer safety guidelines carefully. UV light effectively kills bacteria and viruses without chemicals, offering a convenient way to keep your machine clean. However, make certain the UV device is designed for washers to avoid damage. Always turn off and unplug your washer before applying UV light, and avoid direct exposure to skin or eyes for your safety.
Are Natural Disinfectants Effective on Washer Surfaces?
Imagine a gentle breeze sweeping through a sunlit meadow—that’s how natural cleaners work on your washer surfaces. While they offer surface efficacy against many bacteria, they might not conquer all germs like harsher chemicals do. To maximize their power, you should apply them thoroughly, let them sit for several minutes, then wipe clean. Using natural disinfectants lets you keep your washer fresh while embracing a freer, eco-friendly lifestyle.
How Do I Safely Clean Mold Inside the Washer Drum?
To safely clean mold inside your washer drum, start by running a hot water cycle with two cups of white vinegar or bleach—never mix them. This kills mold and helps with mold prevention. Next, wipe down the drum and door seal with a microfiber cloth soaked in a mild detergent. Leave the door open after each use to keep moisture low. These cleaning techniques keep your washer fresh and mold-free, giving you freedom from worry.
Is It Necessary to Disinfect the Washer After Every Use?
You don’t need to disinfect your washer after every use, but maintaining good washer hygiene is key. Focus on disinfecting frequency based on usage—clean weekly or after washing heavily soiled items. This keeps mold and bacteria at bay without overdoing it. Wipe down seals and detergent dispensers regularly, and leave the door open to air out. This way, you enjoy fresh laundry without feeling tied down by constant cleaning.