
DIY Cleaner for Ceilings
You can make a safe, effective DIY ceiling cleaner using white vinegar, baking soda, and lemon juice. Mix one cup of vinegar with two cups of warm water, add a few drops of lemon juice or essential oil for scent, and spray lightly before wiping with a microfiber cloth. For tough stains, sprinkle baking soda on a damp cloth to gently scrub. With the right prep and technique, your ceilings will look fresh—keep going to discover easy tips for textured ceilings and hard-to-reach spots.
Common Ceiling Stains and How to Identify Them

Ceiling stains can be tricky to identify, but knowing what you’re dealing with makes cleaning much easier. When you start with stain identification, consider the ceiling types you have—drywall, plaster, or textured surfaces. Water stains often appear yellow or brown, signaling leaks or moisture issues. Mold stains are usually dark spots that thrive in damp environments, while smoke stains leave a grayish or brownish haze, especially near vents or kitchens. You might also find rust stains from metal fixtures or paint discoloration from aging ceilings. By recognizing these common stains, you gain the freedom to tackle them confidently and choose the right cleaning approach. Understanding your ceiling type helps prevent damage, ensuring your DIY efforts restore your space without frustration.
Essential Ingredients for Homemade Ceiling Cleaners
When cleaning your ceiling, choosing the right ingredients makes all the difference. You’ll want to use natural options like vinegar and baking soda or safe chemical alternatives that won’t damage your surfaces. Understanding these essentials helps you create an effective and gentle homemade cleaner.
Natural Cleaning Ingredients
A few simple ingredients can make all the difference in creating an effective homemade cleaner for your ceilings. Choosing natural alternatives not only keeps your space fresh but also supports eco friendly solutions that protect your freedom from harsh chemicals. Here’s a quick guide to essential natural ingredients you’ll want on hand:
| Ingredient | Purpose | Why It’s Great |
|---|---|---|
| White Vinegar | Removes dirt & mold | Non-toxic, biodegradable |
| Baking Soda | Gentle abrasive | Neutralizes odors naturally |
| Lemon Juice | Cuts grease & brightens | Adds fresh scent, antibacterial |
Using these natural ingredients, you can craft a cleaner that’s safe, effective, and liberating—freeing you from chemicals while keeping your ceilings spotless.
Safe Chemical Alternatives
Choosing safe chemical alternatives gives you peace of mind while keeping your ceilings clean and healthy. When making your own cleaner, opting for eco friendly options means you avoid harsh toxins that can linger in your home’s air. You don’t have to sacrifice effectiveness for safety; non toxic solutions like vinegar, baking soda, and castile soap work wonders without risking your health or the environment. These ingredients let you maintain a fresh, spotless ceiling without worrying about chemical residues or harmful fumes. Embracing these alternatives supports your freedom to live in a safe space, free from unnecessary chemicals. So, when crafting your DIY ceiling cleaner, choose these gentle, eco friendly options to keep your home clean and your conscience clear.
Preparing Your Ceiling for Cleaning

Before you start cleaning, make certain to remove dust from your ceiling using a soft brush or vacuum with a brush attachment. You’ll also want to protect your furniture and floors by covering them with drop cloths or plastic sheets. Taking these steps helps guarantee a smooth and mess-free cleaning process.
Dust Removal Techniques
Two essential tools you’ll need for dust removal are a microfiber cloth and an extendable duster. These dusting tools make ceiling maintenance safer and more efficient, letting you reach high spots without a ladder. To keep your ceiling fresh and dust-free, follow these simple steps:
- Start by gently sweeping the ceiling with your extendable duster, moving in slow, overlapping strokes to trap dust without scattering it.
- Use the microfiber cloth for corners and edges where dust tends to accumulate.
- Regularly shake out or wash your dusting tools to maintain their effectiveness.
Protecting Surrounding Areas
Although cleaning your ceiling can refresh your space, it’s important to protect the surrounding areas to avoid damage or extra cleanup. Start by using drop cloths to cover the floor thoroughly—this prevents drips and dust from ruining your freedom to move freely. Next, safeguard your furniture by either moving it out or wrapping it with plastic sheeting for furniture protection. Tape edges to secure coverings and avoid slipping.
| Area to Protect | Recommended Method |
|---|---|
| Floor | Drop cloths usage |
| Furniture | Plastic wrap or covers |
| Walls | Painter’s tape guard |
| Light Fixtures | Remove or cover |
| Electronics | Relocate or shield |
Taking these steps keeps your space free from mess, letting you focus on the joy of a clean ceiling.
How to Make a Vinegar-Based Ceiling Cleaner
Creating a vinegar-based ceiling cleaner is simple and effective for tackling dirt and grime without harsh chemicals. You’ll love the vinegar benefits—it naturally cuts through grease and kills bacteria, making it a top choice in cleaner recipes.
Here’s how to make your own:
- Mix 1 cup of white vinegar with 2 cups of warm water.
- Add a few drops of your favorite essential oil for a fresh scent.
- Pour the solution into a spray bottle for easy application.
This DIY cleaner frees you from store-bought chemicals and lets you maintain a clean ceiling effortlessly. Just spray, wait a few minutes, and gently wipe with a microfiber cloth. Your ceiling will look refreshed, and you’ll enjoy the freedom of a natural, effective cleaner.
Using Baking Soda to Remove Tough Stains
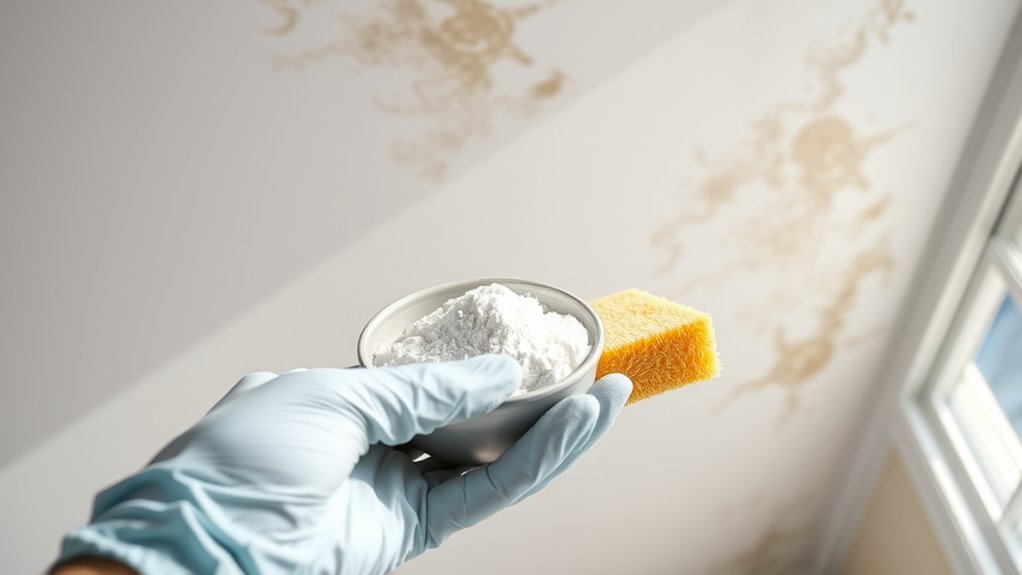
One of the easiest ways to tackle tough stains on your ceiling is by using baking soda. This natural, affordable ingredient gives you the freedom to clean without harsh chemicals. Simply mix baking soda with water to form a paste, then apply it directly to the stained area. Let it sit for 10-15 minutes—this gives the baking soda time to break down the stain. Afterward, gently scrub the spot with a soft cloth or sponge, then wipe away any residue with a damp cloth. Baking soda’s mild abrasiveness and stain removal power make it perfect for rejuvenating your ceiling without damaging the surface. By choosing baking soda, you’re taking control of your cleaning routine, keeping it safe and effective.
Safe Techniques for Cleaning Textured Ceilings
Baking soda works well on smooth ceilings, but textured surfaces need a gentler approach to avoid damage. When it comes to textured ceiling maintenance, using safe cleaning tools is key to preserving the design while keeping it fresh. Here’s how you can do it:
- Use a soft-bristle brush or microfiber cloth to gently dust off cobwebs and dirt without scrubbing harshly.
- Mix a mild detergent with water in a spray bottle, lightly mist the ceiling, and blot with a sponge—never saturate the texture.
- For stubborn spots, dab with a cotton swab dipped in the solution, maintaining a delicate touch to avoid peeling.
These safe techniques let you clean freely without risking your ceiling’s unique texture or finish.
Tips for Reaching High or Difficult Ceiling Areas
How do you safely reach those high or tricky ceiling spots without risking injury or damage? First, prioritize ladder safety: use a sturdy ladder, guarantee it’s on a flat surface, and never overreach. If possible, have someone hold the ladder steady for extra security. Next, invest in the right ceiling tools—extendable dusters or cleaning wands let you reach far without climbing too high. These tools give you freedom to clean efficiently while staying safe on the ground or lower steps. Also, consider lightweight tools to reduce strain. Remember, rushing or stretching can lead to accidents. By combining proper ladder safety with smart ceiling tools, you’ll confidently tackle those hard-to-reach areas, keeping your ceilings clean without sacrificing your freedom or well-being.
Preventative Measures to Keep Ceilings Clean Longer
Keeping your ceilings clean longer starts with simple preventative measures that reduce dust and grime buildup. By embracing preventative maintenance, you take control of your space and avoid costly cleanings or repairs later. Regular ceiling inspections help spot issues early, keeping your home fresh and free.
Preventative care keeps ceilings cleaner longer, saving you from expensive repairs and maintaining a fresh, healthy home.
Here are three key steps you can take:
- Control indoor humidity – Use dehumidifiers or ventilation to prevent mold and mildew.
- Dust and vacuum regularly – Don’t let dirt accumulate; tackle it before it settles.
- Address leaks promptly – Water damage causes stains and promotes grime buildup.
Frequently Asked Questions
Can DIY Cleaners Damage Ceiling Paint or Finishes?
You might wonder if using your own cleaner could harm your ceiling’s paint or finish. The truth is, certain chemical reactions can occur, especially if the cleaner isn’t suited for the paint types on your ceiling. Some paints are more sensitive and could peel or discolor. To keep your freedom intact, always test a small spot first and choose gentle, compatible ingredients to avoid any unwanted damage.
How Often Should I Clean My Ceilings With Homemade Solutions?
Imagine your ceilings as blank canvases, quietly collecting dust and whispers of time. When using homemade solutions, you don’t need to scrub them daily—cleaning frequency every 3 to 6 months usually works well. This keeps things fresh without overwhelming your space or paint. Trust your instincts and the room’s vibe; if it feels dull or dusty, it’s time. You’ve got the freedom to adjust based on how your ceilings respond and your lifestyle.
Are DIY Ceiling Cleaners Safe for Homes With Pets or Children?
You’ll want to stick with pet safe ingredients and child friendly recipes to keep everyone happy and healthy. Many DIY cleaners use natural stuff like vinegar, baking soda, or mild soap, which are great choices because they avoid harsh chemicals. Just make sure to ventilate the area well and let surfaces dry completely before your little ones or pets explore. This way, you can enjoy freedom in cleaning without worrying about safety.
Can These Cleaners Be Used on Ceiling Fans or Light Fixtures?
You can use these cleaners on ceiling fans and light fixtures, but you’ll want to take into account the fan materials first. Some cleaners might not be effective or could damage delicate finishes like wood or certain metals. Always test a small spot to verify cleaner effectiveness without harm. This way, you maintain your freedom to clean thoroughly while protecting your fixtures’ look and function. Just avoid soaking electrical parts for safety.
What Should I Do if Mold Appears on My Ceiling?
Imagine mold as an uninvited guest who sneaks in unnoticed but leaves a mess behind. If mold appears on your ceiling, act fast by using proper cleaning techniques like a mixture of water and vinegar or a mold-specific cleaner. Don’t forget mold prevention—keep humidity low and guarantee good ventilation. Taking these steps lets you reclaim your space freely, without mold holding you back or causing damage to your home’s vibe.


