DIY Cleaner for Germs Surfaces
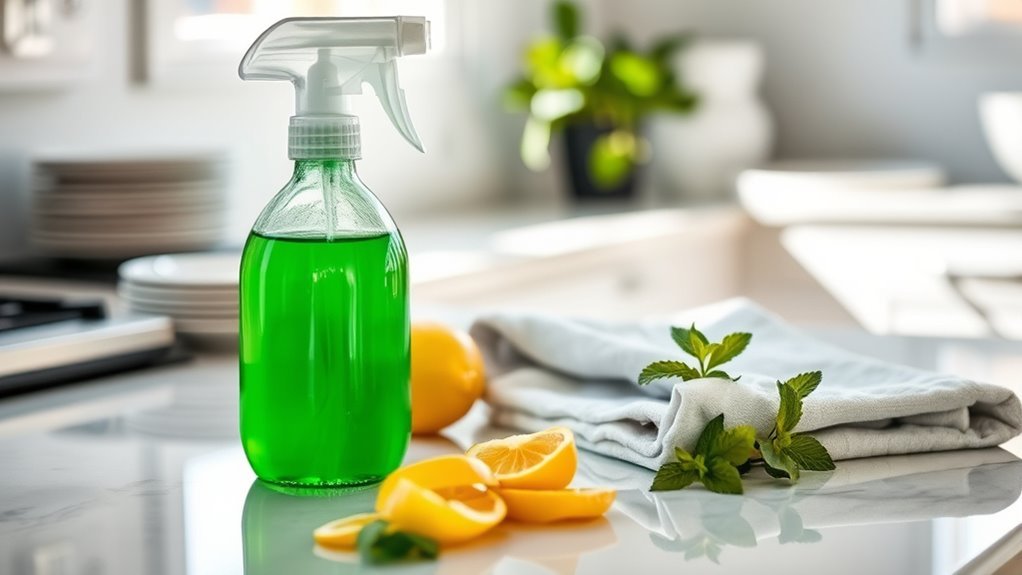
You can make an effective DIY germ cleaner by mixing equal parts distilled white vinegar and water, adding 10-15 drops of lemon or orange essential oil for extra antimicrobial power. This combination disrupts microbial cell membranes, making it suitable for glass, stainless steel, and sealed surfaces. Use microfiber cloths and allow the solution to sit for several minutes for best results. Proper storage and surface testing guarantee safety and potency. Learn about customizing formulas and maximizing cleaning impact.
Essential Ingredients for Natural Cleaning Solutions
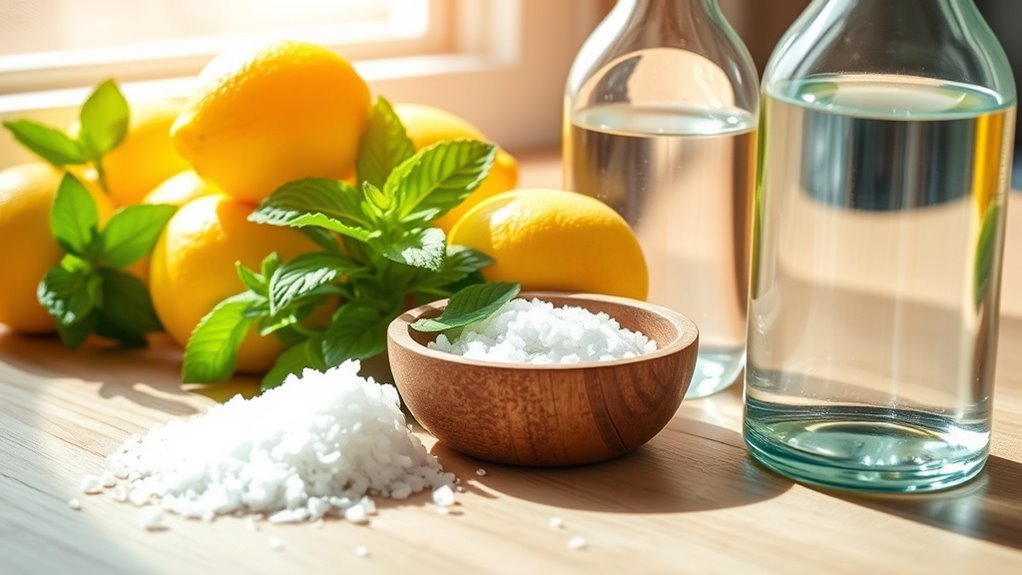
Although many commercial cleaners contain harsh chemicals, you can create effective natural cleaning solutions using a few essential ingredients known for their antimicrobial properties. Citrus extracts, rich in limonene, offer potent antibacterial and antiviral effects, making them ideal for germ control. Additionally, vinegar benefits are well-documented; its acetic acid concentration disrupts microbial cell membranes, effectively sanitizing surfaces. When combined, these ingredients form a synergistic antimicrobial blend that’s both safe and efficient. Using these natural components not only reduces your exposure to toxic substances but also supports environmental sustainability. By understanding the science behind citrus extracts and vinegar benefits, you gain the freedom to maintain a clean, germ-free space without relying on synthetic chemicals. This approach empowers you to take control of your cleaning regimen responsibly and effectively. Moreover, using homemade cleaners reduces waste and saves money while being safer for family and the planet.
How to Prepare Your DIY Germ Cleaner
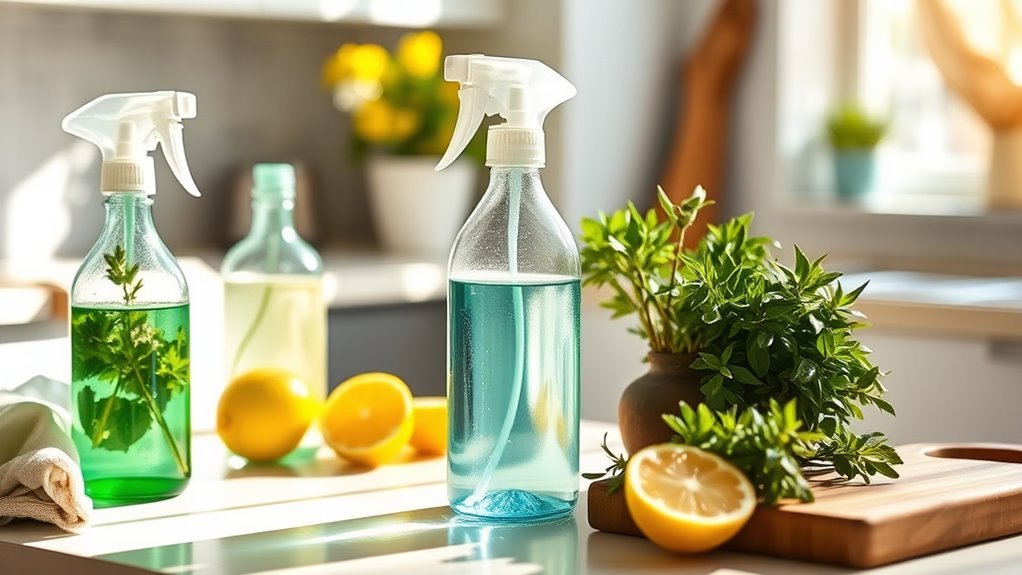
Now that you understand the antimicrobial properties of citrus extracts and vinegar, you can combine them to create your own effective germ cleaner. Start with a clean spray bottle and mix one cup of distilled white vinegar with one cup of water. Add 10-15 drops of lemon or orange essential oil for enhanced antimicrobial action and a pleasant scent. Shake gently to blend. This simple formulation aligns with proven DIY cleaner recipes, balancing acidity and natural compounds for efficient surface germ reduction. When applying, use microfiber cloths or non-abrasive sponges as recommended cleaning tool tips to avoid surface damage and maximize contact time. Store your solution in a cool, dark place to maintain potency. With this preparation, you gain autonomy over your cleaning products while ensuring microbial control. Choosing eco-friendly cleaning supplies like this supports sustainability and personal well-being.
The Science Behind Natural Disinfectants
When you use natural disinfectants like citrus extracts and vinegar, you’re relying on their chemical properties to inhibit or destroy harmful microorganisms. These natural ingredients contain compounds such as citric acid and acetic acid, which disrupt microbial cell membranes and denature proteins essential for pathogen survival. This targeted action underpins their disinfectant properties, making them effective against bacteria and some viruses. By understanding these mechanisms, you gain insight into how simple, accessible substances can serve as powerful cleaners without harsh chemicals. This knowledge empowers you to confidently choose natural disinfectants that align with your desire for freedom from synthetic additives while maintaining hygiene. Using natural ingredients harnesses science to balance efficacy and safety in your DIY germ control routine. However, it is important to note that while essential oils provide some antimicrobial benefits, they should be used with caution and proper dilution due to potential toxicity in pets.
Safe Surfaces for DIY Cleaner Application
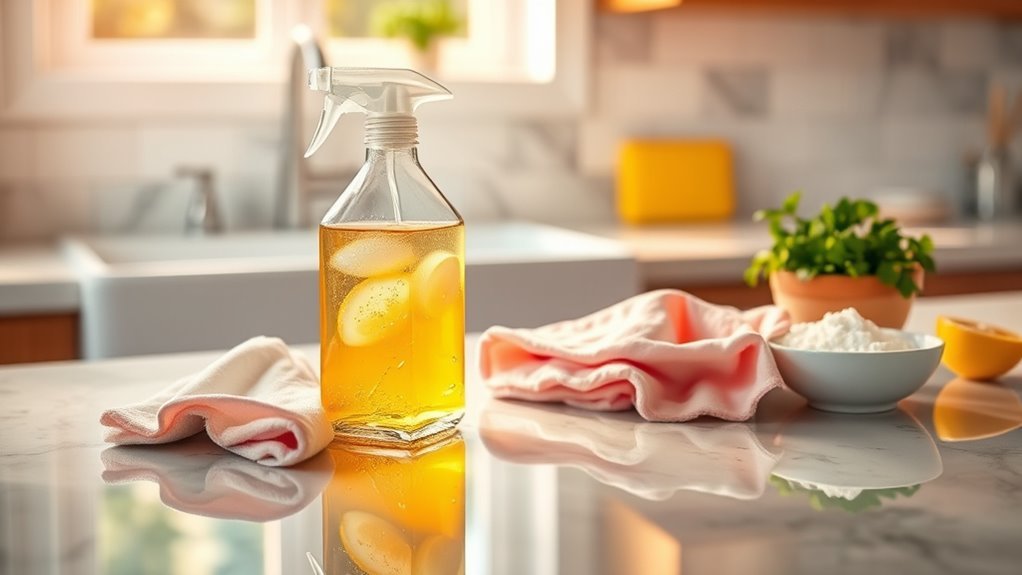
Understanding the chemical actions of natural disinfectants helps clarify where and how you can safely apply your DIY cleaner. Safe surfaces typically include non-porous materials like glass, stainless steel, sealed countertops, and ceramic tiles, which resist chemical absorption and damage. You should avoid unsealed wood, untreated stone, and certain plastics that may degrade or discolor when exposed to acidic or abrasive cleaning materials. Before widespread application, always test your DIY cleaner on a small, inconspicuous area to guarantee compatibility. Using the correct dilution and applying with appropriate cleaning materials—such as microfiber cloths—prevents surface abrasion and enhances disinfectant efficacy. By recognizing the interaction between your DIY cleaner and various surfaces, you maintain both cleanliness and material integrity, preserving your freedom to customize your cleaning solutions safely. Additionally, storing your homemade cleaners in airtight containers helps maintain their effectiveness and freshness over time.
Tips for Maximizing Cleaning Effectiveness
Although your DIY cleaner may contain effective natural disinfectants, maximizing its cleaning power requires attention to application techniques and environmental factors. Proper surface preparation is essential—remove visible dirt and debris first to allow active ingredients to contact microbes directly. Use consistent cleaning techniques, like wiping in one direction to avoid recontamination. Allow the cleaner to sit on surfaces for the recommended dwell time to guarantee microbial inactivation. Regularly targeting high-touch areas such as handles and buttons enhances overall cleaning efficiency and kitchen hygiene.
| Step | Recommendation |
|---|---|
| Surface Preparation | Remove dirt and debris |
| Application | Use even, unidirectional wiping |
| Contact Time | Let solution sit 5-10 minutes |
| Environment | Clean in well-ventilated areas |
Storage Guidelines for Homemade Cleaners
To maintain the effectiveness of your homemade cleaner, store it in an airtight container to prevent contamination and evaporation. You’ll also want to label the container clearly with the contents and the date it was made. Keeping track of expiration dates helps guarantee the cleaner remains safe and potent for use. Additionally, choosing containers made from recyclable materials supports sustainable practices and reduces environmental impact.
Airtight Container Importance
Proper storage in airtight containers is essential for maintaining the effectiveness and safety of your homemade cleaner. The importance of sealing cannot be overstated; exposure to air introduces moisture, contaminants, and oxygen, which degrade active ingredients and reduce germ-fighting efficacy. When selecting container materials, opt for non-reactive options such as glass or high-quality plastic designed for chemical storage. These materials prevent leaching and preserve chemical stability. Additionally, airtight lids create a controlled environment, minimizing evaporation and preventing accidental spills. By understanding the critical role of container choice and sealing, you guarantee your DIY cleaner retains potency while safeguarding your freedom to create personalized solutions. Prioritizing airtight storage is a simple yet scientifically grounded step to optimize your cleaner’s performance and longevity.
Labeling and Expiration Dates
Clear labeling and accurate expiration dates are essential for safely managing your homemade cleaner’s use and effectiveness. Following strict labeling guidelines helps you identify the cleaner’s ingredients, preparation date, and specific usage instructions, reducing risks of misuse or accidental ingestion. For expiration tips, note that most DIY cleaners remain potent for about one to two months, depending on their ingredients. You should record the preparation date clearly on the container and discard any solution past its effective lifespan to maintain cleaning efficiency and safety. Using waterproof labels or permanent markers prevents information loss. By adhering to these labeling guidelines and expiration tips, you maintain control over your cleaner’s quality, ensuring that your surfaces are disinfected properly without compromising your health or freedom to create personalized solutions.
Environmental Benefits of Using Natural Cleaners
Although many commercial cleaners promise effectiveness, they often contain chemicals that can harm ecosystems when washed down drains. By choosing natural cleaners, you support sustainability practices that reduce environmental pollution. Natural ingredients biodegrade more rapidly, minimizing toxic runoff that affects aquatic life and soil quality. These eco friendly alternatives avoid synthetic compounds, lowering your ecological footprint while maintaining cleaning power. Using DIY natural cleaners allows you to control ingredient sources, ensuring they come from renewable, non-toxic materials. This not only preserves biodiversity but also reduces reliance on harmful industrial chemicals. Embracing natural options aligns with a commitment to environmental stewardship, empowering you to protect ecosystems without sacrificing cleanliness or freedom in your daily routine. Incorporating essential oils in your homemade cleaners provides natural fragrance without the harmful effects of synthetic air fresheners.
Common Mistakes to Avoid When Making DIY Cleaners
Choosing natural ingredients for your DIY cleaners is a positive step, but it’s equally important to avoid common mistakes that can compromise their effectiveness or safety. One common misconception is assuming all natural substances are safe at any concentration. Precise mixing ratios are essential; incorrect proportions can reduce antimicrobial efficacy or cause surface damage. For example, excessive vinegar can corrode certain materials, while too little may not disinfect adequately. Another error is combining incompatible ingredients—like hydrogen peroxide and vinegar—which can create harmful compounds. You should also avoid neglecting proper storage, as exposure to light or air can degrade active components, diminishing cleaner potency. By understanding these factors and adhering to scientifically validated formulations, you maintain both your freedom to customize and the safety and performance of your DIY germ cleaner. Additionally, selecting ingredients that avoid releasing volatile organic compounds helps ensure better indoor air quality and reduces health risks.
How to Customize Your Cleaner for Specific Germs
When you tailor your DIY cleaner to target specific germs, understanding the unique characteristics and vulnerabilities of those microorganisms becomes essential. Using targeted solutions with germ specific ingredients enhances effectiveness, allowing you to precisely combat bacteria, viruses, or fungi. Below is a simple guide to help you customize your cleaner:
| Germ Type | Effective Ingredient | Notes |
|---|---|---|
| Bacteria | Hydrogen Peroxide | Breaks down cell walls |
| Viruses | Ethanol (60-70%) | Disrupts viral envelopes |
| Fungi | Tea Tree Oil | Antifungal properties |
Cleaning surfaces with warm, soapy water before applying disinfectants improves their effectiveness.
Comparing DIY Cleaners to Commercial Products
When comparing DIY cleaners to commercial products, you’ll want to assess their effectiveness against various germs using reliable data. Consider the cost differences alongside the specific ingredients each type uses, as these impact both safety and performance. Understanding these factors helps you make an informed choice between homemade and store-bought solutions. Additionally, maintaining proper hygiene practices, such as regularly wiping down surfaces and controlling moisture, significantly enhances the overall effectiveness of any cleaning method by preventing germ growth and spread, as highlighted in cleaning and maintaining.
Effectiveness Against Germs
Although DIY cleaners often use natural ingredients, their effectiveness against germs can vary considerably compared to commercial products. Different germ types—bacteria, viruses, fungi—respond uniquely to various cleaning agents. You’ll find commercial products typically contain potent disinfectants proven to eliminate a broad spectrum of pathogens. DIY solutions may work well with regular cleaning frequency but might not guarantee total germ eradication, especially for resistant strains.
| Germ Type | DIY Cleaner Effectiveness | Commercial Product Effectiveness |
|---|---|---|
| Bacteria | Moderate | High |
| Viruses | Variable | High |
| Fungi | Moderate | High |
| Resistant Germs | Low | High |
Understanding these differences helps you choose your cleaning approach wisely, balancing freedom with safety.
Cost and Ingredients Comparison
Three key factors often guide your choice between DIY cleaners and commercial products: cost, ingredient transparency, and availability. Conducting a cost analysis reveals that DIY cleaners typically cost less per use since you buy basic ingredients like vinegar, baking soda, or hydrogen peroxide in bulk. Ingredient sourcing for DIY options is straightforward—you know exactly what goes into your cleaner, avoiding hidden chemicals common in commercial products. Commercial cleaners often include proprietary blends, making their ingredient lists less transparent. However, they may offer convenience and specialized formulations. If you value control over ingredients and want to reduce expenses, DIY solutions provide freedom and clarity. Ultimately, understanding cost and ingredient sourcing helps you make an informed decision aligned with your preferences and budget constraints.
Frequently Asked Questions
Can DIY Cleaners Cause Allergic Reactions on Sensitive Skin?
Yes, DIY cleaners can cause allergic reactions on sensitive skin due to certain ingredients. You should always perform sensitivity testing by applying a small amount to your skin before full use. This helps identify potential skin irritation or allergic responses. Being precise with your ingredient choices and concentrations can minimize risks. Remember, freedom in DIY means taking responsibility for safety, so thorough testing guarantees your skin stays healthy while you enjoy your custom formulations.
How Often Should I Use a DIY Germ Cleaner on High-Touch Surfaces?
You should follow frequency guidelines based on how often high-touch surfaces are used. For typical household settings, cleaning schedules recommend disinfecting these areas daily or after heavy use to minimize germ buildup. In shared or high-traffic environments, increasing the frequency to multiple times per day is advisable. Adjust your routine depending on exposure risk, ensuring consistent application to maintain hygiene without overuse, which can protect both your health and surfaces effectively.
Are DIY Cleaners Safe to Use Around Pets and Children?
You’ll want to guarantee your cleaner uses pet safe ingredients like vinegar or baking soda, avoiding harsh chemicals that can harm animals. Choosing child friendly formulations means selecting non-toxic, natural components that minimize irritation risks. Always test a small area first and store cleaners out of reach. This way, you maintain a clean environment without compromising your loved ones’ safety, giving you the freedom to clean confidently and responsibly.
Can DIY Germ Cleaners Be Used on Electronic Devices?
“Better safe than sorry” applies well when using cleaning solutions on electronic devices. You shouldn’t apply liquid cleaners directly; instead, lightly dampen a microfiber cloth with a safe solution, like 70% isopropyl alcohol diluted with water. This approach guarantees electronic safety by preventing moisture damage and static buildup. Always power off devices before cleaning and avoid abrasive substances to maintain functionality while effectively disinfecting surfaces.
What Is the Shelf Life of Homemade Natural Disinfectants?
The shelf life of homemade natural disinfectants varies but typically lasts about one to two weeks. You’ll want to store them in airtight, dark containers to slow down degradation. Keep them in a cool, dry place away from direct sunlight. Proper storage tips help maintain effectiveness by preserving active ingredients. Since natural disinfectants lack preservatives, it’s best to make small batches to guarantee potency and avoid waste.


