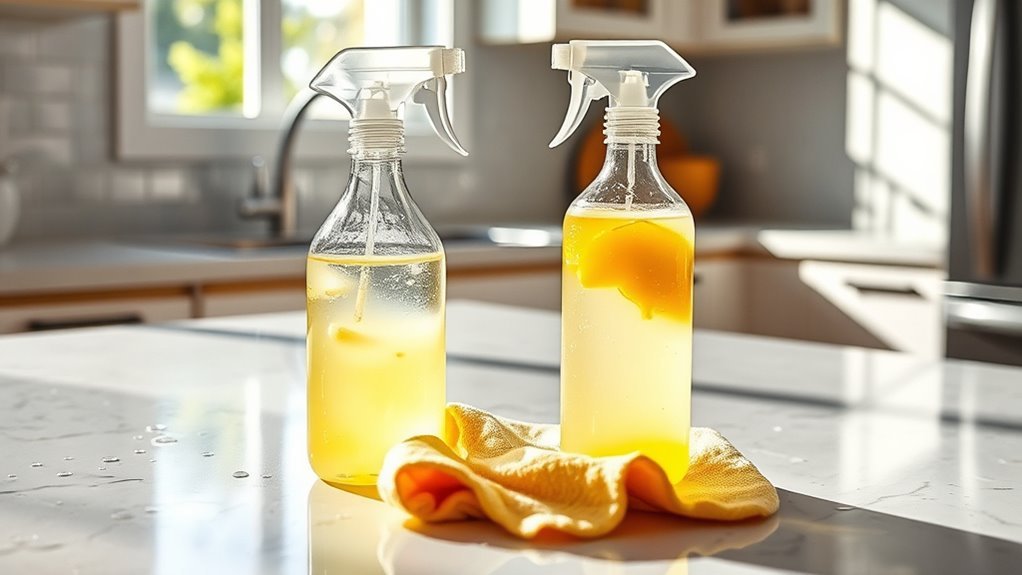
DIY Cleaner for Grease Surfaces
You can make an easy DIY grease cleaner using white vinegar, baking soda, lemon juice, and a bit of mild soap. Mix vinegar and water first, then add soap and slowly stir in baking soda. Spray or wipe it onto greasy spots, then scrub gently with a sponge or brush. It’s safe on most surfaces and effective at cutting grease naturally. Want to discover tips for stubborn stains and storage? Keep exploring for more guidance.
Ingredients Needed for Homemade Grease Cleaner
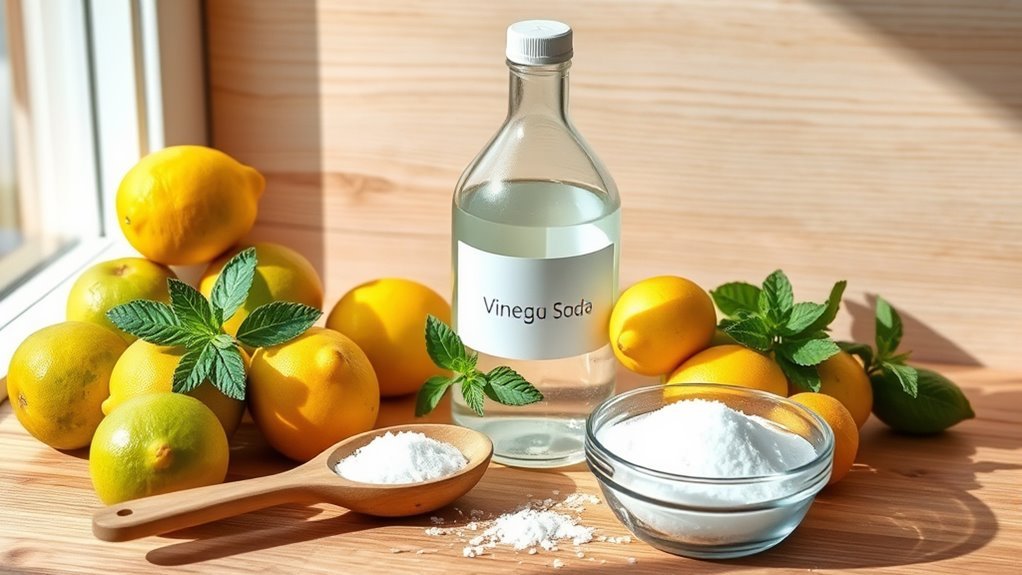
To make an effective homemade grease cleaner, you’ll need just a few simple ingredients that you probably already have at home. Choosing natural alternatives guarantees you’re not only tackling grease but also protecting your freedom from harmful chemicals. Common eco friendly options include white vinegar, baking soda, and lemon juice. These ingredients work powerfully to break down grease without polluting your space or the environment. Using such natural alternatives lets you take control of what goes into your home, avoiding harsh detergents and embracing sustainability. Plus, these items are affordable and versatile, making your cleaning routine both efficient and guilt-free. By opting for eco friendly options, you’re supporting a cleaner planet while reclaiming your space from stubborn grime.
Step-by-Step Guide to Mixing Your Cleaner
Now that you have your ingredients ready, let’s walk through how to mix them properly for the best results. I’ll guide you step-by-step while highlighting important safety tips to keep in mind. This way, you’ll create a powerful grease cleaner without any hassle or risk.
Essential Ingredients Needed
Before you start mixing your DIY grease cleaner, you’ll need to gather a few essential ingredients that work effectively together to break down stubborn grease. Choose natural alternatives like white vinegar and baking soda, which offer powerful cleaning effectiveness without harsh chemicals. Lemon juice adds a fresh scent and boosts grease-cutting power thanks to its acidity. Castile soap or a mild liquid soap helps lift grease from surfaces, making your cleaner more efficient. Finally, water acts as a diluting agent, balancing the mixture for easy application. By selecting these natural ingredients, you’re not only creating a potent grease remover but also embracing a cleaner lifestyle free from toxins and waste. This simple toolkit sets the foundation for your effective, eco-friendly DIY cleaner.
Mixing Instructions Overview
Creating your DIY grease cleaner is simpler than you might think, and it only takes a few easy steps. Start by measuring your ingredients carefully, following recommended mixing ratios to guarantee effectiveness. If you want a different scent or strength, try one of the alternative recipes below. Use a clean container and mix thoroughly for the best results.
| Ingredient | Mixing Ratio |
|---|---|
| White vinegar | 1 cup |
| Water | 1 cup |
| Liquid dish soap | 1 tablespoon |
| Baking soda (optional) | 1 teaspoon |
Mix vinegar and water first, add soap, then slowly incorporate baking soda if desired. Stir gently and your powerful grease cleaner is ready!
Safety Precautions Explained
Although mixing your DIY grease cleaner is straightforward, you should always follow safety precautions to protect yourself and your surroundings. First, gear up with the proper safety gear—gloves and goggles are non-negotiable to shield your skin and eyes from unexpected splashes. Next, work in a well-ventilated area to avoid inhaling fumes that might arise during mixing. Be mindful of the order you combine ingredients; improper mixing can trigger unwanted chemical reactions, potentially causing splattering or releasing harmful gases. Always add powders to liquids slowly while stirring to keep reactions controlled. Keep children and pets away during the process to guarantee everyone stays safe. Following these steps lets you enjoy freedom in your cleaning routine without risking harm.
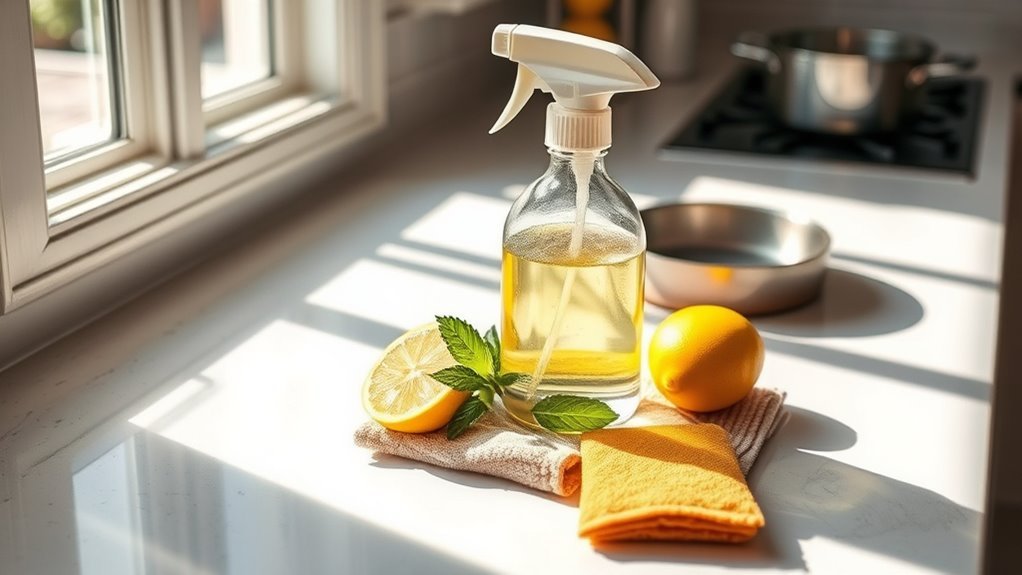
Best Techniques for Applying the Cleaner on Surfaces
When tackling greasy surfaces, you’ll want to apply the cleaner in a way that maximizes its effectiveness without damaging the material. Proper surface preparation is key—make sure to remove loose dirt or debris first. Then, choose the right application method to suit your surface type and grease level.
Prepare surfaces by removing debris, then apply cleaner carefully to tackle grease without causing damage.
Here are some effective application methods:
- Use a spray bottle for even coverage on vertical or large areas.
- Apply with a soft cloth or sponge for controlled scrubbing on delicate surfaces.
- For tough spots, a brush with gentle bristles can help lift grease without abrasion.
Tips for Removing Stubborn Grease Stains
How do you tackle grease stains that just won’t budge? First, don’t rush—let your DIY cleaner sit on the stain a few minutes to break down the grease. Then, use a brush or sponge for effective scrubbing, focusing on the edges to lift grime without damaging the surface. If the stain persists, repeat the process rather than increasing pressure, which can spread grease or harm materials. Remember, prevention is your ally: wipe spills immediately and apply a protective layer to surfaces prone to grease buildup. By combining patient, targeted scrubbing with smart grease prevention habits, you’ll free your space from stubborn stains without extra hassle or harsh chemicals. You’re in control—make your cleaning routine work for you.
Safe Surfaces for Using DIY Grease Cleaner
Before applying your DIY grease cleaner, it’s important to know which surfaces can handle it safely. You want to protect your kitchen surfaces and appliance materials while effectively cutting through grease. Luckily, most DIY grease cleaners are gentle yet powerful enough for everyday use on:
Know which surfaces can safely handle your DIY grease cleaner to protect and effectively clean your kitchen.
- Sealed countertops like granite, quartz, and laminate
- Stainless steel appliances and fixtures
- Ceramic tile backsplashes and stovetops
Avoid using your cleaner on unsealed wood, natural stone without sealant, or delicate painted surfaces to prevent damage. Testing a small hidden area first is always smart to verify compatibility. By choosing the right surfaces, you keep your kitchen fresh and your appliances looking great without harsh chemicals holding you back.
Storage and Shelf Life of Your Homemade Cleaner
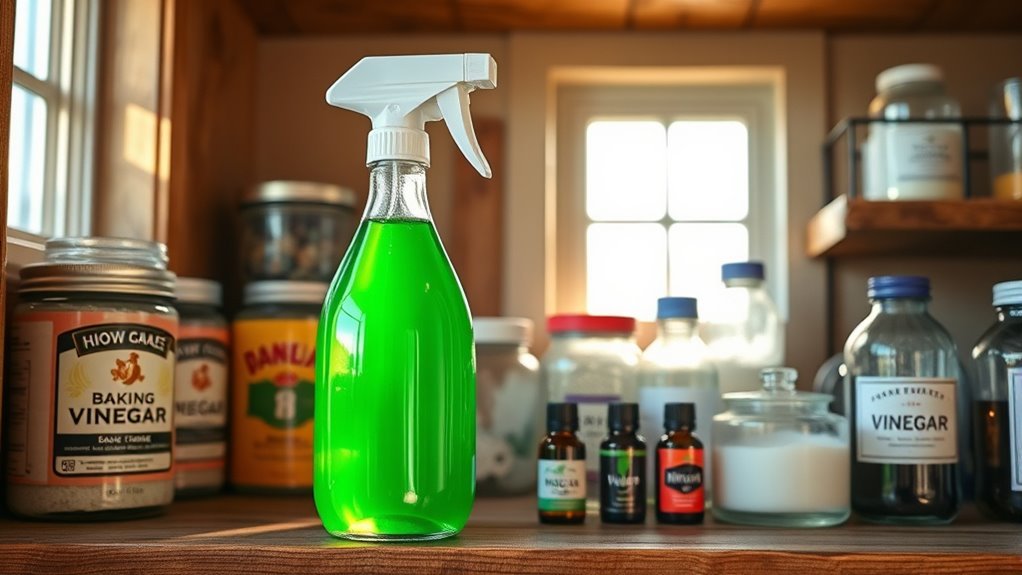
Knowing which surfaces are safe for your DIY grease cleaner helps you use it effectively, but storing your homemade solution properly is just as important to maintain its strength. To maximize shelf life, keep your cleaner in a tightly sealed container, away from direct sunlight and extreme temperatures. Glass spray bottles work great—they won’t react with your ingredients and keep everything fresh. Label your container with the date you made it, so you know when it’s time to refresh. Typically, your cleaner will stay effective for up to one month, but if you notice any changes in smell or texture, it’s best to make a new batch. Following these storage tips guarantees your cleaner stays potent and ready whenever grease battles arise, giving you the freedom to keep your space spotless.
Frequently Asked Questions
Can This DIY Cleaner Be Used on Kitchen Appliances?
You can use this DIY cleaner on kitchen appliances, but you’ll want to keep appliance safety in mind. Always test a small area first to avoid damage. When cleaning, avoid harsh scrubbing or soaking electrical parts. Following these cleaning tips guarantees you maintain your appliances’ finish while freeing yourself from tough grease. This way, you get effective results without risking harm, letting you enjoy a spotless kitchen with confidence.
How Does This Homemade Cleaner Compare to Commercial Products?
Did you know that over 60% of commercial cleaners contain harsh chemicals? When you compare effectiveness, your homemade cleaner often matches or even surpasses those products without toxic ingredients. From a cost analysis standpoint, you’ll save a lot by making your own—no pricey brand premiums. Plus, you get the freedom to customize ingredients, ensuring safety and eco-friendliness. So, it’s a smart, budget-friendly choice that empowers you to clean confidently.
Is This Cleaner Safe for Septic Systems?
You’ll be glad to know this cleaner offers great septic safety since it’s made from natural ingredients that break down easily without harming your system. If you care about your environmental impact, this choice lets you clean effectively while staying eco-friendly. You won’t be tied to harsh chemicals, giving you the freedom to maintain your home responsibly and protect your septic system naturally. It’s a win-win for you and the planet!
Can Essential Oils Be Added for Fragrance?
Imagine your cleaning routine as a blank canvas, ready for your personal touch. You can absolutely add essential oil options to your mix, letting those natural fragrances dance through the air and brighten your space. Beyond scent, essential oils offer fragrance benefits like mood boosting and antibacterial properties. So go ahead, release your creativity—freedom means making your cleaner smell just the way you love, turning chores into a revitalizing ritual.
What Should I Do if I Experience Skin Irritation?
If you experience skin irritation, it’s best to stop using the product immediately. Rinse the affected area with cool water and mild soap to soothe your skin. You can try natural remedies like aloe vera gel or coconut oil to calm inflammation and speed up healing. Remember, your freedom to choose safe solutions matters, so always patch test new products and listen to your body’s signals to avoid further irritation.


