
DIY Cleaner for Grout
You can make a strong, natural grout cleaner using baking soda and vinegar—baking soda lifts dirt while vinegar breaks down stains and kills mold. Mix half a cup of baking soda with a quarter cup of hydrogen peroxide and add a teaspoon of dish soap for extra cleaning power. Apply with a stiff brush for tough stains, then rinse well. Keep your grout fresh with regular cleaning and sealing techniques that help prevent discoloration and mildew. There’s more to discover about keeping grout spotless and protected.
Natural Ingredients for Effective Grout Cleaning
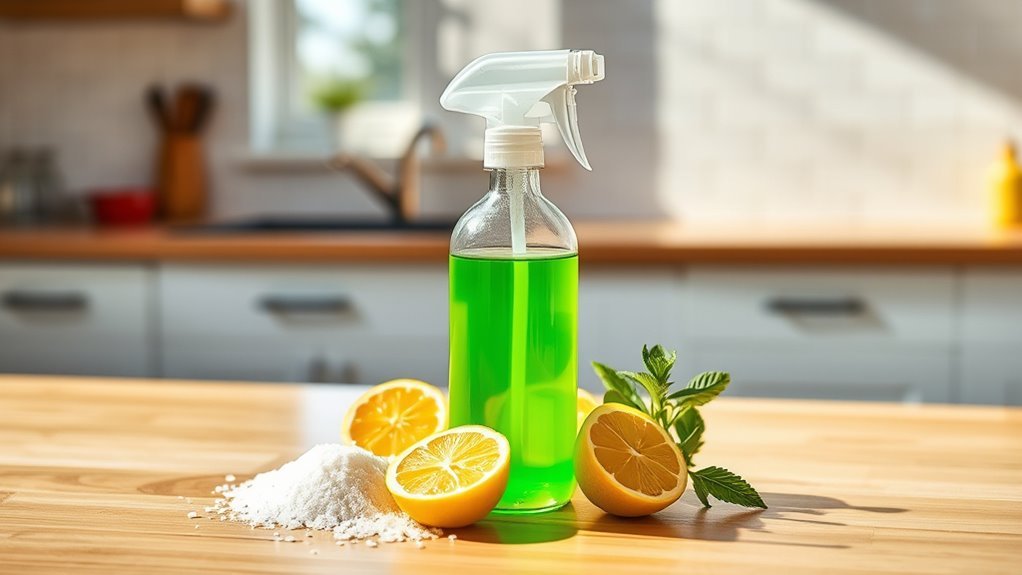
Although commercial grout cleaners are available, you can achieve great results using natural ingredients you probably already have at home. The baking soda and vinegar mixture is a powerful duo that cuts through grime without harsh chemicals. Baking soda’s mild abrasiveness helps lift dirt from grout lines, while vinegar’s acidity breaks down stains and kills mold. You don’t need to rely on expensive, restrictive products when these simple staples offer freedom and control over what you use in your space. Plus, this mixture is safe, eco-friendly, and easy to make whenever you want. Embracing these natural ingredients means you’re not tied to store-bought solutions — you have the freedom to clean effectively on your own terms, using what’s already within reach.
Step-by-Step Guide to Making Your Own Grout Cleaner
Creating your own grout cleaner is easier than you might think, and it only requires a few simple steps. Start by mixing half a cup of baking soda with a quarter cup of hydrogen peroxide to form a paste. Add a teaspoon of liquid dish soap to boost cleaning power. This DIY cleaner is powerful yet gentle, helping you maintain grout without harsh chemicals. Remember, regular cleaning frequency is key—aim for once a week to prevent buildup. After cleaning, don’t forget grout sealing to protect your work and extend the life of your grout. With these steps, you’re in control of a cleaner, fresher space, all while enjoying the freedom of using natural ingredients you trust.
Application Techniques for Best Results
Once you’ve prepared your DIY grout cleaner, knowing how to apply it effectively will make all the difference in achieving sparkling results. Choosing the right application methods and cleaning tools lets you tackle grout with freedom and ease. Start by applying the cleaner generously, then scrub using appropriate tools for deep cleaning without damaging your tiles.
| Application Method | Cleaning Tool | Best For |
|---|---|---|
| Brush and Scrub | Stiff-bristle brush | Stubborn grout stains |
| Spray and Wipe | Microfiber cloth | Light dirt and maintenance |
| Soak and Scrub | Toothbrush | Narrow grout lines |
| Apply and Let Sit | Sponge | Deep penetration and lift |
Use these techniques to customize your cleaning routine and enjoy grout that looks brand new.
Tips to Prevent Grout Discoloration and Mildew
To keep your grout looking fresh and prevent discoloration or mildew, you’ll need to maintain a consistent cleaning routine and control moisture levels in your space. Effective grout maintenance is all about smart preventive measures that stop problems before they start. Here’s what you can do:
Maintain consistent cleaning and moisture control to keep grout fresh and prevent mildew effectively.
- Wipe down tiled areas after use to reduce moisture buildup.
- Use a sealant on grout lines to create a protective barrier.
- Increase ventilation by opening windows or using exhaust fans.
- Clean spills immediately to avoid staining.
- Schedule regular light cleanings with your DIY grout cleaner.
Safe Practices and Precautions When Cleaning Grout
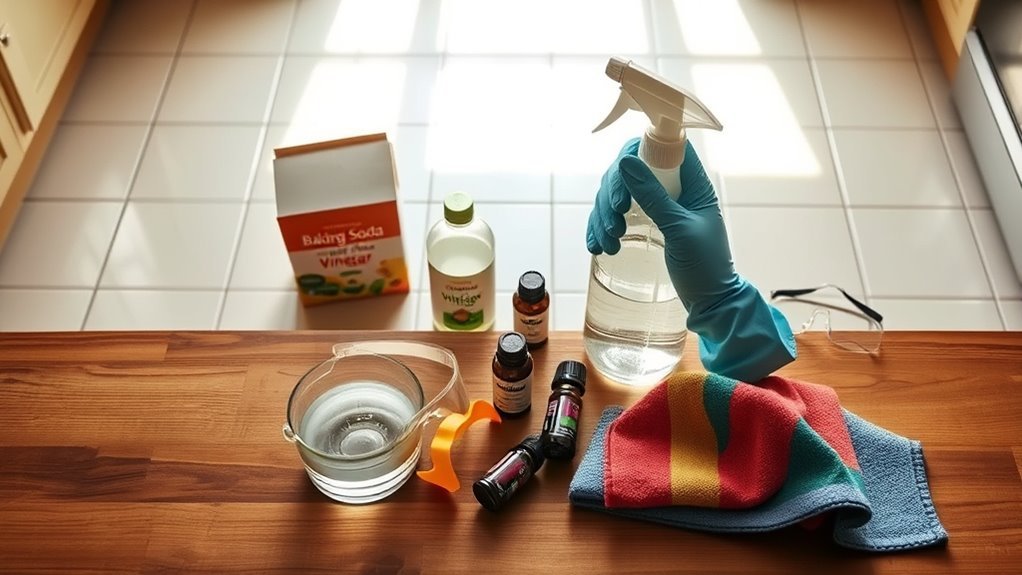
Although cleaning grout might seem straightforward, you should always follow safe practices to protect yourself and your surfaces. When mixing your DIY cleaner, avoid harsh chemicals that can damage grout sealing or irritate your skin. Wear gloves and guarantee good ventilation to keep your space fresh and safe. Don’t scrub too hard—grout can wear down over time, so gentle cleaning is key. Pay attention to cleaning frequency; regular, mild cleanings prevent buildup and reduce the need for aggressive treatments. After cleaning, rinse thoroughly to remove residue that might compromise grout sealing. Finally, test any new cleaner on a small, hidden area first. Following these precautions lets you enjoy clean grout without risking damage or discomfort, giving you freedom to maintain your space confidently.
Frequently Asked Questions
Can DIY Grout Cleaner Damage Tile Surfaces?
Imagine your tiles throwing a wild party, only to be crashed by a rogue chemical ninja—yeah, grout damage is no joke. When you’re tackling grime, you’ve got to respect tile safety or risk turning your freedom-loving floor into a battlefield. You don’t want to trade your liberty for cracked, dull tiles. So, choose your cleaner wisely; the wrong mix can betray your tile’s trust and leave you regretting your DIY rebellion.
How Often Should I Clean Grout With Homemade Solutions?
You should aim for grout cleaning frequency of about once a month to keep things fresh without overdoing it. Homemade solution effectiveness depends on regular use—you’ll find natural ingredients work best when you stay consistent. If your grout sees heavy traffic, cleaning every two weeks might be better. Just trust your instincts and adjust based on how dirty your grout gets, so you maintain freedom from harsh chemicals while keeping your tiles looking great.
What Tools Are Best for Scrubbing Grout Effectively?
When tackling grout grime, you’ll want scrubbing brushes with stiff bristles to reach deep into those narrow lines. They offer great control and power, making your job easier. Cleaning pads work well too, especially for lighter scrubbing or when you want to avoid scratching tiles. Combining both gives you freedom to switch up your technique, ensuring your grout gets a thorough clean without too much elbow grease.
Can DIY Grout Cleaner Remove Mold and Mildew Completely?
When it comes to mold removal, DIY grout cleaner can often do the trick, but it’s not always a silver bullet. You’ll need to scrub thoroughly and maybe repeat the process to tackle stubborn spots. For mildew prevention, keeping grout dry and sealed is key—don’t let moisture sneak in. If you want to break free from harsh chemicals, these natural solutions give you control while protecting your space effectively.
How to Store Homemade Grout Cleaner Safely for Future Use?
To keep your homemade grout cleaner effective and safe, store it in airtight, safe containers like glass jars or sturdy plastic bottles. Make sure to label them clearly, so you know what’s inside. Keep your cleaner in a cool, dark place away from direct sunlight and heat to preserve its potency. Avoid storing near children or pets, and always shake well before use. These storage tips help you enjoy freedom in cleaning without worry.


