DIY Cleaner for Keyboard Surfaces
You can make a safe DIY cleaner for your keyboard by mixing equal parts distilled water and isopropyl alcohol in a spray bottle. Lightly dampen a microfiber cloth with the solution to wipe your keyboard, avoiding direct sprays to prevent liquid damage. Don’t forget to unplug your device first and clean regularly to keep keys responsive and germ-free. If you want to learn more about proper cleaning steps and maintenance tips, there’s plenty of helpful info ahead.
Materials Needed for Homemade Keyboard Cleaner
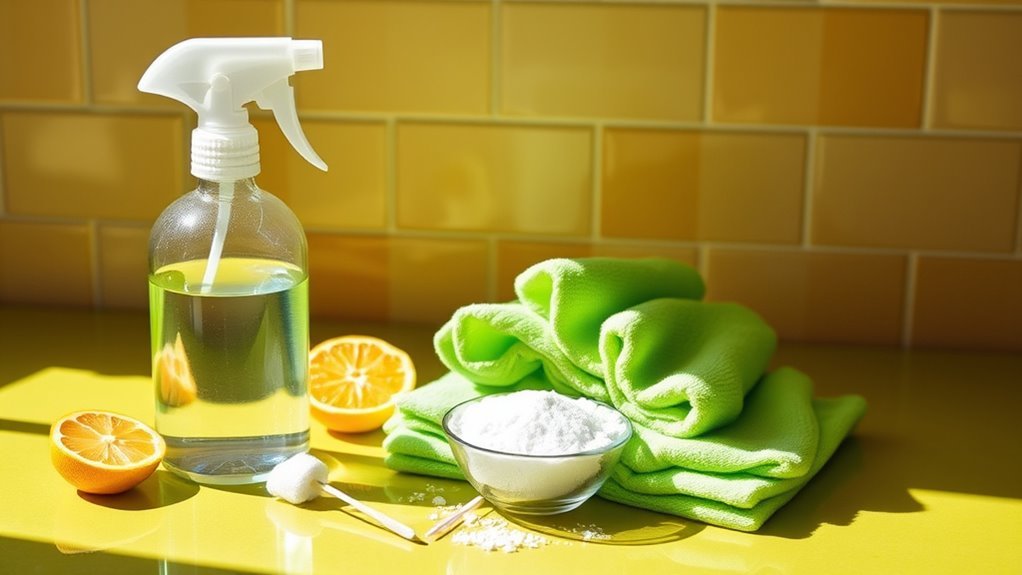
To make your own keyboard cleaner, you’ll need a few simple materials that you probably already have at home. Opting for natural ingredients not only gives you control over what touches your device but also frees you from harsh chemicals found in many commercial products. Common cleaning alternatives include distilled water, white vinegar, and isopropyl alcohol. These are effective, safe, and environmentally friendly. You’ll also want a soft microfiber cloth, cotton swabs, and a small spray bottle to apply your solution gently. Using these materials empowers you to maintain your keyboard’s cleanliness without relying on store-bought cleaners, aligning perfectly with your desire for independence and control. Embracing natural cleaning alternatives helps you keep your workspace fresh while respecting your personal freedom and the planet.
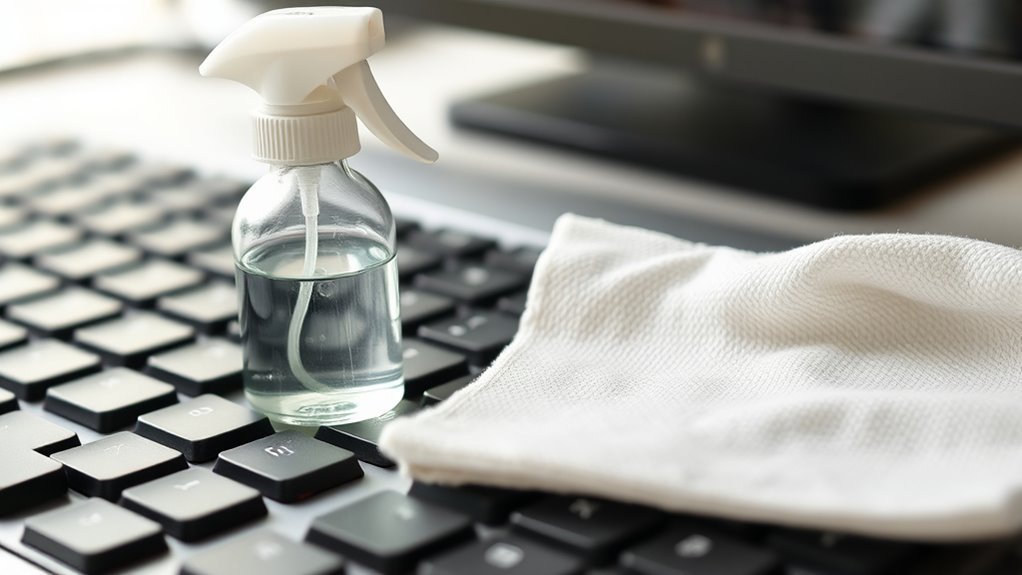
Preparing the Cleaning Solution
Mixing the right cleaning solution is simple and quick. You just need to understand the cleaning proportions and choose the right solution types. For a gentle yet effective cleaner, mix equal parts distilled water and isopropyl alcohol, typically 70% or higher. This ratio offers a balance that kills germs without damaging your keyboard’s surface. Alternatively, you can use a mild dish soap solution by adding a few drops to a cup of water—perfect for removing grime without harsh chemicals. Avoid over-concentrating any solution; too much alcohol or soap can harm your keyboard. Once you’ve decided on the cleaning proportions and solution types, pour your mixture into a spray bottle or a container with a tight lid, so it’s ready to use whenever you want to freshen up your keyboard.
Safety Precautions When Cleaning Your Keyboard

Although cleaning your keyboard is essential, you should take certain safety precautions to avoid damage or injury. Keyboard safety means disconnecting your device before you start cleaning to prevent electrical issues. Avoid spraying liquids directly onto the keyboard, as this can cause cleaning hazards like short circuits or corrosion. Use a soft cloth lightly dampened with your DIY cleaner instead. Be cautious with sharp tools or excessive force; prying off keys or scrubbing too hard might harm the switches beneath. Also, guarantee your cleaning area is well-ventilated if you’re using any homemade solutions containing vinegar or alcohol. By respecting these simple keyboard safety rules, you’ll protect your freedom to clean effectively without risking your device or yourself.
Step-by-Step Cleaning Process
Now that you’ve taken the necessary safety steps, you can begin cleaning your keyboard with confidence. Start by lightly dampening a microfiber cloth with your DIY cleaner—avoid soaking it to prevent moisture damage. Gently wipe all surfaces, paying attention to spaces around keys without forcing liquid inside. Follow this with a dry cloth to remove any residue. Remember, consistent care is key; adhere to cleaning frequency recommendations, typically once a week or biweekly, depending on use. Incorporate these keyboard maintenance tips to keep grime at bay and extend your device’s lifespan. By following this straightforward process, you maintain freedom from sticky keys and build a healthier workspace without hassle or expensive products.
How to Remove Dust and Debris From Between Keys
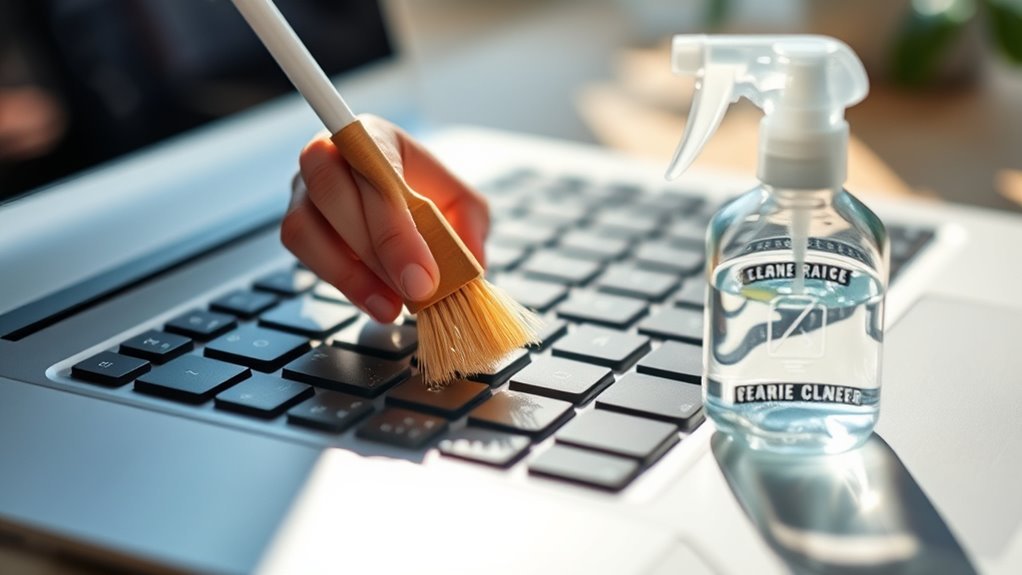
To get rid of dust and debris between your keys, you’ll need the right tools like a soft brush, compressed air, or a small vacuum. Using effective techniques, such as gentle brushing and careful air blasts, helps clear those hard-to-reach spots without damage. Plus, adopting simple habits can prevent future buildup and keep your keyboard cleaner longer.
Tools for Dust Removal
When you want to keep your keyboard clean, having the right tools makes all the difference in removing dust and debris from between the keys. Start with specialized dusting tools like small brushes or microfiber cloths designed to reach tight spaces without scratching. These help you easily loosen particles trapped in crevices. Vacuum attachments made for electronics are another great option—they offer gentle suction that pulls out dust without damaging delicate components. Using a combination of these tools lets you maintain your keyboard’s freedom from dust without harsh chemicals or excessive force. By choosing the right dusting tools and vacuum attachments, you guarantee your workspace stays clean and your keyboard functions smoothly, giving you the freedom to focus on what matters most.
Effective Cleaning Techniques
Using the right tools makes it easier to tackle the dust and debris lodged between your keyboard keys. Start by turning your keyboard upside down and gently shaking it to dislodge loose crumbs and hair. Then, use a soft brush or compressed air to target stubborn debris types like dust, pet fur, and food particles stuck in tight spaces. For deeper cleaning, slightly dampen a microfiber cloth with a DIY cleaner and carefully wipe around the keys without letting moisture seep underneath. Keep a consistent cleaning frequency—ideally once a week—to prevent buildup and maintain freedom from grime. This approach saves you time and frustration, letting you enjoy a clean keyboard without hassle or damage. Staying proactive protects your device and keeps your workspace fresh.
Preventing Future Debris
Although regular cleaning helps, preventing dust and debris from settling between your keyboard keys is just as important. You can maintain excellent keyboard hygiene by adopting a few simple habits that give you freedom from constant deep cleaning. First, keep your workspace free of food crumbs and avoid eating near your keyboard. Use a keyboard cover to block dust and particles from sneaking in. Regularly use compressed air or a small brush to gently remove loose debris, stopping buildup before it starts. These proactive steps in debris prevention save you time and keep your keyboard functioning smoothly. By committing to these easy routines, you’ll enjoy a cleaner keyboard and a more enjoyable typing experience without the hassle of frequent heavy cleaning.
Dealing With Sticky or Stubborn Residues
Since sticky or stubborn residues can be tough to remove with just a quick wipe, you’ll need a more targeted approach to restore your keyboard’s cleanliness. Start by gently dampening a microfiber cloth with a solution of equal parts water and isopropyl alcohol—this combo breaks down sticky substances without harming your keyboard. For residue removal between keys, use a cotton swab dipped in the solution, carefully working around tight spots. Avoid soaking your keyboard; instead, lightly moisten to prevent damage. If residue persists, a soft-bristled toothbrush can help loosen grime. Patience is key here; tackle sticky buildup bit by bit. This method frees you from harsh chemicals and keeps your keyboard feeling fresh and responsive, letting you maintain control over your cleaning routine.
Tips for Cleaning Mechanical vs. Membrane Keyboards
When you clean your keyboard, it’s important to recognize whether you have a mechanical or membrane model, as each requires a different approach. For mechanical keyboard differences, you’ll want to remove individual keycaps carefully since they’re designed for easy detachment. Use a soft brush or compressed air to clear debris beneath the keys. Avoid soaking the switches; instead, lightly dampen a cloth with your DIY cleaner for the surface. Membrane keyboard care is simpler but more delicate—you shouldn’t remove keys since they’re often glued or fixed. Instead, gently wipe the surface with a damp cloth and avoid excess moisture. By understanding these key distinctions, you’ll keep your keyboard clean without risking damage, freeing you to enjoy your typing experience without hassle.
How Often to Clean Your Keyboard
A keyboard can quickly collect dust, oils, and crumbs, so cleaning it regularly is essential to maintain both hygiene and functionality. Sticking to keyboard maintenance tips can free you from sticky keys and germs. Here are cleaning frequency recommendations to help you take charge:
- Daily: Give your keyboard a quick wipe with a microfiber cloth if you use it heavily.
- Weekly: Use your DIY cleaner to remove surface oils and dirt.
- Monthly: Do a deeper clean, removing keycaps if possible, for thorough sanitation.
- Immediately: Clean spills or visible grime right away to prevent damage.
Storing and Maintaining Your DIY Cleaner Safely
Even if your DIY cleaner is made from simple ingredients, you’ll want to store it properly to keep it effective and safe. Proper cleaning storage guarantees your solution stays potent and prevents accidents, giving you peace of mind and freedom to clean anytime.
Here’s a quick guide for solution safety and storage:
| Storage Tip | Why It Matters | Your Benefit |
|---|---|---|
| Use a labeled bottle | Avoid confusion | Prevents misuse |
| Keep away from heat | Preserves solution | Maintains potency |
| Store out of reach | Safety for everyone | Avoids accidental spills |
Frequently Asked Questions
Can DIY Cleaners Damage the Keyboard’S Backlight or Electronics?
You might worry if DIY cleaners can harm your keyboard’s backlight or electronics, and that’s valid. To protect keyboard safety, you should avoid harsh chemicals and excessive moisture, which can seep inside and cause damage. Keeping your cleaning frequency moderate helps too—cleaning too often or too aggressively increases risk. By choosing gentle solutions and wiping carefully, you maintain your freedom to clean without compromising your keyboard’s delicate components.
What Is the Best Way to Dry the Keyboard After Cleaning?
Drying your keyboard after cleaning can feel like waiting for a thousand years, but you’ve got this! The best drying methods involve gently patting it with a microfiber cloth to avoid scratching delicate keyboard materials. Then, let it air dry completely in a well-ventilated spot—never use a hairdryer or direct heat, as that can warp plastics or damage electronics. This way, your keyboard stays safe and ready for your next adventure.
Are There Specific Ingredients to Avoid in Homemade Cleaners?
You’ll want to avoid toxic substances like bleach, ammonia, or harsh solvents since they can damage surfaces and harm you. Instead, opt for effective alternatives like diluted isopropyl alcohol or gentle vinegar solutions, which clean well without the risk. By choosing safer ingredients, you keep your environment toxin-free and maintain your freedom to create without worrying about harmful chemicals lurking in your homemade cleaners.
How Long Should the Cleaning Solution Be Stored Before Use?
You don’t need to wait long before using your cleaning solution; its shelf life is usually a couple of weeks if stored properly. To keep it fresh, store it in a sealed container away from direct sunlight and heat. This way, you maintain its effectiveness without worrying about it going bad. Just remember, the fresher the solution, the better it works, so don’t let it sit too long before using it.
Can DIY Cleaning Solutions Be Used on Other Electronic Devices?
You can definitely use homemade solutions on other electronic devices, but you’ve got to prioritize electronic safety. Not all DIY cleaners are safe for every gadget, so it’s smart to test a small area first and avoid anything too harsh or liquid-heavy. Your freedom to craft your own cleaners is awesome, just remember to keep your devices safe by using gentle ingredients and applying them carefully to avoid damage or moisture buildup.