DIY Cleaner for Mirror
You can make a streak-free mirror cleaner using distilled water, white vinegar, and isopropyl alcohol. Mix one cup distilled water with two tablespoons vinegar and one teaspoon alcohol in a spray bottle. Use microfiber cloths for application, wiping with gentle, consistent strokes to avoid streaks. Store your mixture in an airtight container away from sunlight. This approach prevents residue build-up and protects mirror backing. For advanced tips and extra uses, you’ll find practical techniques that enhance your cleaning routine.
Ingredients Needed for Homemade Mirror Cleaner

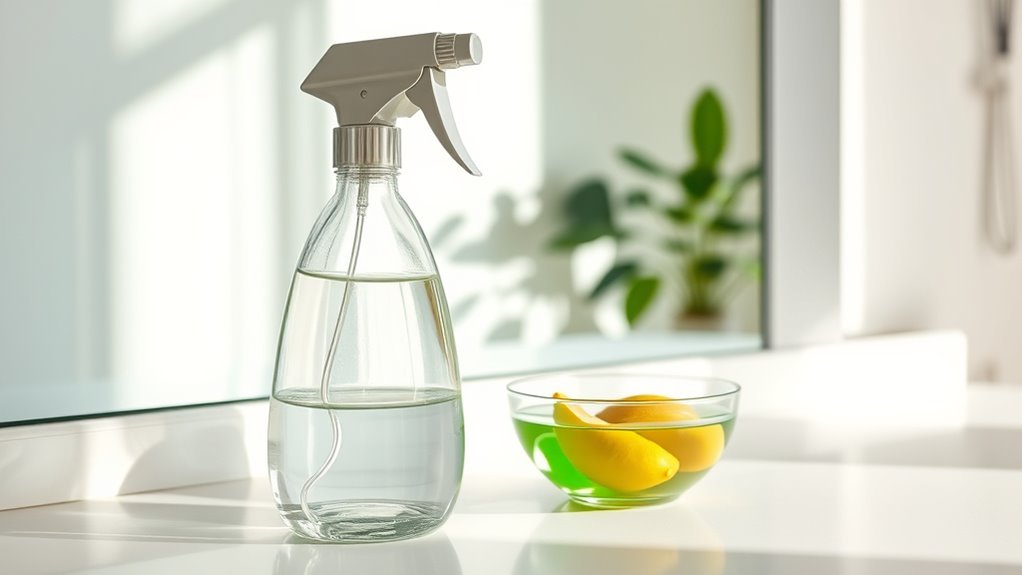
Before you begin mixing your homemade mirror cleaner, you’ll need to gather a few essential ingredients that guarantee effective streak-free cleaning. Start with distilled water to prevent mineral deposits. Add isopropyl alcohol, which accelerates drying and enhances clarity. White vinegar serves as a natural degreaser, ideal for removing residue without harsh chemicals. To maintain eco friendly options, avoid synthetic fragrances or dyes that may harm the environment. A few drops of biodegradable liquid soap can boost cleaning power without compromising safety. Adjust ingredient proportions based on your cleaning frequency—more frequent use may require a gentler formula to protect mirror surfaces. By selecting these components carefully, you ascertain your cleaner is both efficient and aligns with your commitment to sustainable, toxin-free household maintenance.
Step-by-Step Guide to Mixing Your Mirror Cleaner
Start by measuring one cup of distilled water into a clean spray bottle to guarantee your mixture is free from impurities that could leave streaks. Next, add two tablespoons of white vinegar, which acts as a natural degreaser, enhancing your mirror cleaning effectiveness. Follow with one teaspoon of rubbing alcohol to accelerate drying time and prevent smudges. Secure the spray bottle cap tightly and shake the solution gently to make certain all ingredients combine thoroughly. This precise formulation creates an eco friendly solution that’s safe, efficient, and reduces chemical exposure. By controlling your ingredients, you maintain freedom over what touches your surfaces, customizing your mirror cleaner for peak clarity without harmful residues. Keep your DIY cleaner labeled and stored away from direct sunlight to preserve its potency.
Best Tools for Applying Your DIY Cleaner
Choosing the right tools for applying your DIY mirror cleaner is essential to achieving a streak-free finish. Among applicator options, microfiber cloths stand out for their lint-free texture and superior absorbency, allowing you to distribute cleaner evenly without leaving residue. Alternatively, a high-quality spray bottle guarantees controlled application, preventing excess liquid that can cause streaks. If you prefer, a soft sponge can work but must be lint-free and well-rinsed to avoid smearing. Avoid paper towels, as they often leave fibers behind. When selecting cleaning cloths, opt for those specifically designed for glass or mirrors to maximize clarity and ease of use. By choosing appropriate applicator options and cleaning cloths, you maintain control over the cleaning process and optimize your mirror’s reflective quality.
Tips for Achieving a Streak-Free Shine
To achieve a streak-free shine, you’ll want to use an ideal cleaning solution with the right pH balance and no harsh chemicals. Proper wiping techniques, like using a microfiber cloth and consistent, gentle strokes, are essential to avoid residue buildup. Additionally, steering clear of common mistakes—such as cleaning in direct sunlight or using abrasive materials—will guarantee a flawless finish.
Ideal Cleaning Solutions
Although many cleaning products promise a streak-free shine, the ideal solution for mirrors combines effective grease-cutting agents with quick evaporation to prevent residue buildup. When choosing or creating your DIY cleaner, prioritize eco-friendly options like diluted white vinegar or isopropyl alcohol mixtures, which break down oils without harsh chemicals. These ingredients evaporate rapidly, minimizing streaks and water spots. Adding a small amount of liquid castile soap enhances grease removal, while avoiding excess soap concentration prevents film formation. Avoid ammonia-based cleaners if you seek safer, sustainable streak-free solutions. By selecting components with fast drying times and strong degreasing properties, you maintain mirror clarity and extend surface life. This technical balance guarantees your cleaner delivers a flawless, streak-free shine while aligning with your freedom to choose safer, environmentally responsible products.
Proper Wiping Techniques
When wiping your mirror, the technique you use can make all the difference in achieving a streak-free finish. Start by using a microfiber cloth, which minimizes lint and absorbs moisture efficiently. Apply your DIY cleaner evenly, then wipe in a consistent pattern, such as vertical or horizontal strokes, to prevent mirror streaks. Pay close attention to wiping angles; using a slight diagonal motion helps break up residue and avoids redistributing dirt. Avoid circular motions, as they often leave swirl marks. After the initial pass, use a dry, clean section of the cloth to buff the surface, following the same wiping angles for uniformity. With precise wiping techniques, you’ll gain freedom from streaks and enjoy a crystal-clear reflection every time.
Avoiding Common Mistakes
If you want a streak-free shine on your mirror, steering clear of common mistakes is crucial. Mirror cleaning demands attention to detail to guarantee streak prevention and an immaculate finish. Don’t let simple errors undermine your efforts. Here’s how to avoid them:
- Avoid using paper towels; they leave lint and streaks.
- Don’t spray cleaner directly on the mirror to prevent drips.
- Skip cleaning in direct sunlight, which causes rapid drying and streaks.
- Use a microfiber cloth for effective absorption and streak prevention.
- Don’t rush the wiping process; allow the cleaner to settle briefly.
Natural Alternatives to Vinegar and Why to Use Them
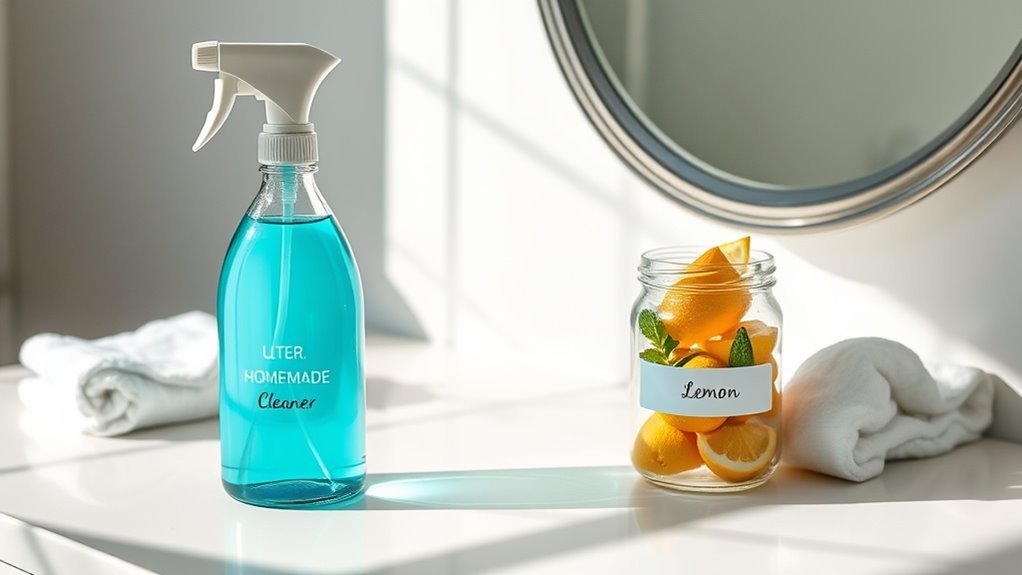
Since vinegar’s strong odor and acidity can sometimes damage delicate mirror surfaces or aggravate respiratory sensitivities, exploring natural alternatives is essential for safer and equally effective cleaning. You might consider eco friendly options like diluted lemon juice, which offers citrus benefits such as natural antibacterial properties and a fresh scent without harsh fumes. Another alternative is using a solution of water and castile soap, providing gentle yet efficient grease removal without compromising the mirror’s coating. Essential oils like tea tree or eucalyptus can enhance antimicrobial action while maintaining an agreeable aroma. These substitutes align with your desire for freedom from harmful chemicals and promote sustainable practices, ensuring your mirror stays spotless and your environment remains healthy and toxin-free.
How to Store Your Homemade Mirror Cleaner Safely
Although homemade mirror cleaners are generally safe, proper storage is essential to maintain their effectiveness and prevent contamination. When handling your DIY solution, follow these safety precautions to guarantee longevity and performance.
Proper storage of homemade mirror cleaners ensures effectiveness and prevents contamination for safe, long-lasting use.
- Use airtight, opaque storage containers to protect the cleaner from light and air exposure.
- Label containers clearly with contents and preparation date to avoid confusion.
- Store in a cool, dry area away from direct sunlight and heat sources.
- Keep the cleaner out of reach of children and pets to prevent accidental ingestion.
- Avoid cross-contamination by using dedicated spray bottles and cleaning tools.
Common Mistakes to Avoid When Cleaning Mirrors
When cleaning mirrors, it’s crucial to avoid common mistakes that can leave streaks, damage surfaces, or reduce the effectiveness of your efforts. First, don’t use abrasive cloths or paper towels, which can scratch the mirror’s surface. Instead, opt for microfiber cloths designed for mirror cleaning techniques. Avoid cleaning mirrors in direct sunlight; heat causes your cleaner to evaporate too quickly, increasing streaks. Overusing cleaning solution also leads to residue buildup—apply just enough to dampen your cloth. Be cautious with harsh chemicals; they can degrade mirror backing over time. For streak prevention tips, always wipe in a consistent, circular or vertical pattern and dry immediately with a clean cloth. These practices guarantee a flawless, streak-free finish while preserving your mirror’s integrity and your freedom to maintain it yourself.
Additional Uses for Your DIY Mirror Cleaner
You can extend the use of your DIY mirror cleaner to other glass surfaces like windows and glass tabletops for streak-free clarity. It’s also effective at breaking down sticky residues, making it ideal for removing adhesives or labels. Additionally, the cleaner works well to polish chrome fixtures, restoring their shine without abrasive damage.
Cleaning Glass Surfaces
Since your DIY mirror cleaner effectively removes streaks and grime from reflective surfaces, it can also be applied to other glass surfaces such as windows, tabletops, and glass doors. For best glass cleaning and streak removal, use your cleaner to:
- Spray evenly on glass surfaces to break down dirt and fingerprints
- Wipe with a lint-free microfiber cloth for a streak-free finish
- Reach corners and edges where dust accumulates
- Use on both interior and exterior glass without residue buildup
- Refresh glass surfaces regularly to maintain clarity and shine
This versatile cleaner offers a chemical-free, eco-conscious alternative for maintaining pristine glass. By mastering these techniques, you gain freedom from harsh chemicals and achieve professional-quality results consistently. Your DIY solution simplifies glass care, ensuring flawless transparency and long-lasting cleanliness.
Removing Sticky Residues
Although primarily designed for mirrors and glass surfaces, your DIY cleaner is also highly effective at removing sticky residues such as adhesive tape remnants, labels, and glue spots. For efficient sticky residue removal, apply the cleaner directly to the affected area and allow it to sit for a few minutes. The cleaner’s formulation softens the adhesive, breaking down its bond without damaging the underlying surface. Then, gently wipe with a microfiber cloth to lift the residue. This method provides an eco-friendly, cost-effective alternative to commercial adhesive residue solutions, giving you control over ingredients and application. Use this approach to maintain clarity and cleanliness on your mirrors and other smooth surfaces, ensuring freedom from stubborn sticky residues without harsh chemicals or excessive scrubbing.
Polishing Chrome Fixtures
When polishing chrome fixtures, your DIY mirror cleaner can serve as an effective, gentle agent that removes water spots, fingerprints, and grime without causing abrasions. Applying proper chrome polishing techniques guarantees a streak-free shine while preserving the surface integrity. For best results, consider these chrome maintenance tips:
- Use a soft microfiber cloth to prevent scratching.
- Apply the cleaner sparingly to avoid residue buildup.
- Work in circular motions to evenly distribute the solution.
- Rinse thoroughly with water and dry immediately to prevent water marks.
- Repeat regularly to maintain the fixture’s luster and prevent corrosion.
Frequently Asked Questions
Can DIY Mirror Cleaner Damage Tinted or Special-Coated Mirrors?
You need to be cautious because tinted mirrors and special coatings can be sensitive to certain chemicals. Using a DIY cleaner with harsh ingredients like ammonia or vinegar might damage these surfaces by stripping or dulling the coating. Instead, opt for gentle, pH-neutral cleaners or specifically formulated solutions to maintain their integrity. Always test a small area first to avoid irreversible harm, ensuring your freedom to clean effectively without compromising your mirror’s unique properties.
How Often Should I Clean Mirrors With Homemade Solutions?
When it comes to cleaning frequency, you should aim for mirror maintenance every one to two weeks to keep surfaces clear and streak-free. However, if you notice smudges or dust buildup sooner, feel free to clean more often. Regular maintenance prevents grime from becoming stubborn, ensuring your mirrors stay in prime condition. Adjust your routine based on usage and environment, but don’t over-clean, as excessive wiping might wear down coatings or finishes.
Is DIY Mirror Cleaner Safe to Use Around Pets and Children?
You’ll want to prioritize pet safety and child safety when using any cleaner. DIY mirror cleaners typically use natural ingredients like vinegar and water, which are less toxic than commercial options. However, it’s essential to store them out of reach and avoid direct contact with pets or children during application. Always test in small areas first, and guarantee good ventilation. This way, you maintain safety without sacrificing cleaning freedom.
Can I Use Essential Oils in My Mirror Cleaner for Fragrance?
Did you know that 90% of people prefer natural scents in their cleaning products? You can definitely add essential oils like lavender, lemon, or eucalyptus to your mirror cleaner for fragrance benefits. These essential oil types not only provide a pleasant aroma but also offer antimicrobial properties. Just be sure to dilute them properly to avoid residue or damage. This way, you’ll keep your space fresh while maintaining a safe, effective cleaner.
What Should I Do if My Mirror Develops Fog After Cleaning?
If your mirror fogs after cleaning, try fog prevention methods like applying a thin layer of shaving cream or using an anti-fog spray designed for glass surfaces. Wipe it off gently to maintain clarity. For mirror maintenance tips, make sure you clean with non-abrasive, streak-free solutions and dry thoroughly to prevent moisture buildup. Proper ventilation in your bathroom also helps reduce fogging, letting you enjoy a clear reflection anytime you want.


