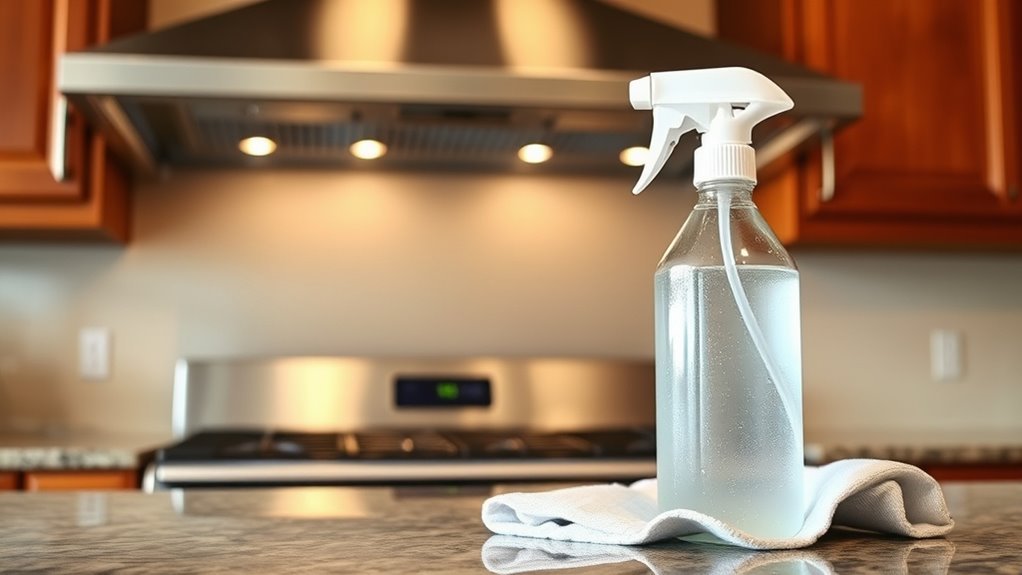
DIY Cleaner for Range Hood Surfaces
You can easily clean your range hood surfaces with a DIY cleaner made from equal parts white vinegar and water, plus a bit of dish soap for extra grease-fighting power. Spray it on, let it sit for a few minutes, then wipe with a soft cloth to avoid scratches. This natural solution cuts grease without harsh chemicals, keeping your kitchen fresh and safe. If you want tips on tough stains and ongoing care, keep exploring.
Why Clean Your Range Hood Regularly
Although you might not notice it right away, cleaning your range hood regularly is crucial to keep your kitchen safe and efficient. When you skip range hood maintenance, grease buildup accumulates, creating a fire hazard and reducing airflow. That sticky layer traps odors and smoke, making your kitchen less fresh and your cooking experience frustrating. By staying on top of cleaning, you guarantee your range hood works at its best, venting out unwanted fumes and keeping the air clear. Plus, regular care extends the life of your appliance, saving you from costly replacements. Taking control of this simple task gives you freedom from kitchen worries and a cleaner, safer space to enjoy your meals and creativity.
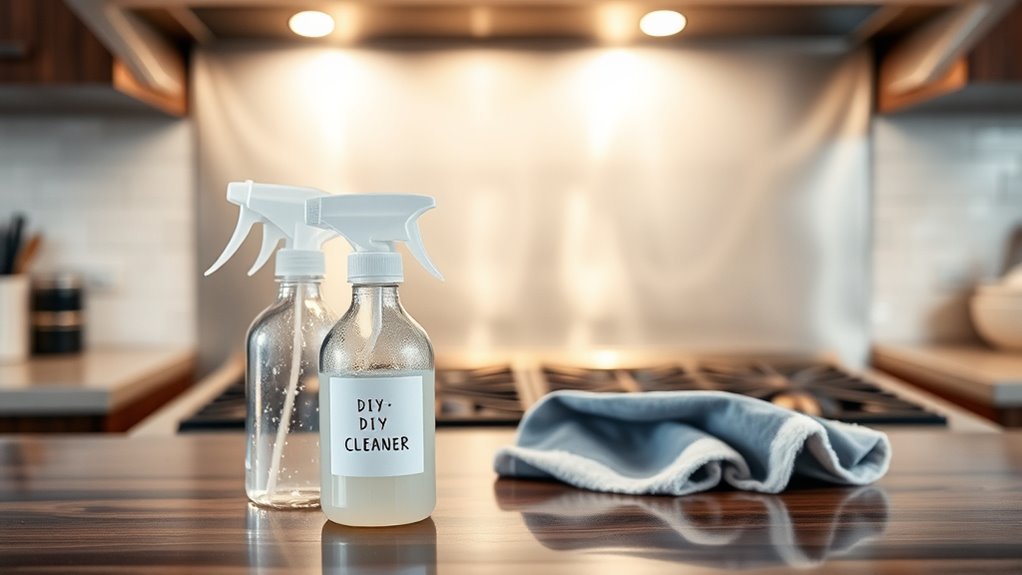
Essential Ingredients for Your DIY Cleaner
To make an effective DIY cleaner for your range hood, you’ll want to focus on a few key ingredients like vinegar, baking soda, and liquid soap. You can choose between natural options that are gentle and safe or commercial cleaners that might offer stronger grease-cutting power. Understanding these choices will help you pick the right formula for your cleaning needs.
Key Cleaning Ingredients
Choosing the right ingredients is key to making an effective DIY cleaner for your range hood surfaces. You want cleaning supplies that cut through grease removal effortlessly without harsh chemicals. Start with white vinegar—it’s a powerhouse for dissolving stubborn grease and is completely natural. Baking soda adds gentle abrasiveness, helping lift grime without scratching your hood’s finish. A few drops of dish soap enhance the formula’s grease-fighting ability by breaking down oils quickly. Mix these with warm water for a simple, effective cleaner you can trust. These ingredients give you freedom from expensive, chemical-laden products while delivering professional-level results. By mastering these essentials, you take control of your cleaning routine, keeping your kitchen fresh and your range hood sparkling with minimal effort.
Natural vs. Commercial Options
When you’re deciding between natural and commercial cleaning options, it helps to weigh their ingredients and effects carefully. Natural ingredients like vinegar, baking soda, and lemon offer a gentle, eco-friendly approach, giving you freedom from harsh chemicals. Commercial cleaners often promise quick results but can contain synthetic substances that may irritate your skin or lungs. Consider what fits your lifestyle best.
| Feature | Natural Ingredients | Commercial Cleaners |
|---|---|---|
| Safety | Non-toxic, skin-friendly | May contain irritants |
| Environmental Impact | Biodegradable, eco-friendly | Often chemical-based |
| Effectiveness | Gentle, requires elbow grease | Quick and strong cleaning |
Choosing natural empowers you to clean with peace of mind, while commercial options trade that for convenience.
Step-by-Step Guide to Making the Cleaner

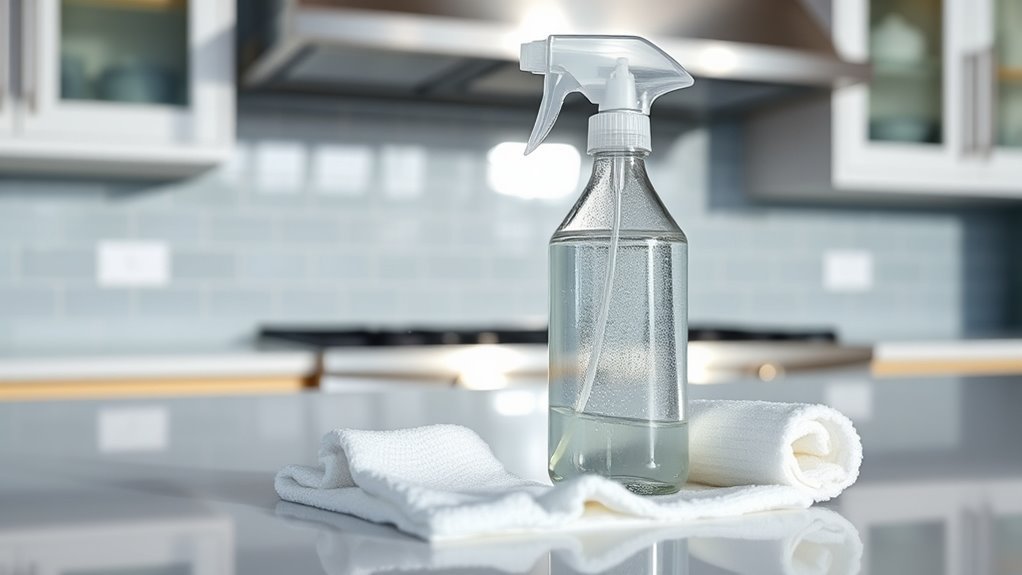
Although making your own cleaner might seem complicated, you’ll find it’s actually quite straightforward. Start by mixing equal parts white vinegar and water in a spray bottle—this powerful combo tackles grease effectively. Add a few drops of your favorite essential oil if you want a pleasant scent. Shake well to blend. This simple DIY alternative harnesses natural cleaning techniques, avoiding harsh chemicals. Next, test the solution on a small, inconspicuous area to verify it’s safe for your range hood’s surface. That’s it! You’ve created a versatile, eco-friendly cleaner that respects your desire for freedom from commercial products. Embracing this process puts you in control, letting you maintain a fresh, spotless kitchen with ease and confidence.
How to Apply the Cleaner Effectively
Spray the DIY cleaner evenly across your range hood’s surface, focusing on greasy or stained areas. To get the best results, use application techniques that allow the cleaner to penetrate grime without wasting product. Let it sit for a couple of minutes to break down the grease. When it’s time to wipe, choose a soft cloth or sponge to avoid scratching. Use effective wiping motions—gentle circular strokes work well to lift dirt without spreading it around. Don’t rush; take your time to guarantee every corner is covered. If needed, reapply the cleaner on stubborn spots and repeat the wiping process. Mastering these application techniques gives you the freedom to keep your range hood spotless without harsh chemicals or extra effort.
Tips for Removing Tough Grease Stains
If grease stains have settled deeply into your range hood, you’ll need a bit more than just a quick wipe to remove them. Tackling stubborn buildup requires patience and the right approach to achieve effective grease removal and keep your kitchen feeling fresh and free. Here are some tips to help you break free from those tough stains:
Deep grease stains on your range hood need patience and the right methods for thorough, lasting removal.
- Use a baking soda paste: Mix baking soda with water to form a thick paste, apply it on the stain, let it sit for 15 minutes, then scrub gently.
- Apply vinegar spray: Spray white vinegar directly onto the grease, allowing it to dissolve the grime before wiping.
- Repeat regularly: Consistent stain prevention by cleaning your range hood weekly prevents grease from becoming unmanageable.
With these strategies, you reclaim your kitchen’s shine without hassle.
Safety Precautions When Cleaning
When cleaning your range hood, make sure you wear protective gear like gloves and goggles to keep your skin and eyes safe. You’ll also want to work in a well-ventilated area to avoid inhaling any strong fumes from your DIY cleaner. Taking these steps helps prevent accidents and keeps the process safe.
Protective Gear Importance
Wearing protective gear is essential to keep you safe while cleaning your range hood surfaces. You want to enjoy the freedom of a spotless kitchen without risking your health. Putting safety first means you’re not just protecting yourself but also setting a standard for care and responsibility.
Here’s what you shouldn’t skip:
- Gloves to shield your skin from harsh DIY cleaner ingredients
- Goggles to protect your eyes from unexpected splashes
- A mask to avoid inhaling any irritants or fumes
Ventilation and Chemical Use
Along with putting on protective gear, ensuring proper ventilation is key to staying safe while using DIY cleaners on your range hood. You want to maximize ventilation efficiency by opening windows and turning on exhaust fans to clear out fumes quickly. This prevents buildup of potentially harmful vapors and keeps your breathing easy. Choosing chemical alternatives like vinegar, baking soda, or lemon juice not only cuts down on harsh toxins but also supports your freedom from relying on commercial products filled with unknown ingredients. These natural options clean effectively without compromising indoor air quality. Remember, combining good ventilation with safe, non-toxic ingredients lets you enjoy a cleaner kitchen and peace of mind. You’re in control of both your cleaning power and your health.
Eco-Friendly Benefits of Homemade Cleaners
Since you’re likely concerned about both your health and the environment, homemade cleaners offer a smart alternative to commercial products. By choosing sustainable materials, you reduce your environmental impact and create a safer space for yourself and loved ones. Using DIY cleaners means you’re not tied down by harsh chemicals or wasteful packaging, giving you freedom and control over what you bring into your home. Plus, the eco-friendly benefits extend beyond just cleaning:
- You minimize plastic waste by reusing containers.
- You avoid toxic substances that harm air quality.
- You support a lifestyle that respects natural resources.
Making your own cleaner empowers you to protect your home and the planet simultaneously, aligning your cleaning routine with your values of freedom and sustainability.
Maintaining Your Range Hood Between Deep Cleans
Although deep cleans are essential, keeping your range hood in good shape between them is just as important. You want to enjoy the freedom of a fresh kitchen without the hassle of stubborn grease buildup. Stick to a regular maintenance routine by wiping down surfaces weekly with your DIY cleaner. This simple habit prevents grime from settling and keeps odors at bay. Establish a cleaning schedule that fits your lifestyle—whether it’s every few days or once a week—to stay ahead of dirt and grease. Don’t forget to check and clean filters regularly; they play a significant role in your range hood’s efficiency. With consistent care, your range hood will stay reliable and fresh, letting you focus on what matters most: cooking freely and confidently.
Frequently Asked Questions
Can I Use This Cleaner on Stainless Steel or Only Painted Surfaces?
You can definitely use this cleaner on stainless steel as well as painted surfaces. It’s gentle enough to protect painted finishes while still cutting through grease on stainless steel without causing damage. You don’t have to worry about harsh chemicals stripping the shine or ruining the paint. This gives you the freedom to keep all your range hood surfaces sparkling clean, no matter what material they’re made from. Just spray, wipe, and enjoy the results!
How Often Should I Replace My DIY Cleaner Solution?
Think of your DIY cleaner like the sunrise—it’s new and vibrant but fades with time. To keep your cleaning frequency effective and guarantee solution freshness, replace your mixture every one to two weeks. This way, you maintain its power to cut through grime without losing its essence. Embrace this rhythm, and you’ll keep your surfaces bright and your cleaning routine as liberating as a refreshing breath.
Will This Cleaner Damage the Range Hood’S Filters?
You won’t have to worry about damaging your range hood’s filters as long as you’re mindful of the filter material. Some materials, like aluminum or stainless steel, handle gentle cleaners well, but others might be more sensitive. Adjust your cleaning frequency to avoid buildup, which makes cleaning tougher. By sticking to a regular schedule and using a mild solution, you maintain freedom in your cleaning routine without risking harm to your filters.
Can I Store the DIY Cleaner for Months Without Losing Effectiveness?
You might worry the cleaner won’t stay fresh for long, but if you store it right, its effectiveness lasts. Cleaner longevity depends heavily on storage conditions—keep it in a cool, dark place, tightly sealed to avoid air exposure. This way, you’re free to make it ahead and use it whenever you want, without constantly mixing new batches. Proper storage means you’re never stuck without a reliable cleaner on hand.
Is This Cleaner Safe to Use on Other Kitchen Appliances?
You’ll find that this cleaner offers great kitchen appliance compatibility, making it safe to use on most surfaces like stainless steel, glass, and ceramic. When considering cleaning product safety, just test a small hidden area first to avoid any damage. Since it’s made from gentle ingredients, it respects your appliances while giving you the freedom to clean confidently without harsh chemicals. Just avoid porous materials to keep everything spotless and safe.


