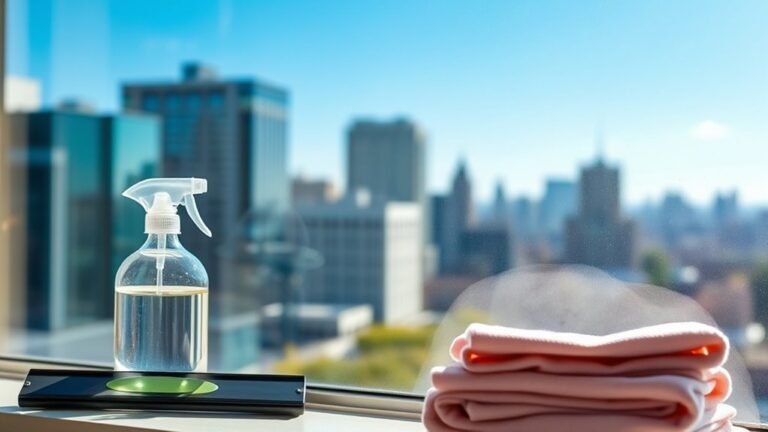
DIY Cleaner for Stains
You can tackle stains effectively using common household ingredients like baking soda, white vinegar, lemon juice, and hydrogen peroxide. Mix white vinegar with water, spray on stains, then cover with baking soda to lift dirt. Lemon juice works well for natural bleaching on durable fabrics, while a hydrogen peroxide and dish soap blend targets pigment and grease stains. Always test solutions on hidden fabric spots first. For detailed formulations and specific stain removal tips, keep exploring these proven methods.
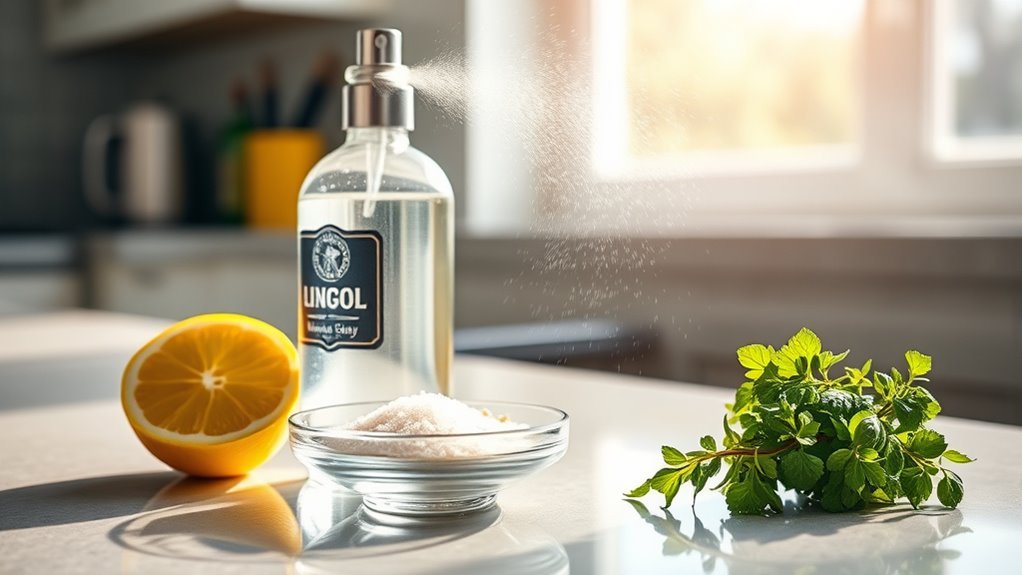
Common Kitchen Ingredients for DIY Stain Cleaners
Although commercial stain removers are widely available, you can effectively tackle stains using common kitchen ingredients like baking soda, white vinegar, and lemon juice. Baking soda acts as a mild abrasive and pH neutralizer, making it a versatile natural alternative for breaking down stains without harsh chemicals. White vinegar’s acetic acid dissolves mineral deposits and organic compounds, effectively lifting stains while deodorizing. Lemon juice contains citric acid, which serves as a natural bleaching agent, ideal for brightening fabrics and surfaces. By utilizing these natural alternatives, you maintain control over the cleaning process, minimizing exposure to synthetic additives. This approach empowers you to preserve your environment and health, all while achieving professional-grade stain removal results through precise, science-backed methods. Additionally, these ingredients are eco-friendly alternatives that reduce health risks and environmental impact.
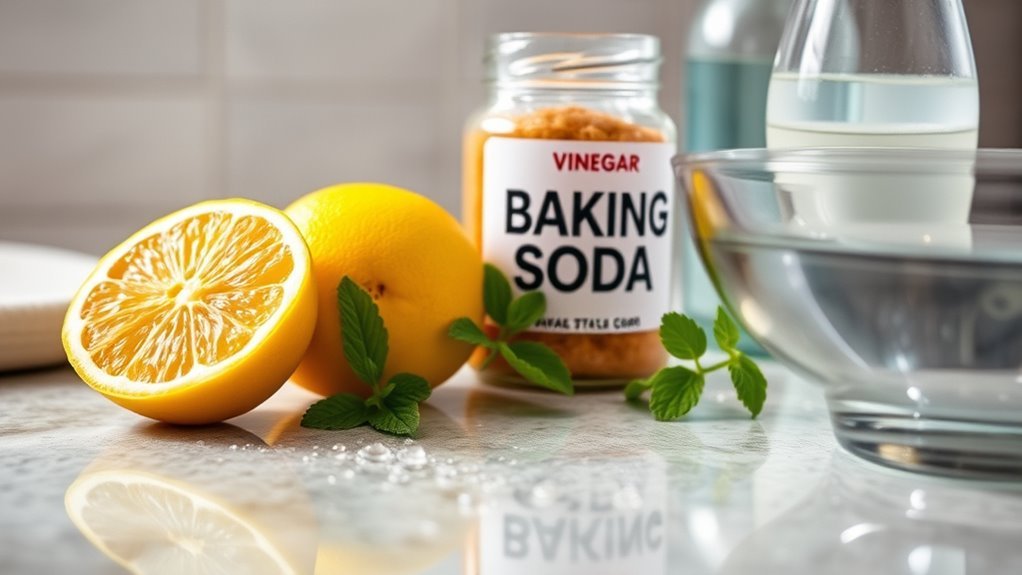
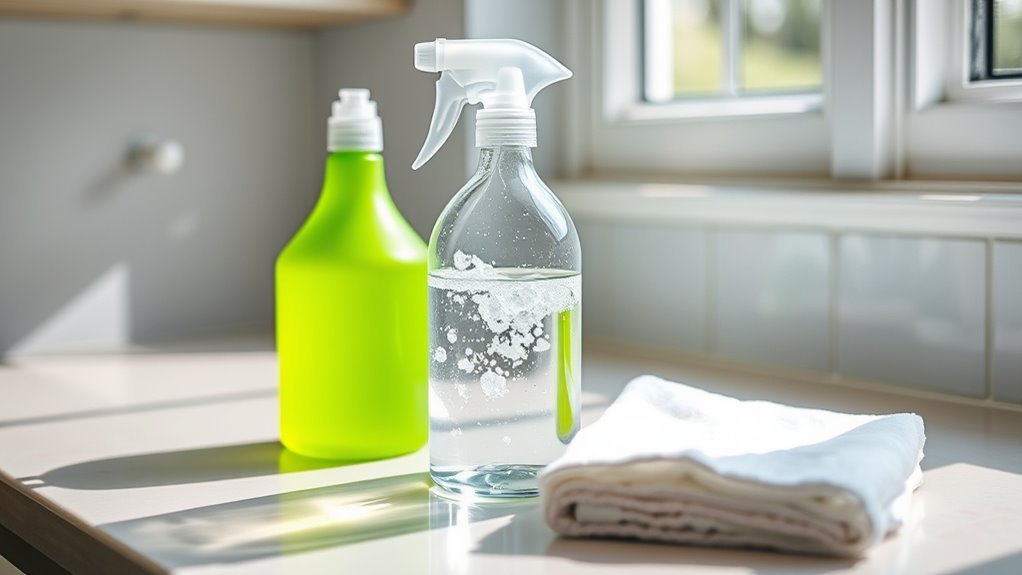
How to Make a Vinegar and Baking Soda Stain Remover
To create an effective vinegar and baking soda stain remover, you’ll need just white vinegar, baking soda, and water. Follow specific application steps to guarantee the chemical reaction targets and lifts stains efficiently. Proper mixing and timing are essential for ideal stain removal results. Always test a small area first to ensure surface safety before applying the solution extensively.
Ingredients Needed
Creating an effective vinegar and baking soda stain remover requires just a few simple, readily available ingredients. You’ll need distilled white vinegar, a natural alternative to harsh chemicals, valued for its acidity and stain-lifting properties. Baking soda, a mild abrasive and deodorizer, complements vinegar perfectly, creating an effective mixture that tackles a wide range of stains. Additionally, have clean water on hand to dilute the vinegar, ensuring a balanced solution that won’t damage fabrics or surfaces. Optional but recommended is a few drops of liquid dish soap, enhancing grease-cutting capabilities without compromising the natural integrity of your cleaner. By combining these natural alternatives precisely, you gain an eco-friendly, cost-efficient stain remover that empowers you to maintain freedom from commercial chemical products.
Application Steps
Start by measuring equal parts distilled white vinegar and water into a clean spray bottle. Next, prepare a small bowl of baking soda. To effectively tackle various stain types, follow these application techniques:
- Spray the vinegar solution directly onto the stain, ensuring full coverage without oversaturation.
- Sprinkle baking soda over the sprayed area promptly; the chemical reaction loosens dirt and lift stains.
- Let the mixture sit for 10–15 minutes, then gently scrub with a brush or cloth before rinsing with cold water.
Using Lemon Juice for Natural Stain Removal

Lemon juice contains natural acids that effectively break down and lift stains without harsh chemicals. You’ll want to apply it directly to the stain, let it sit briefly, then rinse thoroughly to avoid residue. However, be cautious using lemon juice on delicate fabrics or colored materials, as it can cause discoloration or damage. For tougher stains, gently blot the area after applying lemon juice and rinse with cold water before laundering for an eco-friendly stain removal method.
Benefits of Lemon Juice
Although many commercial stain removers contain harsh chemicals, you’ll find that lemon juice offers a natural, effective alternative due to its high acidity and natural bleaching properties. Lemon juice’s cleaning benefits make it an excellent choice for those seeking freedom from synthetic additives while maintaining stain removal efficiency. Here are three key benefits:
- Powerful Acidic Action: The citric acid in lemon juice breaks down stain molecules, facilitating easier removal without damaging fabrics.
- Natural Bleaching Agent: Its mild bleaching effect lightens stains and restores fabric brightness without harsh chemicals.
- Antibacterial Properties: Lemon juice inhibits bacterial growth, enhancing cleanliness and reducing odors in treated areas.
Using lemon juice harnesses nature’s chemistry, providing you with a safe, eco-friendly cleaning solution that respects your health and the environment.
How to Apply Lemon
To maximize the stain-removing power of lemon juice, you’ll need to apply it correctly to guarantee effective penetration and reaction with the stain. First, cut a fresh lemon and extract the juice, ensuring you include some lemon pulp for added enzymatic action. Next, apply the juice directly onto the stain, gently rubbing in circular motions to allow the natural acids to break down the discoloration. For enhanced results, incorporate a small amount of lemon zest; the oils contain potent cleaning agents that support stain degradation. Let the mixture sit for 10–15 minutes to allow the acid and enzymes to work effectively. Finally, rinse the area with cold water to remove residue and prevent re-staining. This method leverages lemon’s natural components for precise, eco-friendly stain removal.
Precautions for Use
When you handle lemon juice for stain removal, you should be aware of its acidic nature that can cause damage to certain fabrics and surfaces. To guarantee safe and effective use, perform sensitivity testing on a discreet area first. This confirms surface compatibility and prevents irreversible damage.
Follow these precautions:
- Sensitivity Testing: Apply a small amount of lemon juice to an inconspicuous spot; wait 10 minutes to check for discoloration or fabric weakening.
- Surface Compatibility: Avoid using lemon juice on delicate materials like silk, wool, or polished wood that may react adversely.
- Sunlight Exposure: Be cautious applying lemon juice on colored fabrics exposed to direct sunlight, as it can lead to bleaching.
These steps guarantee you maintain the freedom to use lemon juice safely in your natural stain removal routine.
Creating a Hydrogen Peroxide and Dish Soap Solution
Since hydrogen peroxide and dish soap each have unique stain-removing properties, combining them creates a powerful cleaning solution. To prepare it, mix 1/2 cup of 3% hydrogen peroxide with 1 teaspoon of liquid dish soap in a clean container. The hydrogen peroxide acts as a mild oxidizer, breaking down organic stains, while the dish soap emulsifies oils and lifts dirt. Stir gently to avoid excessive foaming, ensuring a homogeneous blend. You’ll want to use this solution promptly, as its potency diminishes over time. Always test on an inconspicuous area to confirm fabric compatibility. This precise combination gives you freedom from commercial chemicals, empowering you to tackle stains effectively with a DIY approach. Store any unused portion in a dark bottle to preserve hydrogen peroxide’s stability. For enhanced cleaning power and a pleasant scent, consider adding a few drops of essential oils to your solution.
Tips for Removing Specific Types of Stains
Although stain types vary widely, understanding their chemical composition is key to selecting the most effective removal method. You’ll find that targeting the stain’s unique properties accelerates removal and preserves fabric integrity.
- Wine stains: These contain tannins and pigments. Apply a solution of hydrogen peroxide and dish soap immediately to break down pigments and prevent set-in stains. Avoid heat until fully removed.
- Grease stains: Composed of lipids, they respond well to surfactants in dish soap which emulsify oils. Pre-treat with a concentrated dish soap solution before laundering.
- Protein-based stains (e.g., blood, sweat): Use enzymatic cleaners or a cold water rinse with dish soap, as heat can coagulate proteins, making stains harder to remove.
Promptly blotting spills with an absorbent cloth helps prevent stains from setting and makes removal easier.
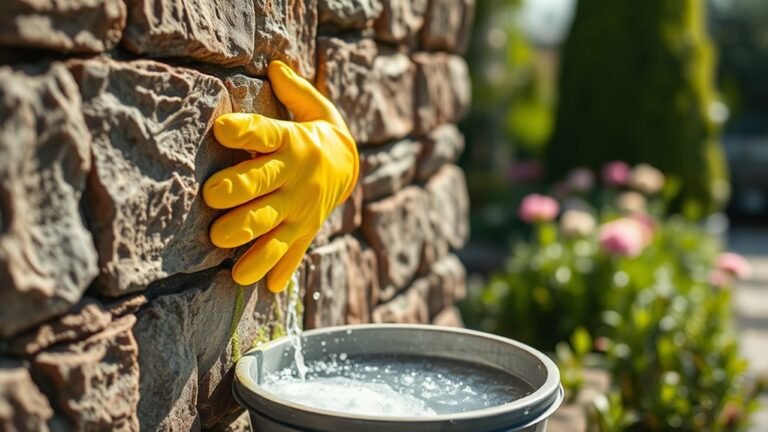
Safety and Storage Tips for Homemade Cleaners
Because homemade cleaners often contain reactive ingredients, you need to handle and store them with care to secure safety and maintain their effectiveness. Prioritize cleaning safety by always labeling your solutions clearly, including the date of preparation and contents. Use airtight, chemical-resistant storage containers—preferably glass or high-density polyethylene—to prevent degradation or reactions. Avoid repurposing food containers, as residues can cause contamination or accidents. Store your cleaners away from heat, direct sunlight, and out of reach of children or pets. Never mix different homemade solutions unless specified, as unintended chemical reactions may occur. By adhering to these guidelines, you verify your DIY cleaners remain potent and safe, granting you the freedom to clean effectively without risking harm or reduced efficiency. Additionally, consider using childproof containers to prevent accidental spills or ingestion, especially in homes with toddlers.
Frequently Asked Questions
Can DIY Cleaners Damage Delicate Fabrics?
Yes, you can damage delicate fabrics if you’re not careful. Fabric sensitivity varies, so understanding your material is essential. Some cleaner ingredients, like bleach or strong acids, can weaken fibers or cause discoloration. Always test a small area first. Opt for mild, pH-balanced solutions and avoid harsh abrasives. By selecting appropriate ingredients and respecting fabric sensitivity, you maintain your freedom to clean effectively without compromising your garments.
How Long Do Homemade Stain Removers Last?
Homemade stain removers typically have a shelf life of one to two weeks due to the absence of preservatives. To maximize their effectiveness, you should store them in airtight, opaque containers away from direct sunlight and heat sources. Proper storage helps maintain chemical stability and potency. Remember, if the solution changes color, consistency, or smell, it’s best to discard it to guarantee safety and cleaning efficiency.
Are These DIY Cleaners Safe for Pets?
You want effective cleaning, yet you need pet safe ingredients—two priorities that can seem at odds. When choosing cleaning alternatives, always verify each component’s toxicity level. Ingredients like vinegar, baking soda, and mild castile soap are generally safe for pets if used correctly. However, avoid essential oils and harsh chemicals. By understanding the precise properties of each ingredient, you guarantee both a clean space and your pets’ safety, granting you freedom without compromise.
Can I Use These Stain Removers on Upholstery?
You can use stain removers on upholstery, but it depends on the upholstery types and their specific fabric care requirements. Always test a small, inconspicuous area first to guarantee the cleaner won’t cause discoloration or damage. Natural fibers like cotton or linen may react differently than synthetics like polyester. Following manufacturer guidelines and using appropriate cleaners guarantees you maintain fabric integrity while effectively removing stains, giving you the freedom to refresh your upholstery safely.
Do DIY Stain Removers Work on Old, Set-In Stains?
When tackling old, set-in stains, you’ll find effectiveness varies considerably between methods. DIY stain removers can be effective but often require repeated applications and patience. Compared to commercial products, their stain removal techniques might be less potent due to lower concentrations of active ingredients. However, with the right formula and persistence, you can achieve satisfying results, giving you freedom from harsh chemicals while restoring your fabric’s appearance efficiently.