DIY Cleaner for Toilet Surfaces
You can make an effective DIY cleaner for toilet surfaces using simple ingredients like baking soda and white vinegar. Just sprinkle baking soda in the bowl, pour vinegar over it, let it fizz for 10 minutes, scrub, then flush. For tough stains, try mixing lemon juice with borax, leaving it on, then scrubbing. These homemade cleaners are eco-friendly, budget-friendly, and safe. Keep your toilet sparkling by following easy steps and smart habits—you’ll find plenty more tips ahead.
Benefits of Using Homemade Toilet Cleaners
Although store-bought cleaners might seem convenient, homemade toilet cleaners offer several benefits you’ll appreciate. When you make your own cleaner, you take control of your toilet hygiene, ensuring it’s effective without harsh chemicals. This freedom means you can tailor your solution to suit your needs, avoiding unnecessary additives. Plus, homemade cleaners save you money by using simple, affordable ingredients you probably already have. The cost savings add up over time, freeing you from constant trips to the store and pricey products. By choosing DIY cleaners, you also reduce waste, supporting a more sustainable lifestyle. Embracing homemade solutions empowers you to maintain a clean toilet while enjoying greater independence and smarter spending habits.
Essential Ingredients for DIY Toilet Cleaning Solutions
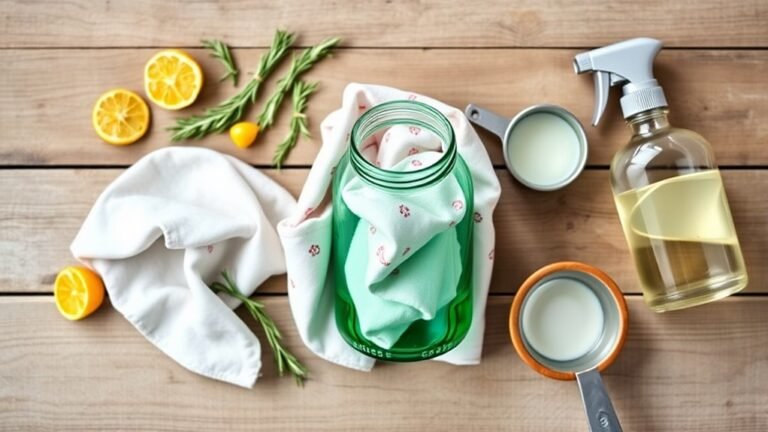
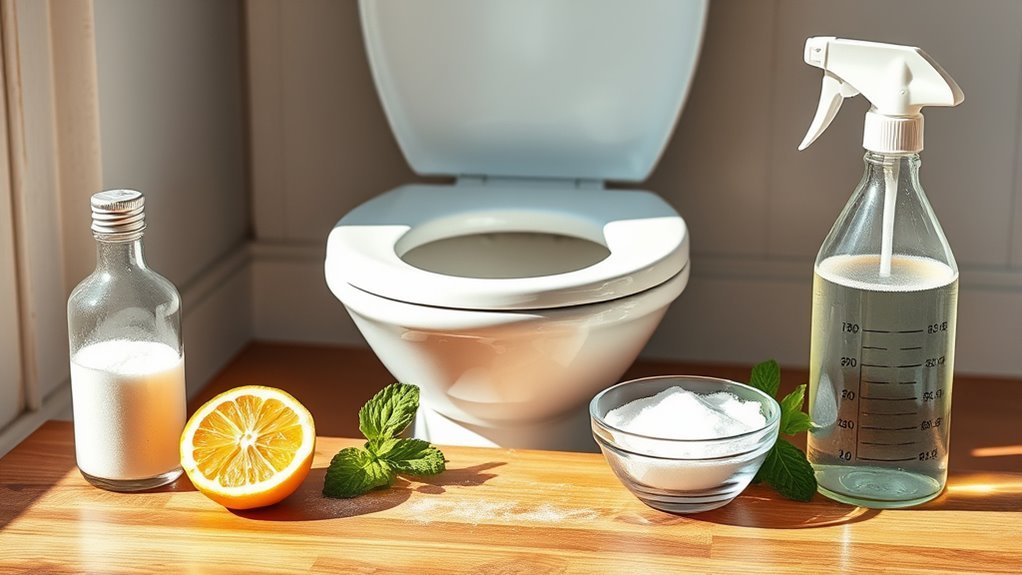
Choosing the right ingredients is key to making an effective DIY toilet cleaner. When you rely on natural ingredients, you not only boost cleaning effectiveness but also gain the freedom to avoid harsh chemicals. Here are five essential ingredients to take into account:
- Baking soda: A gentle abrasive that deodorizes and scrubs away grime.
- White vinegar: Cuts through mineral deposits and disinfects naturally.
- Lemon juice: Provides a fresh scent and dissolves stains with its acidity.
- Castile soap: Adds a mild cleansing action without synthetic additives.
- Essential oils: Offer antibacterial properties and pleasant fragrances.
Using these natural ingredients empowers you to customize your cleaner, ensuring your toilet sparkles without compromising your values or health.
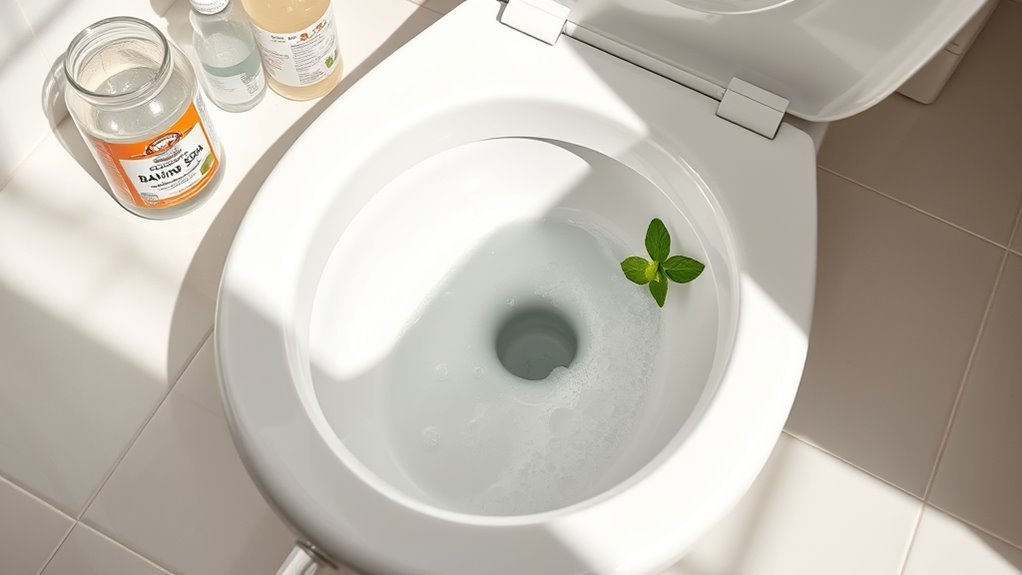
How to Make a Baking Soda and Vinegar Toilet Cleaner
To make a baking soda and vinegar toilet cleaner, you’ll need just a few simple ingredients: baking soda, white vinegar, and water. Start by sprinkling baking soda inside the toilet bowl, then pour in the vinegar to create a fizzing reaction. Let it sit for a few minutes before scrubbing and flushing to leave your toilet fresh and clean.
Ingredients Needed
You’ll only need a few simple ingredients to make an effective baking soda and vinegar toilet cleaner. Choosing natural alternatives like these not only boosts your cleaning efficacy but also gives you the freedom to avoid harsh chemicals. Here’s what you’ll want to gather:
- Baking soda: a gentle abrasive that tackles stains
- White vinegar: breaks down mineral deposits and kills bacteria
- Liquid castile soap: adds extra grease-cutting power
- Essential oils (like tea tree or lavender): for a fresh scent and extra antimicrobial benefits
- A spray bottle or container: to mix and store your cleaner
With these ingredients, you’re all set to create a powerful, eco-friendly solution that cleans thoroughly without compromising your health or the environment.
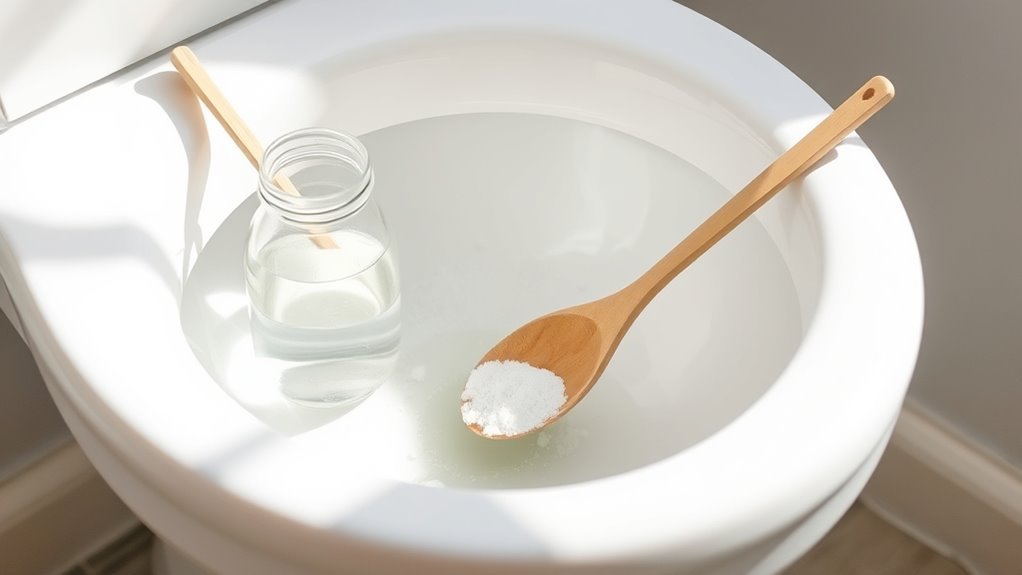
Cleaning Steps
Start by sprinkling baking soda generously around the inside of the toilet bowl. Next, pour white vinegar over the baking soda; it will fizz, breaking down stains and grime naturally. Let it sit for 10 minutes to work its magic. Use effective toilet brush techniques—scrub under the rim and down the drain to remove buildup. Flush to rinse away residue. For lasting freshness, follow cleaning frequency recommendations: clean your toilet at least once a week.
| Step | What to Do | Tips |
|---|---|---|
| 1 | Sprinkle baking soda | Cover entire bowl surface |
| 2 | Pour vinegar | Wait for fizz to subside |
| 3 | Scrub with toilet brush | Focus on under the rim |
Stick to this routine for a free, fresh toilet!
Using Hydrogen Peroxide for Disinfecting Toilet Surfaces
You can use hydrogen peroxide as an effective disinfectant for your toilet surfaces because it kills germs without harsh chemicals. To apply it, just spray it directly onto the area, let it sit for a few minutes, then wipe clean. Remember to handle it carefully and store it away from sunlight to keep it safe and effective.
Benefits of Hydrogen Peroxide
Hydrogen peroxide offers a powerful and natural way to disinfect toilet surfaces without harsh chemicals. Thanks to its unique hydrogen properties, it breaks down into water and oxygen, leaving no harmful residues. This means you can keep your bathroom clean and safe while enjoying the freedom of using eco-friendly products. Its disinfecting effectiveness rivals many commercial cleaners, making it a smart choice for your DIY routine.
Here’s why you’ll love using hydrogen peroxide:
- Kills bacteria, viruses, and fungi efficiently
- Non-toxic and safe for your family and pets
- Environmentally friendly and biodegradable
- Odorless and gentle on surfaces
- Affordable and easy to find
Switching to hydrogen peroxide gives you control over your cleaning without compromising on power or safety.
Application Techniques
Apply hydrogen peroxide directly to toilet surfaces using a spray bottle for even coverage and easy control. This method guarantees the disinfectant reaches all nooks and crannies, enhancing its effectiveness. Let it sit for at least 10 minutes to allow thorough sanitization. You can combine this with gentle scrubbing for stubborn stains.
Here’s a quick guide to application methods and cleaning techniques:
| Application Method | Purpose |
|---|---|
| Spray Bottle | Even distribution, easy use |
| Let Sit (10 minutes) | Maximum disinfecting effect |
| Scrubbing with Brush | Removes stubborn grime |
Using these techniques, you’ll keep your toilet surfaces fresh and germ-free with minimal effort and total freedom.
Safety Precautions
While using a spray bottle and letting the solution sit are effective ways to clean, it’s important to keep safety in mind when handling hydrogen peroxide. You want to avoid exposure to toxic ingredients and protect yourself properly. Here’s how to stay safe and enjoy your freedom from harsh chemicals:
- Always wear personal protective gear like gloves and goggles to prevent skin and eye irritation.
- Use hydrogen peroxide in a well-ventilated area to avoid inhaling fumes.
- Never mix it with bleach or ammonia; toxic gases can form.
- Store hydrogen peroxide away from direct sunlight and heat to maintain efficacy.
- Keep it out of reach of children and pets to prevent accidental ingestion.
Lemon Juice and Borax: A Natural Stain Remover
Although you might not realize it, combining lemon juice and borax creates a powerful, natural stain remover for your toilet surfaces. The lemon advantages include its natural acidity, which breaks down stubborn stains and leaves a fresh scent. Borax effectiveness lies in its ability to act as a gentle abrasive and disinfectant, tackling grime without harsh chemicals. When you mix these two, you get a cleaner that’s both tough on stains and safe for your home environment. This combo lets you maintain your toilet’s sparkle while embracing a more natural, eco-friendly approach—perfect for those who want cleaning freedom without relying on commercial products. It’s a simple, effective way to keep your bathroom fresh and clean with ingredients you can trust.
Step-by-Step Guide to Applying Your DIY Cleaner

To get the best results from your DIY lemon juice and borax cleaner, you’ll want to follow a few simple steps. This homemade solution makes toilet cleaning easy and effective, giving you freedom from harsh chemicals.
Discover how to easily clean your toilet naturally with a simple lemon juice and borax solution.
- Sprinkle borax inside the toilet bowl, focusing on stains.
- Pour fresh lemon juice over the borax to create a fizzing action.
- Let the mixture sit for 10-15 minutes to break down grime.
- Scrub the bowl thoroughly with a toilet brush, reaching all surfaces.
- Flush the toilet to rinse away residue and reveal a sparkling finish.
Tips for Maintaining a Sparkling Clean Toilet
Once you’ve cleaned your toilet with the lemon juice and borax mixture, keeping it sparkling is much easier. To maintain that clean feel, stick to a simple toilet cleaning schedule—clean at least once a week to prevent buildup and stains. Incorporate quick daily habits like wiping the seat and handle to reduce germs. Toilet maintenance tips like using a toilet brush regularly and addressing stains promptly will save you time and effort down the road. Don’t wait for grime to develop; staying consistent means less scrubbing and more freedom from harsh chemicals. With these straightforward steps, your toilet won’t just look clean—it’ll feel like a breath of fresh cleanliness every day.
Safety Precautions When Using Homemade Cleaners
While homemade cleaners can be effective and eco-friendly, you should always handle them with care to avoid accidents or damage. Prioritizing homemade safety is key to enjoying the freedom of DIY solutions without risks. Here are essential cleaner precautions to keep in mind:
- Always label your homemade cleaners clearly to avoid misuse.
- Store them out of reach of children and pets.
- Avoid mixing ingredients, especially vinegar and bleach, which can create harmful fumes.
- Use gloves to protect your skin from irritation or allergic reactions.
- Ventilate the area well during and after cleaning to reduce inhalation risks.
Eco-Friendly Ways to Dispose of Toilet Cleaning Residue
Although toilet cleaning residue may seem harmless, disposing of it responsibly is essential for protecting the environment. You can embrace eco friendly disposal methods by composting residues that are biodegradable or neutralizing chemicals before discarding. Here’s a quick guide to keep your cleaning routine green and free:
| Method | Description | Benefits |
|---|---|---|
| Composting Residues | Use plant-based cleaners only | Reduces landfill waste |
| Dilution & Drain | Dilute with plenty of water | Less chemical impact |
| Safe Trash Disposal | Seal residues in biodegradable bags | Prevents soil contamination |
| Avoid Harsh Chemicals | Choose natural ingredients | Safer for ecosystems |
Frequently Asked Questions
Can DIY Cleaners Damage Toilet Seals or Plumbing?
Did you know that 30% of toilet repairs stem from seal damage? If you’re wondering whether your cleaning habits affect toilet seal integrity, they absolutely can. Using harsh or acidic substances might harm seals or plumbing material compatibility, leading to leaks or corrosion. To keep your freedom from costly repairs, choose gentle, compatible cleaners. That way, you maintain your toilet’s durability while keeping your cleaning routine safe and effective.
How Often Should I Deep Clean My Toilet With Homemade Solutions?
You should aim for a toilet cleaning frequency of about once a week to keep things fresh and hygienic. Using homemade cleaning recipes not only saves money but gives you control over the ingredients, so you avoid harsh chemicals. If you want extra freedom, deep clean a bit more often—maybe twice a week—especially if you have guests or a busy household. Just trust your instincts and keep your space feeling clean and comfortable!
Are These DIY Cleaners Safe for Septic Systems?
Think of your septic system like a delicate garden—introduce harsh chemicals, and it can wither. Fortunately, many DIY cleaners use eco-friendly options like vinegar and baking soda, which are generally safe for septic system safety. These natural ingredients won’t disrupt the beneficial bacteria that keep your system running smoothly, giving you freedom from worries about damage while keeping things clean and green. Just avoid excessive use of harsh additives to maintain balance.
Can I Store Homemade Toilet Cleaner for Future Use?
You can store your homemade toilet cleaner for future use, but keeping a few storage tips in mind will help maintain cleaner longevity. Use a sealed, labeled container and keep it in a cool, dark place away from direct sunlight. This prevents the ingredients from breaking down too quickly. Also, avoid storing it for more than a month or two, as natural ingredients tend to lose effectiveness over time. This way, you enjoy freedom without worrying about wasted cleaner!
What Natural Scents Can I Add to Homemade Toilet Cleaners?
You can boost your homemade cleaner with essential oils to make it smell amazing and fresh. Lavender, lemon, eucalyptus, and tea tree oils are popular choices that not only scent your space but also add natural antibacterial benefits. Feel free to experiment with scent combinations like peppermint and orange or rosemary and lemon to match your vibe. Since you’re in control, you can mix and match oils to craft a scent that’s uniquely yours.