DIY Cleaner for Walls
You can make a simple, effective DIY wall cleaner using common ingredients like white vinegar, baking soda, liquid dish soap, and warm water. Mix these in a spray bottle or bucket, depending on your cleaning tools and wall type. Always test it on a small hidden spot to avoid damage. This gentle solution helps remove dirt and stains while keeping your walls safe. Keep going to discover the best mixes for different wall surfaces and tough stain tips.
Essential Ingredients for Homemade Wall Cleaners
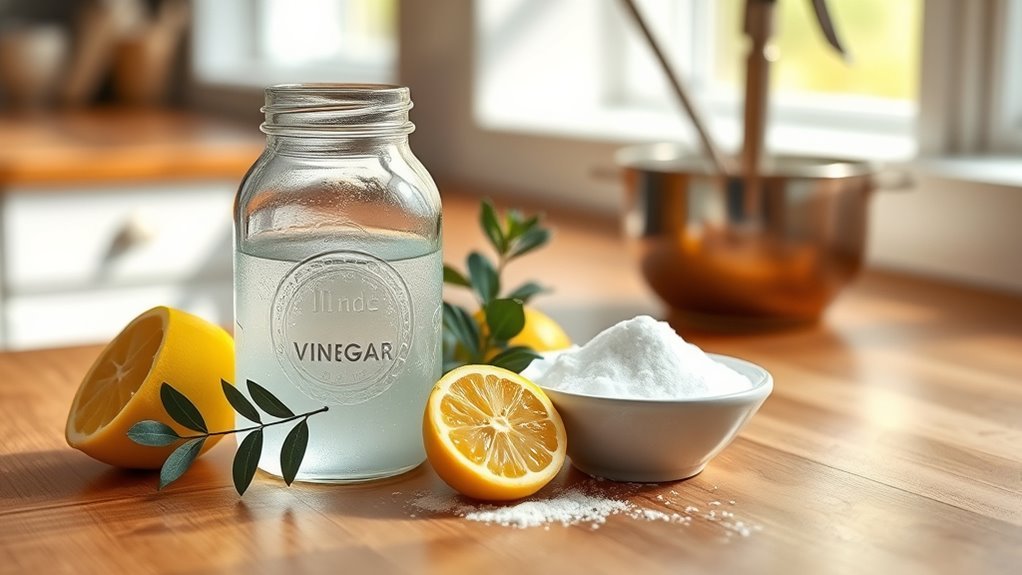
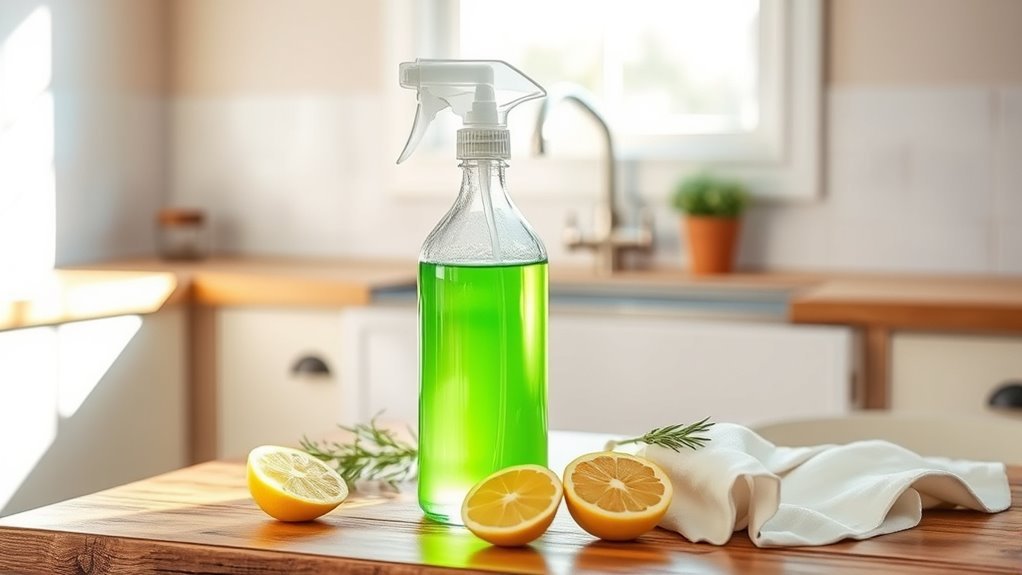
Although you can find many commercial wall cleaners, making your own lets you control the ingredients and avoid harsh chemicals. When choosing essential ingredients for homemade wall cleaners, natural alternatives like white vinegar, baking soda, and castile soap are fantastic choices. These components not only clean effectively but also respect your space and health. You’ll appreciate how combining these natural alternatives with effective techniques—such as gentle scrubbing and spot testing—ensures your walls stay pristine without damage. Essential oils can add a fresh scent without synthetic fragrances. By selecting these simple, powerful ingredients, you gain the freedom to customize your cleaner to your needs, keeping your home safe and clean without sacrificing control over what you use.
Step-by-Step Guide to Making Your Own Wall Cleaner
First, you’ll want to gather all the necessary cleaning ingredients to guarantee your solution is effective. Next, mix everything carefully to keep the process safe and simple. Finally, apply your homemade cleaner to the walls and wipe them down for a fresh, clean finish.
Gather Cleaning Ingredients
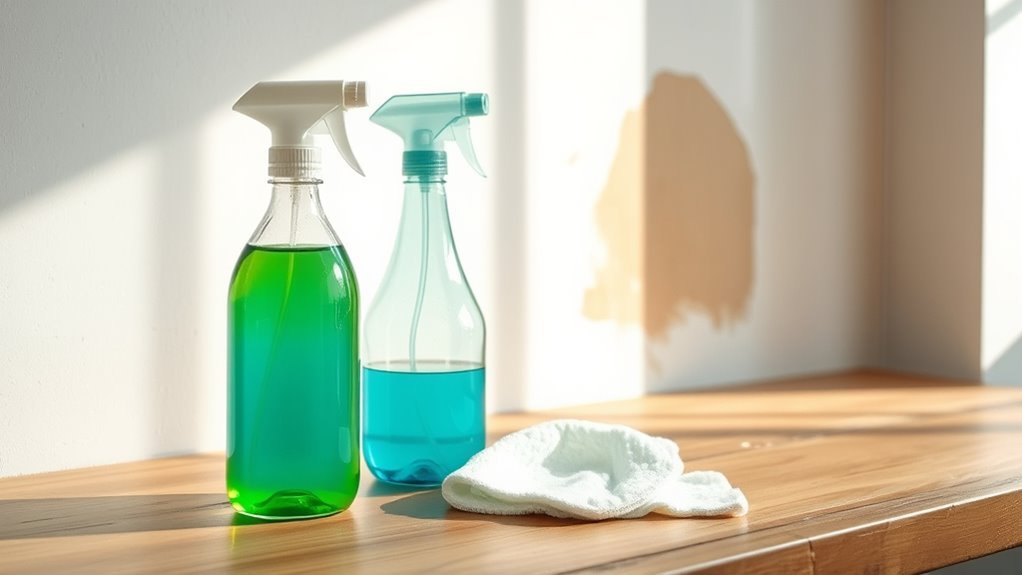
Before you start mixing your own wall cleaner, you’ll need to gather a few basic ingredients that are both effective and safe for most surfaces. Having the right cleaning tools and considering your wall textures will make your DIY project smoother and more satisfying. Here’s a simple list to get you started:
- White vinegar: a natural disinfectant and deodorizer
- Baking soda: gentle abrasive for stubborn stains
- Liquid dish soap: cuts through grease without harsh chemicals
- Warm water: helps dissolve ingredients and clean effectively
- Spray bottle or bucket: for easy application and mixing
With these on hand, you’re free to tackle a variety of wall textures and keep your space fresh without relying on store-bought cleaners.
Mix Solution Safely
Once you have your ingredients ready, you’ll want to mix them carefully to guarantee your cleaner is both effective and safe for your walls. Start by combining your liquids in a well-ventilated space, avoiding direct skin contact. Always follow mixing precautions—add substances slowly, and never mix ammonia with bleach or other harsh chemicals to prevent harmful fumes. Use a sturdy container with a secure lid to hold your solution. Label it clearly and keep it out of reach of kids and pets. Safe storage is key to maintaining your cleaner’s power and protecting your home. By respecting these simple guidelines, you maintain your freedom to clean confidently, knowing your DIY solution is reliable and safe every time.
Apply and Wipe Walls
After preparing your cleaner safely, you’re ready to start applying it to your walls. Proper surface preparation guarantees your wall cleaning is effective and leaves your space fresh. Here’s how to do it with ease:
- Test the cleaner on a small, hidden area first to avoid damage.
- Use a soft cloth or sponge dipped in your DIY solution, wring out excess to prevent drips.
- Gently wipe the walls in sections, starting from the top and working downwards.
- Rinse your cloth frequently to avoid spreading dirt.
- Let the walls air dry or dry them with a clean towel for a streak-free finish.
Best DIY Cleaners for Different Wall Types
Although walls come in many materials and finishes, choosing the right DIY cleaner for your specific wall type is key to avoiding damage and ensuring a thorough clean. For painted walls, a gentle mix of dish soap and warm water usually works well, especially with common stain types like dirt or fingerprints. If you’ve got wallpaper, avoid harsh chemicals—try a diluted vinegar solution to keep your wall finishes intact. For wood paneling, a mix of olive oil and lemon juice can clean and nourish without stripping the finish. Finally, textured or brick walls benefit from a baking soda paste to tackle grime without harming surfaces. Matching your cleaner to both your wall finishes and stain types lets you clean freely without worry.
Tips for Removing Tough Stains From Walls
Tough stains on walls can be frustrating, but with the right approach, you can remove them effectively without damaging your surfaces. When it comes to stain removal and wall maintenance, being gentle yet thorough is key. Here are some tips to help you tackle those stubborn marks:
Removing tough wall stains is possible with gentle, careful methods that protect your surfaces while restoring their appearance.
- Use a soft cloth or sponge with mild detergent to avoid scratching.
- Try a baking soda paste for grease or crayon stains; it’s natural and effective.
- For ink or marker, rubbing alcohol applied lightly can work wonders.
- Avoid harsh scrubbing; instead, let your cleaner sit a few minutes before wiping.
- Always rinse with clean water to prevent residue buildup.
Following these tips lets you keep your walls looking fresh and gives you the freedom to handle any mess confidently.
How to Safely Test Your Cleaner on Painted Surfaces
Before applying any cleaner broadly, you’ll want to test it on a small, hidden area of your painted wall to confirm it won’t cause damage or discoloration. Start by choosing a spot behind a piece of furniture or near a corner. Apply a small amount of your DIY cleaner using a soft cloth or cotton swab. Wait a few minutes, then check for any changes in color, texture, or finish. This simple testing method confirms your cleaner is safe for the entire wall. Always follow safety precautions: wear gloves, avoid harsh chemicals, and confirm proper ventilation. Taking these steps lets you confidently clean your walls without risking costly damage, preserving both your space and your freedom to maintain it your way.
Eco-Friendly Cleaning Practices for Your Home Walls
When you want to keep your walls clean without harming the environment, choosing eco-friendly methods is a smart move. Using sustainable materials and natural alternatives not only protects your home but also the planet. You’ve got the freedom to clean effectively without harsh chemicals.
Try these eco-friendly tips:
- Use a mixture of vinegar and water for general cleaning.
- Opt for baking soda paste to tackle tough stains.
- Choose reusable microfiber cloths instead of disposable wipes.
- Select plant-based soaps that break down naturally.
- Avoid synthetic fragrances and dyes in your cleaning solutions.
Frequently Asked Questions
Can DIY Wall Cleaners Damage Wallpaper?
Imagine you tried scrubbing your delicate vinyl wallpaper with a harsh homemade cleaner—oops, it peeled! You’ve got to take into account wallpaper types because some, like fabric or grasscloth, are more sensitive. Over-cleaning can wear them down, too. So, stick to gentle solutions and moderate cleaning frequency to keep your walls looking fresh without damage. You want to enjoy your space freely, not worry about ruining your wallpaper!
How Often Should I Clean My Walls With DIY Solutions?
You’ll want to stick to frequency guidelines that match your lifestyle and wall type. Generally, cleaning your walls every 3 to 6 months keeps them fresh without overdoing it. Setting a cleaning schedule that fits your pace gives you freedom to adjust as needed—maybe more often in high-traffic areas or less if your space stays tidy. This way, you maintain clean walls without feeling tied down by too strict routines.
Are DIY Cleaners Safe for Children and Pets?
You’ll want to prioritize child safety and pet safety when using any cleaner. DIY cleaners often use natural ingredients, which tend to be safer than harsh chemicals, but you should still keep them out of reach. Always test a small area first and avoid toxic substances like bleach or ammonia. With some common sense and safe storage, you can enjoy cleaning freely without worrying about your little ones or furry friends getting hurt.
Can I Store Homemade Wall Cleaner for Future Use?
You can definitely store your homemade wall cleaner for future use, but keep in mind the solution shelf life varies depending on ingredients. For best results, use airtight containers and label them with the date to track cleaning storage time. Typically, homemade solutions last a few weeks to a couple of months. Storing it in a cool, dark place helps maintain its effectiveness, giving you the freedom to clean whenever you want without constant mixing.
What Are the Best Tools to Apply Homemade Wall Cleaner?
When you’re ready to tackle cleaning, you’ll want the right tools to make your job easier. Spray bottles are fantastic because they let you control the amount of cleaner you apply, giving you freedom to cover large areas or spot clean. For scrubbing, sponge options vary from soft to abrasive, so pick one that suits your wall’s surface without causing damage. Combining these tools means you can clean efficiently while staying in control.