How to Remove Keyboard From Desk
To remove your keyboard from the desk, first check how it’s secured—clips, screws, Velcro, or adhesive pads. Gather tools like a screwdriver or plastic pry tool if needed. If clips hold it, gently pry them; for Velcro or adhesive, peel carefully, using heat to soften stubborn glue. If it’s just resting on a tray, lift it steadily. Being cautious prevents damage. For detailed steps tailored to your setup, keep exploring these tips.
Identifying Your Keyboard Mounting Type

Before you can remove your keyboard from the desk, you’ll need to identify how it’s mounted. Various keyboard types use different mounting mechanisms, so recognizing these is essential. Some keyboards rest freely on the desk with rubber feet, while others attach via clips, screws, or adhesive pads. Mechanical keyboards might have screw mounts underneath, whereas slim, wireless models often rely on adhesive strips for stability. Look for visible screws or clips along the edges or bottom. If you see no hardware, check for sticky pads or Velcro securing the keyboard. Understanding your keyboard’s mounting mechanism guarantees you avoid damage during removal and gives you the freedom to detach it smoothly. Identifying these features upfront sets the stage for an efficient, hassle-free keyboard removal process.
Preparing Your Workspace and Tools
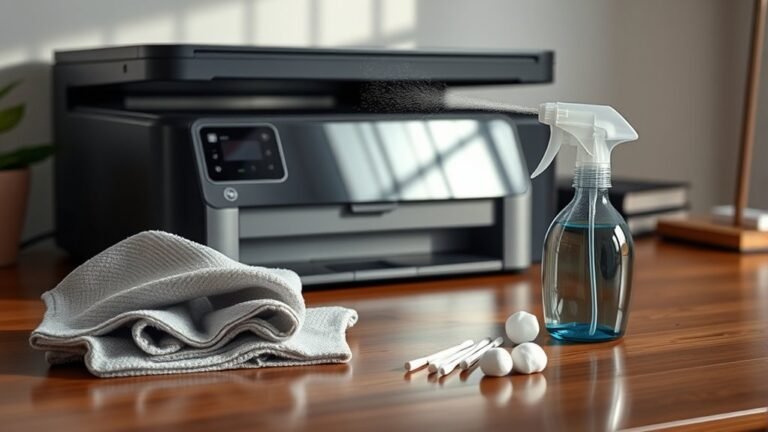
Gathering three essential tools— a screwdriver, a plastic pry tool, and a cleaning cloth— will make removing your keyboard easier and safer. Start by clearing clutter around your desk to create a neat workspace. Organizing cables prevents accidental pulls or damage during removal. Here’s a simple tool checklist:
| Tool | Purpose | Tip |
|---|---|---|
| Screwdriver | Unscrew keyboard mounts | Use the right size |
| Plastic pry tool | Gently separate clips | Avoid scratches |
| Cleaning cloth | Wipe dust and debris | Keep it slightly damp |
Set your tools within reach before starting. A tidy and organized space gives you freedom to work efficiently, reducing stress and mishaps. Preparing this way lets you focus on the task without distractions or damage risks.
Removing a Keyboard With Clips or Brackets

Locate the clips or brackets securing your keyboard to the desk, then carefully use your plastic pry tool to release them without causing damage. Different keyboard clip types may require varied approaches—some snap off while others slide out. Understanding bracket installation helps you avoid forcing parts and breaking your setup.
Carefully release keyboard clips using a plastic pry tool to avoid damage and ensure smooth removal.
- Identify the clip type: snap-in, slide-in, or screw-mounted.
- Gently pry or slide clips according to their design.
- Keep track of removed clips or brackets for reassembly.
Detaching a Keyboard Secured With Velcro or Adhesive
If your keyboard isn’t held by clips or brackets, it might be attached with Velcro strips or adhesive pads. To free it, start by gently lifting one edge of the keyboard. Use careful peeling to separate the velcro adhesive or adhesive pads without damaging your desk or keyboard. If the adhesive feels stubborn, slowly warm it with a hairdryer to soften the glue, making removal easier.
| Step | Action |
|---|---|
| 1. Identify | Locate Velcro strips or adhesive pads. |
| 2. Peel Carefully | Gently lift keyboard edge and peel off. |
| 3. Use Heat if Needed | Warm adhesive softly with a hairdryer. |
This approach keeps your workspace intact and gives you the freedom to move or replace your keyboard anytime.
Handling a Keyboard Resting on a Tray or Surface

Two common types of keyboard setups involve trays or flat surfaces. When handling a keyboard resting on these, you’ll want to prioritize keyboard care and maintenance to extend its lifespan. Start by ensuring the keyboard is unplugged or powered off. Then, gently lift it from the tray or surface, avoiding sudden jerks that could damage cables or keys. For smooth removal, consider these tips:
Handle your keyboard gently when removing it from trays or flat surfaces to prevent damage and extend its lifespan.
- Clear any objects or debris around the keyboard to prevent scratches.
- Support the keyboard evenly with both hands to maintain balance.
- Inspect the tray or surface for dust buildup and clean it during keyboard maintenance.
Frequently Asked Questions
Can I Remove a Keyboard Without Turning off My Computer?
Think of your computer like a sleeping dragon—careful not to wake it abruptly. You can unplug your keyboard without turning off your computer, but for keyboard safety, gently disconnect the USB connection to avoid sparks or glitches. Just make sure any unsaved work is saved before unplugging. This way, you stay free to swap keyboards without risking damage or data loss—keeping your workflow smooth and your devices safe.
How Do I Prevent Cable Damage During Keyboard Removal?
To prevent cable damage during keyboard removal, focus on good cable management first. Gently unplug the cable without yanking it, and avoid sharp bends or twists. Use preventive measures like securing cables with clips or ties to keep them organized and reduce strain. Taking your time and handling cables carefully guarantees they stay intact, giving you the freedom to move and work without worrying about broken connections.
Are There Special Tools for Removing Mechanical Keyboards?
You don’t usually need special tools to remove mechanical keyboards, but knowing your keyboard types helps. For mechanical switches, a keycap puller is handy to safely remove keycaps without damage. If your keyboard is screwed into a case or desk, a small screwdriver set might be necessary. Always handle cables gently to avoid damage. Having basic tools gives you freedom to customize or clean your mechanical keyboard easily and safely.
What Should I Do if My Keyboard Is Wireless?
Think of your wireless setup like a bird in flight—free but needing care. To keep it soaring, regularly check and replace your keyboard’s batteries to avoid sudden dropouts. If you want to “remove” it, simply disconnect the Bluetooth or wireless dongle and power down the device. This way, you maintain freedom without being tethered by cables or dead batteries, ensuring smooth, untethered typing wherever you roam.
How Do I Clean My Keyboard After Removal?
Once you’ve got your keyboard off the desk, start with basic cleaning techniques like gently shaking out debris and using compressed air to blow away dust. Wipe the keys with a slightly damp microfiber cloth and mild soap solution for deeper cleaning. For keyboard maintenance, avoid harsh chemicals and let it dry completely before reconnecting. These steps keep your keyboard fresh and working smoothly, giving you freedom from sticky keys and grime buildup.