How to Clean Your Home After Tile
To clean your home after tile installation, start by gathering microfiber cloths, a soft mop, pH-neutral cleaner, and gloves. Remove excess grout and adhesive with a scraper or grout float while partially set, then wipe with a damp sponge. Sweep or vacuum thoroughly to eliminate dust, using tools made for hard floors. Mop gently in sections with a suitable cleaner for your tile type, then dry and buff tiles with microfiber cloths. Focus on edges and grout; proper care prevents residue buildup and protects your tile. Follow along to uncover detailed tips for lasting tile cleanliness.
Preparing Your Cleaning Tools and Supplies

Before you begin cleaning your home after tile installation, gather all necessary tools and supplies to guarantee a smooth process. Start by organizing your cleaning supplies in one accessible area; this supply organization prevents wasted time searching for items. Essential tools include microfiber cloths, soft-bristle brushes, a mop, bucket, pH-neutral tile cleaner, and gloves. Focus on cleaning techniques that protect your new tiles and grout without causing damage. Plan to use gentle, non-abrasive methods, applying cleaners evenly and allowing them to work before wiping. Keeping your supplies well-organized and choosing precise cleaning tools promotes efficiency, giving you freedom from frustration. This preparation stage is vital, setting the foundation for a quick, effective clean that preserves your tile’s finish.
Removing Excess Grout and Adhesive
Although tile installation may seem complete, removing excess grout and adhesive is crucial to achieving a polished finish. You’ll want to use effective grout removal techniques and adhesive cleaning methods to free your surfaces from residue without damaging your tiles.
| Task | Tool Needed | Tip |
|---|---|---|
| Excess Grout Removal | Grout float or scraper | Work when grout is partially set |
| Adhesive Cleaning | Scraper and solvent | Use solvent for stubborn spots |
| Final Wipe Down | Damp sponge | Rinse frequently to avoid smears |
Start by gently scraping away excess grout. For adhesive, apply a recommended solvent and carefully scrape. This approach guarantees freedom from grime, leaving your tiles crisp and flawless.
Sweeping and Vacuuming Tile Surfaces
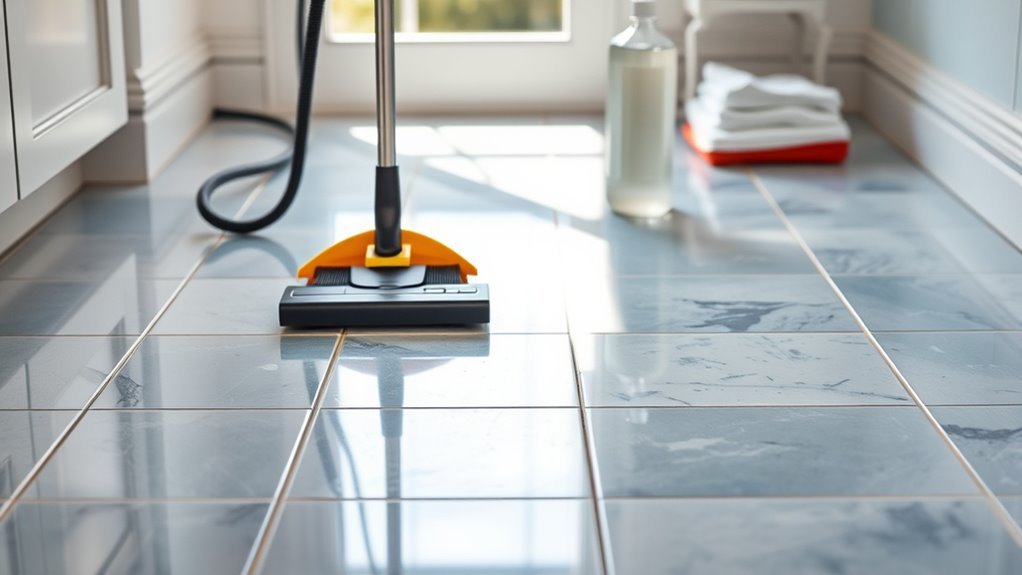
You’ll want to start by choosing the right tools—opt for a broom with synthetic bristles or a vacuum designed for hard floors to avoid scratching your tile. Sweep or vacuum in slow, deliberate motions to capture dust and debris effectively without scattering it. Paying attention to corners and grout lines guarantees no dirt remains trapped after your initial cleaning pass.
Best Tools for Cleaning
Choosing the right tools for sweeping and vacuuming tile surfaces can make your cleaning routine faster and more effective. Opt for lightweight brooms with soft, synthetic bristles that won’t scratch your tiles but sweep debris thoroughly. When vacuuming, pick models with adjustable suction and hard floor settings to avoid damage. Cordless vacuums or those with long battery life offer freedom to move without restrictions. Incorporate eco friendly products by choosing cleaning gadgets made from sustainable materials or energy-efficient designs, reducing your environmental footprint. Microfiber dust mops also excel at capturing fine dust without chemicals. Prioritize tools that combine efficiency with care for your home and the planet, giving you a precise, hassle-free way to maintain spotless tile floors while embracing eco-conscious freedom.
Techniques for Effective Dirt Removal
Mastering three key techniques will guarantee thorough dirt removal when sweeping and vacuuming tile surfaces. First, use a soft-bristle broom to loosen debris without scratching the tile. Sweep in multiple directions to capture dust from grout lines. Next, vacuum with a hard floor attachment to pick up finer particles, ensuring suction power is adjusted to avoid tile damage. Finally, incorporate steam cleaning periodically to lift stubborn dirt and sanitize without harsh chemicals. This method aligns with your preference for eco friendly solutions, reducing reliance on detergents while maintaining cleanliness. By combining these techniques, you’ll preserve your tile’s integrity and enjoy a cleaner, healthier home environment. Embrace these efficient steps to reclaim your freedom from dirt and maintain pristine tile surfaces effortlessly.
Choosing the Right Cleaning Solution for Your Tile Type
You’ll need to match your cleaning solution to the specific tile material, since ceramic, porcelain, natural stone, and other types each react differently. Pay close attention to the pH level of your cleaner—acidic solutions can damage some stones, while alkaline products may harm others. Choosing the right formula guarantees effective cleaning without compromising your tile’s surface.
Tile Material Variations
Different tile materials react uniquely to cleaning agents, so it’s essential to tailor your approach based on the type of tile you have. For ceramic and porcelain tiles, mild detergents work well, as they’re durable and resist stains. Natural stone, slate, and cement tiles demand pH-neutral cleaners to avoid etching or discoloration. Terracotta tiles need gentle, non-acidic solutions to preserve their porous surface. Glass tiles respond best to streak-free, ammonia-based cleaners for a clear shine. Vinyl tiles are sensitive to harsh chemicals, so stick to gentle, non-abrasive products. Understanding these variations lets you clean effectively without damaging your tiles, giving you the freedom to maintain their beauty with confidence and ease. Always match your cleaning method with the tile’s material for the best results.
Ph Levels Importance
Although selecting a cleaning solution might seem straightforward, understanding pH levels is essential to protect your tile’s surface and longevity. The pH balance significance lies in preventing damage caused by inappropriate acidity or alkalinity. Acidic cleaners can etch or dull natural stone tiles, while overly alkaline solutions may degrade grout or tile coatings. You need to match the cleaner’s pH with your tile type—neutral or slightly alkaline cleaners suit ceramic and porcelain, while stone tiles demand pH-neutral products to avoid acidity effects. Ignoring this can lead to discoloration, erosion, or a shortened lifespan. By choosing a cleaner aligned with your tile’s pH tolerance, you maintain its integrity and appearance, granting you the freedom to enjoy a pristine, durable surface without unnecessary wear or costly repairs.
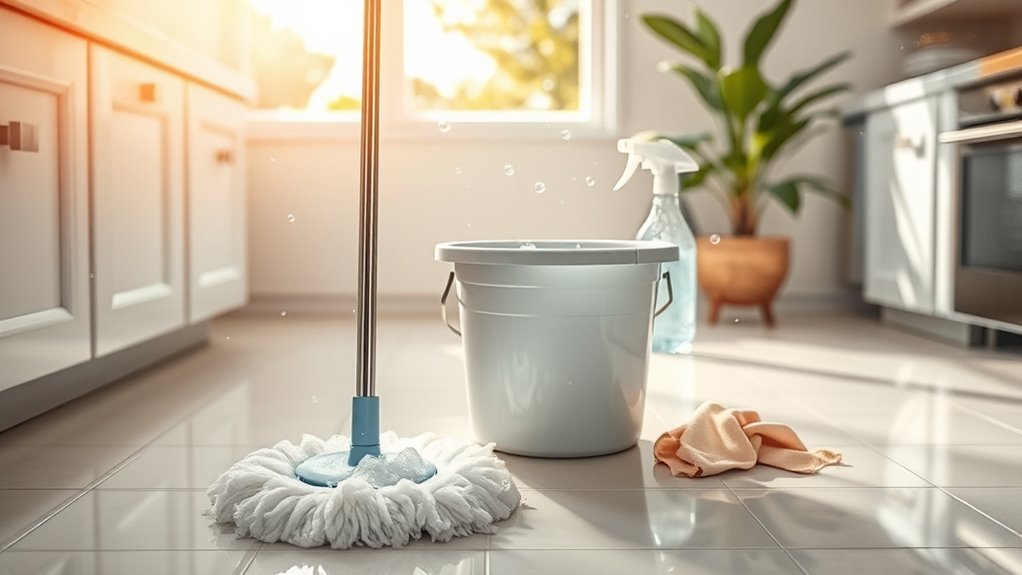
Mopping Tiles Without Damaging the Surface

When mopping tiles, it’s important to choose the right cleaning solution and technique to prevent damage. Proper mopping techniques preserve your tile’s finish and extend its lifespan. Here’s how to mop effectively without harming the surface:
Choosing the right cleaner and technique is key to preserving your tile’s finish and longevity.
- Use a pH-neutral cleaner designed for tile care to avoid harsh chemicals that can dull or etch the surface.
- Employ a microfiber mop or a soft mop head to gently lift dirt without scratching. Avoid abrasive tools.
- Mop in small sections, rinsing the mop frequently with clean water to prevent spreading grime or residue.
Tackling Grout Haze and Residue
You’ll want to start by recognizing grout haze—it’s that thin, cloudy film left on tile surfaces after installation. Using the right cleaning solutions, like a mixture of water and vinegar or a commercial grout haze remover, will help break down this residue effectively. To keep your tiles looking sharp, apply sealing techniques and clean promptly to prevent future buildup.
Identifying Grout Haze
How can you tell if grout haze is lingering on your newly tiled surfaces? Grout haze appears as a cloudy, whitish film that dulls the tile’s natural shine. Identifying causes is essential to address it effectively and prevent permanent marks. Here’s what to look for:
- Visual Inspection: Check for a consistent, milky residue that doesn’t wipe away easily with water.
- Texture Test: Run your hand over the tile; grout haze often feels slightly rough or sticky compared to the smooth tile surface.
- Light Reflection: Tilt your tiles under direct light; grout haze scatters light, reducing the tile’s reflective quality.
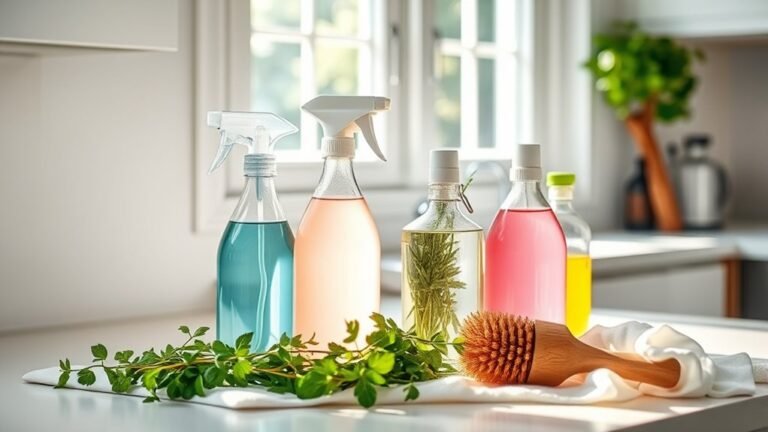
Effective Cleaning Solutions
Although grout haze can be stubborn, choosing the right cleaning solution makes all the difference in restoring your tile’s original luster. You’ll want to start with eco friendly solutions that are gentle yet effective, like a mixture of white vinegar and water or a paste of baking soda and water. These homemade cleaners break down residue without harsh chemicals, preserving both your health and the environment. Apply your chosen cleaner directly onto the haze, let it sit for a few minutes, then scrub gently with a soft brush. Rinse thoroughly with clean water to remove any leftover residue. Remember, precise application and patience will free your tiles from haze, revealing their true shine without compromising your commitment to sustainable cleaning.
Preventing Future Residue
After removing existing grout haze with the right cleaning solutions, the focus shifts to preventing new residue from forming. You want your tile to stay spotless without constant scrubbing. Here’s how to guarantee residue prevention through routine maintenance:
- Seal the grout properly once it’s dry; this creates a barrier against dirt and haze.
- Use a pH-neutral cleaner regularly to wipe tiles without damaging grout or leaving residue.
- Dry tiles thoroughly after cleaning to avoid water spots and buildup.
Drying and Buffing Tiles for a Shiny Finish
Once your tiles are thoroughly cleaned, you’ll want to dry them promptly to prevent water spots and streaks. Use a clean, lint-free microfiber cloth or a squeegee to remove excess moisture efficiently. Work systematically, section by section, ensuring no damp patches remain. After drying, apply buffing techniques by gently rubbing the tile surface with a dry microfiber cloth in circular motions. This action enhances the tile’s natural gloss and removes any residual haze left from cleaning. If you prefer, use a buffing pad attached to a low-speed buffer for larger areas, maintaining steady pressure to avoid damage. Mastering these steps guarantees a shiny finish that highlights your tiles’ beauty and keeps them looking fresh longer.
Cleaning Tile Edges and Baseboards
Tile edges and baseboards often collect dirt and grime that standard mopping misses, so giving them special attention is essential. Proper baseboard cleaning and edge maintenance keep your space looking fresh and prevent buildup. Here’s how to tackle it efficiently:
- Use a soft brush or an old toothbrush to loosen dirt along tile edges and baseboards, reaching into tight corners.
- Apply a mild cleaning solution—like diluted vinegar or a gentle detergent—to a microfiber cloth for wiping down baseboards without damaging paint or finish.
- For stubborn grime, dampen the cloth slightly and scrub gently, then dry the area immediately to avoid moisture damage.
Preventing Stains and Maintaining Tile Cleanliness
Keeping edges and baseboards clean sets a strong foundation for preventing stains and maintaining overall tile cleanliness. To guarantee effective stain prevention, promptly wipe spills and avoid letting dirt accumulate. Use a pH-neutral cleaner tailored for tile surfaces to protect grout and tile integrity. Seal grout lines regularly; this acts as a barrier against moisture and stains, simplifying tile maintenance. Avoid abrasive tools that might scratch or dull the tile surface, as damaged tiles are more prone to staining. Incorporate routine quick clean-ups into your schedule to keep tiles looking fresh without hassle. By establishing these habits, you maintain your tiles’ appearance and extend their lifespan, preserving your freedom from intensive cleaning sessions and costly repairs. Prioritize stain prevention to enjoy clean, vibrant tile effortlessly.
Scheduling Regular Tile Cleaning for Longevity
Although regular cleaning habits help prevent stains, scheduling thorough tile cleaning sessions is essential for preserving your flooring’s longevity. Establishing a consistent tile maintenance schedule guarantees grime and buildup don’t compromise your tiles or grout over time. Here’s how to optimize your routine:
- Set Monthly Deep Cleans: Target grout lines and use specialized cleaners to remove embedded dirt.
- Inspect Quarterly: Check for cracks or sealant wear, addressing issues before they worsen.
- Adjust Frequency by Traffic: Increase cleaning in high-use areas to maintain appearance and durability.
Frequently Asked Questions
How Do I Dispose of Leftover Tile and Grout Materials Safely?
When handling leftover tile and grout, you’ll want to follow proper tile disposal methods. Break tiles into smaller pieces for easier transport and check local regulations for construction debris disposal. For grout waste management, avoid pouring leftover grout down drains—dispose of it as solid waste once it’s hardened. Many communities have designated drop-off sites or recycling centers that accept these materials, so you can manage waste responsibly without restricting your freedom.
Can I Use a Steam Cleaner on All Types of Tile?
Imagine your tile gleaming, spotless without harsh chemicals—steam cleaner advantages shine here. You can use a steam cleaner on many tile materials like ceramic and porcelain, thanks to its deep-cleaning, eco-friendly power. However, be cautious with natural stones like marble or limestone; steam may damage their porous surfaces. Always check tile material compatibility before using steam to keep your floors pristine while enjoying freedom from toxic cleaners and scrubbing.
What Are the Best Shoes to Wear While Cleaning Tiles?
When cleaning tiles, you want comfortable footwear that supports your feet during extended standing and movement. Slip resistant shoes are essential to prevent accidents on wet or soapy surfaces. Look for shoes with good arch support, cushioned soles, and breathable materials to keep you comfortable and safe. Avoid slippery flats or heavy boots; instead, choose practical, lightweight options designed for traction and stability, so you can clean freely without worrying about slips or discomfort.
How Long Should Tiles Cure Before Cleaning After Installation?
You should wait at least 24 to 72 hours before cleaning tiles after installation, depending on the tile installation timeline and adhesive used. The tile curing process needs time to fully set and bond, ensuring durability and preventing damage. Avoid heavy cleaning or scrubbing during this period. Following this timeline lets you enjoy your new tiles without risking grout or adhesive disruption, giving you freedom to maintain a flawless, long-lasting finish.
Are There Eco-Friendly Tile Cleaning Products Recommended?
If you’re looking for eco friendly options to clean your tiles, you’ll love products made with natural ingredients like vinegar, baking soda, and essential oils. These not only tackle dirt effectively but also keep your home toxin-free. Brands like Method and Seventh Generation offer reliable, green tile cleaners. Choosing these lets you maintain a spotless space while honoring your freedom to live sustainably and breathe easy.