Best Way to Sanitize Your Living Room
To best sanitize your living room, focus on high-touch surfaces like doorknobs, light switches, and remote controls by wiping them daily with effective sanitizers containing alcohol or hydrogen peroxide. Clear clutter first, ventilate well, and use gentle fabric cleaners on upholstery. Choose eco-friendly products or natural alternatives like vinegar and essential oils to keep it safe and fresh. Following a regular cleaning schedule and proper precautions will keep germs at bay. Keep going to discover simple tricks for a healthier space.
Identifying High-Touch Surfaces in Your Living Room

There are several high-touch surfaces in your living room that you should focus on when sanitizing. These surface types include doorknobs, remote controls, light switches, coffee tables, and armrests. Since you want to maintain a clean environment without feeling restricted, understanding the right cleaning frequency is key. High-touch areas need more frequent attention—ideally daily or every couple of days—to prevent germs from accumulating. Less frequently touched surfaces can be sanitized weekly. By tailoring your cleaning routine to the specific surface types and their use, you’re reclaiming control over your living space. This approach lets you enjoy your freedom without worrying about unseen contaminants lingering on surfaces you interact with the most.
Choosing Effective Sanitizing Products
When picking sanitizers for your living room, it’s important to know the types available and what makes them work. You’ll want to look at the active ingredients to guarantee they effectively kill germs on high-touch surfaces. Understanding these basics helps you choose products that keep your space truly clean and safe.
Types of Sanitizers
Although you might think all sanitizers work the same, choosing the right product is key to effectively reducing germs in your living room. You’ve got options: spray sanitizers offer quick, even coverage, perfect for hard-to-reach spots like remote controls or decorative items. They dry fast, giving you freedom to move on without waiting. Foam sanitizers, on the other hand, stick around longer, allowing deeper germ-killing action on fabric surfaces like couches or cushions. They’re less likely to drip, which means less mess and more control. Picking between sprays and foams comes down to your lifestyle and specific needs. By understanding these types, you take charge of your space’s cleanliness without sacrificing your freedom or time. Choose smart—your living room deserves it.
Active Ingredients Overview
Since not all sanitizers are created equal, understanding the active ingredients in your chosen product can make a big difference in how effectively it kills germs. You want a sanitizer with proven active ingredients like ethanol, isopropyl alcohol, or hydrogen peroxide — these pack a powerful punch against viruses and bacteria. Quaternary ammonium compounds are another common choice, offering strong cleaning effectiveness on various surfaces. When picking your product, check the label for these ingredients and their concentrations; too low, and the sanitizer won’t do its job, too high might be harsh on surfaces or your skin. Knowing what’s inside gives you the freedom to select a product that balances powerful germ-killing with safety, ensuring your living room is truly clean and fresh.
Preparing Your Living Room for Cleaning
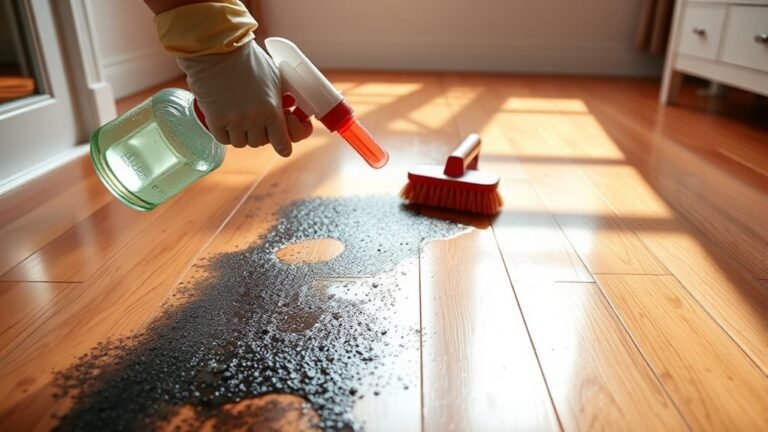
Before you start sanitizing, clear off any clutter on surfaces to make cleaning easier. Next, gather all your cleaning supplies so you won’t have to stop mid-task. Finally, open windows or doors to ventilate the room and keep the air fresh while you work.
Declutter Surfaces First
Start by clearing off every surface in your living room to create a clean slate for sanitizing. Using effective decluttering strategies will help you focus on what truly matters and embrace freedom from clutter. Prioritize surface organization by sorting items into categories like keep, relocate, or discard. This approach prevents overwhelm and streamlines your cleaning process.
| Surface | Decluttering Strategy | Tip for Organization |
|---|---|---|
| Coffee Table | Remove magazines and dishes | Use a tray for essentials |
| Shelves | Sort books and decor | Group by size or color |
| Side Tables | Clear off small items | Limit to daily use items |
| TV Stand | Tidy cables and remotes | Use cable ties or boxes |
Clearing surfaces first sets the stage for a thorough and efficient sanitizing session.
Gather Cleaning Supplies
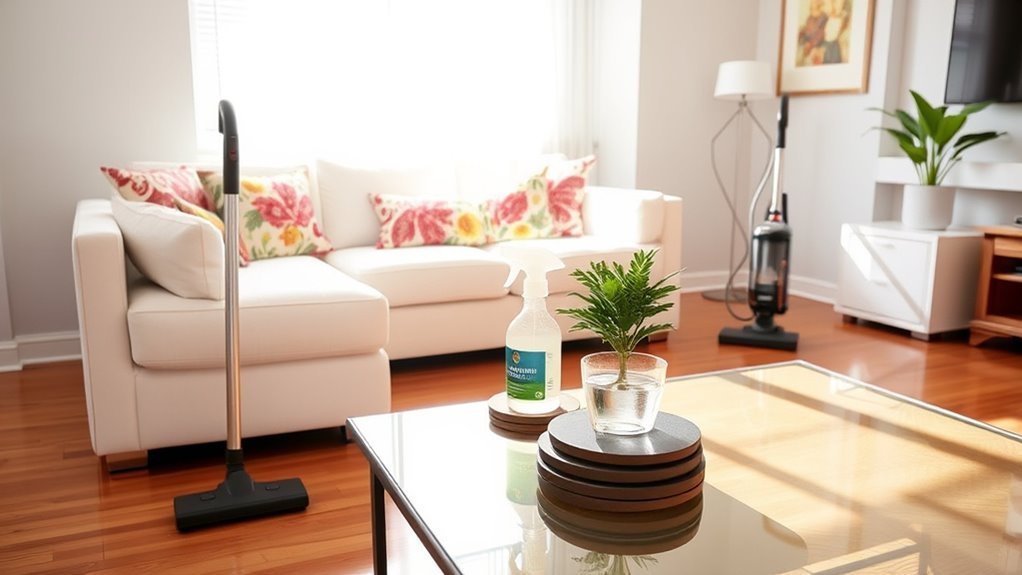
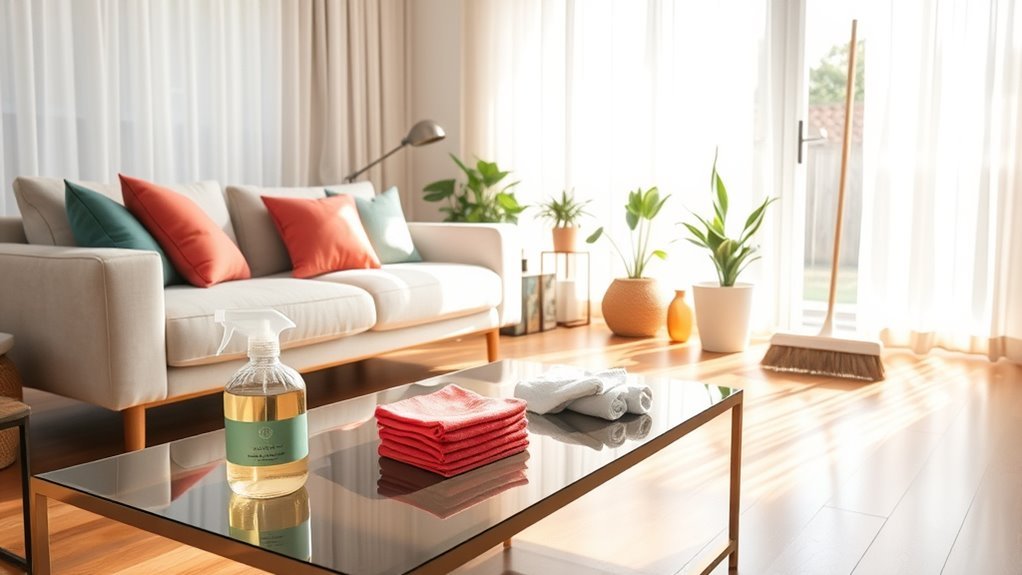
Although decluttering sets the foundation, you’ll need the right cleaning supplies to effectively sanitize your living room. Don’t settle for less—having quality cleaning tools and sanitizing equipment at your fingertips frees you to work efficiently and thoroughly. Here’s what you should gather before you start:
- Multipurpose disinfectant spray and microfiber cloths – perfect for wiping down surfaces without leaving streaks.
- A vacuum with HEPA filters – essential for removing dust and allergens from carpets and upholstery.
- Disposable gloves and a scrub brush – to protect your hands and tackle stubborn grime in corners and crevices.
With these essentials ready, you’ll breeze through sanitizing while enjoying the freedom that comes with a clean, healthy living space.
Ventilate the Area
Once you’ve gathered your cleaning supplies, it’s important to make certain your living room has good airflow. Ventilating the area allows fresh air to circulate, helping to clear out dust, allergens, and lingering cleaning fumes. Open windows and doors to create a natural breeze, or use fans to enhance airflow management. This step not only improves air quality but also speeds up drying time for any damp surfaces you clean. Proper ventilation guarantees you’re not confined by stale air, giving you the freedom to breathe easy and clean confidently. Remember, controlling airflow isn’t just about comfort—it’s a crucial part of sanitizing effectively. So, don’t skip this step if you want a truly fresh and healthy living space.
Step-by-Step Guide to Cleaning and Disinfecting
Cleaning and disinfecting your living room can be broken down into five essential steps to guarantee every surface is thoroughly sanitized. First, boost your cleaning motivation by setting clear organizing strategies—this helps you tackle the task efficiently and enjoy the freedom of a fresh space. Next, follow these steps:
Boost your cleaning motivation with clear strategies to efficiently sanitize every living room surface.
- Declutter: Remove items that don’t belong and organize what stays.
- Dust and wipe: Use a microfiber cloth to dust surfaces, then wipe with a disinfectant.
- Sanitize high-touch areas: Focus on doorknobs, light switches, and remote controls.
Tips for Sanitizing Upholstery and Fabrics
After you’ve tackled dusting and disinfecting hard surfaces, it’s important not to overlook upholstery and fabrics, which can harbor dust mites, allergens, and germs. For effective upholstery cleaning and fabric sanitization, focus on these essential tips:
| Step | Method | Tip |
|---|---|---|
| Vacuum | Use HEPA filter vacuum | Capture dust and allergens |
| Spot Clean | Mild soap and water | Test on hidden area first |
| Steam Sanitizing | Fabric-safe steamer | Kills germs without chemicals |
| Use Fabric Spray | Antimicrobial spray | Refresh and sanitize between deep cleans |
| Dry Thoroughly | Air dry or fan dry | Prevent mold and mildew |
Stick to these steps to keep your living room fresh, clean, and free, enjoying a healthier space without hassle.
Best Practices for Cleaning Electronics Safely
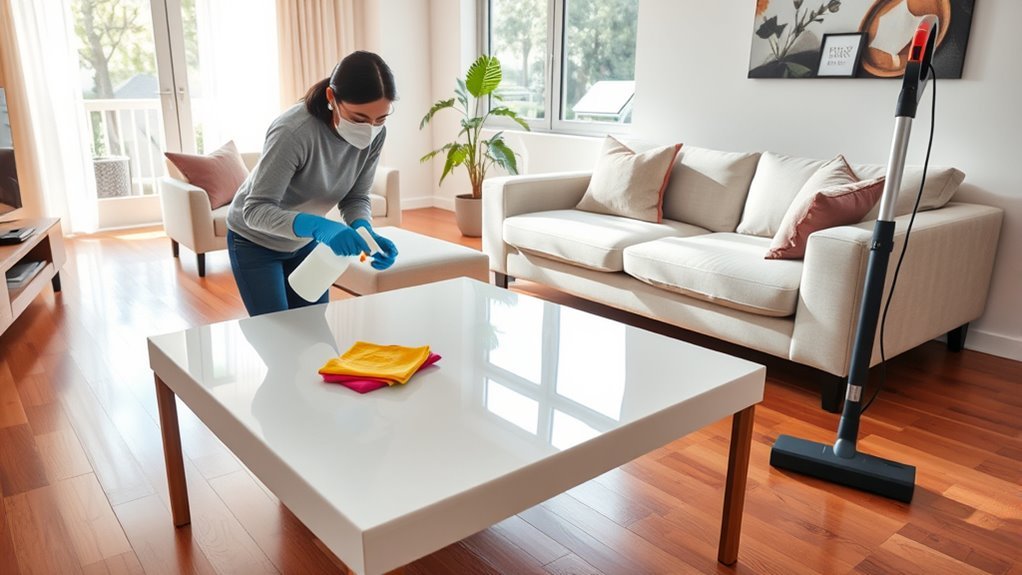
When cleaning your electronics, make sure to use alcohol-based wipes to effectively sanitize without damaging surfaces. You’ll want to avoid excess moisture since it can harm delicate components. Taking these precautions helps keep your devices both clean and safe.
Use Alcohol-Based Wipes
An effective way to sanitize your electronics without causing damage is by using alcohol-based wipes. They offer powerful alcohol benefits by quickly killing germs while evaporating fast, so your devices stay safe and dry. To get the most freedom from your cleaning routine, follow these simple wipe techniques:
- Turn off and unplug your device to protect its internal components.
- Gently wipe surfaces using a light touch to avoid pushing moisture into openings.
- Let your electronics air dry completely before turning them back on.
Avoid Excess Moisture
Using alcohol-based wipes is a great way to clean your electronics safely, but it’s just as important to avoid excess moisture during the process. When you’re wiping down devices, make certain your cloth or wipe is damp, not dripping. Too much liquid can seep into cracks, damaging internal components and voiding warranties. To maintain freedom over your gadgets, practice good humidity control in your living room—keep the air dry to prevent condensation. Consider using moisture barriers like protective covers or silicone keyboard skins to shield your devices during cleaning. By controlling moisture and using barriers, you guarantee your electronics stay functional and protected, allowing you to enjoy your living space without restrictions or worries about costly repairs.
How to Maintain Air Quality While Sanitizing
Though sanitizing your living room is essential, it’s important to keep the air quality in mind to avoid breathing in harsh chemicals. You want to stay free and healthy, so here’s how to maintain fresh air while cleaning:
- Use Air Purifiers – Run an air purifier with a HEPA filter during and after sanitizing to capture airborne particles and reduce chemical residues.
- Ventilate Well – Open windows and doors to let fresh air circulate, pushing out any lingering fumes quickly.
- Add Essential Oils – Diffuse natural essential oils like eucalyptus or lavender to neutralize odors and uplift your space without synthetic scents.
Incorporating Natural Cleaning Alternatives
While conventional cleaning products can be effective, you might want to switch to natural alternatives that are safer for both your health and the environment. Embracing eco friendly alternatives lets you take control over what you bring into your living space, reducing exposure to harsh chemicals. Homemade cleaners, made from simple ingredients like vinegar, baking soda, and essential oils, are powerful and customizable. They not only sanitize your living room effectively but also align with your desire for freedom from toxins and waste. By choosing natural options, you support a cleaner planet while maintaining a fresh, healthy environment at home. You’ll find that incorporating these alternatives is straightforward, cost-effective, and empowering, allowing you to keep your living room sanitized on your own terms.
Scheduling Regular Sanitizing Routines
Because maintaining a consistently clean living room can feel overwhelming, setting a regular sanitizing schedule helps you stay on top of tasks without stress. You can enjoy freedom by balancing sanitizing frequency with routine flexibility that fits your lifestyle. Here’s how you can create an effective routine:
Maintaining a clean living room is easier with a flexible, stress-free sanitizing schedule tailored to your lifestyle.
- Identify high-touch areas to sanitize daily or every few days, depending on use.
- Set specific days for deeper cleaning tasks, like upholstery and curtains, to avoid burnout.
- Allow room for adjustments—if life gets busy, shift tasks instead of skipping them altogether.
Precautions to Take During and After Sanitizing
Once you’ve set a sanitizing routine, it’s important to contemplate safety measures to protect yourself and your home during and after cleaning. Wearing proper safety gear like gloves and masks shields you from harsh chemicals. After sanitizing, verify post sanitization ventilation by opening windows or using fans to clear out lingering fumes, keeping your space fresh and breathable.
| Precaution | When to Apply | Why It Matters |
|---|---|---|
| Wear safety gear | During cleaning | Protects skin and lungs |
| Use non-toxic products | Before cleaning | Minimizes health risks |
| Verify proper ventilation | After cleaning | Removes harmful chemical fumes |
| Avoid mixing chemicals | Always | Prevents toxic reactions |
| Wash hands | After cleaning | Removes residual contaminants |
Taking these steps lets you sanitize freely and safely.
Frequently Asked Questions
How Often Should Professional Deep Cleaning Be Done in a Living Room?
You probably think you need a professional deep cleaning every day to keep things spotless, right? Well, not really. The ideal cleaning frequency for your living room usually falls around every 3 to 6 months. This keeps dirt and grime from taking over but still gives you the freedom to enjoy your space without constant interruptions. So, unless you love living in a bubble, spacing out deep cleanings is your best bet.
Can Pets Affect the Choice of Sanitizing Products?
Absolutely, pets can greatly affect your choice of sanitizing products. You’ll want to opt for pet friendly products to keep your furry friends safe while still maintaining cleanliness. Harsh chemicals might harm them or cause allergies, so exploring sanitizing alternatives like natural sprays or vinegar solutions is smart. This way, you can freely keep your living space clean without compromising your pets’ health or your peace of mind.
What Are the Signs of Mold Growth Behind Furniture?
Imagine the fresh, open freedom of your living room clashing with the hidden, musty threat of mold. When you do a furniture inspection, watch for musty odors, discoloration, or dark spots—key clues in mold identification. You might also notice peeling wallpaper or a damp feeling behind your couch. Catching these signs early lets you reclaim your space without letting mold take hold. Keep your sanctuary truly free and fresh.
How to Safely Dispose of Used Sanitizing Wipes and Sprays?
When you’re done with used sanitizing wipes and sprays, proper disposal is key to keeping things safe and eco friendly. Don’t just toss wipes in the toilet—they can cause clogs. Instead, throw them in a sealed trash bag. For sprays, empty the can completely before recycling it if your local program allows. If you want more freedom, look for biodegradable wipes and refillable spray bottles to reduce waste.
Are Air Purifiers Necessary After Sanitizing the Living Room?
Oh sure, because who doesn’t want to add another gadget to their freedom-filled space? But seriously, if you care about air quality and dust removal, an air purifier can be a helpful ally after sanitizing. It captures airborne particles your sprays might miss, giving you cleaner air to breathe. You’re not just fighting germs—you’re reclaiming your living room’s freshness without feeling trapped by invisible foes.