Cleaning Your Microwave: Tips for a Sparkling Interior
To get your microwave sparkling, start by gathering gentle supplies like a soft cloth, vinegar, lemon, and baking soda. Steam vinegar and water mixture inside to loosen grime, then wipe clean. Use lemon juice steam to freshen odors naturally. For stubborn stains, apply a baking soda paste and gently scrub. Don’t forget to clean the turntable and wipe interior regularly to prevent buildup. Keep going to uncover more easy tips for a spotless microwave.
Gathering Essential Cleaning Supplies
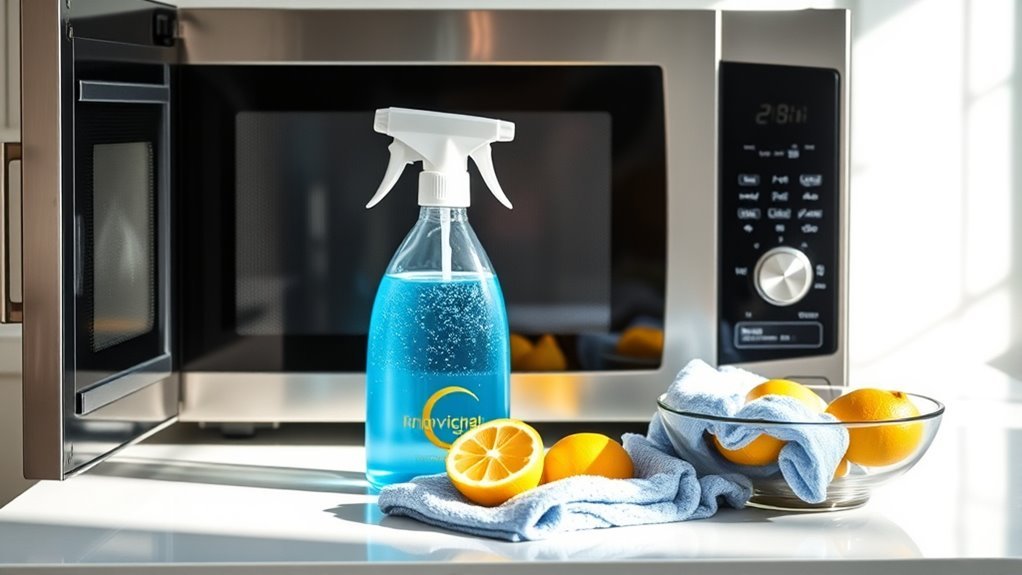
Before you begin cleaning your microwave, you’ll need to gather a few essential supplies to make the process quick and effective. Choosing eco friendly options lets you keep your space fresh without harsh chemicals, giving you the freedom to clean safely. Start with a soft sponge or cloth, an essential tool for wiping away grime without scratching surfaces. A bowl for mixing natural cleaners and a spray bottle for easy application are also handy. Don’t forget gloves to protect your hands while you work. These essentials simplify your task and help you maintain a sparkling microwave effortlessly. By preparing right, you’ll enjoy a cleaner kitchen and a clearer conscience, embracing a more sustainable, liberated lifestyle.
Using Vinegar and Water for Steam Cleaning
When you want an easy and natural way to loosen stubborn microwave grime, using vinegar and water for steam cleaning is a great choice. Simply mix equal parts vinegar and water in a microwave-safe bowl, then heat it until it steams. The steam efficacy here is key—it softens dried-on food and grease, making them easier to wipe away without harsh scrubbing. The vinegar benefits go beyond cleaning; its natural acidity helps break down mineral deposits and neutralizes odors, leaving your microwave fresh. After steaming for a few minutes, carefully remove the bowl, then wipe down the interior with a cloth or sponge. This method gives you freedom from tough chemicals and saves time, letting you maintain a sparkling microwave with minimal effort.
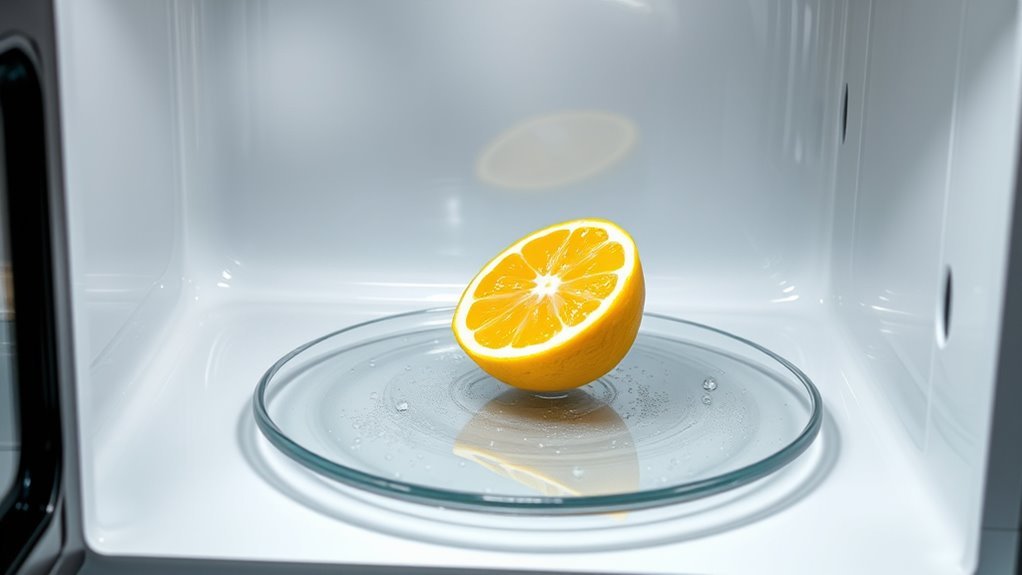
Lemon Juice for Natural Deodorizing

Lemon juice offers a simple and effective way to naturally deodorize your microwave. Embrace the lemon benefits for a fresh scent without harsh chemicals. Here’s how you can enjoy natural cleaning freedom:
- Slice a lemon in half and squeeze the juice into a microwave-safe bowl.
- Add about half a cup of water to dilute the juice.
- Microwave the bowl on high for 3-5 minutes until it steams.
- Let it sit for a few minutes, then wipe the interior with a clean cloth.
This method not only removes odors but also loosens grime, making cleanup effortless. Using lemon juice aligns with your desire to keep your space fresh naturally and freely—no synthetic sprays needed. Enjoy the bright, clean air and the simplicity lemon brings.
Baking Soda Paste for Tough Stains
Although lemon juice works well for general cleaning, tough stains in your microwave often need a stronger approach. That’s where baking soda paste comes in—it’s a powerful, natural scrub that tackles stubborn grime without harsh chemicals. Mix baking soda with a little water to form a paste, then apply it to the stained spots. Let it sit for 10-15 minutes before scrubbing gently. This method frees you from scrubbing endlessly or using toxic cleaners.
Here’s a quick guide to making and using baking soda paste:
| Ingredient | Amount | Purpose |
|---|---|---|
| Baking soda | 2 tbsp | Cleaning agent |
| Water | 1 tbsp | Paste consistency |
| Time to wait | 10-15 mins | Stain loosening |
Use this paste to reclaim your microwave’s freedom from tough stains!
Wiping Down the Microwave Interior
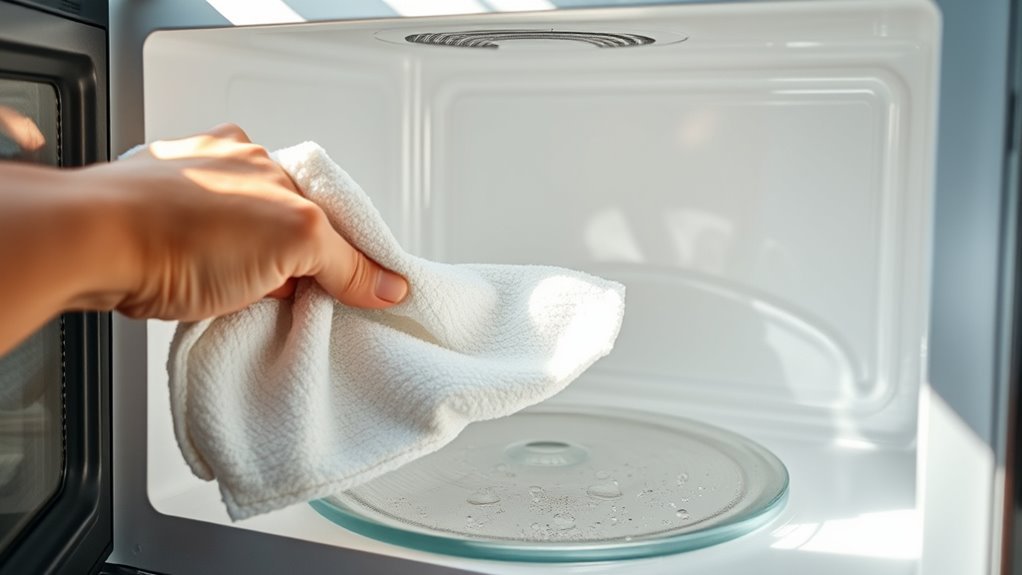
After letting the baking soda paste work its magic on tough stains, the next step is to wipe down the microwave interior thoroughly. This guarantees all residue is removed, maintaining microwave safety and prolonging its life. Here’s how to do it right:
- Use a clean, damp microfiber cloth to gently wipe every surface inside.
- Pay close attention to corners and crevices where grime hides.
- Avoid abrasive materials that could damage the interior lining.
- Dry the interior with a soft towel to prevent moisture buildup.
Cleaning the Microwave Turntable
When you’re done cleaning the microwave interior, don’t forget the turntable—it can easily accumulate food splatters and spills. Start with turntable removal by carefully lifting it out. This frees you to give it a thorough wash without mess. For turntable cleaning, use warm soapy water or a gentle dish detergent to break down stuck-on grime. Rinse well and dry before placing it back.
| Step | Tip |
|---|---|
| Turntable removal | Lift gently to avoid damage |
| Soak | Use warm, soapy water |
| Scrub | Use a soft sponge |
| Dry and replace | Make sure fully dry to prevent odors |
Taking these steps lets you enjoy a fresh microwave, free and ready for your next meal.
Maintaining a Clean Microwave Regularly
Regularly maintaining your microwave is key to keeping it functioning well and odor-free. To enjoy the freedom of a fresh appliance, establish simple daily habits and stick to a cleaning schedule. Here’s how you can do it:
- Wipe down the interior after each use to prevent buildup.
- Clean the turntable and microwave walls weekly with a mild detergent.
- Use a lemon-water steam treatment monthly to eliminate odors effortlessly.
- Check and clean the microwave door seal regularly to guarantee a tight closure.
Frequently Asked Questions
Can I Clean the Microwave Exterior With the Same Methods?
You can definitely tackle exterior cleaning using similar methods, but you’ll want to take into account the surface materials first. Some finishes, like stainless steel, might need gentle cleaners or microfiber cloths to avoid scratches. Others, like painted or plastic surfaces, require mild soap and water. So, while the basics apply, tailoring your approach lets you keep your microwave’s exterior looking great without any damage, giving you the freedom to clean confidently.
How Often Should I Deep Clean My Microwave?
You should stick to a microwave maintenance frequency that feels right for you, but a good deep cleaning schedule is about once a month. This keeps your microwave fresh and prevents buildup that can affect performance. If you use it heavily or cook messy meals, you might want to deep clean more often. Trust your instincts—regular maintenance gives you the freedom to enjoy your microwave without worrying about grime or odors.
Are There Any Microwave-Safe Cleaning Products to Avoid?
You know what they say: not all that glitters is gold. When choosing microwave-safe materials for cleaning, avoid harsh chemical cleaners with bleach or ammonia—they can damage your microwave’s interior and aren’t meant for food-related appliances. Instead, stick with natural cleaners like vinegar or lemon juice; they’re safe, effective, and give you freedom from harsh fumes. Always check product labels to verify they’re designed for microwave use to keep your kitchen both clean and safe.
Can I Use Bleach to Disinfect the Microwave Interior?
You shouldn’t use bleach to disinfect your microwave interior because it can release harmful fumes and damage surfaces, compromising microwave safety. Instead, go for bleach alternatives like diluted vinegar or lemon juice—they’re natural, effective, and won’t risk your freedom to enjoy safe cooking. These alternatives clean well without harsh chemicals, letting you keep your microwave fresh and safe without worry. Stick to microwave-safe options for a worry-free clean.
How Do I Remove Burnt Food Odors From My Microwave?
Did you know 80% of people struggle with lingering burnt food smells in their kitchen appliances? To tackle burnt food odor removal in your microwave, try heating a bowl of water with lemon slices or vinegar for 5 minutes. The steam loosens residues and neutralizes odors, giving you fresh freedom from that stubborn smell. Wipe down afterward with a damp cloth, and you’ll enjoy a microwave that smells as good as new.