DIY Cleaner for Pet Mess
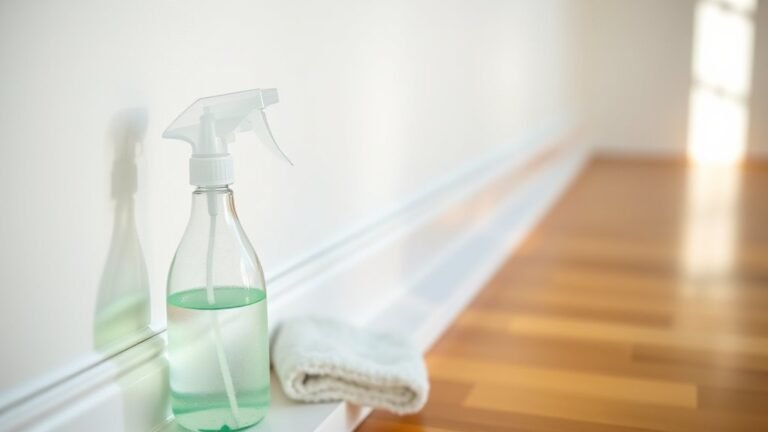
You can make a safe, effective DIY cleaner for pet messes using common ingredients like vinegar, baking soda, and hydrogen peroxide. Vinegar breaks down grime while baking soda neutralizes odors, and an enzyme cleaner made from fruit scraps and brown sugar tackles tough stains naturally. Always blot, don’t rub, and test on hidden spots first to protect fabrics. This approach gently removes messes and odors while keeping pets safe. Explore simple tips to prevent future messes and keep your space fresh.
Common Ingredients for Homemade Pet Mess Cleaners
When tackling pet messes at home, you’ll find that common ingredients like vinegar, baking soda, and hydrogen peroxide are incredibly effective and safe to use. These common cleaning staples are not only affordable but also gentle enough to protect your furry friend while thoroughly eliminating stains and odors. Vinegar’s natural acidity helps break down grime, while baking soda neutralizes odors, making them perfect pet safe ingredients for your DIY cleaner. Hydrogen peroxide, used sparingly, can tackle tougher stains without harsh chemicals. By choosing these ingredients, you maintain a clean environment without compromising your pet’s health or your desire for freedom from toxic products. This approach empowers you to handle pet messes confidently and responsibly, using simple, accessible components found right in your home.
How to Make an Effective Enzyme Cleaner
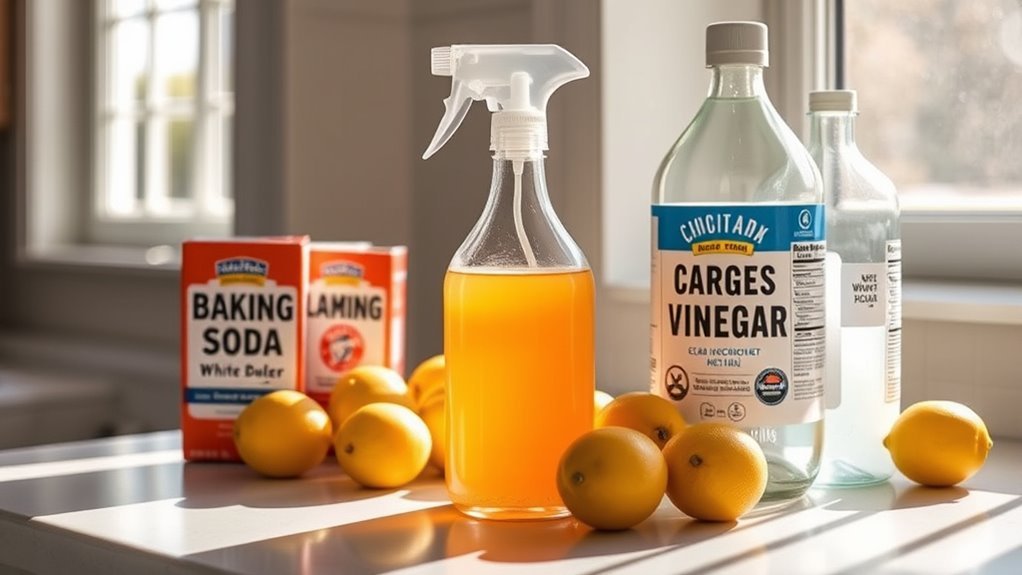
To make an effective enzyme cleaner, you’ll need simple ingredients like fruit scraps, water, and sugar to encourage natural fermentation. Start by combining these in a jar, letting the mixture sit for a few weeks while enzymes develop. When it’s ready, apply the cleaner directly to pet messes, letting it break down stains and odors gently but thoroughly.
Ingredients Needed
Although making an effective enzyme cleaner may seem complex, you’ll only need a few simple ingredients that work together to break down pet messes naturally. Start with organic fruit scraps like orange peels or banana skins, which provide the enzymes needed for safe cleaning. Add brown sugar to feed the beneficial bacteria that produce these enzymes. A teaspoon of active dry yeast will help kickstart the fermentation process. Finally, fill the mixture with water to create the right environment for enzyme activity. These ingredients offer an eco friendly option that’s gentle on your home and the environment. By choosing these natural components, you’re not only tackling pet messes efficiently but also embracing freedom from harsh chemicals. With these basics, you’re set for a powerful, safe cleaning solution.
Preparation Steps
Now that you have your natural ingredients ready, it’s time to combine them properly to activate the enzymes that will tackle pet messes effectively. Start by gathering your preparation materials: a clean glass jar or bottle, measuring cups, and a funnel to avoid spills. Mix equal parts water and fruit scraps or vegetable peels in the container, then add a small amount of brown sugar to feed the enzymes. Seal the jar tightly and shake gently to blend. Store it in a dark, warm place for about two weeks, shaking it every few days to keep the enzymes active. Having the right cleaning tools on hand, like spray bottles and soft cloths, will make transferring and using your DIY enzyme cleaner easier once it’s ready.
Application Tips
When you start using your enzyme cleaner, remember that applying it correctly boosts its effectiveness against pet messes. Mastering the right application techniques guarantees the enzymes break down stains and odors thoroughly.
- Pre-treat the area by removing solid waste and blotting excess moisture.
- Apply the cleaner generously, covering the entire stained surface to activate enzymes fully.
- Allow the cleaner to sit for 10-15 minutes, giving enzymes time to digest organic matter.
- Use effective scrubbing with a soft brush or cloth to loosen embedded residues, then blot dry.
Removing Stains From Carpets and Upholstery
Since pet stains can set quickly, tackling them promptly on carpets and upholstery is essential to prevent lasting damage. First, identify your carpet types and upholstery fabrics to choose a safe cleaner. For delicate materials like silk or wool, test your DIY solution on a hidden spot to avoid discoloration. Blot stains gently with a clean cloth—never rub, as this can push the mess deeper. Use a mixture of white vinegar and water or a mild detergent diluted in water, applying sparingly. After treatment, rinse with a damp cloth to remove residue, then let the area air dry completely. By addressing stains quickly and respecting fabric differences, you’ll maintain your home’s freedom from both mess and damage.
Neutralizing Pet Odors Naturally

You can tackle pet odors effectively using common natural neutralizers like baking soda and vinegar, which are gentle yet powerful. Enzyme cleaners are especially helpful because they break down odor-causing molecules at their source. Plus, creating your own essential oil blends allows you to add a fresh, personalized scent while keeping your home safe for pets.
Common Natural Odor Neutralizers
Odor neutralizers play an essential role in keeping your home fresh, especially when dealing with pet messes. You want solutions that are effective yet gentle, allowing you to maintain a clean, inviting space without harsh chemicals. Here are four common natural odor neutralizers you can rely on:
- Baking soda – Absorbs odors instantly and can be sprinkled on carpets or pet beds before vacuuming.
- Vinegar solution – Mix equal parts water and white vinegar for a spray that cuts through smells and disinfects.
- Activated charcoal – Traps odor molecules and can be placed discreetly around problem areas.
- Lemon juice – Its natural acidity neutralizes odors and leaves a fresh scent.
Using these keeps your home smelling clean and supports a healthier environment for you and your pets.
Benefits of Enzyme Cleaners
Although natural odor neutralizers can be helpful, enzyme cleaners take pet mess cleanup a step further by breaking down the organic compounds that cause smells. You’ll appreciate their enzyme efficacy, which targets the source of odors instead of just masking them. This approach supports pet health by reducing harmful bacteria and allergens. Plus, enzyme cleaners are safe for your furry friends and the environment, granting you freedom from harsh chemicals.
| Benefit | How It Works | Why It Matters |
|---|---|---|
| Deep Odor Removal | Breaks down urine, feces, and stains | Eliminates lingering smells |
| Safe for Pets | Non-toxic, biodegradable enzymes | Protects pet health |
| Environmentally Friendly | Naturally derived components | Reduces chemical waste |
Enzyme cleaners provide a thorough, safe, and sustainable solution for your home.
DIY Essential Oil Blends
A few well-chosen essential oils can work wonders in neutralizing pet odors naturally. By understanding essential oil properties, you can create effective scent combinations that freshen your space without harsh chemicals. Here’s how to get started:
- Lavender: Known for its calming properties, it helps mask odors and soothes both you and your pet.
- Lemon: Its bright, clean scent cuts through stubborn smells and has natural antibacterial effects.
- Eucalyptus: Offers a fresh aroma and antimicrobial benefits, ideal for tackling tough pet messes.
- Peppermint: Provides a sharp, invigorating scent that neutralizes odors while keeping your home feeling vibrant.
Mix these oils with water or a gentle carrier for a DIY cleaner that’s safe, effective, and liberating.
Cleaning Hard Floors After Pet Accidents

When your pet has an accident on hard floors, prompt and thorough cleaning is essential to prevent stains and lingering smells. You want to protect your hard floor maintenance efforts and guarantee effective pet stain prevention. Start by blotting the mess with a clean cloth, then use a gentle DIY cleaner made with vinegar and water to disinfect without damaging surfaces. Avoid harsh chemicals that could harm your floors or pet.
| Step | Action | Tip |
|---|---|---|
| 1 | Blot area immediately | Use paper towels, don’t rub |
| 2 | Apply DIY cleaner | Mix 1 cup water + 1/2 cup vinegar |
| 3 | Wipe gently | Avoid excess moisture |
| 4 | Dry floor thoroughly | Use a microfiber cloth |
| 5 | Repeat if odor persists | Add a few drops of essential oil |
Tips for Preventing Future Messes
Since preventing future pet messes saves you time and stress, it’s important to establish routines and environments that discourage accidents. Taking preventive measures through consistent pet training can make a huge difference.
Establish routines and consistent training to prevent pet messes, saving you time and stress.
Here are four tips to help you maintain a mess-free home:
- Set a regular schedule for feeding and bathroom breaks to create predictability.
- Use positive reinforcement during pet training to encourage appropriate behavior.
- Designate specific potty areas outside to guide your pet’s habits.
- Keep cleaning supplies handy for quick response to any accidents.
Frequently Asked Questions
Can DIY Cleaners Harm My Pet if Ingested?
Imagine your curious pet accidentally licking a spilled cleaner, its tiny tongue meeting unexpected chemicals. You’ve got to prioritize pet safety by understanding ingredient risks in any homemade solution. Some natural ingredients can still be harmful if ingested, so you should always research and choose non-toxic components. Remember, protecting your furry friend means balancing your freedom to create with careful ingredient selection to avoid accidental poisoning or irritation.
How Long Do Homemade Cleaners Stay Effective?
You’ll find that homemade cleaners generally have a shelf life of about one to two weeks, depending on the ingredients used. Over time, ingredient effectiveness can diminish, especially with natural components like vinegar or essential oils. To keep your cleaner working well, store it in a cool, dark place and label the date you made it. This way, you’ll enjoy both freedom and confidence in your cleaning routine without wasting product.
Are DIY Pet Cleaners Safe for All Floor Types?
You’ll want to check floor compatibility before using any cleaner, especially DIY ones, since not all solutions suit every surface. While many homemade cleaners offer great cleaning effectiveness, some ingredients might harm delicate floors like hardwood or natural stone. To keep your freedom to clean worry-free, always test a small spot first and adjust your recipe as needed. That way, your floors stay safe and spotless without limitations.
Can I Store Homemade Cleaner Solutions Long-Term?
You can store homemade cleaner solutions long-term, but it’s important to follow storage tips to maintain their effectiveness. Keep your cleaner in a sealed, labeled container, away from direct sunlight and extreme temperatures. Remember, the cleaner shelf life varies, often lasting a few weeks to a few months depending on ingredients. Always check for changes in smell or appearance before use, so you’re confident it’s still safe and effective.
What Should I Do if My Pet Has Allergies?
If your pet’s allergy symptoms seem like a thunderstorm in a teacup, don’t panic. You’ll want to identify triggers by watching for itching, sneezing, or redness. Allergy management tips include consulting your vet for diagnosis, switching to hypoallergenic diets, and keeping their environment clean but free of harsh chemicals. You can create a safe, happy space for your pet without feeling trapped by their allergies—freedom lies in careful, loving care.