How to Clean and Sanitize Dog Crates
To clean and sanitize your dog’s crate, first remove your pet and all accessories. Disassemble the crate if possible, then vacuum out loose hair and debris. Wash any bedding and toys with pet-safe detergent. Use a pet-friendly cleaner to scrub the crate, followed by a germicidal spray to kill germs—rinse well and dry thoroughly. Regular upkeep like daily debris removal and odor control helps keep it fresh. Keep going to uncover detailed steps and expert tips.
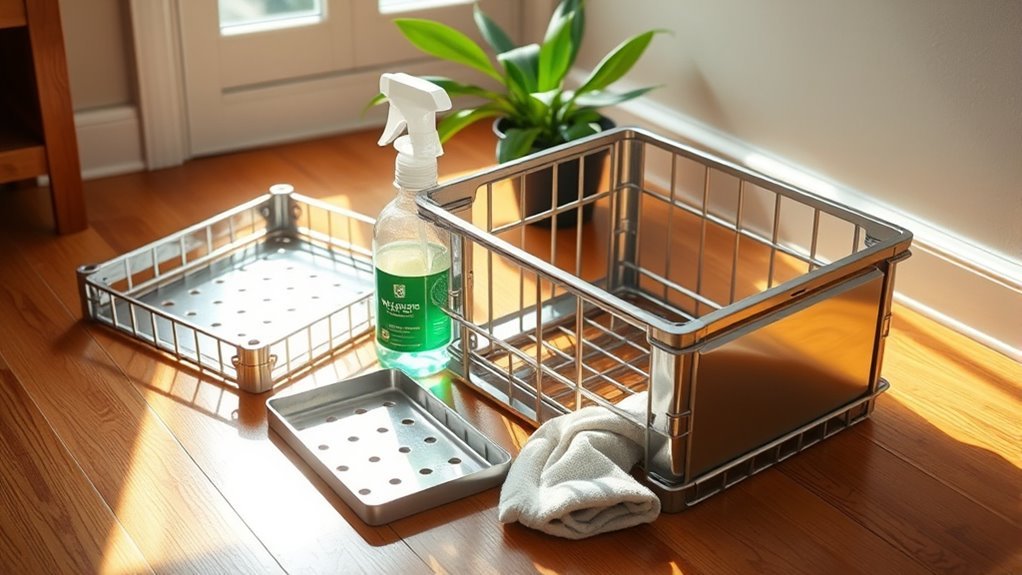
Gather Necessary Cleaning Supplies

Before you start cleaning your dog’s crate, make sure you’ve gathered all the necessary supplies. Having the right essential tools on hand lets you work efficiently and enjoy your newfound freedom without interruptions. Focus on eco friendly products that are safe for your pet and the environment—think biodegradable sprays and natural disinfectants. Grab a sturdy brush or sponge, a bucket for water, and some microfiber cloths for wiping down surfaces. These simple, effective tools will make your job quicker and keep your dog’s space fresh without harsh chemicals. By preparing thoughtfully, you control the process, ensuring a clean crate with minimal hassle. This approach keeps your pet healthy and supports your lifestyle, free from unnecessary waste or toxic residues.
Remove Your Dog and Accessories From the Crate
Before you start cleaning, make certain to remove your dog and take out all accessories from the crate. Check carefully for any hidden debris or leftover food that might be stuck in corners or crevices. Clearing everything out guarantees a thorough and effective clean.
Clear Out All Items
Start by removing your dog and all accessories from the crate to give yourself a clear space to work with. Clearing out everything lets you see the full scope of what’s inside, making crate organization easier and more effective. Take this opportunity to do an item inventory—check toys, bedding, food bowls, and any other accessories. You might find items that are worn out or no longer needed, so set those aside for cleaning, repair, or disposal. Keeping only what’s necessary helps maintain a clutter-free crate, giving your dog a more comfortable and inviting space. This step is essential for freedom in crate maintenance, so you’re not stuck sorting through unnecessary stuff later. Once cleared, you’re ready to move on to the next step in cleaning.
Check for Hidden Debris
Anyone who’s used a dog crate knows how easily small bits of debris can hide in corners and crevices. After removing your dog and accessories, take a close look at those hidden corners where dust, food crumbs, fur, and even small toys might be trapped. Different debris types can accumulate, affecting cleanliness and your dog’s comfort. Use a handheld vacuum or a damp cloth to clear out these stubborn spots. Don’t forget to check under any removable trays or mats, as debris often collects there too. Being thorough here guarantees your crate stays fresh and inviting, giving your dog a clean space to relax freely. Catching hidden debris early also helps prevent odors and potential health issues down the line.
Disassemble the Crate for Thorough Cleaning
Although it might seem tedious, disassembling your dog crate is essential for a thorough cleaning. Breaking down the crate lets you access every nook and cranny, ensuring no dirt or bacteria hide in tight spots. To confidently disassemble components, follow these steps:
Disassembling your dog crate ensures a deep clean, reaching every corner to eliminate hidden dirt and bacteria.
- Review the crate assembly instructions or recall how you put it together.
- Remove accessories like trays, bedding, or food dishes.
- Carefully unscrew or unlatch panels, keeping hardware safe for reassembly.
- Separate all parts to clean each surface individually.
Vacuum Loose Debris and Pet Hair
You’ll want to pick a vacuum attachment that works well on both hard surfaces and fabric to tackle all areas of the crate. Make sure to vacuum every corner, including the floor, walls, and any mats inside. For stubborn pet hair, use a brush or lint roller to lift it before vacuuming again.
Choose Suitable Vacuum Attachment
Choosing the right vacuum attachment can make cleaning your dog crate much easier and more effective. Different vacuum types come with specific attachments designed to tackle pet hair and debris efficiently. Knowing the attachment benefits helps you pick the best tool for your crate’s material and design.
Here’s what to evaluate:
- Brush attachment: Great for loosening hair from fabric or plastic crates.
- Crevice tool: Perfect for tight corners and narrow spaces.
- Upholstery nozzle: Ideal for cushioned crate mats or bedding.
- Pet hair remover: Specialized for stubborn fur stuck in crate surfaces.
Vacuum All Crate Surfaces
Once you’ve picked the right vacuum attachment, it’s time to tackle the entire crate. Start by methodically vacuuming every surface—floor, walls, and corners—to lift loose debris and pet hair. Using targeted crate vacuuming techniques, move steadily to guarantee no spot is missed. Pay attention to seams and crevices where dirt tends to hide. This approach not only clears visible mess but also preps the crate for deeper cleaning. Effective pet hair removal at this stage makes the next steps easier and keeps the crate fresh longer. By staying thorough and consistent, you maintain a clean environment that supports your dog’s freedom and comfort. Vacuuming all crate surfaces regularly can save you time while keeping your furry friend happy and healthy.
Remove Stubborn Pet Hair
Although vacuuming removes most loose hair, stubborn pet hair often clings to crate surfaces and requires extra effort. To free your crate from this clingy fur, you’ll want to embrace effective hair removal techniques that complement your pet grooming routine. Here’s how you can tackle it:
- Use a rubber glove or pet grooming mitt to rub the crate’s surfaces, loosening stubborn hair.
- Dampen a microfiber cloth slightly and wipe down the crate to pick up leftover fur.
- Employ a lint roller for tricky corners and crevices where hair hides.
- Repeat these steps regularly to prevent buildup and keep your dog’s space fresh and free.
Taking these steps gives you the freedom to enjoy a clean crate without the hassle of persistent pet hair.
Wash Removable Bedding and Toys
Because your dog spends a lot of time on their bedding and playing with toys inside the crate, it’s vital to wash these items regularly to keep them clean and odor-free. Start by checking the care labels on bedding materials to guarantee you use the right washing method. Most removable bedding can go in the washing machine with a pet-safe detergent. For toys, focus on toy hygiene—wash soft toys in the machine, and clean hard toys with warm, soapy water, rinsing thoroughly afterward. Regularly washing these items prevents bacteria buildup and keeps your dog’s space fresh. Staying on top of this simple routine gives your furry friend a healthier, more comfortable crate while supporting your lifestyle of freedom and ease.
Clean the Crate With Pet-Safe Cleaner
After washing your dog’s bedding and toys, the next step is to clean the crate itself using a pet-safe cleaner. Choosing products with pet safe ingredients guarantees your furry friend stays healthy while you maintain a fresh environment. For effective cleaning, follow these steps:
- Remove loose debris and hair with a vacuum or brush.
- Spray the crate thoroughly with a cleaner made from pet safe ingredients.
- Scrub all surfaces, including corners and bars, to remove dirt and grime.
- Rinse well with water to eliminate any residue and let it air dry completely.
This method keeps your dog’s space clean and safe, giving both of you the freedom to enjoy a healthy, comfortable home.
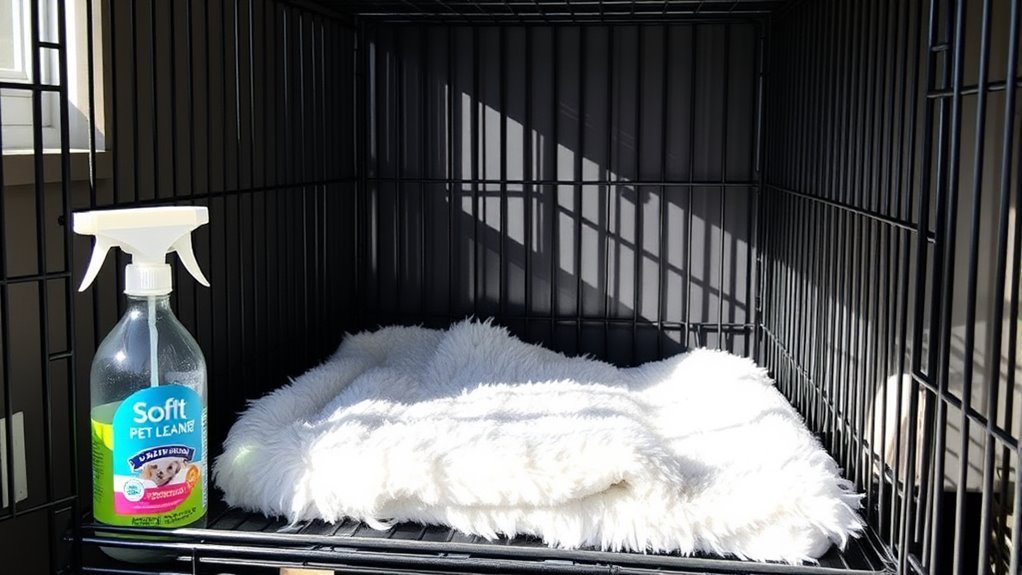
Sanitize the Crate to Eliminate Germs
Sanitizing the crate is an important step to kill germs and keep your dog healthy. After cleaning, grab germicidal wipes or disinfectant sprays designed for pet areas to thoroughly sanitize all surfaces. Focus on corners, bars, and any hard-to-reach spots where bacteria can hide. Germicidal wipes offer quick, targeted application, while disinfectant sprays can cover larger areas efficiently. Make sure the products you choose are safe for pets and follow the instructions on contact time to maximize effectiveness. Sanitizing regularly helps prevent illness and keeps your dog’s space fresh and free from harmful microbes. By taking this simple step, you’re giving your furry friend a cleaner, safer environment without sacrificing your freedom to enjoy worry-free time together.
Dry the Crate Completely Before Use
Once you’ve thoroughly sanitized the crate, you’ll want to make certain it’s completely dry before letting your dog back inside. Moisture left behind can promote mold or bacteria growth, which limits your dog’s freedom to enjoy a clean, safe space. Use effective drying techniques to speed up this process so your dog crate is ready quickly and safely.
Here are four drying techniques to take into account:
- Wipe down all surfaces with a dry towel to remove excess water.
- Leave the crate open in a well-ventilated area to air dry naturally.
- Use a fan to circulate air around and inside the crate for faster drying.
- If outdoors, place the crate under direct sunlight to harness natural heat.
Drying thoroughly guarantees your dog’s crate stays fresh and inviting.
Regular Maintenance Tips for a Clean Crate
Though thorough cleaning is essential, keeping your dog’s crate fresh requires consistent maintenance. Start by establishing a routine to remove any debris or hair daily, which helps prevent buildup and keeps crate organization simple. Use washable crate liners or blankets to protect the bottom and make cleaning easier. For effective odor control, sprinkle baking soda lightly on bedding before vacuuming, and regularly air out the crate to let fresh air circulate. Keep food and water bowls separate and clean to avoid spills that cause odors or messes. Regularly inspect the crate for damage or loose parts to maintain safety and cleanliness. By staying on top of these small tasks, you’ll create a comfortable, hygienic space for your dog while enjoying more freedom from deep cleanings.
Frequently Asked Questions
How Often Should I Deep Clean My Dog’s Crate?
Think of your dog’s crate like a small island; it needs regular care to stay inviting. You should deep clean it at least once a month, but your cleaning schedule might shift depending on crate materials—plastic or metal need different attention than fabric. If your pup’s using it daily, more frequent deep cleans keep it fresh and comfy, giving your furry friend a freedom-filled sanctuary to relax and recharge.
Can I Use Bleach to Sanitize the Crate?
You can use bleach to sanitize your dog’s crate, but you’ve got to be careful with crate materials since bleach can damage some plastics or metals. If you’re looking for bleach alternatives, try vinegar or hydrogen peroxide—they’re safer and still effective. Just make sure you rinse thoroughly and let everything dry completely before your pup hops back in. This way, you keep their space fresh without risking damage or harsh chemicals.
What if My Dog Hates the Cleaning Process?
If your dog dreads the intimidating cleaning dance, don’t despair! Understanding dog behavior helps you tailor your techniques to keep things calm and controlled. You could try gentle distractions, like treats or toys, turning cleaning into a fun, freeing experience. Breaking the process into brief bursts lessens stress, giving your furry friend freedom from fear and fostering trust. Patience and positive reinforcement make all the difference for a happier, hassle-free routine.
How Do I Prevent Mold in the Crate?
To prevent mold in your dog’s crate, focus on mold prevention tips like keeping the crate dry and clean. Make sure you have good crate ventilation solutions, such as mesh panels or open wire designs, to allow airflow. Avoid leaving damp bedding inside, and let the crate air out regularly. By maintaining a fresh, breathable environment, you’ll give your furry friend the freedom to relax in a healthy, mold-free space.
Is It Safe to Use Essential Oils for Cleaning?
You might be curious if essential oils are safe for cleaning. While essential oil benefits include natural antibacterial properties, they can be harmful or irritating to dogs if used improperly. Instead, consider safe cleaning alternatives like diluted vinegar or pet-safe cleaners. These give you the freedom to keep your dog’s space fresh without risking their health. Always guarantee good ventilation and avoid strong scents around your furry friend.