How to Clean Oven
To clean your oven, start by gathering gloves, a non-abrasive scrubber, baking soda, and vinegar. Remove racks and clear loose debris, ensuring the oven is cool and your kitchen is ventilated. Make a baking soda paste, apply it inside, and let it sit to break down grime. Soak racks separately, then wipe all surfaces clean. Finish by cleaning the door glass with a microfiber cloth. You’ll find handy tips ahead to keep your oven spotless with less effort.
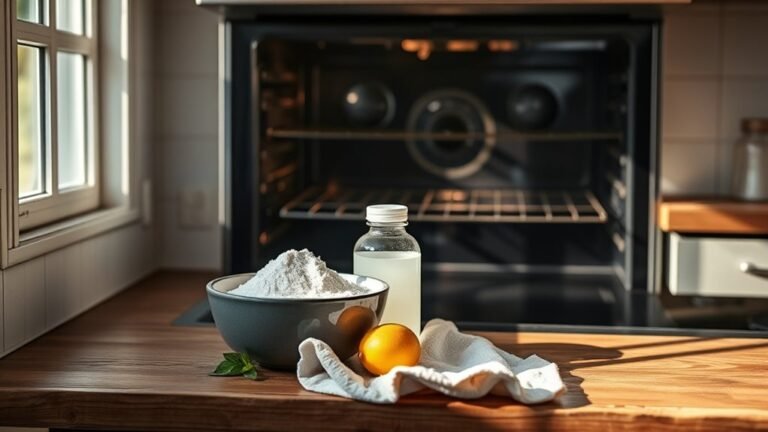
Gather Necessary Cleaning Supplies

Before you begin cleaning your oven, you’ll need to gather a few essential supplies. Freedom starts with having the right cleaning tools at your fingertips—think sturdy gloves, a non-abrasive scrubber, and a spray bottle. To keep your process eco-friendly, opt for natural cleaners like baking soda, vinegar, and lemon juice instead of harsh chemicals. These eco-friendly options not only protect your health and the environment but also leave your oven fresh and spotless. Having everything ready means you can plunge into the job without interruption, making the whole experience smoother and more satisfying. Choosing the right supplies empowers you to take control of your space while staying kind to the planet.
Prepare the Oven for Cleaning
Before you start cleaning, take out the oven racks to give yourself better access inside. Make sure to clear away any loose debris to prevent smearing during cleaning. Also, open a window or turn on a fan to keep the kitchen well-ventilated while you work.
Remove Oven Racks
Once you’ve guaranteed the oven is completely cool, you’ll want to carefully remove the oven racks to make cleaning easier and more effective. Start by sliding each rack out slowly to avoid bending or damaging them. Take note of your rack organization so you can put them back exactly as they were—this keeps your oven functioning smoothly and prevents any cooking mishaps. Depending on the rack materials—whether stainless steel, chrome, or porcelain-coated—handle them accordingly to avoid scratches or chips. Removing the racks frees up space for a thorough clean and lets you target tough grime on the racks themselves without awkward angles. This simple step gives you the freedom to clean your oven efficiently and maintain it in top shape for every meal you create.
Clear Loose Debris
Start by sweeping out any loose crumbs, food particles, and ashes from the oven floor and walls. These debris types can build up over time, making your cleaning task harder if left unattended. Grab simple cleaning tools like a handheld brush, dustpan, or even a vacuum with a hose attachment to make this step quicker and more effective. Don’t forget to check corners and crevices where stubborn bits often hide. Clearing away loose debris not only preps the oven for deeper cleaning but also prevents scratches when you scrub later. This straightforward step gives you the freedom to tackle your oven cleaning confidently and efficiently, setting the stage for a fresh, sparkling oven without unnecessary hassle.
Ventilate Kitchen Area
After clearing out loose debris, it’s important to ventilate your kitchen area to prepare the oven for cleaning. Proper air circulation helps dissipate fumes from cleaning products and reduces the risk of irritation or breathing issues, ensuring kitchen safety. Open windows and doors to create a cross breeze that pushes stale air out and fresh air in. If possible, turn on exhaust fans or use a portable fan to boost airflow. This step not only keeps you comfortable but also prevents the buildup of potentially harmful vapors. Taking a few moments to ventilate your space gives you freedom to clean effectively without compromising your health or comfort. Remember, a well-ventilated kitchen is the foundation for a safer, more enjoyable oven cleaning experience.
Make a Natural Cleaning Paste
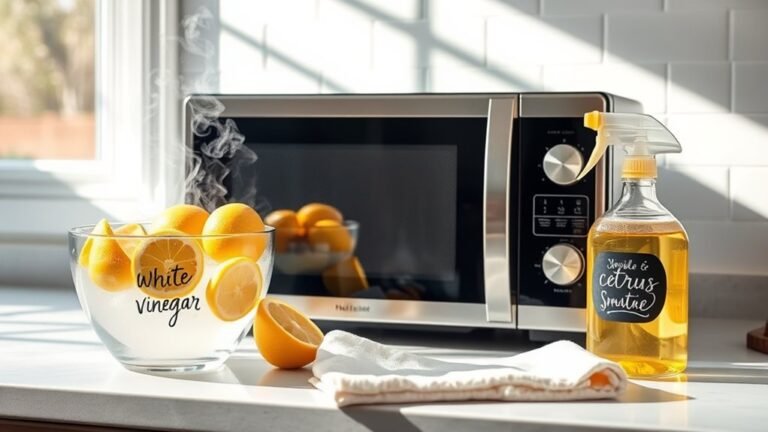
To make a natural cleaning paste, you’ll need just a few simple ingredients that you likely already have at home. Combine baking soda, a powerhouse natural ingredient known for its gentle abrasiveness and odor-neutralizing abilities, with water to create a thick paste. This mix harnesses the cleaning effectiveness you want without harsh chemicals. You can also add a splash of white vinegar or lemon juice for extra cleaning power and a fresh scent. These natural ingredients work together to break down grease and baked-on grime, giving you a safe, eco-friendly option that respects your freedom from toxic cleaners. Once mixed, this paste is ready to tackle your oven’s messes, making your cleaning routine both effective and liberating.
Apply the Cleaning Solution
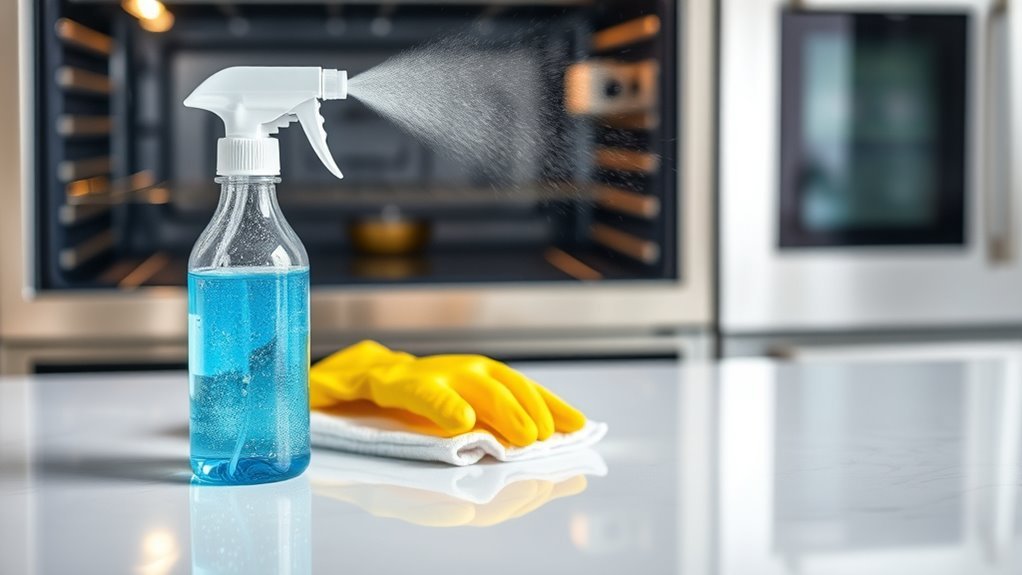
Now that you’ve made your cleaning paste, it’s important to pick a solution that works well for your oven’s grime. You’ll want to apply it evenly, focusing on stubborn spots without missing any corners. Using gloves and a sponge can help you spread the cleaner safely and effectively.
Choosing Effective Cleaners
When you’re ready to tackle oven cleaning, choosing the right cleaner makes all the difference in how effective and easy the process will be. You’ve got options—from natural alternatives like baking soda and vinegar, which are gentle yet powerful, to commercial options designed for tough grime. If you prefer a chemical-free approach, natural alternatives offer freedom from harsh toxins and still get the job done. On the other hand, commercial options can save time if your oven’s really caked with baked-on messes. Consider your priorities: do you want eco-friendliness and safety, or maximum strength and speed? Whichever route you pick, make sure the cleaner suits your oven type and your lifestyle. That way, you stay in control and keep your kitchen fresh without hassle.
Application Techniques
One of the key steps in cleaning your oven is applying the cleaning solution evenly and thoroughly. Mastering the right application methods guarantees you get the best results while saving time. Depending on your cleaning frequency, you might adjust how much effort you put in each session. Here’s how to apply the solution effectively:
- Spray or spread the cleaner evenly over all interior surfaces, avoiding heating elements.
- Use a sponge or cloth to smooth out the solution for consistent coverage.
- Let the solution sit according to the product instructions, respecting cleaning frequency to avoid buildup.
- For tough spots, reapply or gently scrub to loosen grime.
This approach gives you control and freedom to maintain your oven with minimal hassle.
Clean Oven Racks Separately
Cleaning your oven racks separately makes the process easier and more effective. You can liberate yourself from stubborn grime by starting with rack soaking. Let the racks soak in warm, soapy water to loosen baked-on messes. After soaking, rack scrubbing becomes a breeze, freeing you from endless scrubbing battles and restoring shine.
Here’s how tackling racks separately empowers you:
| Step | Feeling | Result |
|---|---|---|
| Rack Soaking | Calm | Dirt loosens |
| Rack Scrubbing | Empowered | Grime disappears |
| Rinse & Dry | Refreshed | Racks gleam |
| Replace Racks | Accomplished | Oven looks new |
| Enjoy Freedom | Satisfied | Clean oven pride |
Taking control of your racks frees you to enjoy a sparkling oven without the hassle.
Wipe Down the Interior Surfaces

Grab a damp cloth or sponge and start wiping down the oven’s interior surfaces. This step is essential to remove loosened grime and residue. To keep your cleaning efficient and liberating, follow these simple cleaning techniques:
- Begin at the top and work your way down to avoid dirty drips.
- Use circular motions to lift stubborn spots without scrubbing harshly.
- Rinse your cloth frequently to prevent spreading grease around.
- Dry the surfaces with a clean cloth to prevent streaks and moisture buildup.
Clean the Oven Door and Glass
Although the oven’s interior gets the most attention, you shouldn’t overlook the door and glass, as grease and grime build up there too. Start by removing the oven door if your model allows it; this makes cleaning easier and more thorough. Use a soft cloth or sponge with warm, soapy water to wipe down the oven door, focusing on edges where dirt collects. For the glass, opt for a quality glass cleaner that cuts through stubborn smudges without leaving streaks. Spray it lightly, then wipe with a microfiber cloth to restore clarity. Taking the time to clean the oven door and glass not only improves your oven’s appearance but also helps you keep an eye on your food while cooking, offering you freedom from guesswork.
Final Touches and Maintenance Tips
Once the oven door and glass are spotless, you’ll want to guarantee the rest of your oven stays in top shape. A final inspection helps you catch any missed spots or issues before you’re done. To keep your oven running smoothly and enjoy the freedom of a clean kitchen, stick to regular maintenance. Here’s how:
- Check and clean oven racks regularly to prevent buildup.
- Wipe spills immediately after cooking to avoid stubborn stains.
- Inspect door seals for cracks to maintain heat efficiency.
- Schedule deep cleans every few months to keep grime at bay.
Frequently Asked Questions
Can I Use Oven Cleaner on a Self-Cleaning Oven?
Imagine your oven as a fortress that cleans itself—tempting, right? You shouldn’t use oven cleaner on a self-cleaning oven because it’s designed to handle grime through intense heat, not harsh chemicals. Using oven cleaner might damage its special coating or sensors, limiting your freedom to enjoy hassle-free cooking. Trust the self-cleaning cycle and avoid extra cleaners. That way, you keep your oven’s independence intact and your kitchen safe.
How Often Should I Deep Clean My Oven?
You should set your oven cleaning frequency based on how often you cook—usually, a deep cleaning schedule every 3 to 6 months works well. If you use your oven daily or cook messy meals, consider cleaning it more often to keep things fresh and safe. Sticking to this routine gives you freedom from stubborn grime and keeps your oven running smoothly, so you can enjoy hassle-free cooking without worrying about buildup or odors.
Is It Safe to Use Bleach to Clean the Oven?
You might want to avoid using bleach to clean your oven since it can release harsh fumes and isn’t the safest choice for this task. Instead, consider bleach alternatives like baking soda, vinegar, or commercial oven cleaners designed for safe cleaning. These options let you keep your oven fresh without risking damage or toxic exposure. You deserve cleaning methods that give you freedom from worry and keep your space healthy.
How Do I Remove Burnt-On Grease Without Scrubbing?
Imagine your oven as a battlefield, where burnt grease is the stubborn enemy. You don’t have to scrub endlessly to reclaim your territory. Try a cleaning hack: spray a mixture of baking soda and water on the grease, let it sit like a gentle rain for hours, then wipe away with a damp cloth. This way, you’re freeing your oven effortlessly, no harsh scrubbing needed—just smart, peaceful victory over grime.
Can I Clean the Oven While It’s Still Warm?
You might be tempted to clean your oven while it’s still warm, but for oven safety, it’s best to wait until it cools down. Cleaning a hot oven can cause burns or damage your cleaning tools. Instead, use cleaning tips like wiping spills soon after cooking once the oven’s warm but not hot, then deep clean when it’s completely cool. This way, you keep your freedom to clean safely and effectively.