How to Clean Your Ceilings in 10 Minutes
To clean your ceilings in 10 minutes, gather gentle cleaning supplies and guarantee the area is clear and well-lit. Use an extendable duster or microfiber mop to swiftly remove dust and cobwebs, then spot-clean any stains with a damp cloth and mild cleanser. Rinse lightly with warm water and dry with a soft cloth or let air dry. Taking these simple steps now will save you time and effort as you keep your ceilings fresh and spotless. Keep going to discover easy ways to make the process even smoother.
Gather Your Cleaning Supplies
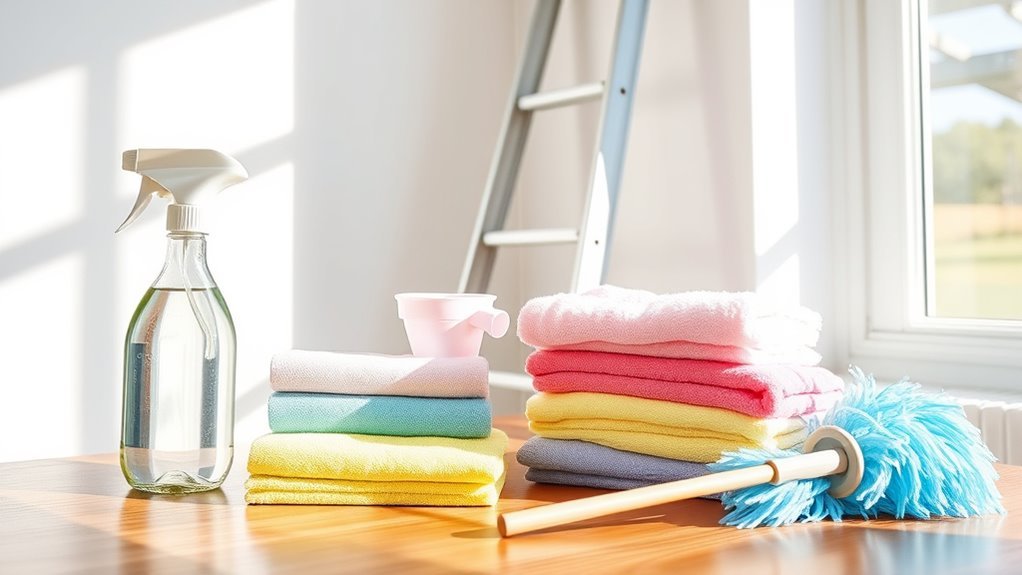
Before you begin cleaning your ceilings, you’ll need to gather a few essential supplies. The right cleaning products can make all the difference, but it’s vital to match them with your specific ceiling materials. For example, a gentle cleanser works best on textured or painted ceilings, while a mild detergent suits smooth surfaces. Avoid harsh chemicals if you want to maintain your freedom from damage or discoloration. Grab a sturdy ladder or step stool to reach those high spots safely. You’ll also want a soft sponge or microfiber cloth to prevent scratching. Having a bucket with warm water ready will help rinse away dirt effortlessly. Taking time to choose the right supplies guarantees your ceiling cleaning is efficient, safe, and leaves your space feeling fresh and free.
Prepare the Room for Cleaning
Three simple steps can make preparing your room for ceiling cleaning much easier and safer. First, assess your room layout to identify any obstacles. Next, adjust your furniture arrangement to create ample space. Finally, protect your belongings with covers or cloths to avoid damage.
| Step | What to Do |
|---|---|
| 1. Assess Layout | Walk around, note tight spaces |
| 2. Move Furniture | Shift items away from work area |
| 3. Protect Items | Cover sofas, electronics, rugs |
| 4. Secure Loose Items | Clear small objects from floor |
| 5. Confirm Lighting | Set up bright, even lighting |
Remove Dust and Cobwebs Efficiently

To remove dust and cobwebs efficiently, you’ll need the right tools like extendable dusters and gentle brushes. Knowing how to tackle cobwebs without damaging your ceiling is key, as is following simple safety tips to avoid accidents. Let’s explore the best methods to keep your ceilings clean and safe.
Best Tools for Dusting
Although dusting ceilings might seem tricky, having the right tools can make the job much easier and more effective. You’ll want to grab a good extendable duster—it lets you reach high spots without climbing on unstable furniture, giving you freedom to move safely and quickly. Pair that with microfiber cloths, which trap dust better than traditional fabrics, so you won’t just push dust around. Microfiber cloths also work great for wiping down edges and corners after dusting. Together, these tools help you clean thoroughly without hassle, saving you time and effort. By choosing the right gear, you’re not only making ceiling dusting simpler, but you’re also keeping your space fresh and free from airborne dust, so you can enjoy a cleaner, more liberated home environment.
Effective Cobweb Removal
Once you’ve tackled dusting, it’s time to focus on cobwebs, which tend to accumulate in hard-to-reach corners and ceiling edges. Grab a long-handled duster or a microfiber mop to easily reach those spots without strain. Gently sweep away cobwebs, making sure to get into crevices where spiders love to hide. To keep your ceilings looking fresh longer, practice regular cobweb prevention by cleaning these areas every couple of weeks. This simple ceiling maintenance habit not only keeps your space tidy but also discourages spiders from settling in. Staying consistent with this routine gives you the freedom to enjoy a clean, cobweb-free ceiling with minimal effort, freeing up your time for what really matters.
Safety Tips for Ceilings
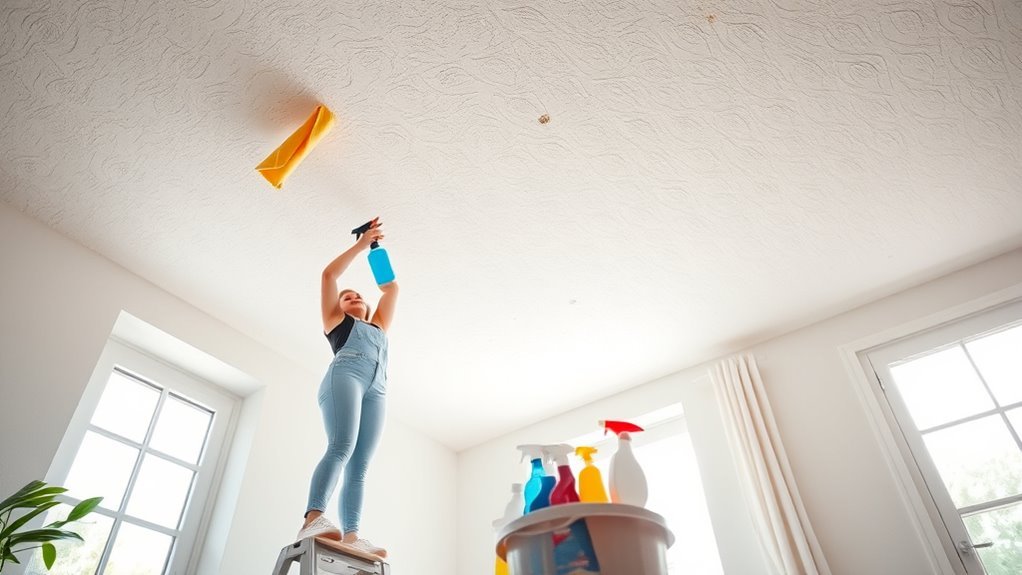
When you’re cleaning dust and cobwebs from your ceilings, safety should always come first. To maintain ceiling safety, make sure you clear the area below to avoid tripping hazards. Use a sturdy ladder and follow ladder precautions: place it on a flat surface, don’t overreach, and always have someone nearby if possible. Wear a dust mask and goggles to protect your eyes and lungs from falling debris. Avoid standing on chairs or unstable objects that can lead to falls. Take your time moving the ladder instead of stretching too far. By respecting these safety tips, you’ll enjoy the freedom of a clean ceiling without risking injury. Remember, a safe approach makes your cleaning quick, effective, and worry-free.
Spot-Clean Stains and Marks
A few simple tools can make spot-cleaning stains and marks on your ceiling much easier. Grab a soft sponge or microfiber cloth and a gentle eraser to target those stubborn spots. When you see a stain, tackle it right away for effective stain removal—don’t let it set in. Lightly dab or rub the area, avoiding harsh scrubbing that might damage your ceiling’s finish. For mark prevention, regularly inspect your ceiling and address any smudges as soon as they appear. This quick attention keeps your ceiling looking fresh and saves you from bigger cleaning jobs later. By staying proactive and using the right tools, you maintain your freedom from constant deep cleaning and keep your ceiling effortlessly spotless.
Use a Gentle Cleaning Solution
Keeping up with spot-cleaning is great, but sometimes those marks need a bit more care. When that happens, you’ll want to reach for gentle cleaners that won’t damage your ceiling’s finish. Harsh chemicals can strip paint or leave stains, so sticking to mild solutions is key. Mix a few drops of dish soap with warm water for an effective, safe cleaner you can whip up in seconds. This simple approach respects your ceiling’s surface while still tackling dirt and grime. Remember, using gentle cleaners is one of the smartest cleaning tips you can follow to maintain freedom from damage and keep your space fresh. With the right solution, you can clean confidently, knowing you’re protecting your ceiling’s look without extra hassle.
Rinse and Dry the Ceiling Surface
When rinsing your ceiling, pick a soft cloth that won’t damage the surface and make sure to use clean water to avoid streaks. Gently wipe away any leftover cleaning solution without soaking the ceiling. Finally, dry the area thoroughly with a dry cloth or towel to prevent moisture damage.
Choosing the Right Cloth
Since your ceiling’s surface can be delicate, choosing the right cloth is essential for effective rinsing and drying without causing damage. You want something gentle yet efficient to maintain your freedom from worry. Here’s what you should consider:
- Opt for microfiber cloths—they’re soft, non-abrasive, and trap dust well.
- Cotton rags are also great, especially when you need something more absorbent.
- Avoid rough fabrics or sponges that might scratch or leave lint behind.
- Make sure the cloth is clean and slightly damp to prevent streaks or water spots.
Using Clean Water
After selecting the right cloth, the next step is to use clean water for rinsing and drying your ceiling. Make sure the water temperature is lukewarm—too hot can damage paint or finishes, while cold water might not rinse away residue effectively. Using clean water helps prevent streaks and avoids spreading dirt back onto the surface. Depending on your cleaning frequency, you might find this step crucial every time you freshen up your ceiling. If you clean regularly, a quick rinse with clean water should suffice. Remember, this simple action preserves your ceiling’s look while giving you the freedom to enjoy a fresh, bright space. So, don’t skip this important step in your quick ceiling cleaning routine.
Effective Drying Techniques
Proper drying is essential to prevent water spots and streaks on your ceiling after rinsing. To achieve this quickly, focus on methods that promote effective air circulation and drying time reduction. Here’s how you can do it:
- Open windows and doors to create natural airflow, speeding up moisture evaporation.
- Use a fan directed towards the ceiling to boost air movement and hasten drying.
- Wipe the ceiling gently with a dry microfiber cloth to remove excess water without damaging the surface.
- Avoid closing off the room immediately; keep air circulating until the ceiling feels completely dry.
Inspect and Touch Up Any Missed Areas
Once you’ve cleaned your ceiling, take a close look to spot any areas you might have missed. These missed spots can stand out once everything else is spotless, so don’t rush. Use simple touch up techniques like gently wiping with a damp cloth or applying a small amount of cleaner with a soft brush. This lets you reclaim your space with minimal effort.
| Missed Spot Location | Suggested Touch Up Technique | Tips for Best Results |
|---|---|---|
| Corners | Damp cloth wipe | Use gentle strokes |
| Near Fixtures | Soft brush | Avoid excess moisture |
| Center Areas | Light cleaner application | Test cleaner on a small patch |
| Edges | Spot clean with sponge | Work quickly for even finish |
Frequently Asked Questions
Can I Use a Vacuum Cleaner on Textured Ceilings?
You can definitely use a vacuum cleaner on textured ceilings, but you’ll want to use the right vacuum attachments to avoid damaging the surface. A soft brush attachment works best to gently lift ceiling dust without scraping or pulling at the texture. Just take your time and move slowly to keep everything intact. This way, you’re freeing yourself from dust without risking any harm to your ceiling’s unique look.
How Often Should Ceilings Be Cleaned?
You should consider your cleaning frequency based on your lifestyle and environment. For ceiling maintenance, aiming to clean every six months works well for most homes, especially if you want to keep dust and cobwebs at bay without feeling restricted. If you have pets or allergies, you might want to clean more often. Remember, regular upkeep keeps your space feeling fresh, giving you the freedom to enjoy a clean, comfortable home effortlessly.
Are There Ceiling-Specific Cleaning Products?
Imagine you’re tackling stubborn stains on your ceiling and wondering if a specific product exists just for that. Yes, there are ceiling cleaning products designed for product effectiveness, like gentle, non-drip sprays that lift dust and grime without damaging paint. Using these frees you from harsh scrubbing and worrying about streaks, letting you enjoy a spotless ceiling with less effort and more confidence in your cleaning routine.
Is It Safe to Clean Ceilings With Mold?
It’s not safe to clean ceilings with mold without taking proper safety precautions. When tackling mold removal, you’ve got to protect yourself with gloves, a mask, and goggles to avoid inhaling spores. Make sure the area is well-ventilated too. If the mold covers a large area, it’s best to call a professional. Taking these steps helps you stay safe while freeing your space from mold safely and effectively.
Can Ceiling Paint Be Damaged by Cleaning?
Yes, ceiling paint can be damaged by improper cleaning, so you’ve gotta be careful. Using harsh chemicals or abrasive tools can strip or dull the paint finish. Stick to gentle cleaning techniques like a soft sponge and mild detergent to keep your ceilings looking fresh. Following ceiling maintenance tips, like spot testing first and avoiding excessive scrubbing, helps protect your paint while giving you the freedom to keep your space bright and clean without worry.