How to Make Homemade Walls Cleaner
You can make an effective homemade wall cleaner with simple ingredients like mild dish soap, white vinegar, and water. Mix one part vinegar to three parts water for tough stains, or combine warm water with a few drops of dish soap for regular cleaning. Use a soft cloth to gently wipe walls, testing first on a small area to avoid damage. Wearing gloves and ensuring ventilation protects you during use. Keep these tips in mind, and you’ll be prepared to clean your walls safely and thoroughly.
Essential Ingredients for Homemade Wall Cleaners

Before you begin mixing your own wall cleaner, it’s important to know which ingredients work best for removing dirt and stains without damaging your paint or wallpaper. Effective cleaning agents like mild dish soap, white vinegar, and baking soda are excellent choices—they break down grime while preserving wall protection. Avoid harsh chemicals that can strip paint or cause wallpaper to peel. You want gentle, natural substances that clean efficiently but respect your surfaces. For stubborn stains, a small amount of rubbing alcohol can be used cautiously. Always consider the finish of your walls; flat paints need milder agents, while semi-gloss can tolerate slightly stronger solutions. Choosing the right cleaning agents guarantees your walls stay clean and intact, giving you the freedom to maintain your space confidently and safely.
Preparing a Basic All-Purpose Wall Cleaner
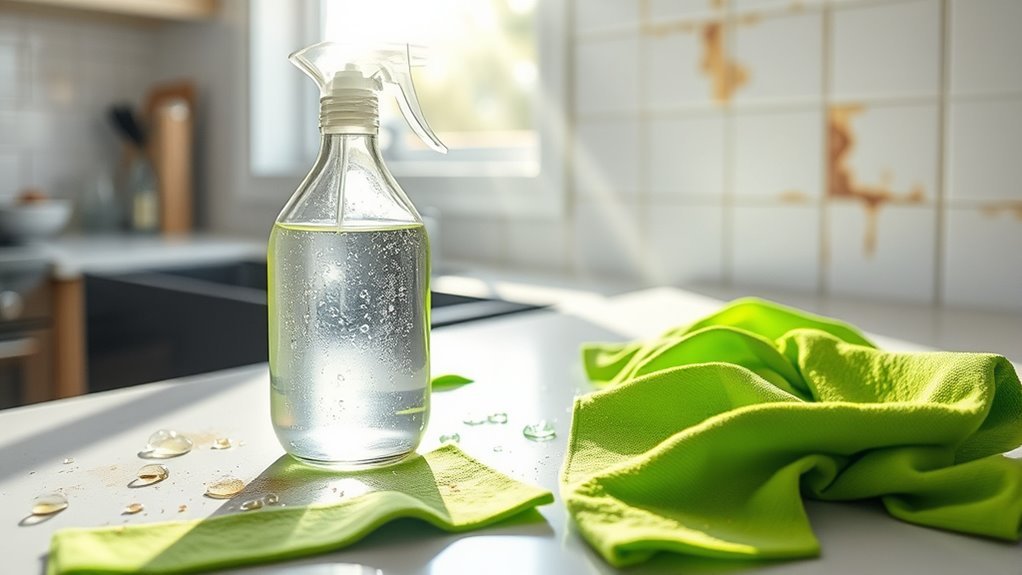
When you’re ready to clean your walls effectively without risking damage, preparing a basic all-purpose wall cleaner is a smart starting point. This solution balances strength and gentleness, ideal for routine wall preparation. You’ll need simple ingredients and reliable cleaning tools to guarantee the process is efficient and safe.
To prepare your cleaner, gather:
To prepare your cleaner, gather warm water, mild dish soap, essential oil, and a spray bottle for easy use.
- Warm water to dissolve and dilute ingredients properly
- Mild dish soap for grease and dirt removal
- A few drops of essential oil for a fresh scent and added antibacterial properties
- A spray bottle for easy application and control
Mix these carefully, then use a soft cloth or sponge to apply. This setup respects your walls while empowering your cleaning freedom.
Using Vinegar-Based Solutions for Tough Stains
When tackling tough stains on your walls, a vinegar and water mix is one of the most effective homemade solutions you can use. You’ll want to apply it carefully with a soft cloth or sponge to avoid damaging the paint or wallpaper. For stubborn spots, gently rub the area and let the solution sit for a few minutes before wiping clean to break down the grime.
Vinegar and Water Mix
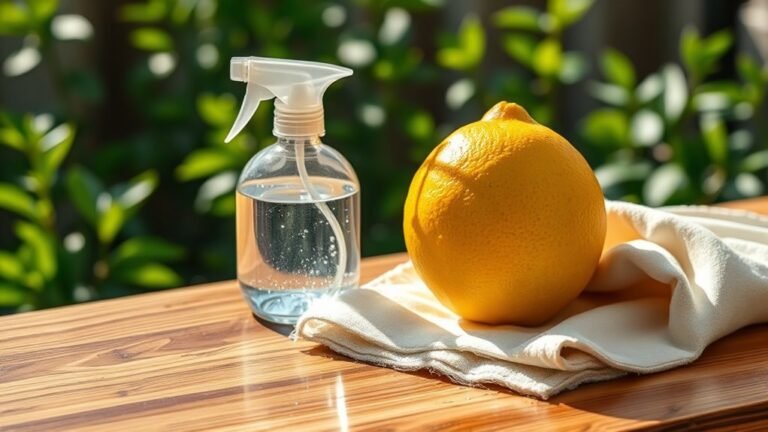
A vinegar and water mix offers a powerful yet gentle solution for tackling tough stains on your walls. Leveraging vinegar benefits, this natural cleaner breaks down grime without harsh chemicals. To get the most out of your solution, pay attention to cleaning ratios; a common mix is one part white vinegar to three parts water. This ratio balances effectiveness and safety for most wall surfaces.
- Use distilled white vinegar for a clear, odor-minimized solution.
- Test your mix on a small, hidden area first to avoid damage.
- Adjust strength for stubborn stains by increasing vinegar concentration carefully.
- Store the mix in a spray bottle for easy, controlled application.
This approach respects your walls and your desire for a clean, toxin-free environment.
Application Techniques for Walls
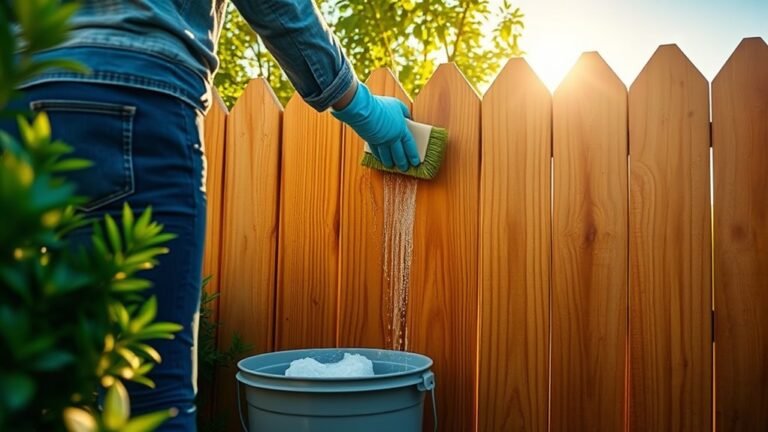
Although vinegar-based solutions are effective, applying them correctly guarantees you tackle tough stains without damaging your walls. Start by selecting the right cleaning tools: soft sponges or microfiber cloths work best to avoid abrasion. When dealing with varied wall textures, test your solution in an inconspicuous spot to verify no discoloration or surface damage occurs. Apply the vinegar mix gently, using circular motions to lift stains rather than scrubbing harshly. For textured walls, use a soft-bristled brush to reach crevices without harming the finish. Avoid saturating the wall; a lightly dampened cloth prevents excess moisture from seeping in and causing damage. By mastering these application techniques, you maintain your walls’ integrity while effectively removing stubborn marks with your homemade cleaner.
Stain Removal Tips
Since tough stains often resist quick fixes, you’ll need to apply vinegar-based solutions with targeted techniques to break them down effectively. Different stain types—like grease, ink, or mildew—respond uniquely to vinegar’s acidity. Tailoring your approach guarantees maximum impact without damaging your walls. Consider cleaning frequency, as frequent treatment prevents buildup and makes stains easier to remove over time.
- Test vinegar solution on a small, hidden area to avoid discoloration.
- For grease stains, mix vinegar with dish soap for enhanced cutting power.
- Dab ink stains gently with vinegar-soaked cloth; avoid rubbing to prevent spreading.
- Use vinegar and water spray for mildew, letting it sit before wiping.
Natural Alternatives for Sensitive Wall Surfaces

When dealing with sensitive wall surfaces, you’ll want to choose cleaning solutions that are both gentle and effective to avoid damage. Eco friendly solutions like diluted white vinegar, baking soda paste, or mild castile soap offer gentle cleaning without harsh chemicals. These alternatives preserve your wall’s finish while maintaining a fresh look.
| Natural Cleaner | Benefits |
|---|---|
| White Vinegar (diluted) | Disinfects, deodorizes |
| Baking Soda Paste | Removes stains, non-abrasive |
| Castile Soap (mild) | Gentle, biodegradable |
| Olive Oil (polish) | Adds shine, conditions |
| Lemon Juice (diluted) | Brightens, natural scent |
Choose the right option for your wall type and always test in an inconspicuous area to guarantee safety.
Step-by-Step Cleaning Techniques for Best Results
Before you begin cleaning your walls, make certain you gather all necessary supplies and identify the type of dirt or stains you’re dealing with. Your cleaning frequency should depend on the wall materials, as delicate surfaces require gentler care. Follow these steps for best results:
Gather supplies and identify stains first; adjust cleaning frequency based on wall material for optimal care.
- Test a small, hidden area to verify your cleaner doesn’t damage the surface.
- Use a soft sponge or microfiber cloth to avoid scratching.
- Employ gentle, circular motions for stains; avoid excessive scrubbing.
- Rinse with clean water and dry promptly to prevent moisture damage.
Tips for Maintaining Clean and Fresh Walls
Although cleaning your walls thoroughly is important, maintaining their appearance regularly will save you time and effort in the long run. To guarantee effective wall maintenance, establish a cleaning frequency that suits your lifestyle—typically every 3 to 6 months. Regularly dust your walls using a microfiber cloth or soft brush to prevent buildup. Address stains immediately with a gentle homemade cleaner to avoid permanent marks. Pay attention to high-traffic areas, as they may require more frequent care. Avoid harsh chemicals that can damage paint or wallpaper. Finally, consider applying a protective coating or washable paint to make future cleanings easier. By following these tips, you’ll keep your walls looking fresh and extend their lifespan without feeling trapped by constant upkeep.
Safety Precautions When Using Homemade Cleaners
Several important safety precautions should be considered whenever you use homemade cleaners to protect both yourself and your walls. Prioritizing cleaning safety and ingredient precautions helps prevent damage and health risks. Before applying any homemade solution, always test it on a small, hidden wall area to check for adverse reactions. Make certain to work in a well-ventilated space to avoid inhaling fumes. Wear gloves to protect your skin from irritation or allergic responses. Finally, store your homemade cleaners properly, clearly labeling each container to prevent accidental misuse or mixing.
- Test cleaners on a small, inconspicuous wall section first
- Guarantee proper ventilation during application
- Use protective gloves to avoid skin contact
- Label and store cleaners safely away from children and pets
Following these steps guarantees effective, safe cleaning freedom.
Frequently Asked Questions
Can Homemade Wall Cleaners Remove Mold and Mildew Effectively?
You can effectively tackle mold removal and mildew prevention with homemade wall cleaners if you use the right ingredients, like vinegar or baking soda. These natural solutions kill mold spores and inhibit mildew growth without harsh chemicals. Just spray the affected area, let it sit, then scrub and rinse. Remember, consistent cleaning and proper ventilation are key to keeping your walls mold- and mildew-free, giving you control over your home’s environment.
How Often Should I Deep Clean My Walls With Homemade Solutions?
You should deep clean your walls regularly, consistently, and thoughtfully to maintain their appearance and longevity. For most homes, a cleaning frequency of every six months works well, but if you live in a humid environment or have kids and pets, consider quarterly deep cleans. This wall maintenance routine prevents buildup, controls allergens, and keeps your space fresh. Sticking to a schedule guarantees your walls stay vibrant while giving you freedom from constant worry.
Are Homemade Wall Cleaners Safe for Painted Wallpaper?
When it comes to painted wallpaper, you’ll want to be extra cautious with cleaning solutions. Homemade wall cleaners can be safe if you avoid harsh ingredients like bleach or ammonia, which may damage wall paint or peel wallpaper. Test your solution on a small, hidden spot first to guarantee it won’t cause discoloration or damage. Stick to gentle mixtures like diluted vinegar or mild soap to keep your painted wallpaper looking fresh without risking harm.
Can I Use Essential Oils in My Wall Cleaning Solutions?
You might worry that essential oils could damage your walls, but when used properly, they’re safe and effective. Essential oils offer natural cleaning benefits like antibacterial properties and pleasant scents, making your space fresh without harsh chemicals. Just dilute a few drops in water or vinegar before applying to avoid residue or discoloration. This way, you get a powerful, eco-friendly cleaner that respects your freedom to choose safe, homemade solutions.
What Is the Best Way to Store Homemade Wall Cleaners?
You should store your homemade wall cleaners in airtight glass containers to keep them fresh and prevent any chemical reactions. Glass won’t absorb odors or stains, making it ideal. Always use clear storage labels so you know exactly what’s inside each bottle, including the date you made it. Keep them in a cool, dry place away from direct sunlight to maintain their effectiveness and guarantee your cleaning freedom lasts longer.