Removing Fan From Sink Effectively
To remove a fan from your sink effectively, first unplug it and turn off the water supply for safety. Use an adjustable wrench, screwdriver, and pliers to loosen and detach screws, nuts, and connections carefully. Gently lift the fan out to avoid damaging nearby parts. Once removed, clean it with mild detergent and make certain all components are free of debris before reinstalling. Keep going to discover tips on maintenance and how to prevent future blockages for smoother operation.
Identifying the Cause of Fan Blockage in Your Sink

Before you can remove the fan from your sink, you need to understand what’s causing the blockage. Fan malfunction causes often stem from debris buildup or mechanical failure, restricting airflow and reducing efficiency. Sometimes, improper installation leads to misalignment or loose fittings, which can create obstructions or strain on the fan components. By pinpointing whether the issue is due to dirt accumulation or installation errors, you’ll be better equipped to address the problem effectively. Taking the time to identify the root cause frees you from guesswork and unnecessary repairs, letting you regain control over your sink’s performance. Once you know what’s wrong, you can proceed confidently with removal and maintenance, ensuring your sink fan runs smoothly and reliably again.
Tools Needed for Removing the Fan
To remove the fan from your sink effectively, you’ll need a few essential tools on hand. Different fan types call for specific removal techniques, so having the right gear guarantees a smooth process without damage. Here’s a quick list of what you’ll typically need:
| Tool | Purpose |
|---|---|
| Adjustable Wrench | Loosens nuts securing the fan |
| Screwdriver | Removes screws or fasteners |
| Pliers | Grips and twists components |
| Flashlight | Illuminates tight spaces |
These tools give you the freedom to tackle various fan types confidently. Being prepared with them means you’re equipped for most removal techniques, helping you regain control and maintain your sink’s functionality effortlessly.
Step-by-Step Guide to Detaching the Fan

There are a few key steps you’ll want to follow when detaching the fan from your sink to guarantee a smooth removal. First, make sure you’ve unplugged the fan and turned off any water supply to avoid accidents—these safety precautions are essential. Next, use the proper detaching techniques: start by loosening any screws or clips holding the fan in place. Carefully disconnect any wiring or hoses attached, keeping track of how they’re connected for reassembly or replacement. Gently lift the fan out, avoiding sudden jerks that could damage surrounding parts. Taking your time and following these steps lets you reclaim freedom from a stuck fan without hassle or injury, making the whole process straightforward and safe.
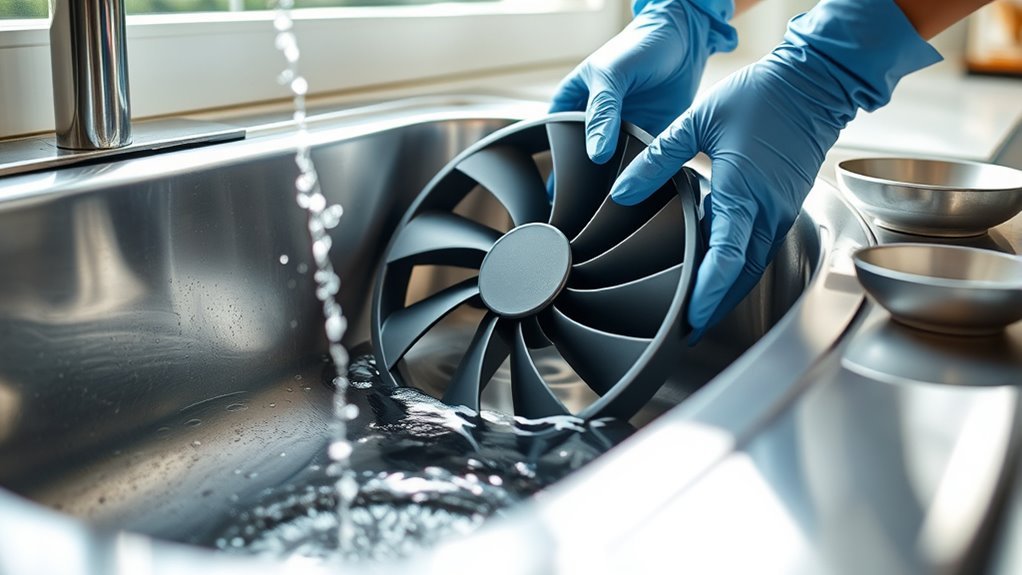
Cleaning and Maintaining the Fan After Removal
Once you’ve successfully removed the fan, you’ll want to clean and maintain it properly to guarantee it works efficiently and lasts longer. Use gentle cleaning techniques like soft brushes and mild detergents to clear dust and grime without damaging parts. Regular maintenance tips include checking for wear, lubricating moving sections, and tightening loose screws. Here’s a quick guide to keep your fan in top shape:
| Task | Tools Needed | Frequency |
|---|---|---|
| Dust Removal | Soft brush, cloth | Weekly |
| Lubrication | Light oil | Monthly |
| Inspection & Tightening | Screwdriver, flashlight | Every 3 months |
Following these steps lets you enjoy freedom from constant fan troubles and guarantees smooth operation every time.
Preventative Measures to Avoid Future Fan Clogs
Although fan clogs can be frustrating, you can prevent them by adopting a few simple habits. Regular fan maintenance tips include checking for debris and buildup, ensuring the fan spins freely, and lubricating moving parts as needed. By staying proactive, you’ll avoid unexpected blockages that limit your freedom to use your sink without hassle. Sink care plays an essential role too—avoid pouring grease, hair, or food scraps down the drain, and use a strainer to catch particles before they reach the fan. Flushing the sink with hot water regularly helps keep both the fan and pipes clear. With these straightforward practices, you’ll maintain smooth operation and enjoy the freedom of a clog-free sink without constant worry or repairs.
Frequently Asked Questions
Can a Fan Be Replaced With a Different Model in My Sink?
You can replace a fan in your sink, but you’ll want to check fan compatibility first. Different models have specific model specifications like size, power, and connection type, so not all fans will fit or work properly. Make sure the new fan matches these specs to avoid issues. By doing this, you’ll enjoy the freedom to upgrade or customize your sink fan without worrying about compatibility problems.
How Do I Know if the Fan Is Causing the Sink to Drain Slowly?
If your sink’s feeling a bit under the weather, it might be a subtle nudge from fan malfunction signs like unusual noise or weak airflow. To set yourself free from doubt, run some sink drainage tests—fill the basin and watch how quickly water escapes. If it lingers longer than usual, your fan might be the culprit slowing things down. Trust your instincts and give your sink the freedom to flow smoothly again.
Are There Any Health Risks Associated With a Clogged Sink Fan?
If your clogged sink isn’t draining properly, you might wonder about health risks. Yeah, there are some. A clogged sink can trap stagnant water and debris, creating a breeding ground for bacteria and mold. This can cause unpleasant odors and even trigger allergies or respiratory issues if left unchecked. To keep your space fresh and healthy, it’s best to clear that clog promptly and maintain good sink hygiene.
Can I Remove the Fan Without Shutting off the Water Supply?
Think of your plumbing like a living river—trying fan removal techniques without shutting off the water is like swimming against a strong current. You’ll want to embrace plumbing safety and turn off the water supply first; otherwise, you risk a surprise flood. Taking this simple step gives you freedom to work confidently and cleanly, avoiding chaos while you remove the fan. So, don’t skip shutting off the water—it’s your best friend in this task.
How Often Should I Inspect the Fan for Potential Issues?
You should stick to a regular fan maintenance routine to keep things running smoothly. Generally, an inspection frequency of every three to six months works well, but if you use the fan heavily or live in a dusty place, checking it monthly is smarter. Staying on top of inspections helps you avoid unexpected breakdowns, giving you the freedom to enjoy your space without annoying interruptions or costly repairs.