Removing Office Chair Stains From Dryer
If your dryer has office chair stains, start by identifying the type—ink, grease, or coffee—since each needs a different approach. Unplug and clear the drum, then use gentle cleaners like baking soda for grease or mild detergent for coffee spots. Blot stains carefully to avoid spreading. Avoid harsh chemicals to protect your dryer’s surface. For tough marks, specialized steps can help you remove them effectively. Keep going to discover detailed methods and preventative tips.
Identifying Common Office Chair Stains
How do you know what kind of stain you’re dealing with on your office chair? First, consider the fabric types involved—leather, mesh, or polyester each react differently to stains. Next, think about common stain causes: coffee spills, ink marks, or food grease. Identifying the stain is about observing its color, texture, and location. Coffee stains often leave a brownish ring, while ink tends to be darker and more stubborn. Grease might feel slick or leave a translucent spot. By recognizing these details, you can target the right cleaning method and avoid damaging your chair’s fabric. Understanding your chair’s material and the stain’s origin sets you free to tackle stains confidently and keep your workspace fresh without unnecessary hassle.
Assessing the Extent of Dryer Contamination
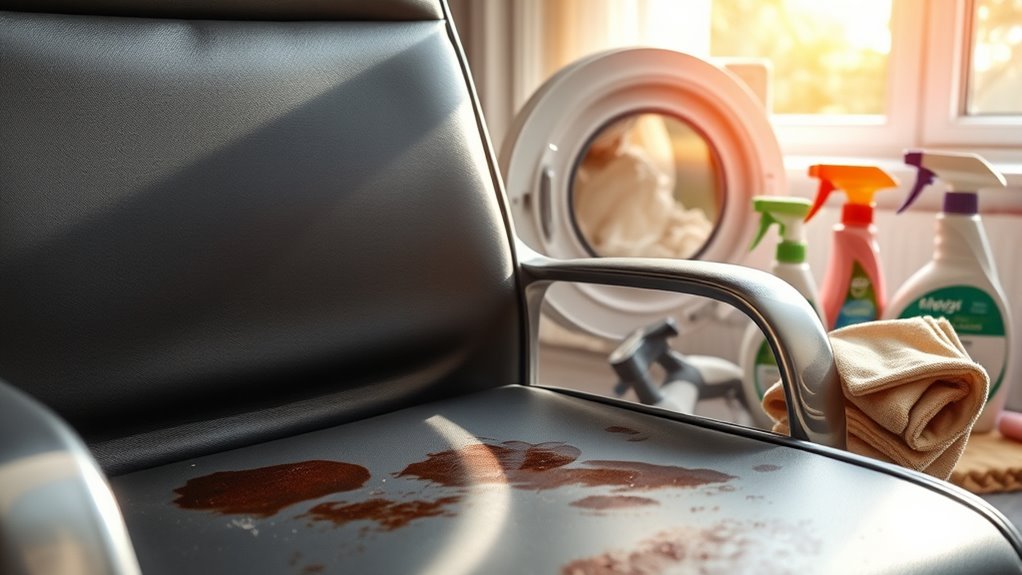
You’ll want to start by closely inspecting your chair for any visible stains or discoloration that might indicate dryer contamination. Pay attention to how severe the stains are, as this will guide your cleaning approach. Don’t forget to check for any lingering odors or sticky residue, which can signal deeper contamination.
Visual Inspection Techniques
Although it might seem unrelated at first, evaluating dryer contamination is crucial when removing office chair stains, especially if you use heat-based drying methods. To do this effectively, you’ll want to rely on visual cues inside the dryer drum and on the lint trap. Look closely for unusual discolorations, residue, or leftover stain patterns from previous loads. These marks can hint at contamination that might transfer onto your office chair fabric during drying. Check the dryer seals and door edges, too—sometimes stains cling there, unnoticed. By carefully inspecting these areas, you can prevent unwanted stains from spreading and guarantee your cleaning efforts don’t go to waste. Taking this simple, visual approach gives you control and helps maintain the freedom to keep your workspace fresh and stain-free.
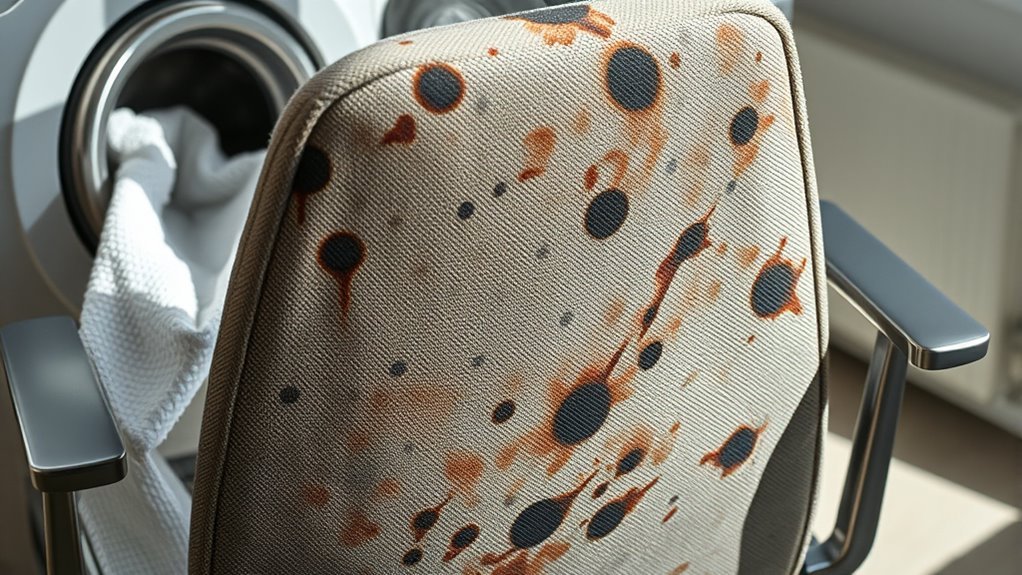
Identifying Stain Severity
After spotting any contamination inside your dryer, the next step is figuring out how severe those stains really are. This involves a careful stain classification to determine whether you’re dealing with light smudges, moderate spots, or deep-set marks. Performing a severity assessment lets you gauge the extent of the stain’s penetration and helps prioritize your cleaning approach. You’ll want to examine the affected areas closely, noting color intensity, size, and texture changes. This clarity gives you the freedom to choose the right cleaning method without wasting time or resources. Understanding the severity means you can act decisively—whether a quick wipe will suffice or a more thorough treatment is necessary—helping you restore your dryer’s cleanliness efficiently and confidently.
Detecting Odor and Residue
How can you tell if your dryer has hidden issues beyond visible stains? Odor sources and residue types often linger unseen, affecting your laundry’s freshness. To gain freedom from these hidden contaminants, you need to assess the extent of dryer contamination carefully. Use your nose and touch to detect unusual smells or sticky buildup inside the drum or lint trap. Here’s a quick guide to common odor sources and residue types you might encounter:
| Odor Source | Residue Type | Detection Method |
|---|---|---|
| Mold & Mildew | Slimy, damp film | Smell mustiness, visual |
| Fabric Softener | Sticky, waxy layer | Touch to feel residue |
| Detergent Build-up | Powdery or crusty | Visual inspection |
| Pet Odors | Greasy patches | Smell and touch |
| Food Spills | Sticky, stained | Visual and smell check |
Detecting these early keeps your dryer fresh and stain-free.
Preparing Your Dryer for Cleaning
Before you start cleaning, make sure to unplug your dryer and let it cool down completely. Next, clear out the dryer drum to remove any loose debris or lint. Finally, gather all the cleaning supplies you’ll need to tackle the stains efficiently.
Unplug and Cool Down
Since you’ll be handling the dryer soon, make certain you unplug it to avoid any electrical hazards. Taking this safety precaution isn’t just about protecting yourself; it’s vital for proper dryer maintenance. Once unplugged, give your dryer time to cool down completely. This step prevents burns and guarantees the internal components aren’t damaged during cleaning. Cooling down also helps any residual heat dissipate, making it safer to touch and work on. By following these simple steps, you’re setting the stage for effective stain removal without risking injury or appliance damage. Prioritizing safety precautions like unplugging and cooling down gives you the freedom to clean confidently, knowing your dryer stays in great shape for years to come.
Clear Dryer Drum
To get your dryer ready for stain removal, start by clearing out the drum completely. Remove any clothes, lint, or debris—this gives you full access and prevents new stains from spreading. Taking this step is one of the essential dryer maintenance tips that sets you up for success. Without a clear drum, stain removal techniques won’t be as effective, and you risk pushing stains deeper into the fabric or drum surface. Freedom from stubborn office chair stains begins with a clean slate inside your dryer. Once the drum is empty and clear, you’re ready to tackle the stains head-on with confidence and ease, ensuring your dryer stays in top shape without unnecessary hassle or damage.
Gather Cleaning Supplies
Once you’ve cleared the dryer drum, you’ll want to gather all the necessary cleaning supplies to make the stain removal process smooth and effective. Having everything ready guarantees you can tackle the stains without interruptions, freeing you to focus on restoring your dryer. Here’s what you’ll need:
- Mild cleaning solutions safe for appliances
- Effective stain removers designed for fabric and surfaces
- Soft cloths or sponges to apply your cleaning agents gently
- A small brush to reach tight spots and scrub stubborn stains
Choosing the right cleaning solutions and stain removers helps you avoid damage while guaranteeing the stains come out. Keep your supplies handy, and you’ll be set to bring your dryer back to its clean, stain-free state quickly and confidently.
Safe Cleaning Agents for Dryer Drum Stains
Although you might not expect it, some office chair stains can transfer to your dryer drum, making safe cleaning essential. You don’t want harsh chemicals damaging your appliance or leaving harmful residues. Instead, opt for natural cleaners and eco friendly solutions that protect both your dryer and the environment. Ingredients like white vinegar, baking soda, and lemon juice work wonders on stubborn stains without toxic side effects. These gentle agents break down marks while keeping your drum’s finish intact. Plus, they’re easy to rinse away, ensuring no odors linger. Choosing safe, natural cleaning options gives you the freedom to maintain your dryer confidently and responsibly, keeping it stain-free without compromising your health or your values.
Step-by-Step Guide to Removing Ink Stains
Removing ink stains from your office chair can feel tricky, but with the right approach, you can tackle them effectively. Start by acting quickly to prevent the stain from setting. Use these ink removal techniques to regain your chair’s clean look:
Quick action and proper methods make removing ink stains from your office chair manageable and effective.
- Blot the stain gently with a clean cloth to absorb excess ink—don’t rub.
- Apply a small amount of rubbing alcohol or a specialized ink remover to a cloth, then dab the stain.
- Let the solution sit for a few minutes before blotting with water to rinse.
- Dry the area thoroughly to avoid moisture damage.
To maintain your chair’s freedom from stains, adopt stain prevention methods like covering the chair and avoiding pens near it. This way, you keep your workspace looking fresh and inviting.
Techniques for Tackling Grease and Oil Marks
Ink stains can be stubborn, but grease and oil marks present a different challenge when cleaning your office chair. For effective grease removal, start by gently blotting the stain with a clean cloth to avoid spreading it. Next, sprinkle a generous amount of baking soda or cornstarch on the affected area to encourage oil absorption. Let it sit for at least 15 minutes, then vacuum it up carefully. If the stain persists, mix a small amount of dish soap with warm water and lightly scrub the spot using a soft brush. Rinse with a damp cloth and let it air dry. By tackling grease and oil marks with these straightforward techniques, you regain control over your chair’s cleanliness without hassle or harsh chemicals.
Dealing With Coffee and Beverage Stains

When coffee or other beverages spill on your office chair, acting quickly can make all the difference in preventing a stubborn stain. You want to tackle that coffee spill before it sets and leaves permanent beverage residue. Here’s how to handle it:
- Blot the spill gently with a clean cloth to absorb excess liquid—don’t rub or spread it.
- Mix a mild detergent with warm water and dab the stain carefully.
- Use a soft brush to work the solution into the fabric if needed, loosening the stain.
- Rinse by blotting with a damp cloth, then let it air dry completely.
Preventing Future Stains on Office Chairs and Dryer
After you’ve treated coffee or beverage stains, the best way to keep your office chair looking fresh is to prevent new marks from forming. To embrace freedom from constant stain worries, start with effective stain prevention. Consider applying a fabric protection spray designed for office chair materials; it creates a barrier that repels liquids and dirt. Be mindful about where you place drinks or snacks—keep them away from your chair and dryer. Regularly clean your chair with a gentle vacuum or cloth to avoid buildup that attracts stains. For your dryer, avoid tossing in items with wet stains that might transfer. By taking these simple steps, you gain control over your environment, keeping both your office chair and dryer free from stubborn stains and ready for whatever your day brings.
When to Call a Professional Cleaner
Although many stains can be tackled at home, there are times when calling a professional cleaner is the best choice. You’ll want expert professional services when a quick stain assessment shows the damage is too deep or the fabric too delicate. Don’t hesitate to reach out if you face:
- Stubborn stains that won’t budge despite your efforts
- Uncertainty about the right cleaning method for your chair’s material
- Concerns about causing further damage or discoloration
- Large or multiple stains that overwhelm your DIY attempts
Choosing professionals gives you the freedom to relax, knowing your office chair will be treated with care and expertise. Sometimes, saving time and ensuring quality results is the smartest move for both your chair and your peace of mind.
Frequently Asked Questions
Can Office Chair Stains Damage Dryer Internal Components?
You might wonder if office chair stains can damage your dryer’s internal components. While stains themselves typically don’t cause direct harm, the substances causing them—like oils or dyes—could build up, affecting dryer performance over time. To keep your freedom from frequent repairs, focus on stain prevention by cleaning items before drying and practicing regular dryer maintenance. This way, you’ll enjoy both clean clothes and a long-lasting appliance without hassle.
How Long Should the Dryer Run After Cleaning to Dry Thoroughly?
You’ll want to run your dryer for about 30 to 45 minutes to guarantee thorough drying time, but it really depends on the fabric and load size. To boost drying efficiency, consider using a high heat setting and avoid overloading the dryer. If you want freedom from damp clothes, check periodically and toss in a clean, dry towel to help absorb moisture faster. That way, you get clothes dry and ready to go without wasting energy.
Are There Any Homemade Remedies for Removing Dryer Drum Stains?
If you want to tackle those dryer drum stains yourself, you can try a baking soda paste—it’s simple and effective. Just mix baking soda with a little water to form a paste, apply it to the stains, and let it sit before wiping clean. Another great option is a vinegar solution; mix equal parts white vinegar and water, spray it on, and wipe down. Both methods are natural, giving you freedom from harsh chemicals while keeping your dryer fresh.
Will Stain Removal Affect the Warranty of My Dryer?
Did you know 30% of appliance warranty claims get denied due to improper maintenance? When it comes to stain removal, you should check your dryer’s warranty coverage carefully. Some manufacturers may void warranties if you use harsh chemicals or abrasive methods. To keep your freedom in dryer maintenance, stick to gentle, approved cleaning techniques and always consult your manual first. That way, you protect both your appliance and your rights.
Can Using Dryer Sheets Help Prevent Future Stains on Office Chairs?
Using dryer sheets can offer some benefits beyond just freshening fabrics—they reduce static and repel dust, which might help in office chair maintenance by keeping fabric cleaner longer. While they won’t directly prevent stains, their ability to reduce lint and dirt buildup means you’ll spend less time scrubbing. If you want to keep your chair looking fresh and enjoy that freedom from constant cleaning, incorporating dryer sheets could be a smart, simple step.