Top 10 Tips for Cleaning Printer
To clean your printer effectively, first gather lint-free cloths, isopropyl alcohol, and compressed air. Always turn off and unplug the printer before starting. Wipe exterior surfaces gently, carefully remove and clean the paper tray, and clear paper jams without forcing. Check ink cartridges for leaks and clean contacts. Use printer cleaning sheets periodically, and clean rollers to prevent jams. Regular maintenance checks keep your printer running smoothly. Following these steps can help you avoid costly repairs and extend your printer’s life.
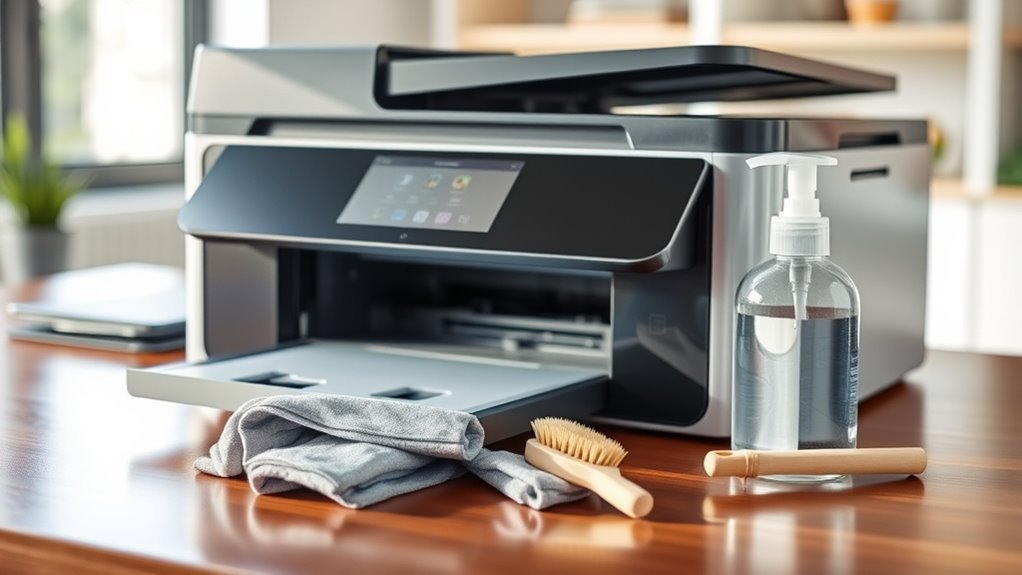
Gather the Necessary Cleaning Supplies
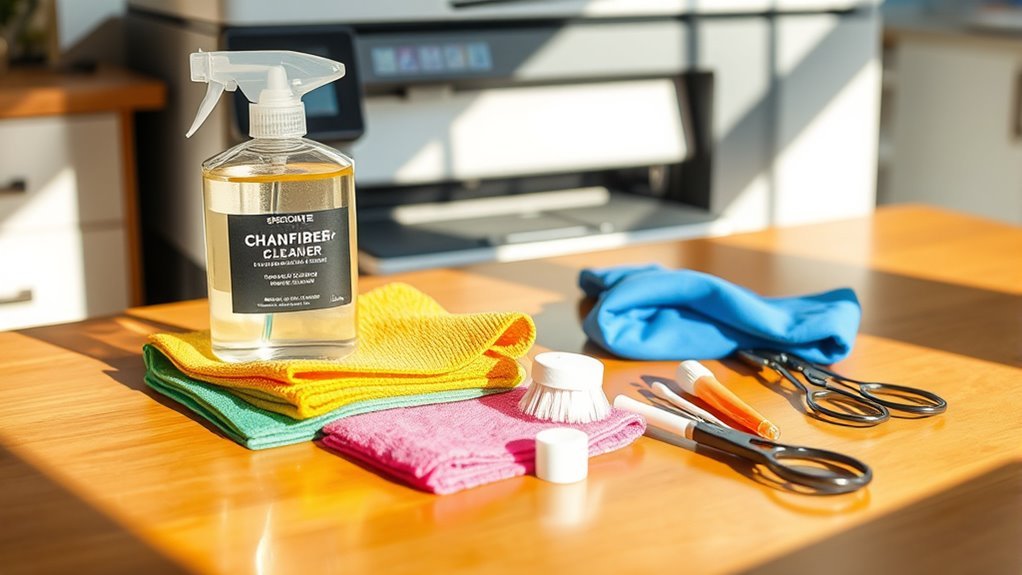
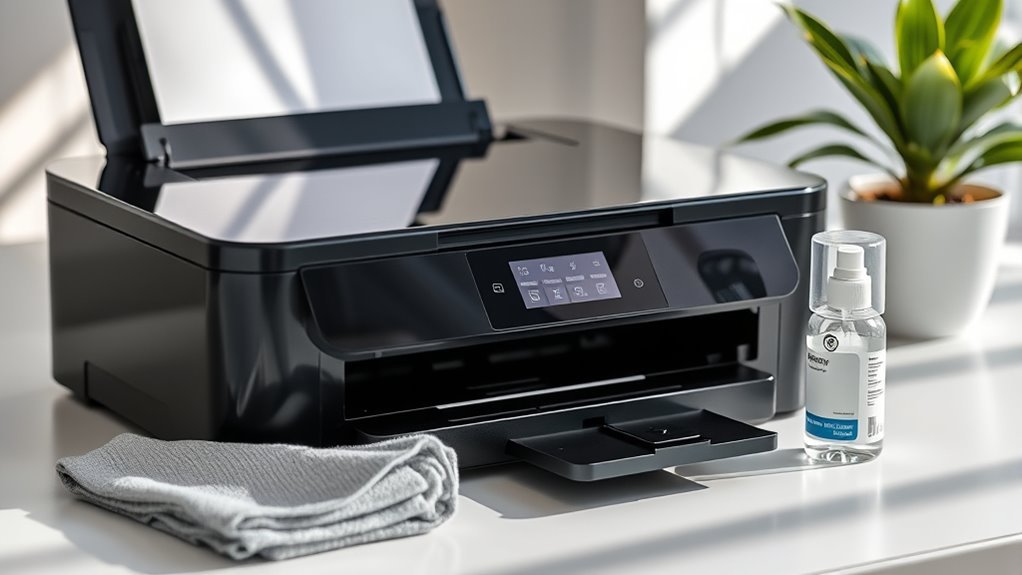
Before you begin cleaning your printer, you’ll need to gather the right supplies to guarantee the job goes smoothly. Having essential cleaning supplies on hand guarantees effective printer maintenance without delays. Start with lint-free cloths or microfiber towels to avoid scratching sensitive parts. Isopropyl alcohol or a specialized printer cleaning solution helps remove ink smudges and dust. Don’t forget cotton swabs for tight spaces and compressed air cans to blow out debris from hard-to-reach areas. Gloves protect your hands and prevent oils from transferring to printer components. Keeping these cleaning supplies ready saves time and helps maintain your printer’s performance, extending its lifespan. With everything prepared, you’ll be set to perform thorough, efficient printer maintenance that keeps your device running freely and smoothly.
Turn Off and Unplug the Printer
Although it might seem obvious, turning off and unplugging your printer is an vital first step before cleaning. This simple action guarantees printer safety and protects you from electrical hazards. Before you begin, press the power button to shut it down properly, then disconnect the power cord from the outlet. Taking these electrical precautions prevents accidental shocks and avoids damaging sensitive internal components. It also helps you clean without interruptions or the risk of the machine turning on unexpectedly. Remember, safety comes first to keep your cleaning experience smooth and worry-free. By unplugging, you gain full control over the process, allowing you to maintain your printer confidently and extend its lifespan. Don’t skip this vital step—it’s the foundation of effective printer care.
Clean the Exterior Surfaces
When you’re ready to clean the exterior surfaces of your printer, use a soft, lint-free cloth slightly dampened with water or a mild cleaning solution. Different exterior materials need specific cleaning techniques to avoid damage and maintain appearance. Avoid harsh chemicals and abrasive pads.
| Exterior Material | Recommended Cleaning Technique | Caution |
|---|---|---|
| Plastic | Damp cloth with mild soap | No solvents |
| Glass panels | Glass cleaner, soft cloth | Avoid spraying directly |
| Metal parts | Damp cloth, dry immediately | Prevent rusting |
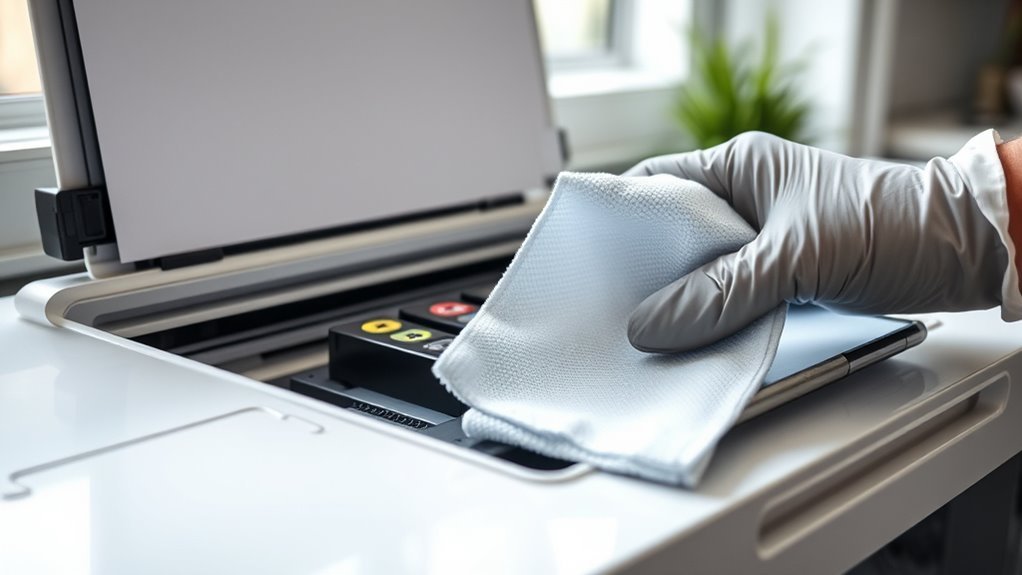
Remove and Clean the Paper Tray
To clean the paper tray, first detach it carefully from the printer to avoid any damage. Use a soft cloth to wipe away dust and debris that may have accumulated inside. Make sure the tray is completely dry before putting it back to prevent any moisture issues.
Detach Paper Tray Carefully
Start by gently detaching the paper tray from your printer to avoid damaging any components. Knowing your paper tray types helps guarantee a smooth removal process and maintains paper tray compatibility. Take your time and avoid forcing the tray out.
| Paper Tray Type | Compatibility | Removal Tip |
|---|---|---|
| Standard Tray | Most home printers | Slide out carefully |
| Multi-purpose Tray | Office & heavy use | Press release tab before pulling |
| Envelope Tray | Specific models only | Check manual for special steps |
| Large Capacity Tray | Commercial printers | Detach with both hands |
Once detached, you’re free to clean it thoroughly without risking damage, keeping your printer in top shape.
Wipe Dust and Debris
Now that you’ve safely removed the paper tray, it’s time to wipe away any dust and debris that may have accumulated. Proper dusting techniques and debris removal will keep your printer running smoothly and extend its life. Here’s how to do it effectively:
- Use a soft, lint-free cloth slightly dampened with water to gently wipe the inside and outside of the tray.
- For stubborn dust or small debris, use a soft brush or compressed air to reach tight corners.
- Avoid harsh chemicals or excessive moisture, which can damage the tray or printer components.
Following these steps guarantees your paper tray is clean, preventing paper jams and improving print quality. Keep your printer free and clear by mastering these simple dusting techniques.
Dry Before Reassembly
Before reassembling your printer, make certain the paper tray is completely dry. Moisture can cause paper jams and damage internal components. Use effective drying techniques like air drying or a lint-free cloth to absorb any residual moisture. Avoid direct heat sources to prevent warping. Once dry, follow these assembly tips to reattach the tray correctly. Proper drying guarantees smooth operation and prolongs your printer’s life.
| Drying Techniques | Assembly Tips |
|---|---|
| Air dry naturally | Align tray with guides |
| Use lint-free cloth | Insert tray gently |
| Avoid direct heat | Check for secure fit |
| Pat dry excess water | Test tray movement |
| Allow 10-15 mins drying | Confirm no obstruction |
Stick to these steps for hassle-free printer maintenance!
Clear Paper Jams Safely
When a paper jam occurs, first identify exactly where the paper is stuck to avoid causing damage. Carefully and gently remove the jammed paper to keep your printer parts intact. Finally, take simple steps to prevent future jams and keep your printer running smoothly.
Identifying Jam Location
Where exactly is that stubborn paper jam hiding? Pinpointing the jam location quickly sets you free from frustration. Use these jam detection and troubleshooting tips to find it:
- Check the printer display or software – Many printers give error messages showing the jam area.
- Inspect common trouble spots – Look in the input tray, output tray, and inside the main cover.
- Follow the paper path – Trace the route paper takes through your printer, watching for crumpled or stuck sheets.
Gentle Jam Removal
Anyone who’s dealt with a paper jam knows how easy it is to cause damage by pulling too hard or in the wrong direction. To clear jams safely, first identify the jam type: is the paper stuck near the tray, rollers, or output area? Use gentle, steady pressure to avoid tearing paper inside. Employ troubleshooting techniques like opening all accessible covers and removing paper slowly. If unsure, consult your printer’s manual. Here’s a quick guide:
| Jam Location | Recommended Action | Caution |
|---|---|---|
| Paper Tray | Pull paper straight out | Avoid twisting |
| Rollers | Gently rotate roller & pull | Don’t force roller movement |
| Output Area | Remove paper slowly | Check for small scraps |
This approach protects your printer and keeps it running smoothly.
Preventing Future Jams
Although clearing jams carefully is essential, preventing them altogether saves you time and hassle. To keep your printer running smoothly, focus on these three key areas:
- Adjust printer settings – Make sure your printer settings match the type and size of paper you’re using. Incorrect settings often cause misfeeds and jams.
- Use high-quality paper – Poor paper quality leads to frequent jams. Choose crisp, dry paper that meets your printer’s specifications for peak performance.
- Maintain proper paper loading – Avoid overfilling the tray and align paper neatly. This prevents multiple sheets from feeding at once and reduces the chance of jams.
Clean the Print Heads
Since clogged print heads can cause streaks or faded prints, cleaning them regularly is vital to maintain your printer’s performance. Proper print head maintenance guarantees smooth ink flow, preventing damage and costly repairs. You can clean print heads manually or use your printer’s built-in cleaning function. Here’s a quick guide:
| Step | Action | Tip |
|---|---|---|
| 1 | Access print heads | Consult your manual |
| 2 | Use cleaning solution | Avoid harsh chemicals |
| 3 | Gently wipe with cloth | Use lint-free material |
| 4 | Run printer cleaning | Repeat if necessary |
| 5 | Test print quality | Confirm ink flow is clear |
Keep your print heads clean and you’ll enjoy clearer prints and longer printer life.
Check and Clean the Ink Cartridges
After cleaning the print heads, the next step is to check and clean your ink cartridges. Proper ink cartridge maintenance guarantees your printer runs smoothly and produces sharp prints. Here’s how to keep them in top shape:
- Remove the cartridges carefully – Power off the printer and gently take out each cartridge to avoid damage.
- Clean the cartridge contacts – Use a lint-free cloth slightly dampened with distilled water to wipe the copper or gold contacts. This helps maintain good electrical connections.
- Inspect for leaks or damage – Look for any cracks or ink spills. Follow cartridge replacement tips if you notice issues to prevent printer damage.
Regular cartridge care frees you from print errors and extends your printer’s life.
Use Printer Cleaning Sheets
Using printer cleaning sheets can help remove dust and ink buildup, improving print quality and preventing jams. You’ll simply feed the sheet through your printer like regular paper, allowing it to clean internal rollers and components. This easy step keeps your printer running smoothly with minimal effort.
Benefits of Cleaning Sheets
Many printer owners find that cleaning sheets offer a quick and effective way to maintain print quality. When you use these sheets, you tap into several cleaning benefits that keep your printer running smoothly without hassle. Here’s why sheet effectiveness matters:
- Improved Print Quality – Cleaning sheets remove dust and debris, preventing streaks and smudges on your documents.
- Extended Printer Lifespan – Regular use reduces wear on printer parts by keeping mechanisms clean, saving you money in the long run.
- Convenience and Speed – You don’t need to disassemble your printer; just run a cleaning sheet through, and you’re done.
How to Use Sheets
Before you run a cleaning sheet through your printer, make sure to consult your printer’s manual for any specific instructions. Using printer cleaning sheets is a straightforward way to enhance printer care and keep your device running smoothly. Simply insert the cleaning sheet into the paper tray as you would with regular paper. Then, initiate the cleaning cycle if your printer has one, or print the sheet normally if not. The sheet helps remove dust, ink buildup, and debris from internal rollers and printheads, improving print quality and preventing jams. Regular use of cleaning sheets is a smart maintenance tip that extends your printer’s lifespan. Stick to the recommended cleaning frequency, and you’ll enjoy hassle-free printing without compromising your freedom to print whenever you need.
Clean the Rollers and Feed Mechanisms
Although it might seem like a small step, cleaning the rollers and feed mechanisms is crucial to maintain smooth paper movement and prevent jams. Proper roller maintenance keeps your printer running freely without interruptions. Here’s how to do it efficiently:
- Turn off your printer and unplug it for safety.
- Locate the rollers and feed mechanism inside the printer; gently wipe them with a lint-free cloth dampened with water or isopropyl alcohol.
- Rotate the rollers manually to clean their entire surface, removing any dust or residue that could cause paper misfeeds.
Regularly cleaning these parts guarantees your printer feeds paper smoothly, giving you the freedom to print without frustrating interruptions or costly repairs.
Perform Regular Maintenance Checks
Keeping your printer’s rollers and feed mechanisms clean helps prevent jams, but it’s just one part of maintaining your device. To guarantee smooth operation, perform regular maintenance checks as part of your printer maintenance routine. Schedule routine inspections to identify potential issues early—check ink levels, clean print heads, and verify that firmware is up to date. These quick checks save you from unexpected breakdowns and costly repairs. Don’t wait for problems to arise; proactive care keeps your printer reliable and extends its lifespan. By staying consistent with these inspections, you maintain freedom from frustrating interruptions and enjoy hassle-free printing every time. Remember, a little routine attention goes a long way in keeping your printer in top shape.
Frequently Asked Questions
Can Cleaning My Printer Improve Print Quality?
Yes, cleaning your printer can definitely improve print quality. Over time, dust, ink residue, and paper fibers can clog nozzles or rollers, causing smudges or streaks. By following simple maintenance tips, you guarantee your printer runs smoothly and produces sharp, clear prints. Regular cleaning frees you from frustrating print issues and helps your device last longer, giving you more freedom to focus on what matters without interruptions.
How Often Should I Clean My Printer to Avoid Damage?
For flawless functioning, frequent and focused printer maintenance is fundamental. You shouldn’t wait for issues to arise; instead, set a cleaning frequency that fits your usage. If you print daily, a weekly wipe-down works best. For occasional printing, monthly maintenance usually suffices. Regular cleaning prevents damage, keeps parts pristine, and prolongs your printer’s lifespan. By staying consistent, you guarantee smooth, stress-free printing without sacrificing your freedom to create.
Are There Specific Cleaning Products to Avoid for Printers?
You should avoid harsh cleaning supplies like ammonia, bleach, or alcohol when doing printer maintenance, as they can damage delicate parts. Instead, stick to gentle, lint-free cloths and manufacturer-recommended cleaning solutions. Using the wrong products might clog or corrode your printer’s components, risking costly repairs. So, always check your printer’s manual for approved cleaning supplies to keep your device running smoothly without restricting your freedom to maintain it yourself.
Can I Use Compressed Air to Clean Inside My Printer?
Like a gentle breeze clearing fallen leaves, using compressed air can be a great way to aid dust removal inside your printer. However, you should use short bursts from a distance to avoid damaging delicate parts. It’s one of those maintenance tips that helps keep your device running smoothly without opening it up too much. Just be careful not to blow dust deeper inside, or you might cause more harm than good.
Does Printer Cleaning Void the Warranty?
When you handle printer maintenance yourself, you should check the warranty terms carefully. Some manufacturers allow basic cleaning without voiding the warranty, while others might see unauthorized disassembly as a breach, leading to warranty implications. To stay on the safe side and keep your freedom intact, follow the official guidelines or use authorized service centers. That way, you maintain your printer’s health without risking your warranty coverage.