How to Make Homemade Ceilings Cleaner
You can make a homemade ceiling cleaner by mixing gentle, non-toxic ingredients like warm water with a bit of mild dish soap or white vinegar. Test the solution on a small area first to avoid damage. Use a soft microfiber cloth or sponge for cleaning, avoiding harsh scrubbing to protect your ceiling’s surface. Be sure to dust off cobwebs before spot cleaning stains. Preparing adequately and using the right technique makes the task easier, and there’s plenty more you can do to keep your ceiling spotless.
Gather Essential Cleaning Supplies
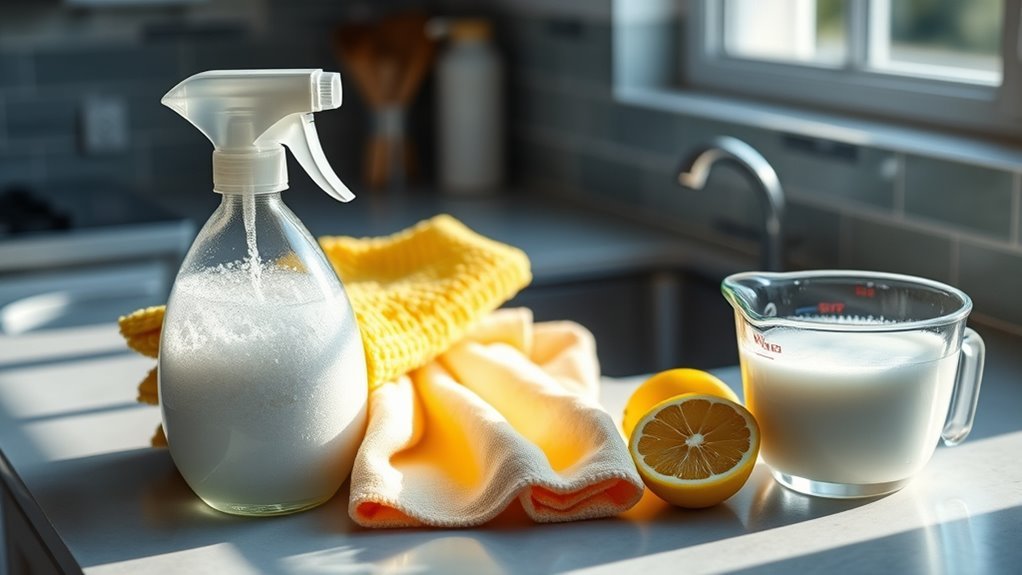
Before you begin cleaning your ceiling, you’ll need to gather a few essential supplies. Freedom in your cleaning routine starts with having the right cleaning tools at your disposal. Grab a sturdy ladder or step stool to reach those high spots safely. You’ll also want soft microfiber cloths or sponges to avoid damaging your ceiling’s surface. When it comes to cleaning solutions, keep it simple—focus on gentle, effective options that won’t restrict your choices or harm your space. Avoid harsh chemicals that limit your freedom to enjoy a fresh, clean ceiling without worry. With these supplies ready, you’re set to tackle your ceiling cleaning confidently and efficiently, embracing the freedom of a clean, beautiful home.
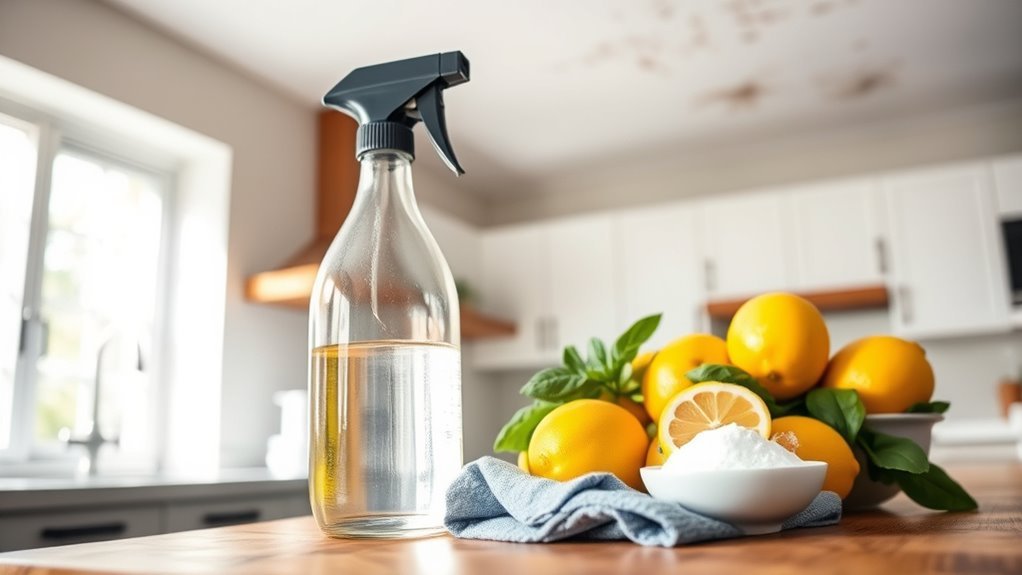
Prepare a Safe Cleaning Solution
To prepare a safe cleaning solution, you’ll want to choose non-toxic ingredients that won’t harm your ceiling or your health. Be certain to mix them in the proper ratios to guarantee effectiveness without damage. Before applying it everywhere, test the solution on a small, hidden area to check for any adverse reactions.
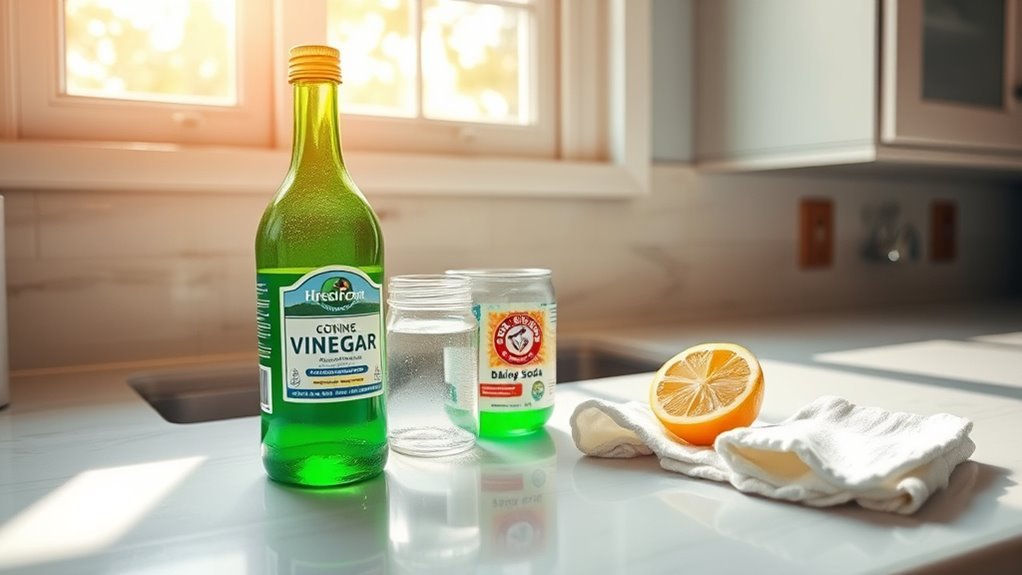
Choose Non-Toxic Ingredients
Since you’ll be working close to your ceiling and breathing in the cleaning solution, it’s important you choose non-toxic ingredients that are safe for your health and the environment. Opting for natural cleaning agents and eco friendly alternatives lets you enjoy your freedom without harmful chemicals clouding your space. Here’s a quick guide to ingredients that keep your ceilings clean and your conscience clear:
| Ingredient | Benefit |
|---|---|
| White Vinegar | Cuts grease, disinfects |
| Baking Soda | Gentle abrasive, deodorizer |
| Castile Soap | Plant-based, biodegradable |
| Lemon Juice | Natural bleach, fresh scent |
| Essential Oils | Adds fragrance, antimicrobial |
Mix Proper Ratios
Choosing safe, natural ingredients sets the foundation for your ceiling cleaner, but getting the right balance is just as important. When you mix proper cleaning ratios, you guarantee your solution is both gentle on surfaces and tough on dirt. Sticking to tried-and-true proportions prevents waste and avoids damaging your ceiling or the environment. For example, combining one part white vinegar with three parts water creates an effective mixture that cuts through grime without harsh chemicals. You can adjust ratios slightly to suit your needs, but always keep the solution diluted enough to protect finishes. Mastering these cleaning ratios gives you freedom to clean confidently, knowing your homemade formula works efficiently and safely every time you tackle your ceiling.
Test on Small Area
Before you start cleaning your entire ceiling, you’ll want to test your homemade solution on a small, inconspicuous spot. This step is vital to verify your cleaner won’t damage the surface or cause discoloration. Pick a few test areas that are out of direct sight, like near a corner or above a light fixture. Apply your solution lightly and wait a few minutes to observe any adverse reactions. Taking these safety precautions helps you avoid costly mistakes and keeps your freedom to clean without worry. If the test spot looks good, you’re clear to proceed with confidence. If not, tweak your formula and test again. This careful approach assures your ceiling cleaning experience stays safe and effective.
Protect Your Furniture and Floors
Before you start cleaning, make sure to protect your furniture and floors by using drop cloths. Move any items out of the way or cover them securely to prevent damage. Don’t forget to tape the edges of your floors to keep them safe from drips and spills.
Use Drop Cloths
While you’re preparing to clean your ceiling, you’ll want to protect your furniture and floors from drips and debris by laying down drop cloths. These cloths offer essential ceiling protection, catching any splatters or dust that fall during cleaning. The drop cloth benefits go beyond simple mess control—they give you the freedom to clean confidently without worrying about damage. You can choose from canvas, plastic, or fabric drop cloths, depending on your needs and the level of protection required. Make sure to cover all exposed surfaces thoroughly, securing the cloths in place so they don’t shift while you work. Taking this simple step saves you time and stress, letting you focus on making your ceiling spotless without the hassle of cleaning up afterward.
Move or Cover Furniture
Two simple steps can protect your furniture and floors during ceiling cleaning: move smaller items out of the room and cover larger pieces you can’t relocate. Start by adjusting your furniture arrangement to create space and prevent accidental damage. Shifting chairs, side tables, and lamps will give you freedom to work without worry. For heavier or fixed pieces, use protective coverings like plastic sheets or old blankets to shield them from dust and cleaning solutions. These coverings act as a barrier, keeping your belongings safe while you spruce up your ceilings. Taking these precautions guarantees your furniture stays intact and your floors remain spotless, letting you focus on the task without stress. With a little prep, you’ll enjoy a smoother, cleaner ceiling project every time.
Tape Floor Edges
Using painter’s tape along the edges of your floors is a quick way to protect them from drips and splatters as you clean your ceiling. You want a tape type that sticks well but removes easily without leaving residue. Proper edge sealing guarantees no cleaner sneaks through to damage your floors or baseboards. Here’s what to keep in mind when taping floor edges:
- Choose painter’s tape or masking tape designed for delicate surfaces
- Press tape firmly along baseboards and floor junctions for a tight seal
- Avoid duct tape; it can pull up finishes or leave sticky residue
- Test a small area first to confirm easy removal
- Remove tape shortly after cleaning to prevent adhesive buildup
This simple step gives you freedom to clean confidently without worrying about spills.
Dust and Remove Cobwebs Efficiently
Before you apply any cleaner, you’ll want to dust and remove cobwebs efficiently to prevent dirt from spreading. Grab the right ceiling tools like an extendable duster or a microfiber mop to reach high spots without straining yourself. This cleaning technique lets you tackle dust and webs quickly while keeping your freedom to move around easily. Start from one corner and work your way across the ceiling in straight, slow strokes, ensuring you don’t miss any hidden spots. If cobwebs are stubborn, gently brush them off instead of smearing. By mastering this step with the proper tools and technique, you save time and energy, making your homemade ceiling cleaner more effective once it’s time to apply it.
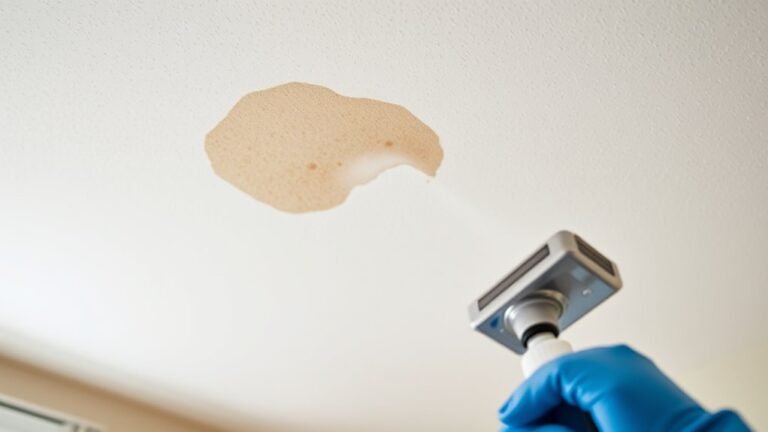
Spot Clean Stains and Marks
Though dusting removes most debris, stains and marks on your ceiling need targeted attention to restore its clean appearance. Start with careful mark identification to determine the stain type—this guides your stain removal approach. You’ll want to:
- Inspect the ceiling under good light to spot all blemishes
- Test a small, inconspicuous area with your cleaning solution first
- Use a mild cleaner suited for your ceiling’s material
- Avoid saturating the area to prevent damage
- Blot stains gently rather than rubbing aggressively
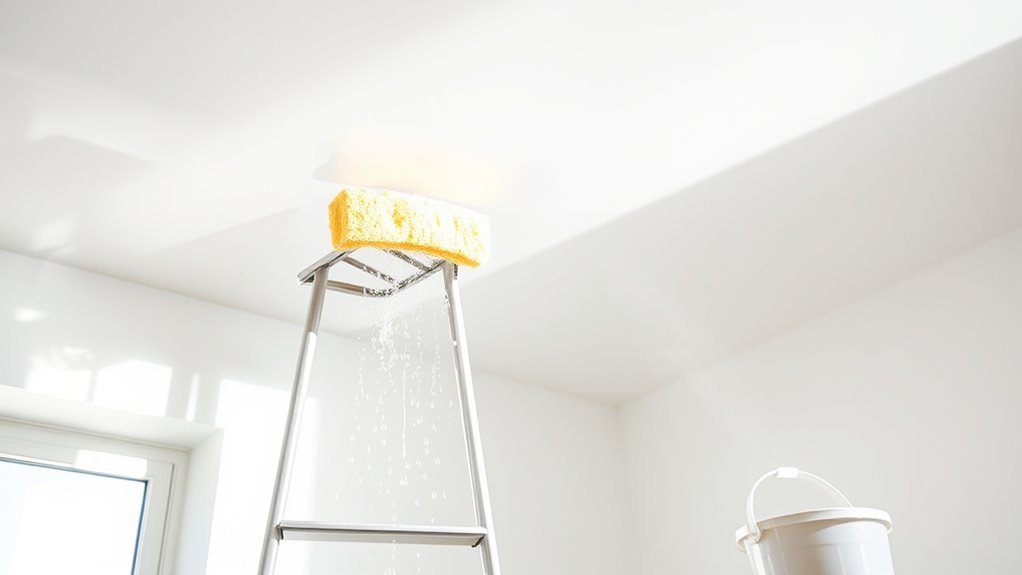
Use a Gentle Scrubbing Technique
Gently scrub the stained areas with a soft sponge or cloth to avoid damaging your ceiling’s surface. When you clean, use gentle motions to protect the finish and prevent peeling or discoloration. It’s easy to want to press hard and rush through the job, but applying effective pressure is key—you want just enough to lift dirt without harming the material. Think of it as a balance: firm enough to clean, soft enough to preserve. Move in small circles, covering the stain thoroughly but carefully. This approach frees you from worrying about damage while still being thorough. Taking your time with gentle scrubbing lets you maintain your ceiling’s beauty and integrity, keeping your space feeling fresh and open without any unnecessary risks.
Rinse and Dry the Ceiling Surface
Once you’ve carefully scrubbed away stains, it’s important to remove any leftover cleaning solution to prevent residue buildup. This step keeps your ceiling materials looking fresh and avoids damage over time. Depending on your ceiling’s texture and cleaning frequency, you’ll need to rinse and dry with care.
Here’s how to do it right:
- Use a clean, damp microfiber cloth to gently wipe the surface.
- Rinse the cloth frequently to avoid spreading dirt.
- For textured ceilings, lightly dab instead of rubbing to preserve the finish.
- Follow with a dry, soft towel or cloth to absorb moisture.
- Maintain proper ventilation to speed drying and prevent mold.
Maintain Clean Ceilings Regularly
To keep your ceiling looking its best, you’ll want to clean it regularly before dirt and stains build up. Establishing a regular cleaning schedule is one of the smartest ceiling maintenance tips you can follow. By setting specific times—monthly or quarterly—to dust and wipe down your ceiling, you prevent grime from becoming a stubborn problem. Staying consistent saves you time and effort in the long run, giving you the freedom to enjoy a fresh, inviting space without stress. Remember, small but steady upkeep beats sporadic deep cleans. Keeping track of your cleaning dates with reminders helps maintain this habit effortlessly, ensuring your ceiling always adds to your home’s charm instead of detracting from it.
Tips for Preventing Future Ceiling Dirt
Although regular cleaning is essential, taking proactive steps can considerably reduce how often your ceiling gets dirty. By adopting effective preventive measures, you’ll save time and keep your space feeling fresh longer. Here are some tips to enhance your cleaning habits and prevent future ceiling dirt:
- Use exhaust fans or open windows to reduce humidity and airborne particles.
- Avoid smoking indoors to prevent residue buildup on ceilings.
- Keep vents and air filters clean to minimize dust circulation.
- Limit the use of candles or incense that can leave soot marks.
- Regularly dust and vacuum to catch dirt before it settles.
Implementing these preventive measures empowers you to maintain cleaner ceilings effortlessly, giving you more freedom to enjoy your home without constant upkeep.
Frequently Asked Questions
Can I Use a Vacuum Cleaner on Textured Ceilings?
Imagine Sarah, who wanted to freshen up her popcorn ceiling without damage. You can use a vacuum cleaner on textured ceilings, but you’ve gotta pick the right vacuum cleaner types—like one with a soft brush attachment. This helps avoid scraping or knocking off texture. For textured ceiling maintenance, gentle suction is key, so you don’t lose that unique look while keeping dust at bay. This way, you keep your freedom to clean without worry.
How Often Should I Deep Clean My Ceiling?
You should deep clean your ceiling every 1 to 2 years to keep it looking fresh and well-maintained. Following ceiling maintenance tips, like dusting regularly and addressing stains promptly, can extend time between deep cleans. Cleaning frequency guidelines depend on your environment—if you live in a dusty area or have pets, you might need to clean more often. Trust your instincts and enjoy the freedom of a cleaner, brighter space!
Are Ceiling Cleaning Methods Safe for Popcorn Ceilings?
You might worry that cleaning popcorn ceilings could damage their texture, but with popcorn ceiling maintenance, you can keep them looking fresh safely. Just avoid harsh scrubbing and use safe cleaning solutions like a gentle detergent mixed with water, applied with a soft sponge or cloth. This way, you protect the ceiling’s unique texture while freeing yourself from dust and grime buildup, keeping your space clean without risking damage.
Can Ceiling Cleaning Improve Indoor Air Quality?
You might not realize it, but regular ceiling maintenance can actually boost your indoor air quality. Dust, mold, and allergens tend to settle on ceilings, especially in neglected spaces. By keeping your ceilings clean, you reduce airborne particles that can affect your breathing freedom. So, taking care of your ceilings isn’t just about looks—it’s about creating a healthier, fresher environment where you feel truly free to breathe easy.
What Causes Ceiling Stains Besides Dirt and Dust?
You might think ceiling stains are just dirt or dust, but there’s more to it. Water leaks are a major culprit, causing discoloration and even damaging your ceiling’s structure. Plus, mold growth often follows moisture, posing health risks and ruining your space. Don’t let these stains limit your freedom to enjoy a clean, fresh home. Identifying and fixing leaks early helps you keep your ceilings spotless and your indoor air safe.