DIY Cleaner for Windowsills Surfaces
You can make an effective DIY windowsill cleaner by mixing equal parts distilled white vinegar and water in a spray bottle, adding a few drops of essential oil for scent. For tough stains, sprinkle baking soda, scrub gently, then wipe clean. A natural citrus cleaner uses vinegar, water, and citrus peels steeped for two weeks. Always label and store your solutions in a cool, dark place out of reach of children and pets. There’s more to keep your windowsills spotless and your home safe.
Essential Ingredients for Homemade Windowsill Cleaners

To make an effective homemade windowsill cleaner, you’ll need three essential ingredients: white vinegar, baking soda, and liquid dish soap. These natural ingredients combine to deliver powerful cleaning effectiveness without harsh chemicals. White vinegar acts as a natural disinfectant and breaks down mineral deposits. Baking soda provides gentle abrasion to lift dirt and grime, while also neutralizing odors. Liquid dish soap helps dissolve grease and grime, enhancing the overall cleaning power. Using these ingredients allows you to maintain control over what’s applied to your home, promoting a healthier environment. By relying on nature’s simple compounds, you gain freedom from commercial cleaners’ unknown additives. This trio offers a balanced, efficient solution for keeping your windowsills spotless and fresh.
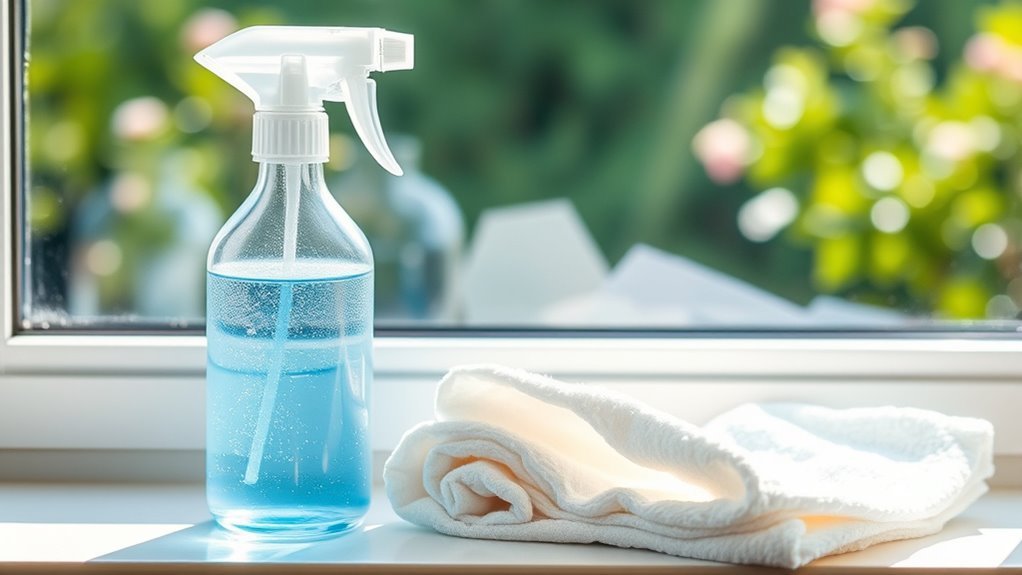
Step-by-Step Guide to Making a Vinegar-Based Cleaner
Creating a vinegar-based cleaner involves just a few simple steps that you can easily follow at home. Start by mixing one cup of distilled white vinegar with one cup of water in a spray bottle. The vinegar benefits include natural antibacterial properties and the ability to dissolve dirt and grime effectively. To boost cleaner effectiveness, add a few drops of your favorite essential oil for a pleasant scent and additional antimicrobial action. Shake the bottle gently to combine the ingredients. When you’re ready, spray the solution onto your windowsills and wipe clean with a microfiber cloth. This method offers a safe, eco-friendly alternative to harsh chemical cleaners, giving you freedom from toxins while maintaining sparkling windowsills. Store the cleaner in a cool, dark place for up to two weeks.
How to Use Baking Soda for Tough Stains on Windowsills
You’ll find baking soda effective for breaking down tough stains on windowsills due to its gentle abrasiveness and natural deodorizing properties. To apply, sprinkle a small amount on the stained area, then scrub gently with a damp cloth or soft brush. For stubborn marks, let the baking soda sit for 10–15 minutes before wiping clean to maximize stain removal.
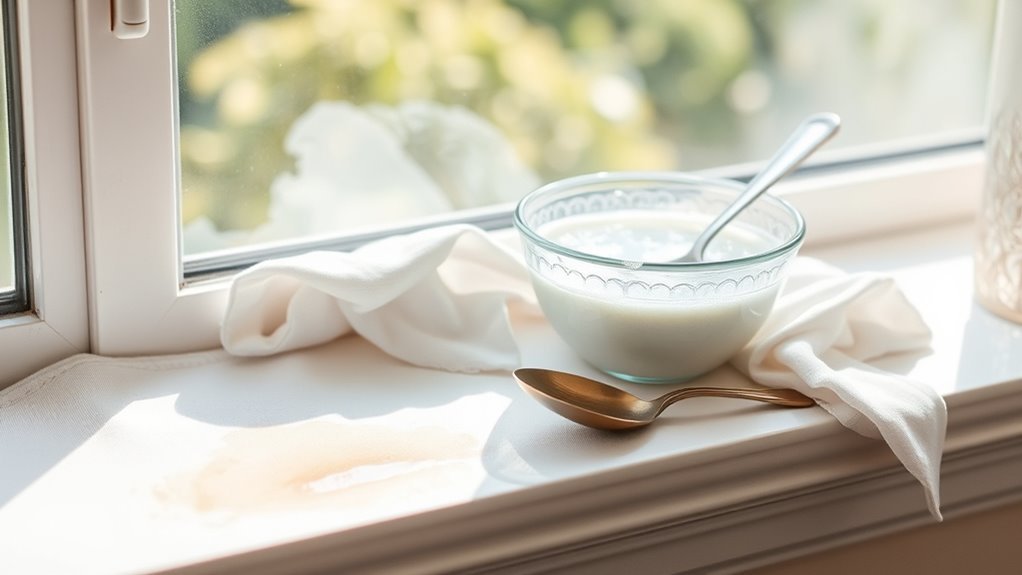
Baking Soda Benefits
Baking soda is a versatile and effective cleaner, especially for tackling tough stains on your windowsills. Its natural abrasive quality, combined with alkaline baking soda properties, breaks down grime without scratching surfaces. You’ll appreciate its deodorizing effect and non-toxic nature—perfect for a safe, eco-friendly clean. Here’s a quick look at baking soda uses and benefits for windowsill maintenance:
| Benefit | Property | Effect on Stains |
|---|---|---|
| Mild Abrasive | Fine granules | Loosens stubborn dirt |
| Alkaline Nature | pH ~9 | Neutralizes acidic stains |
| Deodorizing | Absorbs odors | Removes musty smells |
| Non-Toxic | Natural compound | Safe for kids and pets |
Application Techniques
When dealing with tough stains on your windowsills, knowing the right application techniques can make all the difference. Start by sprinkling baking soda directly onto the stained area. Use a damp cloth or sponge as a cleaning tool to gently spread the baking soda, ensuring it covers the stain evenly. For stubborn spots, apply a paste made from baking soda and water, then let it sit for 10-15 minutes. Next, use a soft-bristled brush to scrub the area with controlled pressure, avoiding damage to the surface. Finally, wipe away the residue with a clean, damp cloth. These application methods maximize baking soda’s effectiveness, giving you a thorough clean without harsh chemicals, and maintaining your windowsills’ freedom from stains.
Stain Removal Tips
Mastering the right application techniques sets the foundation for effectively tackling the toughest stains on your windowsills. To use baking soda for stain removal, first sprinkle it generously over the affected area. Add a few drops of water to create a paste, then gently scrub with a soft brush or cloth. Let it sit for 10 minutes before wiping clean with a damp cloth. This method breaks down stubborn grime without damaging surfaces. Incorporate stain prevention strategies by wiping spills immediately and maintaining regular cleaning frequency suggestions—ideally once a week—to avoid buildup. Staying consistent with these steps not only removes existing stains but also minimizes future ones, giving you the freedom to enjoy spotless windowsills with less effort.
Natural Citrus Cleaner Recipe for a Fresh Scent
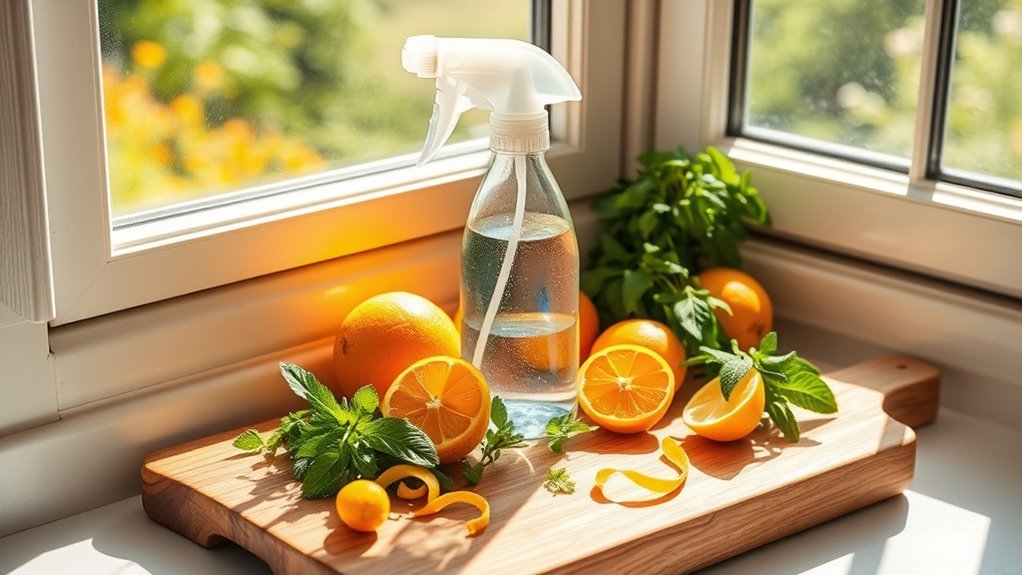
Although many commercial cleaners promise freshness, you’ll find that a natural citrus cleaner not only leaves a pleasant scent but also effectively cuts through grime on your windowsills. To make this cleaner, combine one cup of distilled white vinegar with one cup of water, then add the peels of two oranges or lemons. Let the mixture steep for two weeks in a sealed jar to extract the citrus scent and cleaning benefits. After straining, transfer the liquid to a spray bottle. When ready to clean, spray the solution onto your windowsills and wipe with a microfiber cloth. This natural cleaner harnesses the power of citrus oils and vinegar’s acidity, providing a fresh scent while dissolving dirt and grease, giving you an efficient, eco-friendly cleaning solution that supports your desire for freedom from harsh chemicals.
Tips for Maintaining Spotless Windowsills Between Cleanings
Even if you clean your windowsills thoroughly, dust and dirt can quickly accumulate again. To keep them spotless, adopt preventative measures like placing doormats and keeping nearby areas tidy to reduce debris. Establish a habit of regular inspections—quickly scan your windowsills once or twice a week to catch buildup early. Use a microfiber cloth for light dusting; it traps particles without spreading them around. Avoid letting moisture linger, as it invites mold and stains; wipe up any condensation promptly. By integrating these simple steps into your routine, you’ll minimize deep cleanings and enjoy consistently fresh windowsills. This methodical approach not only saves time but also preserves the surfaces, giving you more freedom to focus on what matters.
Safety Considerations and Storage for DIY Cleaning Solutions
When you make your own cleaner, always label the container clearly to avoid confusion. Keep your solution out of reach of children and pets to prevent accidental exposure. Store it in a cool, dry place away from direct sunlight to maintain its effectiveness.
Proper Labeling Practices
One essential step in handling your DIY window sill cleaner is proper labeling to secure safety and effective storage. Without clear labels, you risk confusion or misuse of your cleaning solutions, which can lead to accidents or reduced effectiveness. Always include the solution’s name, key ingredients, and the date it was made on the label. Use waterproof markers or printed labels to guarantee durability, especially in damp environments. Proper labeling also helps you keep track of when to replace or refresh your solution, maintaining its cleaning power. Store labeled containers in a cool, dry place away from direct sunlight to preserve their integrity. By adopting these precise labeling practices, you maintain control, safety, and freedom in your DIY cleaning routine.
Child and Pet Safety
Clear labeling sets the foundation for safe handling, but safeguarding your cleaning solutions from children and pets requires equally careful attention. For child safety, always store DIY cleaners out of reach and sight to prevent accidental ingestion or skin contact. Use containers with child-resistant caps whenever possible. When working with pets, avoid using strong chemicals near their living spaces, as fumes and residues can harm them. After application, guarantee surfaces are dry and free of residues before allowing pets access. Never leave your DIY cleaner unattended during use, and promptly clean up any spills. By combining clear labeling with vigilant handling and placement, you maintain a secure environment that respects your freedom to clean effectively while prioritizing child safety and pet safety.
Storage Environment Tips
Although DIY cleaning solutions offer convenience and control over ingredients, their effectiveness and safety depend heavily on proper storage conditions. To maintain potency and guarantee safety, you must focus on environment maintenance and storage tips.
- Store solutions in airtight, clearly labeled containers to prevent contamination and accidental misuse.
- Keep your cleaners in a cool, dry place away from direct sunlight to preserve ingredient stability.
- Avoid storing near heat sources or open flames to reduce fire risk and chemical degradation.
- Place containers out of reach of children and pets to maintain a safe environment.
Frequently Asked Questions
Can These DIY Cleaners Be Used on Painted Windowsills?
You can use these cleaners on painted windowsills, but you’ll want to take into account paint durability first. Some paints are more sensitive to harsh ingredients or abrasive scrubbing. To protect your finish, stick to gentle cleaning techniques like using a soft cloth or sponge and avoiding harsh chemicals. Testing the cleaner in a small, hidden area helps guarantee it won’t damage the paint, letting you clean confidently without sacrificing the windowsill’s look.
How Often Should I Deep Clean My Windowsills?
Think of your windowsills like the steady guardians of your view, quietly collecting dust and grime. To keep them pristine, set a cleaning schedule where you deep clean every 2-3 months. This maintenance tip guarantees dirt doesn’t build up, preserving both beauty and function. Between deep cleans, a quick weekly wipe maintains freshness, giving you freedom from stubborn grime and keeping your space inviting and well cared for.
Are These Cleaners Safe for Pets and Children?
You’ll want to choose pet friendly ingredients and child safe cleaning solutions to keep your home safe. Natural components like vinegar, baking soda, and mild soap are effective and non-toxic, making them ideal. Avoid harsh chemicals that could harm little ones or furry friends. Always test on a small area first and guarantee proper ventilation. This way, you maintain a clean space without compromising your family’s health or freedom to enjoy your home safely.
Can I Use These Recipes for Outdoor Windowsills?
Imagine you’ve cleaned your patio’s wooden railing with a gentle vinegar solution and noticed it stayed fresher longer. You can use these recipes for outdoor windowsills, but consider the outdoor materials—wood, metal, or vinyl—since some may react differently. Also, adjust your cleaning frequency; outdoor surfaces face more dirt and weather exposure, so you might need to clean more often. This method keeps your space fresh without harsh chemicals, giving you freedom to maintain safely.
What Is the Best Tool for Scrubbing Windowsills Gently?
When scrubbing windowsills gently, you’ll want to use soft scrubbing brushes paired with microfiber cloths. The brushes help loosen dirt without damaging delicate surfaces, while microfiber cloths trap dust and grime effectively. You can control the pressure easily, ensuring no scratches appear. This method gives you freedom to clean thoroughly and safely, preserving your windowsills’ finish while maintaining their fresh, clean look.