Budget-Friendly DIY Cleaning Products for Window
You can easily make budget-friendly DIY window cleaners using simple ingredients like white vinegar, water, and a bit of dish soap. Mix equal parts vinegar and water for an effective, streak-free solution. For tough stains, a baking soda paste works great, while lemon juice helps cut grease and leaves a fresh scent. Adding rubbing alcohol speeds drying to prevent streaks. These natural options save money and avoid harsh chemicals. Keep exploring to discover more easy cleaning tips.
Essential Ingredients for Homemade Window Cleaners
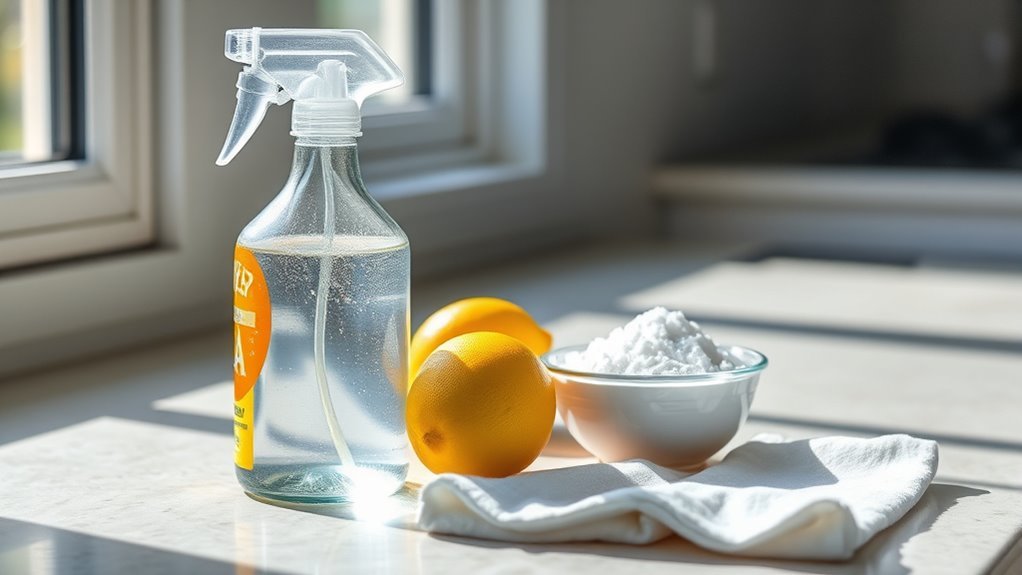
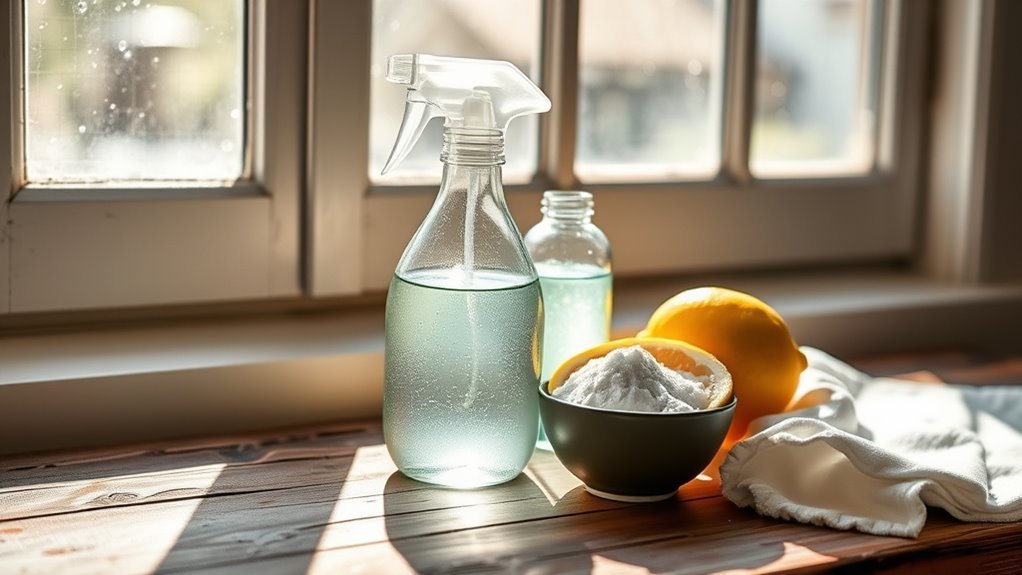
When making your own window cleaner, you’ll want to focus on a few key ingredients that are both effective and safe. Choosing eco friendly options lets you clean without worrying about harsh chemicals harming your health or the planet. Water forms the base, while natural agents like rubbing alcohol or mild castile soap help cut through grime. Adding essential oils not only gives a pleasant scent but also adds antibacterial properties, making your cleaner more powerful. Lemon, lavender, or tea tree oils are popular choices that boost freshness and effectiveness. By selecting these simple, natural ingredients, you maintain control over what touches your home environment. This approach supports your freedom to clean responsibly and affordably, without compromising on performance or safety.
How to Make a Vinegar and Water Window Cleaner
Natural ingredients like vinegar have long been trusted for their cleaning power and safety, making them a great choice for your window cleaner. To make a simple and effective solution, mix equal parts of white vinegar and water in a spray bottle. The vinegar benefits your windows by cutting through grime and streaks without harsh chemicals, giving you clear, sparkling glass. This blend offers excellent cleaning effectiveness on dirt and fingerprints while being gentle on surfaces. Just spray it on your windows and wipe with a clean cloth or newspaper for a streak-free shine. This DIY cleaner gives you freedom from expensive, toxic products and lets you maintain sparkling windows with ease and confidence. It’s affordable, natural, and incredibly practical.
Using Baking Soda for Tough Window Stains

If you’re dealing with stubborn stains on your windows that vinegar can’t quite tackle, baking soda can be a powerful ally. This affordable, natural cleaner works wonders on tough stains, cutting through grime without harsh chemicals. Simply mix baking soda with a little water to form a paste. Apply it directly to the stained areas, let it sit for a few minutes, then gently scrub with a soft cloth or sponge. Rinse thoroughly with water and wipe dry for a streak-free shine. Using baking soda gives you freedom from expensive cleaners and toxic ingredients, while effectively restoring your windows’ clarity. It’s an easy, budget-friendly way to handle those persistent marks that won’t budge with ordinary sprays. Give it a try and enjoy sparkling clean windows with minimal effort.
Lemon Juice as a Natural Glass Cleaner
One of the easiest and most effective ingredients you can use for cleaning your windows is lemon juice. Its natural acidity cuts through grime and leaves glass sparkling, all while offering you the freedom to avoid harsh chemicals. Plus, lemon benefits go beyond cleaning—its fresh scent lifts your mood as you work.
Here are some quick cleaning tips for window care with lemon juice:
| Lemon Juice Uses | Benefits |
|---|---|
| Mix with water (1:1) | Removes grease and fingerprints |
| Apply directly to stains | Breaks down tough residue |
| Combine with vinegar | Enhances shine and clarity |
| Use with microfiber cloth | Prevents streaks and scratches |
Using lemon juice gives you a natural, budget-friendly way to keep your windows clear and your space fresh.
Combining Cornstarch and Water for a Streak-Free Shine
Lemon juice works wonders for cutting through grime, but when you want a streak-free shine, combining cornstarch with water can be a game-changer. The cornstarch benefits include its ability to absorb dirt and grease while leaving your windows gleaming without streaks.
Here’s how to make the mixture:
- Mix 1 tablespoon of cornstarch with 2 cups of warm water until dissolved.
- Pour the solution into a spray bottle for easy application.
- Spray on windows and wipe with a microfiber cloth for streak free results.
This simple blend lets you enjoy crystal-clear windows without harsh chemicals, giving you the freedom to clean naturally and effectively.
Tips for Using Rubbing Alcohol in Window Cleaning
You’ll find rubbing alcohol is great for cutting through grime and leaving windows streak-free. Just make sure you dilute it properly—usually a mix of one part alcohol to two parts water works well. Applying it with a spray bottle and a microfiber cloth helps you get an even, spotless finish.
Benefits of Rubbing Alcohol
Although it might seem like an unusual choice, rubbing alcohol is incredibly effective for cleaning windows. It boosts your cleaning efficiency while saving you money, giving you the freedom to maintain sparkling windows without breaking the bank. Here’s why rubbing alcohol stands out:
- Streak-Free Shine: It evaporates quickly, preventing streaks and leaving your glass crystal clear.
- Disinfects Surfaces: Beyond cleaning, it kills germs, making your windows hygienic.
- Cost-Effective: Rubbing alcohol is inexpensive and readily available, reducing your cleaning expenses.
Using rubbing alcohol lets you enjoy spotless windows with minimal effort and expense. This simple ingredient empowers you to take control of your cleaning routine, combining effectiveness with budget-friendly freedom.
Proper Dilution Ratios
A few simple ratios can make all the difference when using rubbing alcohol to clean your windows. Getting the proper dilution right boosts cleaning effectiveness without wasting product or risking streaks. Here’s a quick guide to help you mix solutions that set you free from costly cleaners:
| Rubbing Alcohol | Water | Purpose |
|---|---|---|
| 1 cup | 1 cup | General window cleaning |
| 1 cup | 2 cups | Light dirt and smudges |
| 1 cup | 3 cups | Delicate surfaces |
| 1.5 cups | 1 cup | Tough grime |
| 2 cups | 2 cups | Quick streak-free shine |
Stick to these proper dilution ratios to enjoy sparkling windows with less hassle and more freedom.
Application Techniques
Three key application techniques can make your rubbing alcohol window cleaning more effective and streak-free. First, use the squeegee technique by starting at the top and pulling downward in smooth, overlapping strokes. This prevents drips and leaves a clear finish. Second, apply the rubbing alcohol solution with a spray bottle for even coverage without soaking the glass. Finally, finish by wiping edges and any remaining spots with microfiber cloths—they’re perfect for absorbing moisture and avoiding lint. These simple steps give you the freedom to clean windows like a pro, without expensive products. With just rubbing alcohol, a squeegee, and microfiber cloths, your windows will sparkle, letting in more light and fresh air to enjoy your space fully.
Best Practices for Applying DIY Window Cleaners
When applying DIY window cleaners, using the right techniques can make all the difference in achieving a streak-free shine. You’ll want to work in small sections and use a microfiber cloth or squeegee for best results. Also, remember to wear gloves and guarantee good ventilation to keep yourself safe during the process.
Application Techniques
Though mixing your own window cleaner is satisfying, knowing how to apply it properly is just as important to achieve streak-free, sparkling results. You want to feel free from streaks and smudges, so follow these simple application techniques for your DIY window cleaner:
- Start by spraying your cleaner evenly across the glass without soaking it. Too much liquid can cause drips.
- Use a squeegee with smooth, consistent strokes, wiping the blade with a clean cloth after each pass. This prevents streaks and maximizes clarity.
- Finish by buffing edges and any missed spots with a dry microfiber cloth. These cloths trap dirt and leave windows gleaming.
Mastering these steps lets you enjoy clean windows your way—efficiently and beautifully.
Safety Tips
Even if your DIY window cleaner uses natural ingredients, you should still handle and apply it with care to protect yourself and your surfaces. Following cleaning precautions guarantees you enjoy your freedom to clean without worry. Always wear gloves, avoid mixing ingredients, and test on a small area first. Proper product storage keeps your mixtures effective and safe from children or pets.
| Cleaning Step | Precaution | Reason |
|---|---|---|
| Mixing ingredients | Use gloves | Prevent skin irritation |
| Applying cleaner | Ventilate area | Avoid inhaling fumes |
| Testing cleaner | Spot test surfaces | Prevent damage |
| Storage | Label containers | Avoid accidental misuse |
| Disposal | Follow local rules | Protect environment |
Stick to these tips and enjoy a safe, effortless cleaning experience.
Frequently Asked Questions
Can DIY Window Cleaners Be Stored for Long Periods?
Ever wonder if your DIY window cleaner can stand the test of time? When it comes to long term storage, you’ve got to take into account the cleaning product shelf life—most homemade solutions don’t last beyond a few weeks because natural ingredients can degrade or separate. To keep your freedom from constant mixing, store your cleaner in a cool, dark place and shake well before use. That way, you’ll enjoy streak-free windows without the hassle.
Are Homemade Window Cleaners Safe for Tinted Windows?
When it comes to tinted window safety, you’ll want to be cautious with homemade cleaner effectiveness. Some DIY solutions, especially those with ammonia or vinegar, can damage the tint film. To keep your windows safe while enjoying the freedom of homemade cleaners, opt for gentle ingredients like water, mild dish soap, and a bit of rubbing alcohol. This way, you maintain the tint’s integrity without sacrificing cleaning power.
What Tools Are Best for Wiping Windows Without Streaks?
Imagine your windows as blank canvases craving a streak-free masterpiece. To achieve this, you’ll want to embrace microfiber cloths—they’re gentle, absorbent, and trap dirt like magic. Pair them with trusty squeegee techniques: start at the top, pull in smooth horizontal strokes, and wipe the blade after each pass. This combo gives you the freedom to clean confidently, leaving your windows sparkling clear without a single streak spoiling the view.
Can These DIY Cleaners Be Used on Mirrors?
Absolutely, you can use those DIY cleaners on mirrors too! Since mirrors are just glass surfaces with a reflective backing, the same gentle, streak-free solutions work perfectly for mirror cleaning. Just spray your cleaner and wipe with a microfiber cloth to avoid streaks and damage. This way, you’re free to keep all your glass surfaces sparkling without buying specialized products, saving money and reducing clutter in your cleaning routine.
How Often Should Windows Be Cleaned Using These Recipes?
You might think windows need constant cleaning, but frequency recommendations show that once every season usually does the trick. Seasonal cleaning helps you keep grime and dust at bay without overdoing it. If you want to feel free from constant chores, stick to quarterly cleanings unless your windows get extra dirty from weather or activity. This way, you maintain clarity without feeling tied down to a strict schedule.