Deep Cleaning Guide for Dryer Flooring
To deep clean your dryer flooring, start by unplugging the dryer and moving it carefully to access beneath. Use a vacuum with a crevice tool to remove dust and lint. Clean the floor according to its material—mild detergent and warm water for tile or vinyl, specialized cleaner for wood—being careful to avoid excess moisture. Regularly check vents, remove lint buildup, and manage humidity to protect your floor’s integrity. Maintaining this routine will enhance safety and efficiency; you’ll find more tips for long-term care ahead.
Tools and Materials Needed for Dryer Floor Cleaning
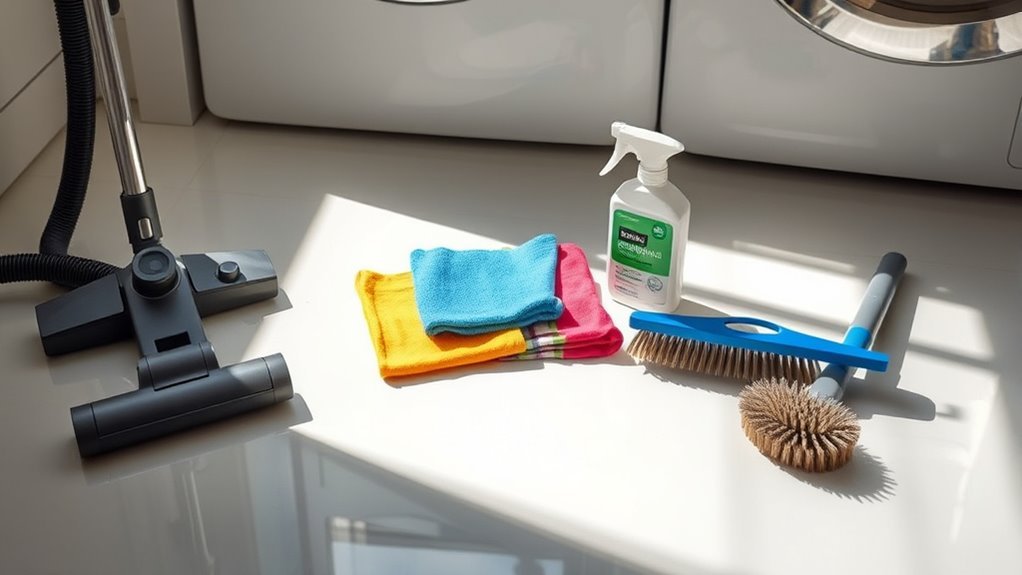
Before you begin deep cleaning your dryer flooring, it’s important to gather the right tools and materials to guarantee an efficient and thorough job. You’ll need essential cleaning supplies like a stiff-bristle brush, microfiber cloths, a vacuum with a crevice attachment, and a mild detergent or specialized floor cleaner. Don’t forget a bucket for warm water and rubber gloves to protect your hands. Safety precautions are vital; make sure your dryer is unplugged to avoid electrical hazards and wear a dust mask if you’re sensitive to lint or dust. Having all these items ready lets you work methodically without interruption, giving you the freedom to focus on restoring your dryer floor to a spotless, safe condition. Proper preparation saves time and enhances your cleaning effectiveness.
Preparing the Area for Deep Cleaning
With all your tools and materials at hand, the next step is to prepare the area around your dryer flooring to guarantee a smooth and effective deep cleaning process. Start by unplugging the dryer to eliminate electrical hazards—this is an essential safety precaution. Clear the surrounding space by removing any laundry baskets, rugs, or obstacles, ensuring you have unrestricted access to the floor. Organize your tools nearby but out of your immediate workspace to prevent trips or spills. Adequate lighting is important; consider portable lamps if the space is dim. Ventilate the room well to disperse any cleaning fumes. By prioritizing safety precautions and maintaining a well-organized area, you’ll create an environment that not only protects you but also enhances your efficiency during the deep cleaning of your dryer flooring.
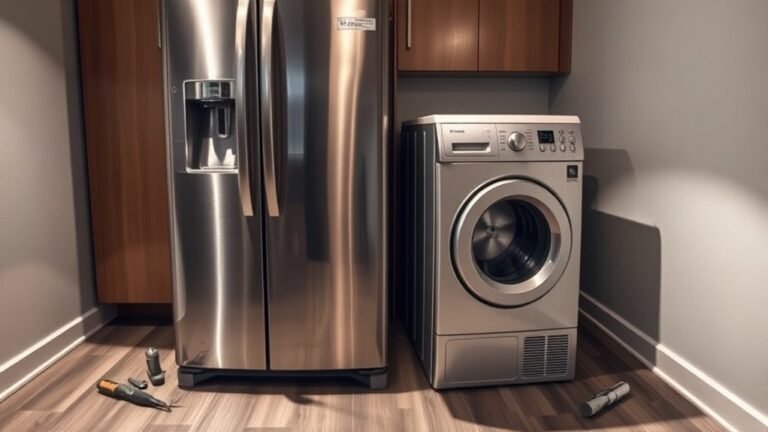
Removing the Dryer and Inspecting the Floor
Once you’ve prepared the area, you’ll need to carefully unplug and slide the dryer away from the wall to access the flooring beneath. During dryer removal, take care not to damage the vent hose or electrical connections. Set the dryer on a protective mat or cardboard to avoid floor scratches. Next, conduct a thorough floor inspection. Look for signs of water damage, mold, or debris accumulation that may have collected under the dryer. Pay close attention to discoloration or warping, which could indicate moisture problems. Use a flashlight if needed to inspect corners and hidden areas. This floor inspection is essential to identify any underlying issues before proceeding with deep cleaning, ensuring your freedom from future damage and maintaining the floor’s integrity.
Effective Methods for Cleaning Dryer Flooring
Although the inspection may reveal minor issues, addressing the cleaning thoroughly is essential to maintaining your dryer flooring’s condition. Start by identifying the flooring materials—whether tile, wood, or vinyl—as this determines your cleaning approach. Use a vacuum with a brush attachment to remove dust and lint without damaging the surface. For tile or vinyl, a mild detergent mixed with warm water works well; for wood, opt for a cleaner specifically designed for hardwood to avoid warping or discoloration. Always avoid excess water, which can harm certain materials and compromise dryer safety by fostering mold or weakening the floor. After cleaning, make sure the area is completely dry before repositioning the dryer. These steps not only preserve your flooring but also uphold dryer safety, minimizing fire risks associated with debris buildup.
Preventing Lint Buildup Under the Dryer

To prevent lint buildup under your dryer, you need to understand how lint accumulates from regular use and airflow restrictions. Regularly cleaning beneath the appliance using a vacuum or brush helps remove trapped lint before it becomes a fire hazard. Establishing a maintenance routine, like checking the vent and lint trap after each load, will keep the area clear and your dryer running efficiently.
Causes of Lint Accumulation
Several common factors contribute to lint buildup under your dryer, and understanding these causes is key to preventing accumulation. Lint sources primarily come from the fabrics you dry—cotton, fleece, and other fibers shed during drying cycles. If your dryer’s lint trap isn’t cleaned regularly, excess lint escapes into the exhaust vent and settles beneath the appliance. Additionally, improper dryer usage, like overloading the drum or running frequent short cycles, can increase lint production and reduce airflow. Blocked or damaged vent ducts force lint to accumulate under the dryer instead of being expelled outside. Moisture from wet clothes can also cause lint to stick in hidden areas, making buildup worse. By knowing these causes, you gain control over managing lint sources and optimizing dryer usage to keep the area beneath your dryer cleaner.
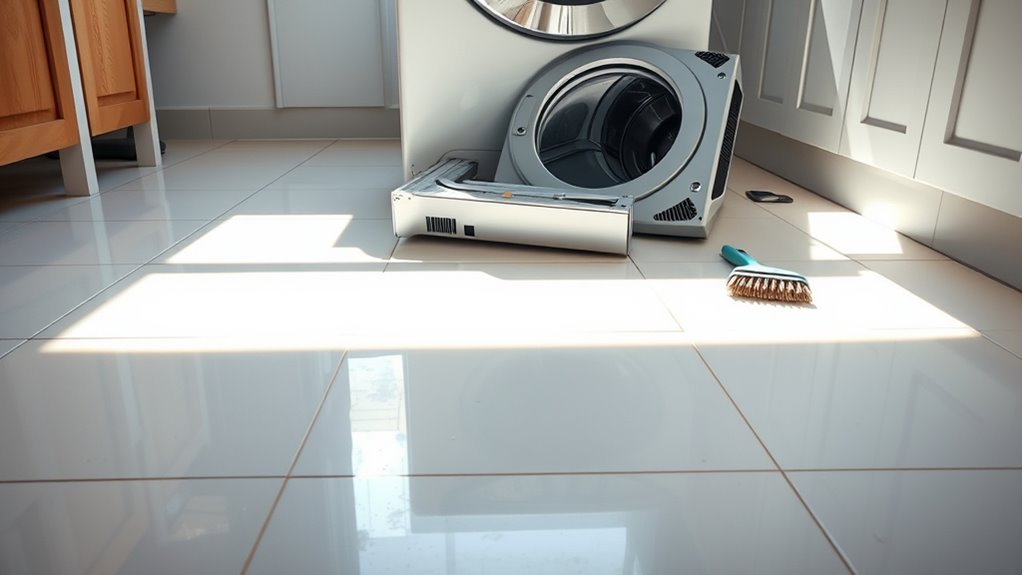
Effective Cleaning Techniques
When you want to prevent lint buildup under your dryer, consistent and thorough cleaning is essential. Start by unplugging your dryer and carefully pulling it away from the wall to access the flooring beneath. Depending on your flooring materials—whether tile, vinyl, or hardwood—use a vacuum with a narrow nozzle to remove lint from tight spaces without damaging surfaces. Follow this with a damp microfiber cloth to catch residual dust. Establish a cleaning frequency based on your dryer’s usage; typically, monthly cleanings work well to maintain freedom from lint accumulation. Avoid harsh chemicals that might degrade flooring materials. By committing to these precise techniques, you’ll safeguard your laundry area, improve dryer efficiency, and enjoy a cleaner, safer space free from hidden lint hazards.
Maintenance Tips to Prevent
Although thorough cleaning is essential, regular maintenance plays an equally important role in preventing lint buildup under your dryer. You should clean lint traps after every load and inspect dryer vents periodically to keep airflow unrestricted. This reduces fire risk and keeps your dryer efficient. Here’s a simple maintenance routine to guide you:
| Task | Frequency | Benefit |
|---|---|---|
| Clean lint traps | After every load | Prevents lint accumulation |
| Inspect dryer vents | Every 6 months | Guarantees proper ventilation |
| Vacuum under dryer | Monthly | Removes hidden lint debris |
Sticking to this routine frees you from unexpected blockages and assures safe, efficient drying. By maintaining these areas, you’ll extend your dryer’s lifespan and enjoy peace of mind without hassle.
Regular Maintenance Tips for Dryer Area Cleanliness
You’ll want to regularly remove dust and lint from around your dryer to prevent buildup that can affect performance and safety. Controlling moisture in the area is essential to avoid mold and damage to your flooring. Make it a habit to wipe down surfaces routinely with appropriate cleaners to maintain a clean, dry environment.
Dust and Lint Removal
Since dust and lint can accumulate quickly around your dryer, regular removal is vital to maintain both efficiency and safety. Start by thoroughly cleaning the lint traps after every load; this not only improves drying performance but is essential for airflow safety. Next, use a vacuum with a narrow attachment to reach beneath and behind the dryer, targeting hidden dust and lint buildup. Don’t forget to wipe down the dryer’s exterior and surrounding floor area with a damp cloth to prevent dust from resettling. Maintaining clear airflow pathways reduces fire risk and guarantees your appliance runs smoothly. Regular attention to these details gives you freedom from costly repairs and keeps your laundry area safe and efficient.
Moisture Control Practices
When moisture accumulates around your dryer, it creates an environment that can lead to mold growth, unpleasant odors, and damage to flooring materials. To prevent this, identify all moisture sources such as leaks from water hookups or condensation from venting systems. Regularly inspect hoses and connections for drips or signs of wear. Implement humidity control by using a dehumidifier or ensuring proper ventilation in the laundry area. Keeping the room well-ventilated reduces excess moisture buildup, protecting your flooring. Additionally, avoid leaving wet clothes or mop buckets near the dryer, as they contribute to humidity. By managing moisture sources and maintaining ideal humidity levels, you’ll preserve the integrity and cleanliness of your dryer flooring, ensuring a safer and more comfortable laundry space.
Routine Surface Wiping
Anyone maintaining a laundry area knows that routine surface wiping is essential for keeping the dryer space clean and safe. Regular surface maintenance prevents lint buildup, dust accumulation, and moisture residue, all of which can damage flooring and reduce dryer efficiency. You’ll want to use a mild cleaner and a microfiber cloth for effective routine cleaning without harming surfaces.
| Task | Frequency |
|---|---|
| Wipe dryer exterior | Weekly |
| Clean floor around dryer | Twice a week |
| Remove lint from vents | Monthly |
| Inspect for moisture | Weekly |
| Check flooring condition | Monthly |
Frequently Asked Questions
Can I Use Natural Cleaners Instead of Chemical Ones for Dryer Floor Cleaning?
Did you know that 70% of people prefer eco friendly options for household cleaning? You can definitely use natural cleaners instead of chemical ones for your dryer floor cleaning. Homemade solutions like vinegar and baking soda effectively break down grime without harsh toxins. These options not only protect your home’s air quality but also give you freedom from harmful chemicals. Just mix, apply, and scrub gently for a fresh, safe clean.
How Often Should I Schedule Professional Dryer Vent Inspections?
You should schedule professional dryer vent inspections at least once a year to guarantee ideal dryer vent maintenance and safety. If you use your dryer heavily or notice longer drying times, consider increasing the inspection frequency to every six months. Regular inspections help prevent lint buildup, reduce fire hazards, and improve energy efficiency. Staying on top of inspections gives you peace of mind and keeps your dryer running smoothly without unexpected issues.
What Are the Signs of Water Damage Under the Dryer?
You might think water damage under your dryer is obvious, but it’s often subtle. Look closely for mold growth, which thrives in damp, hidden spots. Rust stains on the floor or dryer base also signal moisture issues. You may notice a musty smell or warped flooring nearby. Catching these signs early helps you avoid costly repairs and keeps your laundry space safe and fresh, giving you peace of mind.
Is It Safe to Use a Vacuum Cleaner on the Dryer Vent?
You can use a vacuum cleaner on the dryer vent, but vacuum safety is essential. Make sure your vacuum has a hose attachment designed for tight spaces to avoid damaging the vent. Regular vent maintenance helps prevent lint buildup, which can cause inefficiency and fire hazards. Always disconnect the dryer first and gently vacuum the vent opening. Taking these precautions lets you maintain freedom from costly repairs while keeping your dryer running safely and efficiently.
Can Dryer Floor Cleaning Reduce Energy Consumption?
Think of your dryer floor as the quiet engine room of your laundry—when it’s clogged or dirty, the whole system strains harder. By cleaning it regularly, you boost energy efficiency, letting your dryer work with less effort. This smoother operation cuts down energy use, meaning you’ll see reduced bills and more freedom from wasteful costs. Keeping that space spotless is a simple way to save money and energy, giving you more control over your home’s efficiency.