DIY Cleaner for Curtains
To clean your curtains effectively, first identify the fabric type to choose the right solution—delicate fabrics need mild, pH-neutral cleaners, while synthetics can handle stronger detergents. A popular DIY cleaner mixes one part white vinegar with three to four parts water, applied with a fine mist spray to avoid oversaturation. For odors, sprinkle baking soda, then vacuum after 30 minutes. Adding a few drops of essential oils can freshen scent safely. Understanding these basics prepares you to maintain curtains properly and prevent damage.
Choosing the Right Cleaning Solution for Your Curtain Fabric
Before selecting a cleaning solution, you need to identify your curtain fabric accurately, as different materials respond uniquely to various cleaning agents. Fabric types like cotton, linen, polyester, and silk each demand specific care protocols. For instance, delicate fabrics such as silk require gentle, pH-neutral cleaners, while synthetic fibers tolerate stronger detergents. Understanding these distinctions allows you to maintain fabric integrity and color vibrancy. Additionally, recognizing the appropriate cleaning frequency is essential; heavy-use areas may need monthly attention, whereas less exposed curtains can be cleaned quarterly or biannually. Tailoring your cleaning approach based on fabric type and usage frequency guarantees favorable results without damage. By mastering these considerations, you gain control over your curtain maintenance, preserving both aesthetics and longevity with confidence and freedom.
Homemade Vinegar and Water Curtain Cleaner Recipe
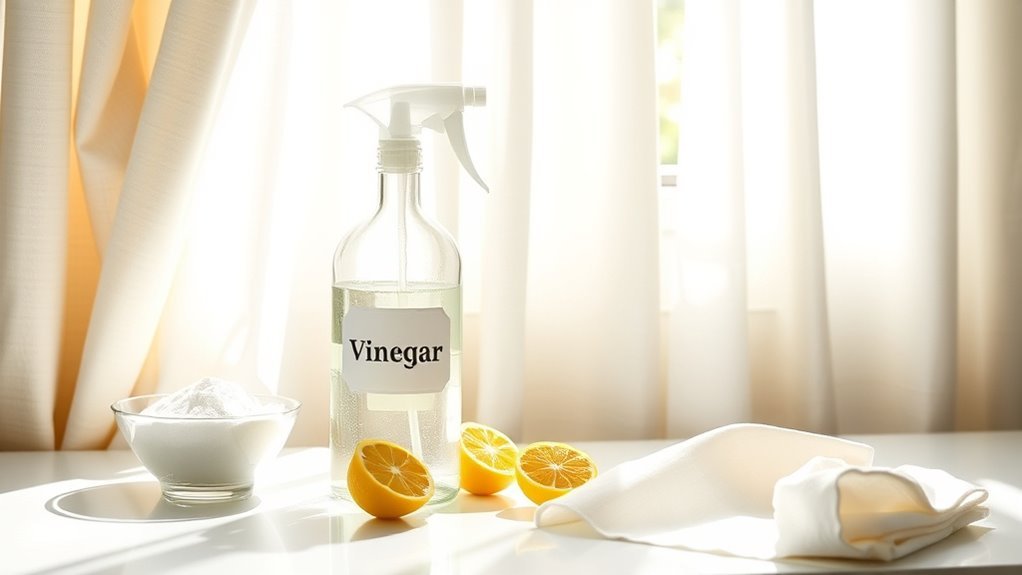
You’ll want to use a vinegar and water solution for its effective stain removal and deodorizing properties. The ideal mixing ratio is typically one part white vinegar to four parts water, ensuring safety for most curtain fabrics. Apply the solution with a spray bottle, using gentle, even strokes to avoid oversaturation and fabric damage.
Vinegar’s Cleaning Benefits
When you combine vinegar with water, you create an effective, natural cleaner that breaks down dirt, dissolves mineral deposits, and neutralizes odors on curtains. Vinegar’s acidic nature targets alkaline-based grime, efficiently loosening particles without harsh chemicals. Among vinegar benefits, its role as a natural deodorizer is pivotal—it eliminates musty smells by neutralizing volatile compounds rather than masking them. This guarantees your curtains remain fresh without synthetic fragrances. Using this solution grants you control over the cleaning process, supporting your independence from commercial products laden with additives. Its biodegradable, non-toxic profile aligns with sustainable living, making it a responsible choice. By understanding these vinegar benefits, you harness a powerful, eco-friendly agent that maintains curtain cleanliness and preserves fabric integrity, empowering you to clean confidently and freely.
Mixing Ratios Explained
Although vinegar is a powerful cleaning agent, its effectiveness depends on the correct dilution with water to avoid fabric damage or lingering acidity. When preparing your homemade curtain cleaner, adhere to precise dilution ratios—typically one part white vinegar to three parts water. This ratio balances cleaning strength with fabric safety. Employ proper mixing techniques by combining the ingredients gradually, ensuring thorough integration without agitation that might cause frothing or uneven concentration. Using a spray bottle with a fine mist setting helps maintain consistent application. Avoid stronger solutions; they risk weakening fibers or leaving residual odors. By mastering these dilution ratios and mixing techniques, you retain control over your curtain’s cleanliness while preserving fabric integrity, giving you freedom to maintain your space confidently and effectively.
Application Tips and Tricks
Since proper application maximizes cleaning efficiency, it’s essential to use a fine mist spray to evenly distribute the vinegar solution without saturating the fabric. Saturation can weaken fibers or cause water stains, so aim for light, controlled coverage. Always test a small, inconspicuous area first to guarantee colorfastness and fabric integrity. After spraying, allow curtains to air dry fully to prevent mildew growth. Incorporate curtain maintenance tips like regular dusting and vacuuming to reduce buildup before cleaning. For delicate fabrics, avoid harsh scrubbing; instead, gently blot spots with a microfiber cloth. Following these fabric care guidelines guarantees your curtains stay fresh and intact, giving you the freedom to maintain a clean, healthy environment with minimal effort and maximum effectiveness.
Using Baking Soda to Remove Odors From Curtains
You can effectively neutralize curtain odors by applying baking soda, a natural deodorizer known for its alkaline properties that absorb acidic and basic smells. To use it, evenly sprinkle baking soda over the fabric, let it sit for at least 30 minutes, then vacuum thoroughly to remove residues. For best results, combine baking soda treatment with regular cleaning to maintain fresh-smelling curtains.
Baking Soda Benefits
When odors cling to your curtains, baking soda offers a scientifically proven solution to neutralize and eliminate them effectively. This compound works by interacting with acidic and basic odor molecules, chemically neutralizing them rather than masking the smell. Among baking soda uses, its odor-absorbing capacity stands out, making it indispensable for maintaining fresh fabrics without harsh chemicals. The baking soda advantages include non-toxicity, affordability, and environmental safety, allowing you to clean with confidence and freedom from synthetic agents. Its fine granules penetrate fabric fibers, ensuring deep deodorization. By choosing baking soda, you harness a versatile, proven agent that restores your curtains’ freshness while supporting a healthier living space. This empowers you to maintain your home’s ambiance naturally and efficiently.
Application Techniques
Baking soda’s ability to neutralize odors hinges on proper application techniques that maximize contact with curtain fibers. Start by evenly sprinkling a thin layer of baking soda over the fabric using a fine-mesh sieve or shaker for controlled distribution. This guarantees consistent coverage without clumping. Next, gently rub the powder into the fibers with a soft-bristle brush or microfiber cloth—cleaning tools designed to penetrate without damaging delicate materials. Avoid saturating the curtains; dry application is most effective. Allow the baking soda to sit for at least 15 minutes to absorb odor molecules fully. Finally, thoroughly vacuum the curtains using an upholstery attachment to remove all residues. Mastering these precise application methods will empower you to refresh your curtains efficiently while maintaining their integrity.
Odor Removal Tips
Although odors can deeply embed themselves in curtain fibers, using baking soda effectively can neutralize and eliminate these unwanted smells. First, identify odor sources such as smoke, pets, or cooking residues that have penetrated the fabric. Different fabric types react uniquely, so test baking soda on a small, inconspicuous area to verify no damage or discoloration occurs. Sprinkle a generous layer of baking soda evenly over the curtains, allowing it to absorb odors for at least 30 minutes, or overnight for stronger smells. Afterward, vacuum the curtains thoroughly to remove all baking soda residues. This method leverages baking soda’s alkaline properties to neutralize acidic odor molecules, providing a non-toxic, chemical-free solution that restores freshness without compromising the fabric’s integrity. This approach gives you effective odor control while maintaining your freedom from harsh cleaners.
Essential Oils for a Fresh Scent Boost
Since curtains tend to absorb odors over time, incorporating essential oils into your cleaning routine is an effective way to impart a lasting, fresh scent. To maximize scent longevity, choose essential oil blends that combine top, middle, and base notes—such as lavender, eucalyptus, and cedarwood. These blends create a balanced aroma that lingers longer on fabric fibers. When adding oils, dilute them properly in a water-based spray or your cleaning solution to guarantee even distribution without staining. Applying essential oils not only neutralizes odors but also introduces antimicrobial properties, enhancing freshness. By selecting high-quality, pure essential oils and using them strategically, you gain control over your curtains’ scent profile, assuring a subtle yet enduring fragrance that complements your living space’s atmosphere.
How to Spot-Clean Curtains Effectively

While essential oils help maintain a fresh scent, addressing specific stains or spots on your curtains is equally important to keep them looking pristine. First, identify the curtain fabric to select appropriate cleaning tools and solutions. Use a soft-bristle brush or microfiber cloth to avoid damaging delicate fibers. Apply a mild DIY cleaner directly onto the stain, testing it on an inconspicuous area to ascertain no discoloration occurs. Gently blot the spot with your cleaning tool—never rub, as that can embed the stain deeper. For stubborn marks, repeat the process carefully, allowing the fabric to dry thoroughly between treatments. This targeted approach preserves your curtain fabric’s integrity while effectively removing blemishes, giving you control over maintenance without resorting to full washes each time.
Tips for Washing Machine-Safe Curtains
When you decide to wash machine-safe curtains, it’s essential to prepare them properly to prevent damage and guarantee an even clean. First, identify the fabric types to select appropriate water temperature and cycle settings—delicate fabrics like silk require cold water and gentle cycles, while cotton can handle warmer water. Remove hooks, rings, or hardware to avoid snagging. Use a mild detergent formulated for delicate textiles, avoiding bleach. To maintain curtain care, wash curtains separately to prevent color transfer and fabric abrasion. Consider placing them in a mesh laundry bag for extra protection. After washing, avoid high-heat drying; instead, air-dry or use a low-heat setting to preserve fabric integrity. Following these precise steps assures your curtains remain fresh without compromising their texture or longevity.
Preventing Mold and Mildew on Curtains

Although curtains add aesthetic and functional value to your space, they can become breeding grounds for mold and mildew if not properly maintained. Controlling curtain humidity is essential for mold prevention. You should guarantee adequate ventilation, allowing air to circulate freely around your curtains to reduce moisture buildup. Using a dehumidifier or opening windows regularly helps maintain ideal indoor humidity levels below 60%. Additionally, avoid placing curtains in consistently damp areas like bathrooms without exhaust fans. Regular cleaning with a DIY cleaner targeting mold spores further reduces risk. Inspect curtains frequently for any signs of mold growth and address issues immediately. By managing moisture and maintaining cleanliness, you take control over mold prevention, ensuring your curtains remain fresh and your environment healthy without compromising your freedom to customize your space.
Frequently Asked Questions
Can DIY Cleaners Damage Curtain Hardware?
Don’t worry—using DIY cleaners won’t necessarily ruin your curtain hardware if you’re careful. Different hardware types, like metal or plastic, can react differently to cleaning agents. Harsh chemicals might corrode metal or weaken plastic components. Also, curtain materials like delicate fabrics need gentler solutions. To keep your freedom intact, choose pH-neutral, non-abrasive cleaners and test a small area first. This way, you protect both your curtains and their hardware effectively.
How Often Should Curtains Be Cleaned With DIY Solutions?
Your curtain cleaning frequency depends on factors like fabric type, exposure to dust, and household activity. Generally, cleaning curtains every 3 to 6 months aligns well with a typical home maintenance schedule, balancing upkeep and fabric preservation. If you have pets or allergies, you might want to increase frequency to monthly. Staying consistent guarantees curtains remain fresh without risking damage, giving you control over maintaining a healthy, comfortable living environment.
Are DIY Curtain Cleaners Safe for Children and Pets?
Oh sure, why not bathe your curtains in toxic chemicals just to test if your kids and pets develop superpowers? Jokes aside, when you opt for child safe ingredients like vinegar and baking soda, coupled with pet friendly options such as mild castile soap, you’re ensuring a non-toxic environment. These natural compounds offer effective cleaning without harmful residues, granting you freedom from harsh chemicals while protecting your loved ones’ health with scientific precision.
Can I Use DIY Cleaners on Blackout or Thermal Curtains?
You can use DIY cleaners on blackout curtain materials, but you need to be cautious. These fabrics often have special coatings for light-blocking and thermal curtain maintenance, so harsh chemicals or excessive moisture may damage them. Opt for gentle, water-based solutions and test a small hidden area first. Always follow manufacturer guidelines to preserve both the blackout functionality and thermal efficiency, giving you the freedom to clean safely without compromising performance.
What Is the Best Way to Dry Curtains After Cleaning?
When it comes to curtain drying, you’ll want to avoid heat damage by skipping the dryer. The best drying methods include air drying by hanging curtains on a sturdy rod or clothesline, allowing natural airflow to prevent shrinkage and fabric stress. For heavy or delicate materials, lay them flat on a clean surface. These approaches guarantee your curtains maintain their shape and durability while giving you control over the drying process.