DIY Cleaner for Oven Surfaces
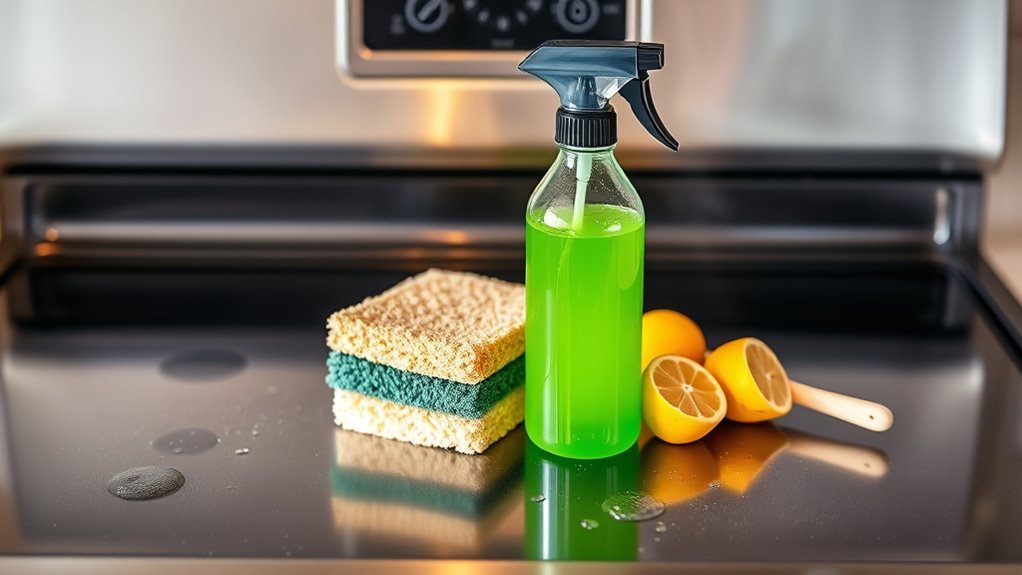
You can make a powerful, safe DIY oven cleaner using just baking soda and vinegar. Mix half a cup of baking soda with a few tablespoons of water to form a paste. Apply it to your oven’s surfaces, then spray with vinegar and let it fizz to break down grease. After sitting for 10-15 minutes, scrub gently and wipe clean. Simple steps like these can keep your oven spotless and fresh. There’s more to learn about tackling tough stains and upkeep.
Essential Ingredients for Your Homemade Oven Cleaner

Before you get started, you’ll need a few simple ingredients that are effective yet safe for cleaning your oven. Baking soda is your go-to base—it’s mildly abrasive, so it scrubs grime without harsh chemicals. Pair it with a vinegar mixture, which reacts with baking soda to break down stubborn grease and burnt-on food. These natural alternatives let you regain control over your cleaning routine without relying on toxic sprays. You don’t have to compromise your freedom by exposing yourself to harmful fumes or chemicals. Instead, you’re choosing ingredients that work in harmony with your desire for a cleaner, healthier space. Keep these essentials on hand, and you’ll be ready to tackle your oven’s mess while staying true to your values.
Step-by-Step Guide to Mixing Your Cleaner
A simple mixture of baking soda and vinegar is all you need to create an effective oven cleaner. Start by mixing half a cup of baking soda with a few tablespoons of water to form a spreadable paste. This step lets you control the consistency based on your oven’s needs, giving you freedom from harsh chemicals. Next, transfer the paste to a container, then slowly add vinegar—about a quarter cup—watching it fizz. This reaction boosts your cleaning techniques by breaking down grease naturally. Stir gently until combined. Remember, these eco friendly options not only protect your health but the planet too. Once mixed, your DIY cleaner is ready for use, giving you a powerful, safe alternative to store-bought products.
How to Apply the Cleaner for Best Results

Once you’ve prepared your cleaner, you’ll want to apply it evenly across the oven surfaces to maximize its effectiveness. Using the right application techniques guarantees the cleaner works efficiently, giving you freedom from stubborn grime. Here’s how to do it:
- Use a spray bottle or a sponge to spread the cleaner uniformly, avoiding heavy drips or puddles.
- Focus on all interior surfaces, including walls, floor, and door glass.
- Let the cleaner sit for the recommended time, respecting your cleaning frequency to avoid buildup.
- Wipe with a damp cloth or sponge, rinsing frequently for a spotless finish.
Tips for Removing Tough Stains and Grease
Getting the cleaner evenly applied is just the first step—you’ll often need a bit more effort to tackle stubborn stains and grease. For effective stain removal and grease cutting, use a non-abrasive scrubbing pad to avoid scratching your oven surface. Let the cleaner sit for 10-15 minutes on tough spots to break down grime. Patience pays off!
Here’s a quick guide to boost your cleaning freedom:
| Challenge | Solution |
|---|---|
| Baked-on grease | Apply baking soda paste, then scrub gently |
| Stubborn stains | Use a vinegar spray, let sit, then wipe |
| Grease buildup | Warm soapy water soak, then rinse |
With these tips, you’ll reclaim your oven’s shine without harsh chemicals or extra hassle.
Maintaining a Clean Oven Between Deep Cleans

While deep cleaning your oven is essential, keeping it tidy between sessions can save you time and effort. Embracing simple oven maintenance tips and daily cleaning habits helps you enjoy a spotless oven without the hassle.
- Wipe spills promptly with a damp cloth to prevent buildup.
- Use a gentle DIY cleaner weekly to tackle light grease.
- Remove crumbs and debris from oven racks regularly.
- Leave the oven door open after use to air out moisture and odors.
Frequently Asked Questions
Is This DIY Cleaner Safe for Self-Cleaning Ovens?
You might wonder if that DIY cleaner is safe for your self-cleaning features. Since these ovens use high heat to burn off residue, harsh chemicals can interfere with oven safety or damage components. It’s best to avoid strong cleaners during the self-clean cycle and stick to mild, natural ingredients. This way, you keep your freedom to maintain your oven safely without risking its advanced cleaning functions.
Can I Use This Cleaner on Glass Oven Doors?
Ever tried scrubbing glass only to leave streaks behind? When it comes to glass cleaning on your oven doors, you’ll want something gentle yet effective. This cleaner is perfect for maintaining that clear view without damaging the surface. Using it regularly not only keeps your oven looking sharp but also supports overall oven maintenance. So go ahead, enjoy the freedom to keep your oven sparkling without worry or hassle!
How Long Should I Wait Before Using the Oven After Cleaning?
After cleaning, you’ll want to respect a proper waiting period before firing up your oven. Oven cleaning tips usually suggest waiting at least 15 to 30 minutes to let any residue or cleaner fully dry and dissipate. This helps prevent smoke or unpleasant smells once you start cooking. Taking this little pause guarantees your oven’s ready to use safely and keeps your kitchen fresh, giving you the freedom to cook confidently.
Are These Ingredients Safe for Households With Pets?
Imagine your curious cat sniffing around after you clean; pet safety becomes a top priority. Some common DIY ingredients like vinegar are generally safe, but others like baking soda in large amounts can irritate pets. You can choose ingredient alternatives, such as lemon juice or mild soap, to keep your home safe and fresh. Always ventilate well and keep pets away until surfaces are dry, ensuring freedom without compromising their health.
Can This Cleaner Be Stored for Future Use?
You can definitely store your cleaner for future use, but you’ll want to keep a few storage tips in mind. Use an airtight container and store it in a cool, dark place to maximize cleaner longevity. Avoid exposure to heat or sunlight, which can break down the ingredients. Just give it a quick shake before each use to mix any separated components. This way, you’ll always have your cleaner ready when you need it!


