How to Make Homemade Dryer Cleaner
You can make an effective homemade dryer cleaner by mixing 1 cup of white vinegar, 1 tablespoon of baking soda, and 2 cups of warm water in a spray bottle. Shake gently to dissolve the baking soda, then use it to wipe your dryer’s interior surfaces. This natural solution keeps your dryer efficient and helps prevent lint buildup that can cause fires. If you want tips on cleaning lint traps, vents, and maintaining your dryer safely, there’s more useful info ahead.
Why Regular Dryer Cleaning Is Important

Although you might not notice it daily, regular dryer cleaning is essential to keep your appliance running efficiently and safely. When lint buildup accumulates, it restricts airflow, causing your dryer to work harder and use more energy. This not only lowers dryer efficiency but also raises your utility bills and shortens the appliance’s lifespan. More importantly, excessive lint buildup creates a serious fire hazard, putting you and your home at risk. By committing to routine cleaning, you’re reclaiming control over your environment, ensuring your dryer operates smoothly without unexpected breakdowns. Taking a few minutes to clear lint and maintain your dryer empowers you to enjoy the freedom of worry-free laundry days and a safer, more efficient home.
Essential Tools and Ingredients for Homemade Dryer Cleaner
Before you start making your homemade dryer cleaner, you’ll need to gather a few basic tools and ingredients that are easy to find around your home or at a local store. You’ll want natural ingredients like white vinegar, baking soda, and essential oils for a fresh scent. These are safe, effective, and free from harsh chemicals, giving you the freedom to clean without worry. For cleaning tools, grab a soft cloth, an old toothbrush, and a small brush to reach tight spots. A spray bottle helps apply your mixture evenly. Having these simple natural ingredients and cleaning tools ready will make the process smooth and efficient, empowering you to maintain your dryer’s performance the eco-friendly way.
Preparing Your Dryer for Cleaning

Once you’ve gathered your supplies, start by unplugging your dryer to confirm safety while cleaning. Prioritizing dryer safety helps prevent accidents and assures you enjoy the freedom of maintaining your appliance confidently. Before you begin, check your dryer’s lint trap and vent for accumulated debris. Regular cleaning frequency, ideally every three months, keeps your dryer efficient and reduces fire risk.
Here’s a quick prep checklist:
| Task | Purpose |
|---|---|
| Unplug the dryer | Confirm dryer safety |
| Remove lint trap | Clear lint buildup |
| Inspect vent outlet | Prevent airflow obstruction |
Taking these simple steps sets the stage for a thorough, safe cleaning session, giving you control over your appliance’s performance and your household’s safety.
Step-by-Step Guide to Making Your Own Dryer Cleaner
There are three simple ingredients you’ll need to make an effective homemade dryer cleaner: white vinegar, baking soda, and water. This mix helps you maintain dryer safety and keeps your machine running smoothly without costly repairs. Follow these steps to craft your cleaner:
- Combine 1 cup of white vinegar with 1 tablespoon of baking soda in a spray bottle.
- Add 2 cups of warm water, then shake gently until the baking soda dissolves.
- Use this solution to wipe down the dryer’s interior surfaces every few months, matching your cleaning frequency to your usage.
How to Safely Clean the Lint Trap and Vent
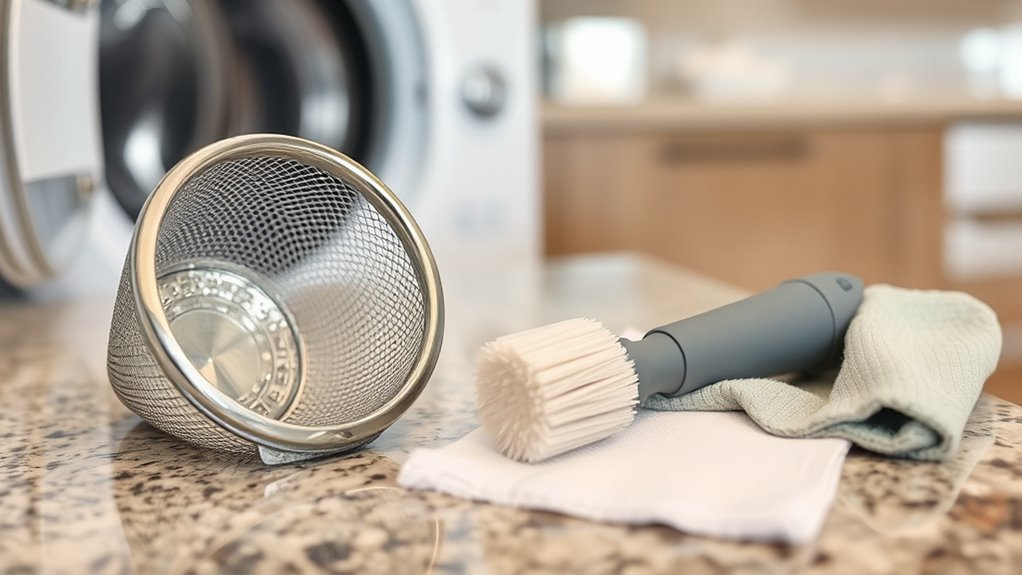
Cleaning the lint trap and vent at least twice a year is crucial for your dryer’s efficiency and safety. You want to keep airflow smooth and prevent fire hazards by regularly removing lint buildup. Start by pulling out the lint trap, then gently clear trapped fibers with your hands or a soft brush. For vent maintenance, disconnect the vent hose and vacuum inside carefully to remove hidden lint.
| Step | Tool Needed | Tip |
|---|---|---|
| Remove lint trap | Hands or brush | Clean after every load |
| Vacuum vent hose | Vacuum cleaner | Use a narrow attachment |
| Inspect vent | Flashlight | Check for blockages |
| Reassemble | None | Verify tight connections |
Stay free from worries by keeping this routine—you’ll boost your dryer’s lifespan and safety.
Removing Stubborn Residue and Buildup
If your dryer’s drum or lint trap has stubborn residue that won’t come off with regular cleaning, you’ll need a more thorough approach to tackle buildup. Taking control over residue removal frees you from frequent replacements and inefficient drying. Here’s how to reclaim your dryer’s performance:
- Mix baking soda and water into a paste; apply it to the affected areas and let it sit for 10 minutes before scrubbing gently with a soft cloth.
- Use white vinegar on a cloth to dissolve greasy buildup—vinegar’s natural acidity helps break down residue without harsh chemicals.
- Rinse with a damp cloth and dry thoroughly to prevent moisture buildup, which invites more residue.
This method empowers you with effective buildup prevention, ensuring your dryer stays clean and efficient for the long haul.
Tips for Maintaining a Clean Dryer Between Deep Cleans
Although deep cleans are essential, keeping your dryer in top shape between them is just as important to prevent buildup from returning. You’ll want to focus on simple dryer maintenance tips that save you time and energy while extending your dryer’s life.
Here’s a quick guide to help you stay on track:
| Task | Frequency |
|---|---|
| Lint trap care | After every load |
| Check vent hose | Monthly |
| Wipe drum interior | Every 3 months |
Regularly cleaning the lint trap is your best defense against blockages and fire hazards. Also, inspect the vent hose to avoid clogs that reduce efficiency. A quick wipe inside the drum removes lingering residues. Stick with these practices to keep your dryer running freely and safely between deep cleans.
Signs Your Dryer Needs a More Thorough Cleaning
Whenever your dryer starts taking longer than usual to dry clothes or you notice a burning smell, it’s a clear sign that it needs a more thorough cleaning. Ignoring these signs can limit your freedom by wasting time and risking safety due to lint buildup. Watch for these key indicators:
Longer drying times and burning smells signal it’s time for a deep dryer cleaning to stay safe and efficient.
- Extended drying times: If your dryer performance drops, clothes stay damp longer, signaling clogged vents or lint traps.
- Overheating or burning smell: Lint buildup can cause your dryer to overheat, risking fire hazards.
- Clothes come out hotter than usual: Excess heat means your dryer is working harder than it should, fighting blockages.
Recognizing these signs lets you reclaim control, ensuring your dryer runs efficiently and your laundry routine stays hassle-free.
Frequently Asked Questions
Can Homemade Dryer Cleaner Be Used on Electric and Gas Dryers?
You can use homemade dryer cleaner on both electric and gas dryer types, but you’ve got to be cautious with your cleaning methods. Each dryer type has specific components, so avoid harsh chemicals or excessive moisture that might damage electrical parts or gas lines. Stick to gentle, natural ingredients and always unplug or turn off your dryer before cleaning. This way, you keep your freedom to maintain your dryer safely and effectively.
How Often Should I Replace Homemade Dryer Cleaner?
You should follow frequency guidelines based on how often you use your dryer and its condition. Generally, replacing your homemade dryer cleaner every few months keeps it effective. Pay attention to cleaning indicators like buildup or lingering odors—these signs mean it’s time for fresh cleaner. Staying attentive lets you maintain freedom from costly repairs and keeps your dryer running smoothly without hassle. Adjust replacement timing to match your drying habits.
Is Homemade Dryer Cleaner Safe for All Dryer Drum Materials?
Think of your dryer drum materials like the skin of a cherished leather jacket—delicate yet durable. When it comes to cleaning safety, homemade dryer cleaners usually play nice with most drums, like stainless steel or porcelain. But you’ve got to be cautious with rubber or plastic-coated drums; some ingredients might cause damage. Always test a small spot first and avoid harsh chemicals to keep your dryer’s surface smooth and your freedom to clean worry-free.
Can I Use Homemade Dryer Cleaner to Clean Other Appliances?
You can definitely use homemade dryer cleaner on other appliances, but always test a small spot first to avoid damage. It’s a great alternative cleaning method for surfaces like your washing machine or microwave exterior. Just remember, every appliance has different materials, so stick to dryer maintenance tips tailored for each one. This way, you keep your home fresh and enjoy the freedom of DIY cleaning without worries.
What Should I Do if My Dryer Smells After Cleaning?
If your dryer smells after cleaning, it could be due to lingering moisture or trapped lint—common dryer odor causes. To freshen it up, run a cycle with a dryer sheet or some vinegar in a damp cloth. For freedom from future odors, stick to regular dryer maintenance tips like cleaning the lint trap after every use and inspecting vent hoses for blockages. This keeps your dryer fresh and efficient, so you’re not stuck with funky smells.