How to Remove Coffee Machine From Air Fryer
First, unplug both the coffee machine and air fryer to guarantee safety. Clear your workspace for easy access and check how they’re connected—look for clips, screws, or cables. Gently apply steady pressure to separate them without forcing, carefully untangling any stuck parts. Once separated, clean both appliances thoroughly and dry them before storing. Organizing your kitchen can help prevent this overlap in the future. If you want a smoother process next time, there are handy tips to explore.
Assess the Situation and Safety Precautions
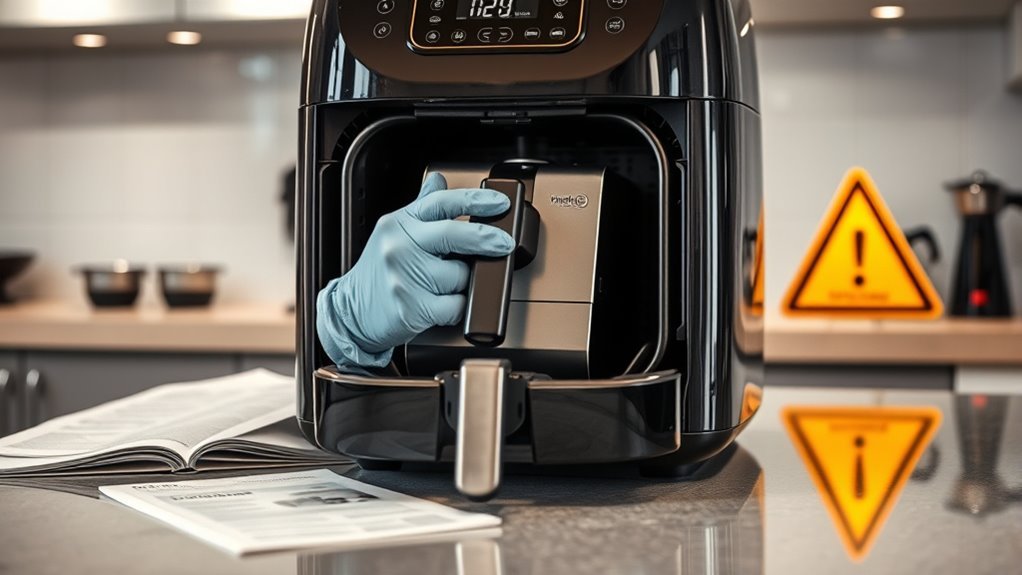
Before you try to remove the coffee machine from the air fryer, make sure the appliance is unplugged and completely cooled down. Your safety is paramount, so grab appropriate safety gear like heat-resistant gloves and eye protection. This isn’t just about comfort—it’s about protecting your freedom to handle your appliances without injury. Next, assess the appliance compatibility; understand how the coffee machine fits or interacts with the air fryer. Knowing this helps you avoid damaging either device or voiding warranties. Take a moment to examine any clips, screws, or locks holding them together. By carefully evaluating the situation and gearing up properly, you maintain control and freedom over your kitchen tools, ensuring a smooth, safe removal process without unnecessary risks or complications.
Unplug Both Appliances Before Handling
Once you’ve assessed the situation and put on your safety gear, the next step is to unplug both the coffee machine and the air fryer. This is a vital safety tip that guarantees you avoid any electrical hazards during appliance handling. By cutting the power, you free yourself from the risk of shocks or accidental activation, giving you the confidence to proceed without worry. Remember, no matter how enthusiastic you are to reclaim your space, safety always comes first. Unplugging both devices is a simple yet fundamental step that protects you and your appliances. Taking this precaution lets you handle the coffee machine and air fryer with complete freedom, making the removal process smoother and safer. Don’t skip this—your safety’s worth it.
Clear the Surrounding Area for Ease of Access
Before you start, make sure to clear any clutter from nearby surfaces to give yourself enough room to work. Good lighting is essential, so brighten up the area to see what you’re doing clearly. Also, remove any items that might get in the way or cause accidents while you’re handling the appliances.
Declutter Nearby Surfaces
Since you’ll need space to maneuver, start by clearing any items around your air fryer and coffee machine. Surface decluttering is essential for smooth kitchen organization and gives you the freedom to work without obstacles. Remove mugs, utensils, or any clutter that crowds the area. This simple step prevents accidents and speeds up the removal process.
| Item | Location | Action Needed |
|---|---|---|
| Coffee mugs | Countertop | Relocate |
| Cooking tools | Nearby drawer | Store away |
| Food containers | Shelf | Move to fridge |
| Cleaning cloths | Sink area | Put aside |
| Small appliances | Adjacent spot | Temporarily shift |
Clearing your surfaces lets you focus and move freely, making the coffee machine removal hassle-free.
Ensure Adequate Lighting
To work safely and efficiently, you’ll want to make sure the area around your air fryer and coffee machine is well-lit. Proper lighting techniques can greatly improve your workspace illumination, helping you see every angle clearly as you separate the two appliances. Natural light is ideal, but if that’s limited, use adjustable lamps or overhead lights to eliminate shadows. Position your light sources so they highlight the connection points without causing glare. A brightly lit workspace not only speeds up the process but also reduces mistakes and accidents. By prioritizing effective lighting techniques, you create a safer and more comfortable environment, giving you the freedom to focus on the task without strain or frustration. Remember, clear workspace illumination is key to smooth, hassle-free appliance removal.
Remove Obstructive Items
Three simple steps can make removing your coffee machine from the air fryer much easier: clear the surrounding area, move any obstructive items, and create enough space to work comfortably. To remove clutter and improve kitchen organization, start by:
- Clearing countertops near the air fryer to prevent accidental knocks.
- Relocating small appliances or utensils that block your access.
- Organizing loose cables or cords that might tangle during removal.
- Ensuring trash bins or cleaning supplies aren’t in your way.
Gently Separate the Coffee Machine From the Air Fryer
Before you start, make sure the coffee machine and air fryer are powered off and unplugged for safety. Next, identify where the two devices connect to avoid damaging any parts. Then, carefully apply gentle pressure to separate them without forcing anything.
Power Off and Unplug
Start by making sure the coffee machine and air fryer are completely powered off, then unplug them from the electrical outlet. Disconnecting from the power source is essential for appliance safety and your peace of mind. Follow these steps to do it right:
- Locate the power switch on both appliances and turn them off.
- Firmly grip each plug, avoiding pulling on the cords.
- Gently pull the plugs straight out from the electrical outlet.
- Inspect cords for any damage before proceeding.
Locate Connection Points
With both appliances safely unplugged, you can now focus on locating where the coffee machine connects to the air fryer. Start by carefully inspecting the area where the two devices meet. Connection identification is key—look for clips, screws, or snap-fit joints that hold them together. Understanding appliance compatibility helps; some models share standardized connectors, while others might have custom fittings. Don’t rush this step, as a clear visual on how they join will steer you away from unnecessary force or damage. Take your time to note any labels or markings indicating connection points. This awareness grants you the freedom to detach them smoothly and confidently, setting you up perfectly for the next step in separating your coffee machine from the air fryer.
Apply Gentle Pressure
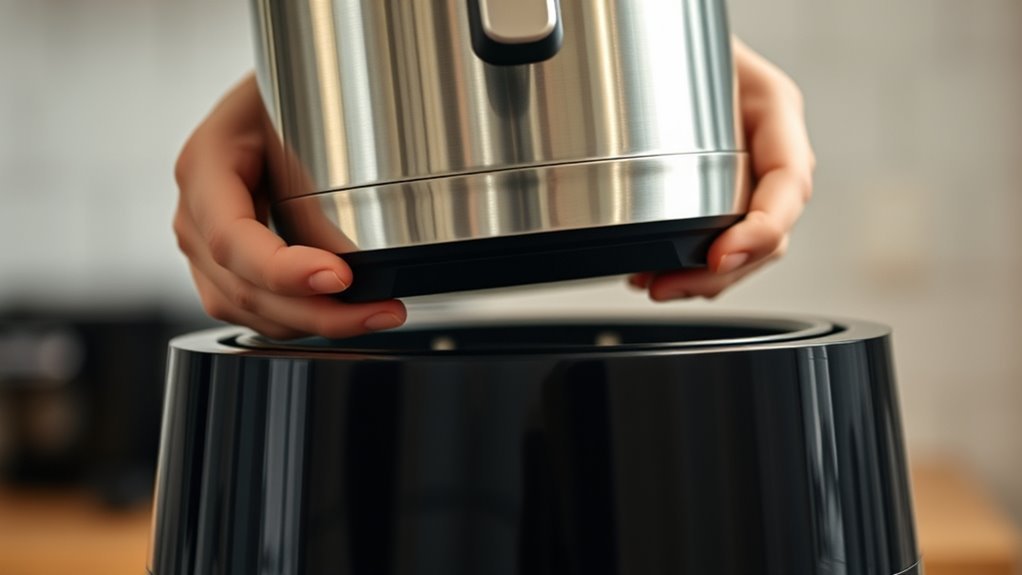
Press gently along the connection points you’ve identified, easing the coffee machine away from the air fryer. Using gentle techniques guarantees you avoid damage and maintain freedom to reassemble later. Focus on even pressure application rather than force. Here’s how to proceed:
- Place your hands firmly but softly at each connection point.
- Apply steady, gentle pressure, feeling for any resistance.
- Wiggle slightly if needed, but avoid jerky movements.
- Continue until the coffee machine separates smoothly from the air fryer.
Check for Any Stuck Parts or Cables
Before you try to remove the coffee machine from the air fryer, check carefully for any stuck parts or cables that might be holding it in place. Stuck components can easily cause damage if you pull without noticing them. Take a close look at the connection points where the two appliances meet. Pay attention to cable management—sometimes power cords or control wires get tangled or trapped between them. Gently untangle or free any cables you find to avoid accidental yanks or breaks. Ensuring all stuck components and cables are clear gives you the freedom to separate the appliances smoothly and safely, preventing harm to either device. This step is essential for a hassle-free removal process and keeps your gadgets in good shape.
Clean Both Appliances After Separation
Once you’ve carefully separated the coffee machine from the air fryer, it’s important to clean both appliances thoroughly. Removing coffee residue and any grease buildup guarantees your kitchen tools stay in top shape and ready for your next use.
Thorough cleaning after separating the coffee machine and air fryer keeps your appliances in prime condition.
- Unplug both appliances to guarantee safety while cleaning.
- Wipe down the coffee machine exterior and drip tray with a damp cloth, focusing on coffee residue.
- Clean the air fryer basket and interior with warm, soapy water, removing any oil or crumbs.
- Dry all parts completely before reassembling or storing to prevent mold and promote appliance maintenance.
Organize Your Kitchen to Prevent Future Overlaps
Although separating your coffee machine from the air fryer solves the immediate issue, organizing your kitchen thoughtfully will prevent future overlaps and make your cooking space more efficient. Start by evaluating your kitchen organization—designate specific zones for different appliances based on how often you use them. For instance, keep your coffee machine near your breakfast area and your air fryer close to cooking prep spaces. Use appliance storage solutions like shelves, hooks, or dedicated cabinets to keep everything accessible yet separate. This not only frees up counter space but also reduces clutter, giving you the freedom to move easily while cooking. By planning your kitchen layout with intentional appliance storage, you’ll create a streamlined environment that supports your daily routine without the hassle of tangled or overlapping devices.
Frequently Asked Questions
Can I Use the Air Fryer While the Coffee Machine Is Attached?
You shouldn’t use the air fryer while the coffee machine’s attached because it can compromise air fryer safety and affect coffee machine compatibility. These devices aren’t designed to work simultaneously, so trying to do both could cause overheating or damage. For your freedom to enjoy both safely, it’s best to detach the coffee machine first. That way, you get the full performance of each without risking any issues.
Will Removing the Coffee Machine Void Its Warranty?
You’ll want to check the warranty policies carefully before making any changes. Many manufacturers consider appliance modifications, like removing parts, as voiding the warranty. If you’re all about freedom and customizing your gear, that might feel limiting. Still, it’s smart to confirm with the brand or read their terms so you don’t lose coverage. That way, you can enjoy your device without surprises down the road.
How Do I Prevent Damage to Appliance Finishes During Separation?
To prevent pesky scratches and preserve your appliance’s pristine appearance, prioritize proper appliance care and surface protection. You’ll want to work with soft, sturdy materials like silicone mats or microfiber cloths as buffers between parts. Carefully cushion corners and consistently clean surfaces to keep finishes flawless. Taking these thoughtful, tender steps lets you enjoy your devices freely without fretting over unwanted wear or damage during separation.
Are There Specific Tools Needed to Detach the Coffee Machine?
When you’re tackling detachment techniques, having the necessary equipment makes the process smoother and safer. You’ll likely need basic tools like a screwdriver or a wrench, depending on how the parts are connected. Sometimes, a plastic prying tool helps avoid scratches or damage. Don’t rush—using the right tools gives you freedom to separate components without stress, keeping everything in good shape for future use or reassembly.
Can Repositioning the Appliances Improve Kitchen Space Efficiency?
Like Marie Kondo sparked joy by tidying, you can transform your space with smart appliance arrangement. Repositioning your coffee machine and air fryer can boost kitchen organization, freeing up counters and creating a more functional flow. By thoughtfully arranging appliances, you reclaim control over your kitchen, making it a haven of efficiency and freedom. Don’t settle for clutter—embrace a setup that works for your lifestyle and makes cooking a breeze.