Removing Window From Microwave Effectively
To remove your microwave window effectively, first unplug the unit and let it cool to prevent shocks or burns. Use a screwdriver to remove screws or clips securing the window frame, then gently pry the window loose without damaging the mesh or glass. Wear gloves and safety glasses for protection, work in a well-lit area, and clean components carefully with mild detergent. Ensuring proper removal prepares you for safe inspection, cleaning, or replacement—steps you’ll want to follow precisely.
Understanding Microwave Window Components

The microwave window is a critical component that allows you to view the cooking process while containing microwave radiation. In microwave design, this window must balance visibility with safety and durability. Typically, it consists of a mesh screen embedded between layers of glass or plastic, constructed from materials chosen for their microwave transparency and heat resistance. These window materials prevent radiation leakage while enabling you to monitor food without opening the door. Understanding this design is essential if you plan to remove the window, as improper handling can damage the mesh or compromise the seal, affecting performance. By grasping the specific construction and materials involved, you’ll maintain your microwave’s integrity and enjoy the freedom to manage repairs or modifications confidently.
Essential Safety Precautions Before Removal
Knowing the microwave window’s construction helps you understand why careful handling is necessary before removal. To protect yourself and maintain functionality, you need to prioritize safety gear and be aware of electrical hazards. Before starting, ascertain the microwave is unplugged and cooled down to avoid shocks or burns. Always wear insulated gloves and safety glasses to shield against sharp edges and accidental glass breakage. Keep your workspace clear to prevent tripping or dropping components.
- Disconnect power supply to eliminate electrical hazards.
- Use appropriate safety gear to prevent injury.
- Work in a well-lit area with no clutter.
Tools Needed for Removing the Microwave Window
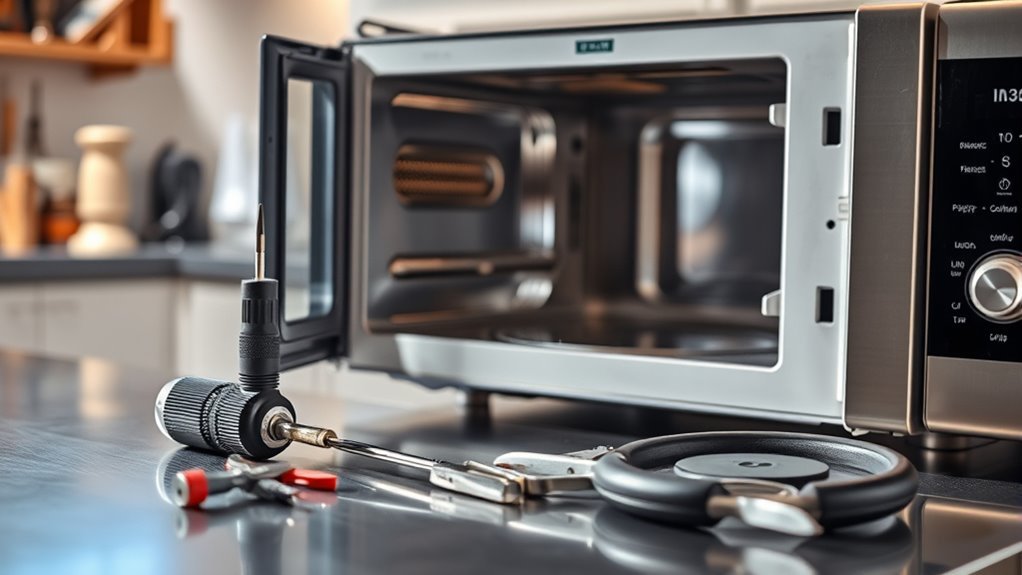
To remove a microwave window effectively, you’ll need at least four essential tools: a screwdriver set, a putty knife or flat pry tool, safety gloves, and a clean cloth. The screwdriver set lets you handle various screw types securing different window types—whether mesh or glass. A putty knife or flat pry tool helps gently separate the window frame without damaging the microwave casing. Safety gloves protect your hands from sharp edges and glass shards during the process. Finally, a clean cloth is necessary to wipe away dust or residue after removal. Mastering these tools empowers you to apply precise repair techniques, giving you the freedom to maintain or replace your microwave window confidently and efficiently. Having the right tools guarantees a smooth, damage-free removal experience.
Step-by-Step Guide to Removing the Microwave Window
Before you begin removing the microwave window, verify the appliance is unplugged and cooled down to avoid electrical hazards and burns. First, identify the window type—some are secured with screws, others with clips or adhesive. This determines your repair options and tools needed. Follow these steps:
- Remove screws or clips holding the window frame.
- Carefully detach the window, avoiding damage to the mesh or glass.
- Inspect for any broken parts to evaluate repair or replacement.
Handle the window gently to maintain its integrity, especially if it’s a specialized mesh type. Knowing your window type guarantees you select the right repair options and avoid unnecessary damage. This step-by-step guide empowers you to access the window confidently and proceed with repairs or replacements effectively.
Tips for Cleaning and Replacing the Microwave Window

Three essential tips will help you clean and replace your microwave window effectively and safely. First, employ gentle cleaning techniques—use a soft cloth with mild detergent or a vinegar-water solution to avoid scratching or damaging the glass. Avoid abrasive materials. Second, when selecting replacement options, verify the new window matches your microwave’s model for a secure fit and proper sealing, maintaining safety and functionality. Third, carefully follow manufacturer guidelines during reinstallation: disconnect power, handle components with care, and tighten screws evenly to prevent warping. These precise steps grant you the freedom to maintain your microwave’s integrity without professional help. Mastering these cleaning techniques and replacement options verifies your microwave window remains clear and secure, prolonging appliance life while safeguarding your cooking experience.
Frequently Asked Questions
Can Removing the Microwave Window Affect Cooking Performance?
If you remove the microwave window, you could compromise cooking efficiency and heat distribution. The window helps contain microwaves, ensuring energy is focused inside for even heating. Without it, microwaves may escape, reducing power and causing uneven cooking. This impacts how well your food cooks, so keeping the window intact maintains ideal performance. If you want freedom to modify, understand that altering the window might lead to less effective cooking results.
Is It Possible to Replace the Microwave Window With a Custom Design?
Yes, you can replace your microwave window with custom designs, but you’ll need to choose window materials that meet safety and microwave radiation standards. Materials like tempered glass or specific microwave-safe plastics work best. Make sure the custom design maintains the original’s protective function and fits securely. Keep in mind, any alteration must preserve the microwave’s shielding to avoid radiation leakage while allowing you the freedom to personalize your appliance safely and effectively.
How Do I Dispose of the Old Microwave Window Safely?
They say, “better safe than sorry,” and that’s true when disposing of your old microwave window. First, follow your local recycling guidelines to determine if the glass and metal parts can be separated and recycled. Always wear gloves and eye protection as a safety precaution to avoid cuts from sharp edges. If recycling isn’t an option, wrap the window securely to prevent injury and dispose of it according to hazardous waste rules for electronics in your area.
Will Removing the Window Void My Microwave’S Warranty?
If you remove your microwave’s window, you’ll likely face warranty implications, as manufacturers usually consider such modifications unauthorized. This means any future repair costs related to the microwave might not be covered. If you value freedom to customize but want to avoid unexpected expenses, weigh the risk carefully. Documenting the change and consulting your warranty terms can help, but generally, altering components voids standard warranties and shifts repair costs to you.
Are There Microwave Models Without Removable Windows?
You’ll find that most microwave designs include windows made from heat-resistant glass or plastic composites to monitor cooking. However, some compact or industrial models feature sealed, non-removable windows to maintain structural integrity and safety standards. If you want flexibility, check the product specs carefully—models with removable windows are less common but do exist. Understanding window materials and mounting methods helps you choose a microwave aligned with your practical needs and desire for customization.