
The Best Way to Clean Outdoor Trash Cans
To clean your outdoor trash cans effectively, start by emptying them and gathering eco-friendly supplies like vinegar and baking soda. Remove all debris with a sturdy brush, then apply your cleaning solution evenly, focusing on corners and under the lid. After letting it sit, scrub thoroughly before rinsing with water and drying completely in the sun to prevent odors. Following these steps keeps your cans fresh and hygienic. Keep going to find tips that help stop future buildup and smells.
Gather Necessary Cleaning Supplies
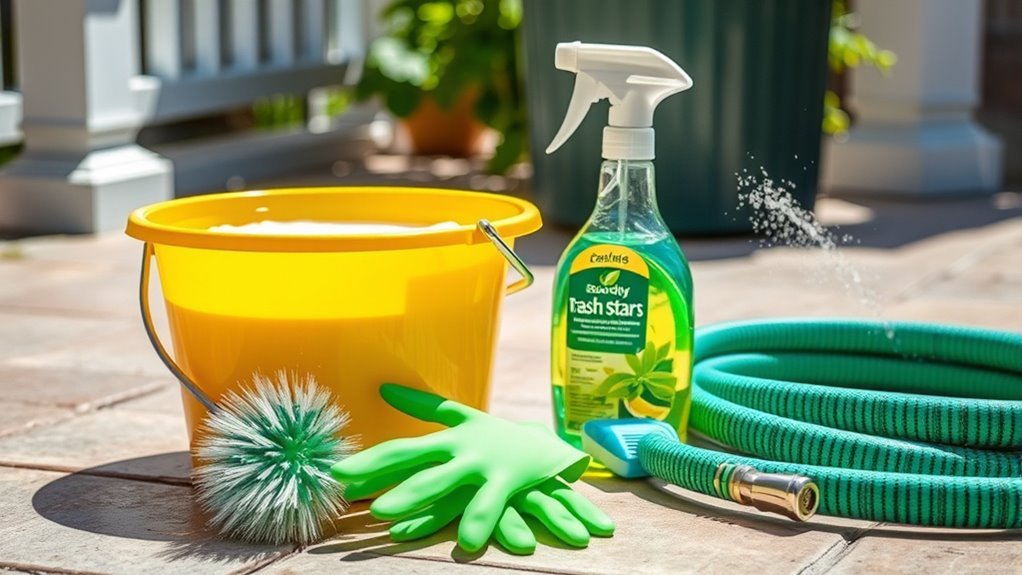
Before you begin cleaning your outdoor trash cans, make sure you have all the necessary supplies on hand. Freedom means taking control of your environment, and gathering the right cleaning tools is your first step. You’ll want sturdy gloves, a scrub brush, and a hose or bucket for rinsing. To keep your process eco friendly, choose natural cleaning solutions—like vinegar, baking soda, or lemon juice—that won’t harm the planet or your health. Avoid harsh chemicals that restrict your freedom by polluting the earth. With these supplies ready, you’re set to tackle the cleaning efficiently and responsibly. Remember, being prepared with eco friendly solutions and proper cleaning tools lets you maintain a clean space while respecting the environment you value.
Prepare the Trash Can for Cleaning
Once you’ve gathered your supplies, you’ll want to empty the trash can completely and remove any lingering debris. This step is vital for effective cleaning and maintaining hygiene. Depending on your trash can materials—plastic, metal, or rubber—you might need to adjust your approach. Also, consider your cleaning frequency; regular upkeep prevents buildup and odors.
Empty and clear your trash can regularly to ensure hygiene and tailor cleaning methods to its material.
Here’s how to prepare your trash can for cleaning:
- Move the trash can to an open, well-ventilated area to avoid mess indoors.
- Check for any cracks or damage in the trash can materials to prevent leaks during washing.
- Secure the lid or place the can upside down momentarily to shake off loose dirt.
Prepping with care sets the stage for a thorough cleaning and lasting freshness.
Remove Loose Debris and Residue
After preparing your trash can, the next step is to remove any loose debris and residue that might still cling to the surfaces. You want to tackle debris removal head-on, freeing your can from stuck-on dirt, leaves, or bits of trash. Use a sturdy brush or a handheld broom to sweep away these remnants, focusing on corners and edges where debris tends to hide. For residue management, a damp cloth or sponge can help wipe off sticky or greasy spots. Don’t forget to check under the lid and inside the rim—these areas often hold stubborn grime. By thoroughly removing debris and residue now, you’ll make the rest of the cleaning process smoother and more effective, giving you the freedom to enjoy a fresh, hygienic trash can.
Apply Cleaning Solution Thoroughly
Although it might seem simple, applying the cleaning solution thoroughly is key to eliminating odors and bacteria from your outdoor trash can. To truly free your space from grime, focus on these application techniques:
- Even Coverage: Spray or pour your chosen cleaning solutions evenly across all surfaces, including corners and under the lid, ensuring no spot is missed.
- Allow Soaking Time: Let the solution sit for several minutes to break down stubborn residues and neutralize odors effectively.
- Reapply if Needed: For heavily soiled cans, don’t hesitate to apply a second round to guarantee deep cleaning.
Mastering these steps gives you control and freedom from lingering smells and germs, making your trash can a cleaner, more hygienic part of your outdoor environment.
Scrub the Interior and Exterior
Grab a sturdy brush or sponge to scrub both the interior and exterior of your trash can thoroughly. Interior scrubbing is key to breaking down grime, stuck-on waste, and lingering odors that trap you in a cycle of mess. Don’t rush—focus on corners and crevices where dirt hides. Once the inside is clear, shift to exterior polishing. This step not only improves the look but also helps repel dirt and makes future cleanings easier. Use firm, consistent strokes to remove stains and buildup from the outside surface. By dedicating attention to both the interior scrubbing and exterior polishing, you reclaim control over your space and keep your trash can fresh and inviting. You’re setting yourself free from mess and hassle every time you clean.
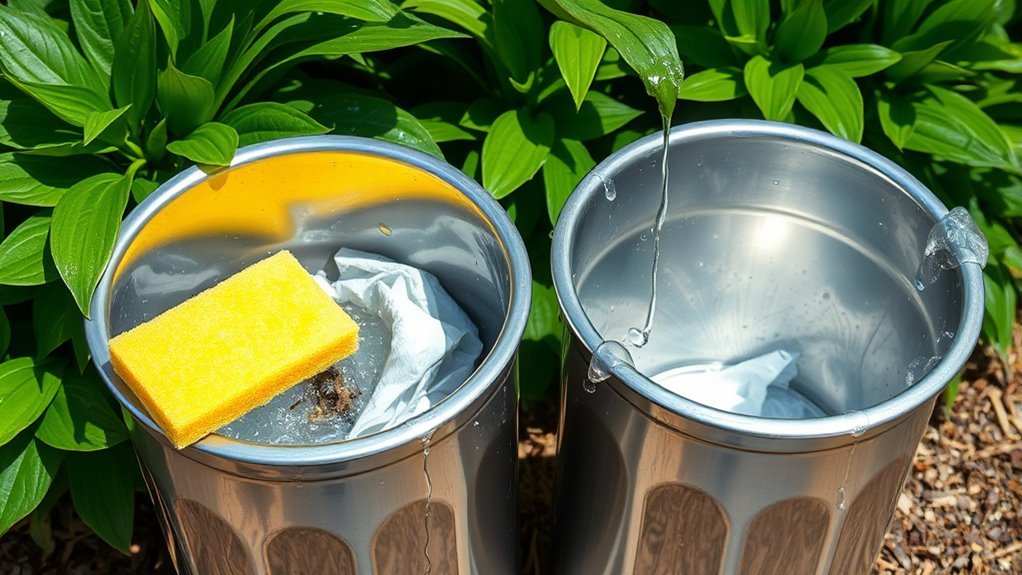
Rinse and Dry the Trash Can
Flush out all the loosened dirt and soap by thoroughly rinsing your trash can with a hose or bucket of water. Using effective rinse techniques guarantees every corner is clean, leaving no residue behind. To finish strong, apply these drying methods to keep your can fresh and ready:
- Turn the trash can upside down on a sunny spot to let water drain and evaporate quickly.
- Wipe the exterior and interior with a clean, dry cloth to remove lingering moisture.
- Allow the trash can to air dry completely before replacing the lid to prevent mold and odors.
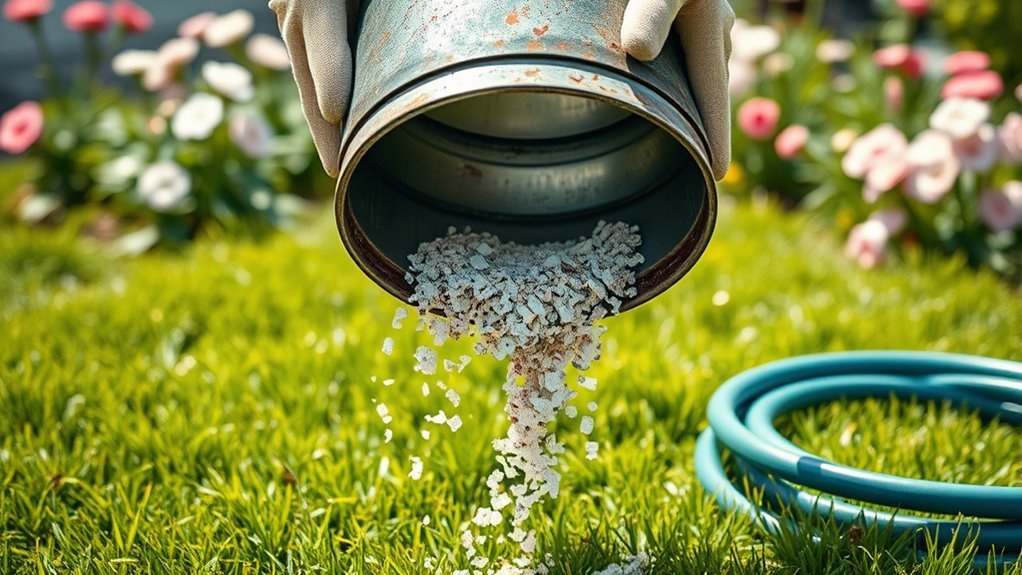
Prevent Future Odors and Buildup
To keep your trash can smelling fresh and prevent buildup, you’ll need to adopt a few simple habits. Start by lining your bin with sturdy, leak-proof bags to minimize mess and contain liquids. Regularly sprinkle baking soda or odor-neutralizing powders at the bottom for odor prevention. After each trash pickup, quickly rinse your can to avoid residue buildup. Make sure the lid closes tightly to keep pests out and reduce exposure to rain, which can cause smelly runoff. Avoid tossing food scraps directly in without a bag, as they accelerate odor and buildup. By staying consistent with these easy steps, you’ll enjoy a cleaner, fresher trash can that doesn’t hold you back from your freedom to live without unpleasant odors or extra chores.
Frequently Asked Questions
How Often Should I Clean My Outdoor Trash Cans?
You should keep an eye on your cleaning frequency to avoid odors and pests. Ideally, you’ll want to clean your outdoor trash cans every one to two weeks, depending on how often you use them. Regular trash can maintenance not only keeps things smelling fresh but also helps you enjoy your outdoor space without hassle. Staying on top of this lets you live freely without worrying about unwanted mess or critters.
Can I Use a Pressure Washer for Cleaning Trash Cans?
You can definitely use a pressure washer for cleaning your trash cans. The pressure washer benefits include powerful, quick removal of grime and odors, making trash can maintenance easier and more effective. It lets you free yourself from tedious scrubbing and harsh chemicals, giving you more time to enjoy your space. Just be sure to use a moderate setting to avoid damaging your cans while still getting them thoroughly clean.
What’S the Best Way to Clean Metal vs. Plastic Trash Cans?
Like a knight tending his armor, you’ve got to treat metal trash cans with care—use mild soap, warm water, and a soft brush to avoid scratches, ensuring metal care preserves their strength and shine. For plastic maintenance, embrace a gentler touch: a mix of baking soda and vinegar works wonders, letting you keep your freedom from stubborn stains and odors without harsh chemicals. Both demand respect, but your independence thrives with the right routine.
Are There Eco-Friendly Cleaning Solutions for Trash Cans?
You can totally ditch harsh chemicals by using natural cleaners like a vinegar solution to clean your trash cans. Just mix equal parts water and white vinegar, then spray or scrub your cans with it. It’s eco-friendly, breaks down grime, and keeps odors away without polluting. This way, you’re free to maintain cleanliness while protecting the environment—no compromise needed, just simple, green power at your fingertips.
How Do I Safely Dispose of the Dirty Water After Cleaning?
Back in the days of knights and castles, you’d just dump dirty water anywhere, but now you’ve got to think about safe disposal. When handling dirty water disposal, avoid pouring it into storm drains or natural waterways—that can harm the environment. Instead, you can pour it into your household drain, where it’ll be treated properly. This way, you’re protecting your freedom to enjoy a clean world without restricting nature’s flow.


