How Do You Clean Implants
To clean implants effectively, gather your tools: mild detergent, soft cloths, and warm water. Rinse the implant under warm water to remove debris, then apply the detergent with a soft brush or cloth, ensuring a gentle clean. Rinse thoroughly to remove any residue, and let it air dry on a clean towel. Regular cleaning after each use can enhance your implant’s longevity. Stick around to discover more insights on maintaining your implants effectively.
Preparation For Cleaning
Before diving into the cleaning process, it’s crucial to gather the right tools and materials. Start by evaluating the cleaning frequency needed for your implants; this helps in determining how thorough your pre-cleaning steps should be. Make certain to have a soft cloth, mild detergent, and warm water ready for effective cleaning. If applicable, consider any specific manufacturer recommendations for your implants. Taking these initial steps guarantees you’re prepared for a successful cleaning session. Remember, consistently maintaining your implants not only enhances their longevity but also contributes to your overall comfort and freedom. By establishing a routine based on your cleaning frequency, you can prevent buildup and make sure your implants remain in ideal condition.
Tools and Chemical Required

To effectively clean your implants, you’ll need a selection of essential tools and chemicals that guarantee thorough maintenance without causing damage. Here’s a simple guide to help you gather what you need:
| Tool/Chemical | Purpose | Recommended Use |
|---|---|---|
| Cleaning Solutions | Remove dirt and grime | Dilute as per instructions |
| Scrub Brushes | Scrub surfaces gently | Choose soft-bristled for delicate areas |
| Microfiber Cloths | Wipe and dry surfaces | Use for a streak-free finish |
| Distilled Water | Rinse and dilute solutions | Guarantees no mineral deposits |
Having the right cleaning solutions and scrub brushes makes it easier to keep your implants in prime condition. Always prioritize quality to maintain your freedom and confidence.
How to Clean:
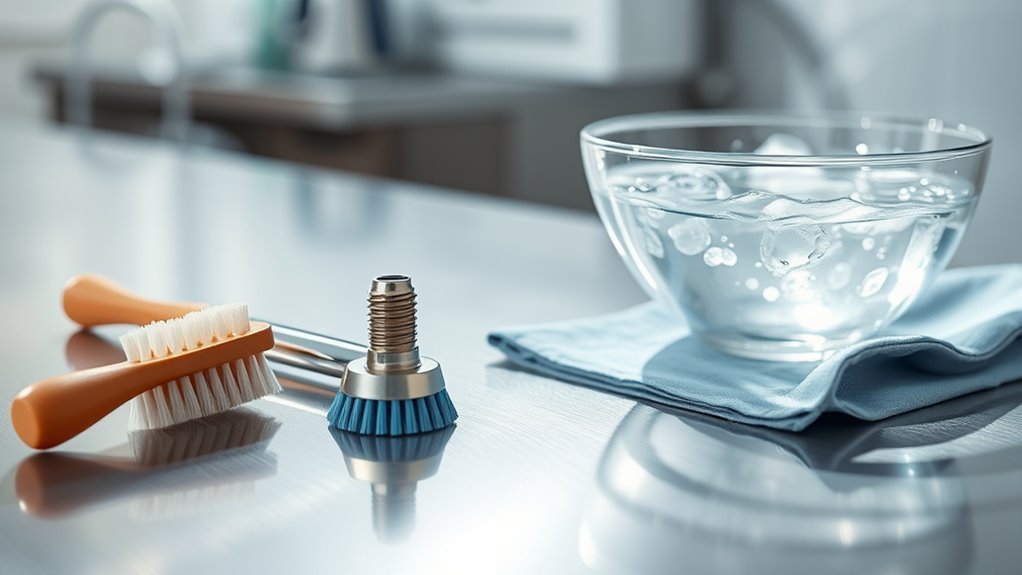
Step 1: Gather Cleaning Supplies
- Collect all necessary tools and materials before you begin cleaning the implants.
- Ensure you have the following items:
- Soft brush or cloth
- Mild detergent or approved cleaning solution
- Warm water
- Container for rinsing
- Towel for drying
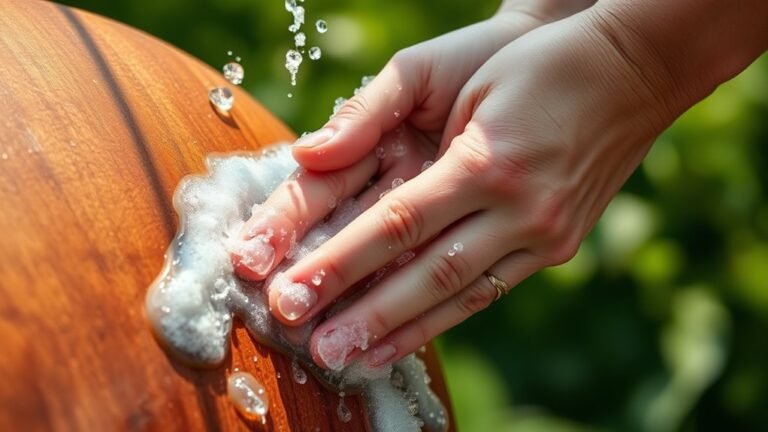
Step 2: Preliminary Rinse
- Start by rinsing the implant under warm water.
- This step helps to remove any loose debris or particles that may have accumulated on the surface.
- Make sure the water is not too hot to avoid damaging the implant.
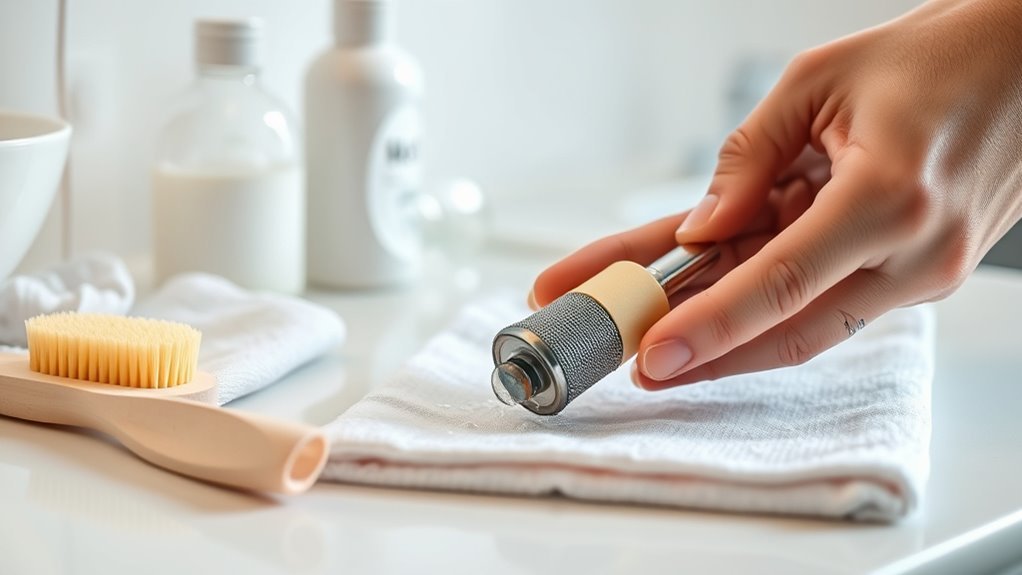
Step 3: Clean the Surface
- Take the soft brush or cloth and apply a small amount of mild detergent.
- Gently scrub the surface of the implant, focusing on any crevices or hard-to-reach areas.
- Use a light touch to avoid scratching or damaging the surface of the implant.
Step 4: Thorough Rinse
- After scrubbing, rinse the implant thoroughly under warm water.
- Ensure that all soap residue is completely removed to prevent any irritation or buildup when the implant is reintegrated.
Step 5: Air Dry
- Once rinsed, place the implant on a clean towel or a drying rack.
- Allow the implant to air dry completely before storing or reinserting.
- Avoid using heat sources, such as hair dryers, as they may damage the implant.
Step 6: Regular Maintenance
- Incorporate regular cleaning into your routine to prevent buildup and maintain the functionality of your implants.
- Aim to clean your implants after each use or at least on a regular schedule, as recommended by your healthcare provider.
- Consistent attention to these cleaning practices will enhance the lifespan and performance of your implants.
Safety Consideration
While guaranteeing your implants are clean is essential, safety considerations should always be at the forefront of your cleaning routine. First and foremost, use only recommended cleaning solutions to prevent any adverse reactions that could compromise implant safety. Always follow the manufacturer’s guidelines when handling your implants; improper cleaning can lead to damage or contamination.
Before starting your cleaning process, wash your hands thoroughly and use gloves to minimize the risk of introducing bacteria. Avoid using abrasive materials that can scratch the surface of your implants, as this can harbor harmful microorganisms. Finally, regularly inspect your implants for any signs of wear or damage, and consult a professional if you notice any issues. Prioritizing these cleaning precautions will help guarantee your implants remain safe and effective.
Frequently Asked Questions
How Often Should Implants Be Cleaned?
You should prioritize implant maintenance by cleaning your implants regularly, ideally every day. The cleaning frequency helps prevent bacteria buildup and guarantees longevity. You might also want to schedule professional cleanings every six months to keep everything in peak condition. Remember, proper care not only enhances the lifespan of your implants but also contributes to your overall health. Stay consistent with your routine, and you’ll enjoy the freedom of a healthy smile!
Can I Use Homemade Cleaning Solutions?
Sure, you can use homemade cleaning solutions, but be cautious! While they might sound like a magical elixir, their cleaning effectiveness can vary dramatically. Some mixtures, like vinegar and baking soda, might do wonders for surfaces, but they could also harm your implants. Always prioritize safety and consult with a professional before trying any DIY approach. Your health and the longevity of your implants should always come first!
What Should I Do if I Notice Damage?
If you notice damage, start with a thorough damage assessment. Carefully examine the area for cracks or loosening. Document your findings and consult a professional to discuss repair options. They can advise on the best course of action, whether it’s a simple fix or a more extensive repair. Don’t delay addressing the damage, as it could lead to complications. Taking prompt action guarantees your safety and the longevity of your implants.
Are There Special Considerations for Sensitive Implants?
If you’ve got sensitive implants, you’re not alone in your concerns. It’s essential to use gentle cleaning techniques to avoid damaging sensitive materials. Opt for non-abrasive cleaners and soft cloths to guarantee you’re treating them with care. Always consult your healthcare provider for personalized advice, as they can recommend the best practices tailored to your specific needs. Remember, maintaining those implants means keeping your freedom to enjoy life without worry.
How Can I Tell if My Implants Need Cleaning?
You can tell if your implants need cleaning by monitoring any unusual sensations, such as discomfort or swelling. Regular implant care involves checking for visible debris or discolored areas. If you notice these signs, it’s time to employ appropriate cleaning techniques. Always follow your healthcare provider’s recommendations, as they can guide you on specific products and methods that suit your implants, ensuring they remain in peak condition for your freedom and comfort.