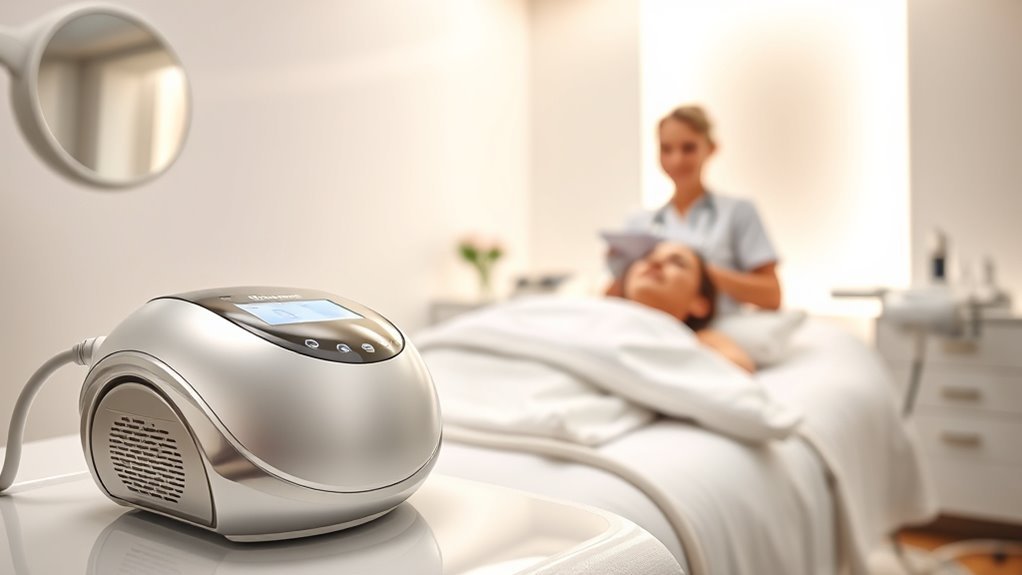
How Does Clear and Brilliant Work
Clear and Brilliant is a non-invasive laser treatment that works by delivering fractional laser energy to your skin. This energy targets imperfections and stimulates collagen production, improving texture and tone. Before the treatment, you’ll need to assess your skin’s condition and minimize sun exposure. During the procedure, a cooling gel and topical anesthetic are used for comfort. Understanding the specific tools and proper aftercare is essential for best results, and there’s more to explore about the process.
Preparation For Cleaning
Before undergoing the Clear and Brilliant treatment, it’s important to prepare your skin properly to guarantee peak results. Start with a thorough skin assessment, which will help identify your specific needs and concerns. This evaluation allows you to discuss any pre-existing conditions and tailor the treatment plan accordingly.
Adhering to a treatment timeline is vital; you should avoid sun exposure and certain skincare products leading up to your session. Make sure your skin is well-hydrated and free from irritants to enhance the effectiveness of the treatment. By following these preparatory steps, you’ll set the stage for best outcomes, helping you achieve that desired radiant, youthful look while enjoying the freedom of healthier skin.
Tools and Chemical Required

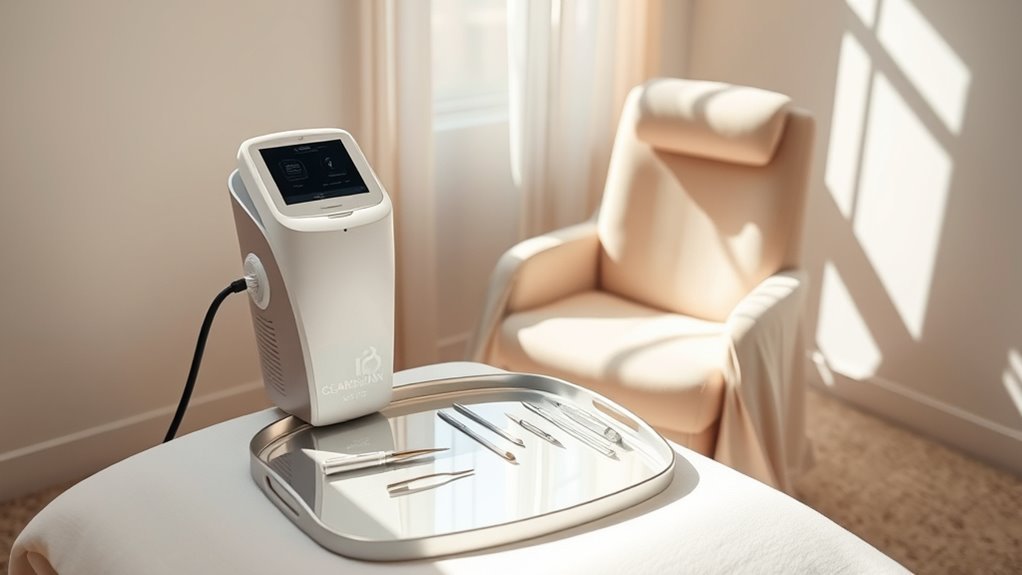
Several essential tools and chemicals are required for the Clear and Brilliant treatment to guarantee ideal results. You’ll need advanced laser technology, which precisely targets skin imperfections, promoting collagen production. Additionally, specific skincare products are crucial to enhance post-treatment healing and results.
| Tool/Chemical | Purpose |
|---|---|
| Laser Device | Delivers fractional laser energy |
| Cooling Gel | Soothes skin during treatment |
| Topical Anesthetic | Minimizes discomfort |
| Post-Treatment Serum | Promotes healing and hydration |
Using these tools and chemicals guarantees your treatment is effective and comfortable. Always consult with a qualified professional to tailor the approach to your skin’s unique needs. Enjoy the freedom of radiant, rejuvenated skin!
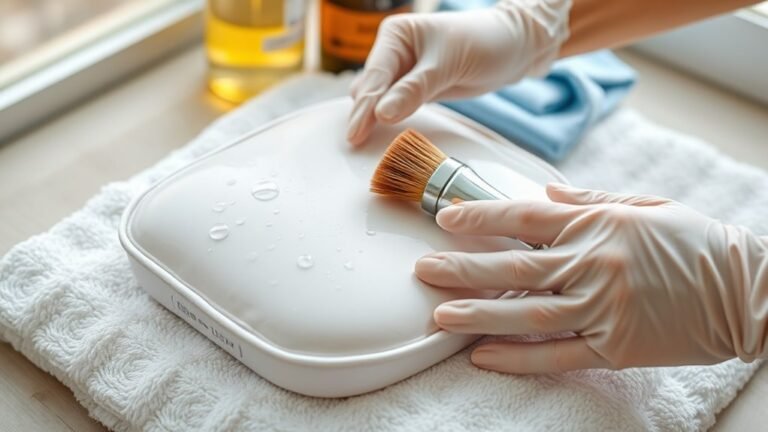
How to Clean:
Step 1: Gather Your Cleaning Supplies
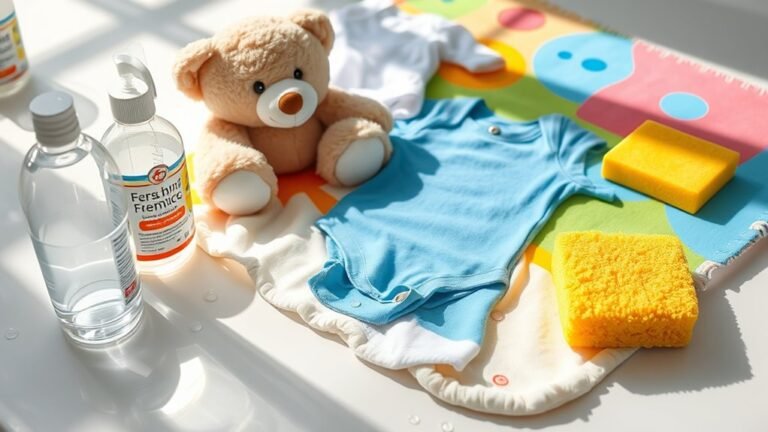
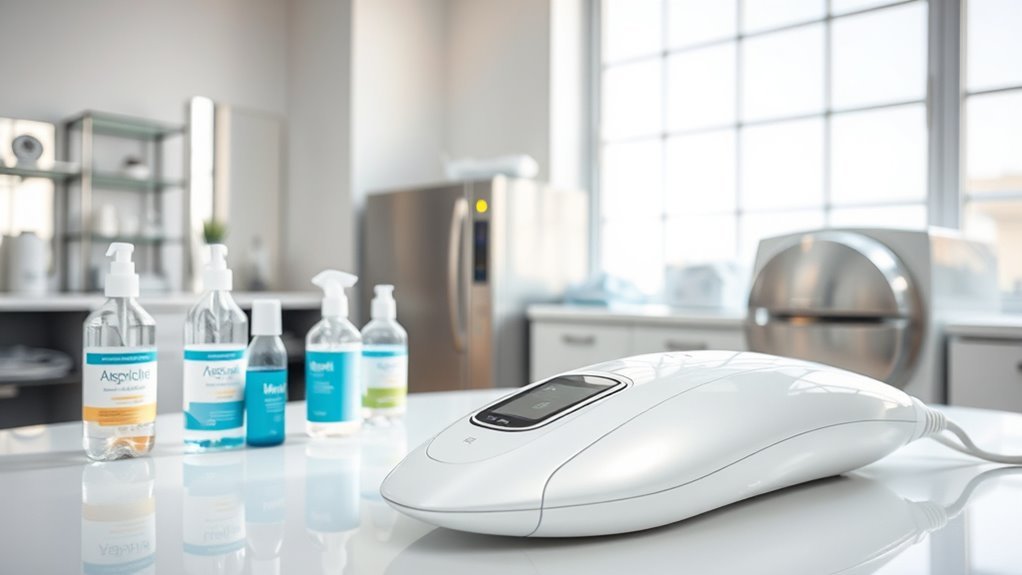
- Collect all necessary cleaning supplies before starting. This includes:
- Medical-grade disinfectants
- Alcohol wipes
- Sterilization equipment (e.g., autoclave for tools)
- Disposable gloves
- Clean cloths or paper towels
Step 2: Prepare Your Workspace
- Clear the area where you will be performing the cleaning. Ensure it is well-ventilated and has enough space to accommodate all your tools and supplies.
- Lay down disposable covers or sheets if necessary to protect surfaces.
Step 3: Sanitize Surfaces
- Use medical-grade disinfectants on all work surfaces.
- Spray the disinfectant generously on the surface.
- Allow it to sit for the recommended contact time (as per product instructions) to effectively kill germs.
- Wipe down the surface with a clean cloth or paper towel.
Step 4: Clean Devices
- For devices used in treatments, follow these steps:
- Take alcohol wipes and thoroughly wipe down all external surfaces of the devices.
- Ensure that no residue or moisture remains on the devices after cleaning.
- Pay special attention to areas that come in contact with skin.
Step 5: Sterilize Reusable Tools
- For any reusable tools, follow the manufacturer’s instructions for sterilization. This may include:
- Pre-cleaning tools to remove any debris.
- Using an autoclave if required by the nature of the tool.
- Ensuring that tools are completely dry and stored in a clean environment after sterilization.
Step 6: Inspect Tools Regularly
- Regularly check all tools for signs of wear and tear.
- Look for any rust, chips, or signs of damage.
- Replace any damaged tools immediately to prevent contamination during treatments.
Step 7: Establish a Cleaning Routine
- Create a cleaning schedule to maintain a hygienic environment.
- Decide on the frequency of cleaning based on usage (daily, weekly, etc.).
- Document the cleaning process and ensure all staff members are trained and follow the established routine.
- Incorporating cleaning frequency recommendations helps prevent buildup and maintain optimal hygiene.
Step 8: Prioritize Personal Hygiene
- Always wear disposable gloves while cleaning to protect yourself and maintain cleanliness.
- Wash your hands thoroughly before and after handling cleaning materials and tools.
Safety Consideration
Maintaining a clean environment is only one aspect of ensuring safety during Clear and Brilliant treatments. Adhering to established safety guidelines is vital. Before beginning any procedure, a thorough risk assessment should be conducted to evaluate individual skin conditions and medical histories. This helps identify potential contraindications and tailor the treatment to your specific needs. It’s essential to communicate openly with your practitioner about any concerns or allergies to minimize risks. Post-treatment care is equally important; following the outlined aftercare instructions can greatly reduce the likelihood of complications. By prioritizing these safety measures, you can confidently enjoy the benefits of Clear and Brilliant while minimizing any health risks associated with the procedure.
Frequently Asked Questions
How Long Does a Clear and Brilliant Treatment Take?
A Clear and Brilliant treatment takes about 30 to 60 minutes, but you’ll feel like you’ve stepped into a time machine! The session frequency is typically every 4 to 6 weeks for best results. You’ll emerge refreshed, with skin that looks and feels revitalized. Embrace your freedom from dullness and let your skin shine through the magic of this innovative treatment. Just imagine the possibilities with each session!
What Skin Types Are Suitable for Clear and Brilliant?
Clear and Brilliant’s treatment suitability spans various skin types, making it a versatile option for many. You’ll find it particularly effective for those with skin type compatibility ranging from light to medium tones. However, it’s essential to consult with a professional to confirm it meets your specific needs. Whether you’re addressing early signs of aging or uneven texture, this treatment can enhance your skin’s appearance while giving you the freedom to feel confident.
How Many Sessions Are Recommended for Optimal Results?
For ideal results, you’re typically recommended to undergo 4 to 6 sessions of Clear and Brilliant, spaced about 2 to 4 weeks apart. This session frequency allows your skin to heal and regenerate effectively. Treatment intervals are essential for maintaining the benefits and ensuring your skin responds well to the procedure. Following this schedule will help you achieve the desired improvements in skin tone and texture, giving you the freedom to feel confident in your skin.
What Results Can I Expect After the Treatment?
After the treatment, you can expect noticeable improvements in your skin’s texture and tone. The expected outcomes include a more radiant complexion, reduced fine lines, and diminished pigmentation. Many patients report a smoother skin surface and increased elasticity, contributing to an overall youthful appearance. The treatment benefits often lead to enhanced confidence and a refreshed look, allowing you to embrace your natural beauty with freedom and ease. Regular sessions can further amplify these results.
Is There Any Downtime After a Clear and Brilliant Session?
You shouldn’t expect significant downtime after a Clear and Brilliant session. Most people experience mild redness and swelling for about 24 hours, but it usually subsides quickly. During this time, it’s important to follow post-treatment care instructions, like keeping your skin moisturized and avoiding direct sun exposure. You can typically resume normal activities within a day, allowing you the freedom to enjoy your results without prolonged recovery.