How Many Layers of Clear Coat
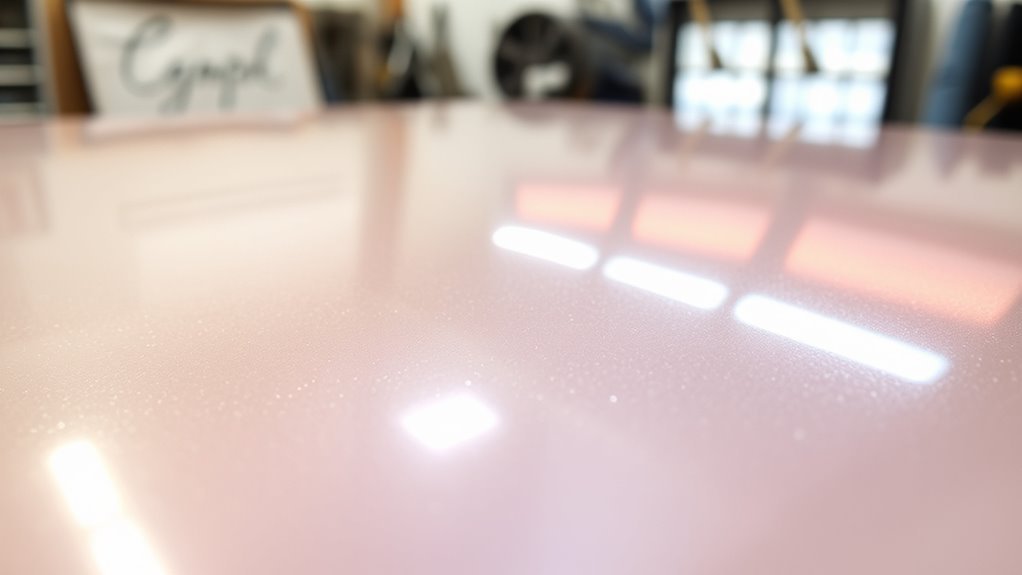
For maximum protection and aesthetics, you should apply 2-3 layers of clear coat. This guarantees vibrant underlying colors while providing essential protection against UV damage and scratches. Each layer enhances the gloss and longevity of your finish. Remember to prepare your surface properly and use quality materials for the best results. If you want to know more about the cleaning process and tools required for a flawless finish, keep exploring the details.
##
When it comes to determining the ideal thickness of clear coat for your project, understanding the balance between protection and aesthetics is crucial. In this article, you will find comprehensive insights on how the number of layers of clear coat can significantly influence the durability and clarity of your surface finish. We’ll discuss the recommended application of 2-3 layers to achieve optimal results, ensuring that the underlying colors remain vibrant while also providing essential protection against UV damage and scratches. By the end of this article, you’ll be equipped with the knowledge to select the right thickness and number of layers for a professional-quality finish that enhances gloss and longevity.
Preparation For Cleaning
Before you start cleaning a surface that will receive a clear coat, it’s essential to prepare properly to guarantee ideal adhesion and finish quality. Begin with a thorough surface assessment to identify any contaminants, imperfections, or previous coatings that could interfere with the new clear coat. This step is vital for achieving a flawless application. Next, employ appropriate cleaning techniques tailored to the specific material you’re working with, such as using a degreaser for oily residues or a gentle abrasive for stubborn dirt. Be sure to rinse thoroughly to remove any cleaning agents completely. Following these steps will create a clean, smooth foundation, ensuring that the clear coat adheres effectively and provides a durable, high-quality finish. Using gentle, non-abrasive cleaners designed for the surface helps protect the finish and improve adhesion.
Tools and Chemical Required
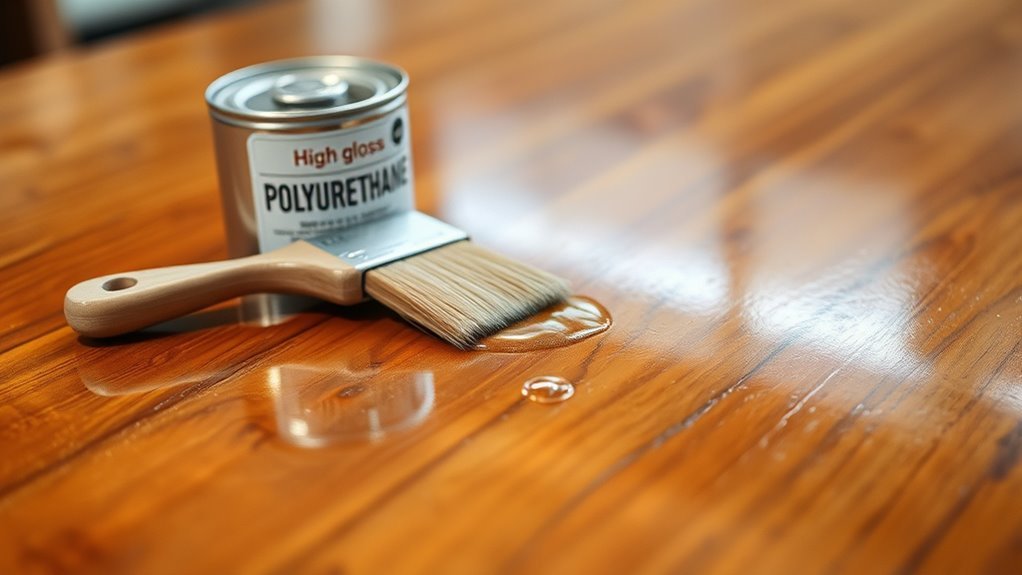
To achieve a successful clear coat application, having the right tools and chemicals at your disposal is vital. You’ll need a quality spray gun to guarantee an even application of the clear coat. Additionally, selecting the right type of clear coat—whether it’s acrylic, urethane, or enamel—is essential for durability and finish.
Here’s a handy reference table:
| Tool/Chemical | Purpose | Recommended Brand |
|---|---|---|
| Spray Gun | Applies clear coat evenly | Devilbiss |
| Clear Coat (Acrylic) | Provides a glossy finish | PPG |
| Clear Coat (Urethane) | Offers durability and protection | House of Kolor |
| Masking Tape | Protects areas from overspray | 3M |
With these tools, you’re set for a successful project!
How to Clean:

How to Clean for a Flawless Clear Coat Finish
Maintaining cleanliness is essential for achieving a perfect clear coat finish. By following effective cleaning techniques and maintenance routines, you can ensure your surface remains pristine and ready for application. Here’s a detailed step-by-step guide:
Step 1: Pre-wash
- Begin by rinsing the surface with water. This will help remove loose dirt, dust, and debris that could scratch the surface during the cleaning process.
- Use a hose or pressure washer on a low setting to avoid damaging the surface. Make sure to cover all areas thoroughly.
Step 2: Gentle Cleanser
- Choose a pH-balanced automotive soap specifically designed for cleaning vehicles. This type of soap is gentle on surfaces while effectively breaking down grime.
- Using a microfiber cloth, apply the soap solution to the surface. Start from the top and work your way down to allow dirt to flow downwards.
- Use a light, circular motion to clean the surface without risking scratches. Ensure you frequently rinse the cloth to avoid spreading dirt back onto the surface.
Step 3: Rinse Thoroughly
- After you have cleaned the entire surface, it’s crucial to rinse off all soap residue completely. Leftover soap can cause streaking and dull the finish.
- Use a hose or pressure washer to rinse the surface, making sure to remove every trace of soap. Pay extra attention to crevices and corners where soap may accumulate.
Step 4: Drying
- To prevent water spots from forming, use a soft, absorbent towel or drying cloth to dry the surface completely.
- Gently pat the surface dry rather than rubbing to minimize the chance of scratching. Ensure that all areas are dried, including edges and crevices.
Proper cleaning also involves using microfiber cloths to avoid scratching and preserve the clarity of the clear coat finish.
Safety Consideration
While applying a clear coat can enhance the appearance of your vehicle, it’s important to prioritize safety throughout the process. First, make sure you’re in a well-ventilated area to minimize chemical exposure. Paint safety should be your top concern; wearing a mask and goggles protects you from harmful fumes and particles. Always read the manufacturer’s instructions for the clear coat you’re using, as different products may have varying safety requirements. Consider using a respirator if you’re working with high-VOC paints. Remember, skin contact can lead to irritation or allergic reactions, so wear gloves to safeguard your skin. By taking these precautions, you can enjoy the freedom of enhancing your vehicle without compromising your health.
Tips to keep clean for long time
After ensuring safety during the application of your clear coat, keeping that finish clean and protected is key to its longevity. Establishing a solid cleaning routine and following these maintenance tips will help you maintain that fresh look:
Maintaining a clean and protected clear coat is essential for its longevity and appearance.
- Regular Wash: Use a pH-neutral car soap to avoid damaging the clear coat.
- Microfiber Towels: Always dry your vehicle with microfiber towels to prevent scratches.
- Waxing: Apply a high-quality wax every few months to enhance protection against contaminants.
- Avoid Harsh Chemicals: Steer clear of abrasive cleaners or tools that can strip the clear coat.
- Incorporating eco-friendly cleaning products can help maintain your car’s finish while supporting environmental sustainability.
Frequently Asked Questions
How Long Does Clear Coat Last Before Needing Reapplication?
Clear coat typically lasts between 2 to 5 years, depending on factors like exposure to sunlight and environmental conditions. Think of it like sunscreen for your car; just as you’d reapply sunscreen after a day at the beach, you’ll need to maintain your clear coat. For ideal clear coat lifespan, consider regular washing and waxing. These maintenance tips help protect against UV rays and contaminants, ensuring your vehicle stays looking new longer.
Can I Apply More Layers of Clear Coat Later?
Yes, you can apply more layers of clear coat later. However, for ideal clear coat adhesion, make certain the previous layer is fully cured and properly prepped. Lightly sanding the surface will help create a better bond for the new application. Remember to follow manufacturer guidelines regarding drying times and application techniques to achieve a smooth, durable finish. This way, you’ll achieve the freedom of maintaining your project’s appearance effectively.
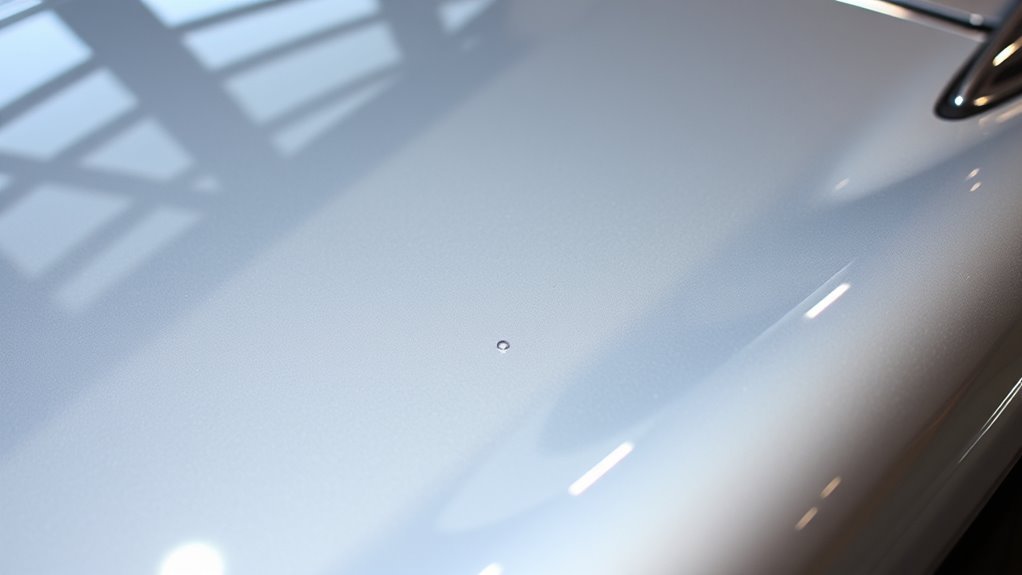
What Happens if I Use Too Many Clear Coat Layers?
If you overapply clear coat, you risk several negative effects. The thickness can lead to issues like peeling, cracking, or a cloudy appearance, reminiscent of a foggy day obscuring clarity. Excessive layers can also trap solvents, causing improper curing and potential adhesion failures. For ideal results, it’s essential to balance the number of coats, ensuring you achieve a protective, glossy finish without compromising the integrity of your work.
How Do I Know if My Clear Coat Is Damaged?
You can determine if your clear coat is damaged by performing a clear coat inspection. Look for signs of damage, such as cloudiness, peeling, or fading. If you notice any scratches or swirl marks that don’t buff out, it’s a sign that the clear coat might be compromised. Additionally, check for discoloration or a rough texture, which indicates wear. Regular inspections can help you maintain your vehicle’s finish and prevent further damage.
Can Different Clear Coats Be Mixed Together?
Yes, different clear coats can be mixed together, but you need to guarantee clear coat compatibility. Not all formulations work well together, which can lead to issues like cracking or poor adhesion. When mixing, use proper mixing techniques, like blending in small amounts and testing on a sample first. Always refer to manufacturer guidelines for the specific products you’re using to avoid complications and achieve the best results in your project.


