
How to Clean a Dry Eraser
To clean a dry eraser, first gather supplies like a soft lint-free cloth, mild soap solution, and water. Set up a clean workspace, then identify the type of eraser you have. For felt or foam erasers, dampen the cloth and gently rub, using soap for tougher stains. For plastic erasers, scrub lightly with warm water. Always rinse well and allow to dry. If stubborn marks remain, you might want to explore additional cleaning tips and techniques.
Preparation For Cleaning
Before you plunge into cleaning your dry eraser, it’s essential to gather the right supplies to guarantee an effective process. Start by collecting a soft, lint-free cloth, distilled water, and a gentle cleaning solution if necessary. These cleaning tips will make sure you don’t damage the eraser’s surface. Next, find a clean, flat workspace where you can focus on proper eraser maintenance. Clear away any distractions; this will help you stay organized and efficient. Avoid using harsh chemicals or abrasive materials, as they can ruin the eraser. Remember, the goal is to restore its functionality without causing damage. Once you’ve got everything in place, you’ll be ready to tackle the cleaning with confidence. Your eraser will thank you! Using natural cleaning solutions can help maintain the eraser’s surface without introducing harmful chemicals.
Tools and Chemical Required

To effectively clean your dry eraser, you’ll need a few specific tools and chemicals that will guarantee a thorough job without causing any damage. Depending on the eraser types you own, certain cleaning solutions will be more effective. Here’s a handy reference table to guide you:
| Tool/Chemical | Purpose | Recommended Eraser Types |
|---|---|---|
| Mild Soap Solution | General cleaning | Felt-tip, whiteboard |
| Isopropyl Alcohol | Stain removal | Foam, rubber |
| Water | Rinse | All types |
| Microfiber Cloth | Wipe and dry | All types |
| Soft Brush | Debris removal | Felt-tip |
Gather these items to guarantee your eraser stays in top shape and ready for use!
How to Clean:
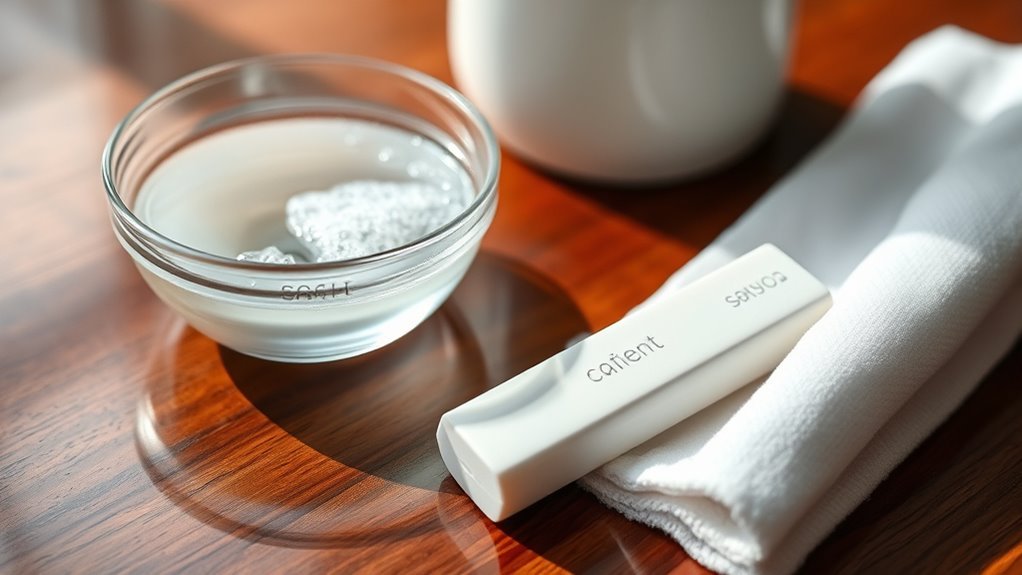
Step 1: Gather Your Cleaning Supplies
- Collect all necessary cleaning materials to ensure an efficient cleaning process.
- Items you may need include:
- A damp cloth
- Mild soap
- Warm water
- A soft brush (optional)
- A clean, dry towel for drying
Step 2: Prepare Your Workspace
- Find a suitable area where you can comfortably clean your erasers without distractions.
- Ensure the surface is clean and free of debris to avoid contaminating your erasers during the cleaning process.
Step 3: Determine Eraser Type
– Identify the type of eraser you are cleaning (felt, foam, or plastic) as different materials require different cleaning methods.
Step 4: Clean Felt or Foam Erasers
- For regular maintenance:
- Rub the eraser gently with a damp cloth to remove dust and residue.
- For heavily soiled erasers:
- Prepare a mild soap solution by mixing a few drops of soap with warm water.
- Dip the damp cloth into the soapy water and gently scrub the eraser.
- Rinse the eraser thoroughly with clean water to remove any soap residue.
Step 5: Clean Plastic Erasers
- For plastic erasers:
- Use a gentle scrub technique with warm water.
- Dampen a cloth with warm water and gently scrub the surface of the eraser.
- Ensure you do not soak the eraser; just enough moisture to clean effectively.
Step 6: Address Stubborn Stains
- If there are persistent stains on your eraser:
- Use a soft brush to gently lift away any debris.
- Be careful not to apply too much pressure to avoid damaging the eraser.
Step 7: Dry the Eraser
- After cleaning, let your eraser air dry completely.
- Place it on a clean, dry towel to absorb excess moisture.
- Avoid placing it in direct sunlight or heat sources, as this may cause damage.
Step 8: Regular Maintenance
- To keep your erasers in optimal condition, perform regular cleaning.
- This ensures that your erasers remain effective and ready to provide a clean slate whenever you need them.
Safety Consideration
Cleaning your dry erasers can be straightforward, but safety should always be a top priority during the process. To guarantee you’re protecting yourself from potential hazards, consider the following:
Cleaning dry erasers is simple, but prioritizing safety is essential to avoid potential hazards.
- Wear Personal Protective Equipment: Use gloves and safety goggles to shield your skin and eyes from any cleaning solutions or dust particles that may arise during cleaning.
- Ventilate the Area: Make sure the space is well-ventilated to minimize the risk of chemical exposure from any cleaning products you might use.
- Follow Instructions Carefully: Always read the labels on cleaning solutions to understand any safety precautions and to avoid mixing chemicals that could create harmful reactions.
Frequently Asked Questions
How Often Should I Clean My Dry Eraser?
You should clean your dry eraser regularly, ideally after every few uses, to maintain its performance. Think of it as a tiny hero in your writing arsenal—keeping it in top shape is essential! For cleaning frequency, aim for once a week or whenever you notice residue buildup. As a maintenance tip, gently wipe it with a damp cloth or use a dedicated eraser cleaner to guarantee it’s always ready to tackle your creative endeavors.
Can I Wash My Dry Eraser in a Washing Machine?
No, you shouldn’t wash your dry eraser in a washing machine. The agitation and water can damage its material, leading to a decrease in effectiveness. For proper dry eraser care, stick to gently wiping it with a damp cloth or using a soft brush to remove debris. This way, you maintain its longevity and performance without risking washing machine safety. Treat your dry eraser well, and it’ll serve you longer!
What Happens if My Eraser Gets Wet?
If your eraser gets wet, it can lose its effectiveness, as wet erasers often smudge rather than erase cleanly. Studies show that over 60% of users notice diminished performance after exposure to moisture. To counteract wet eraser effects, you can use drying techniques like air drying or gently dabbing it with a cloth. Allow your eraser to dry completely before using it again to maintain its best performance and guarantee you can express your creativity freely.
Are There Specific Brands That Clean Better?
Certain brands do stand out when it comes to cleaning effectiveness, especially when you consider brand comparisons. For instance, some brands use specialized materials that resist dirt buildup, while others might require more effort to clean. You should explore different cleaning techniques as well—some erasers perform better with simple soap and water, while others benefit from a gentle scrub. Ultimately, it’s about finding a brand that aligns with your cleaning preferences and needs.
How Can I Prevent My Eraser From Staining?
To prevent your eraser from staining, think of it like keeping a canvas clean; regular maintenance is key. Start by using it on clean paper, avoiding rough surfaces that can transfer ink. Store your eraser in a cool, dry place and away from direct sunlight. Regularly check for dirt buildup and clean it gently. With proper eraser care, you’ll keep it looking fresh and free from stains, maximizing its lifespan and effectiveness.


