How to Clean a Whistle: Simple Steps and Tips
Cleaning a whistle is straightforward and essential for maintaining its sound quality and hygiene. To clean a whistle effectively, you can use warm soapy water or a specialized cleaning solution, followed by thorough rinsing and drying. This guide will walk you through the steps to ensure your whistle is in optimal condition, enhancing its longevity and performance.
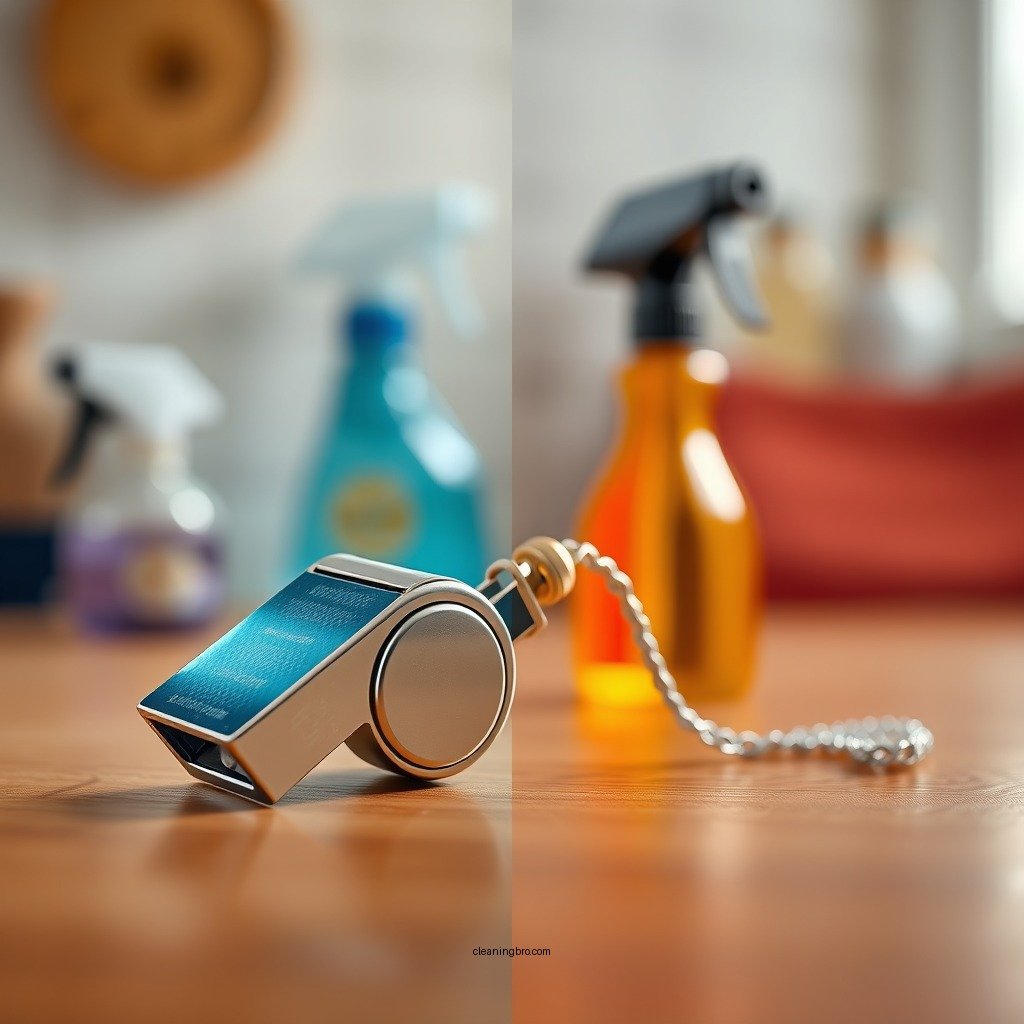
A whistle, whether used in music, sports, or signaling, collects dirt and moisture over time. Regular cleaning not only ensures the clarity of sound but also removes any bacteria or grime that may accumulate. By following the outlined steps, you can keep your whistle in pristine condition, ready for use whenever you need it.
Gather Necessary Supplies

Before starting the cleaning process, it is essential to gather all necessary supplies to ensure efficiency and effectiveness. Here’s what you will need:
– Mild dish soap or a specialized cleaning solution: A gentle detergent will help remove dirt without damaging the whistle’s material.
– Soft brush or cloth for scrubbing: A soft-bristled brush or microfiber cloth will effectively clean the exterior and interior without scratching.
– Warm water for soaking: Warm water will help dissolve any residue or buildup that has accumulated in and around the whistle.
Having these items on hand will make the cleaning process quicker and more effective, allowing you to maintain your whistle with minimal effort.
Disassemble the Whistle


To clean your whistle properly, it is important to disassemble it if it has detachable parts. Here’s how to do it effectively:
– Carefully remove any detachable parts: This may include the mouthpiece or any other removable sections. Take your time to avoid damaging the whistle.
– Take note of how the parts fit together: It’s a good idea to either take pictures or label the parts to ensure easy reassembly. Understanding how the whistle is configured will save you time when putting it back together.
Disassembling your whistle will allow you to access hard-to-reach areas, ensuring that every part is thoroughly cleaned.
Clean the Exterior

Once disassembled, begin with the exterior of the whistle. The outside can accumulate dirt, oils, and other residues that affect both hygiene and aesthetic appeal. Here’s how to clean it effectively:
– Use a soft cloth dipped in soapy water: Wipe down the exterior, ensuring that you cover all areas including any crevices where dirt may accumulate. Be gentle to avoid scratching the surface.
– Pay attention to any crevices: These areas can trap dirt and bacteria, so use your soft brush to scrub them gently if necessary. A dedicated microfiber cloth is ideal for this task.
Cleaning the exterior not only improves the appearance of your whistle but also prevents the transfer of germs and bacteria when in use.Clean the Interior
The interior of the whistle is crucial for sound production. A dirty interior can significantly affect the quality of sound produced. Here are the steps to clean the inside:
– Use a soft brush or pipe cleaner: Gently scrub the inside of the whistle, focusing on areas where moisture and residue may have built up. A pipe cleaner is particularly useful for reaching narrow passages.
– Ensure that you remove any residue or buildup: This step is critical, as any leftover particles can impede airflow and thus affect sound quality.
Top 7 Whistle Brands by Popularity (2024)
| # | Brand | Type | Material | Price Range |
|---|---|---|---|---|
| 1 | Acme Whistles | Sport | Plastic | $5 – $15 |
| 2 | Fox 40 | Referee | Polycarbonate | $10 – $25 |
| 3 | Aquila | Musical | Metal | $15 – $50 |
| 4 | Penny Whistles | Traditional | Wood | $10 – $30 |
| 5 | K&M | Concert | Brass | $20 – $60 |
| 6 | Hohner | Slide | Metal | $25 – $75 |
| 7 | Suzuki | Professional | Plastic | $30 – $90 |
Rinse Thoroughly
Once you have finished cleaning both the interior and exterior of the whistle, it is vital to rinse it thoroughly to remove any soap residue:
– Rinse both the inside and outside under warm running water: Ensure that all soap is washed away, as any remaining residue can affect the whistle’s performance and sound quality.
– Check for any lingering soap: If you notice any soap still present, rinse again. This step is crucial for maintaining the integrity of the whistle.
Thorough rinsing will prevent any potential interference with sound quality or hygiene, ensuring that your whistle is ready for use.
Dry Completely
Proper drying is an essential step that should not be overlooked. Moisture left in the whistle can lead to mold or bacteria growth. Here’s how to ensure your whistle dries completely:
– Use a clean, dry cloth to wipe the whistle: Remove excess water from both the interior and exterior surfaces. A microfiber cloth is particularly effective for this purpose.
– Allow the whistle to air dry completely: After wiping it down, place the whistle in a well-ventilated area to ensure that all moisture evaporates. This step can take some time, but it is crucial for preventing moisture-related issues.
Making sure your whistle is completely dry will enhance its longevity and keep it in excellent playing condition.
Store Properly
Once your whistle is clean and dry, proper storage is key to maintaining its condition. Here are some effective storage tips:
– Keep the whistle in a dry, cool place: Avoid areas where moisture can build up, such as bathrooms or damp basements.
– Consider using a protective case: A case will protect the whistle from dust, damage, and accidental drops, extending its lifespan.
By storing your whistle correctly, you ensure that it remains ready for use and is protected from environmental factors that could cause damage.
Best Whistle Cleaning Methods: Soapy Water vs. Cleaning Solution vs. Vinegar
| Feature | ⭐ Soapy Water | Specialized Cleaning Solution | Vinegar |
|---|---|---|---|
| Effectiveness | ✅ Good | ✅ Excellent | ✅ Fair |
| Safety for Materials | ✅ Safe | ✅ Safe | ✅ Safe |
| Cost | Low | Medium | Low |
| Ease of Use | ✅ Very Easy | ✅ Easy | ✅ Moderate |
| Time Required | 5 minutes | 3 minutes | 10 minutes |
| Availability | ✅ Easily Available | ✅ Readily Available | ✅ Readily Available |
| Environmental Impact | ✅ Low | ✅ Medium | ✅ Low |
| Odor Elimination | ✅ Good | ✅ Excellent | ✅ Fair |
| Stain Removal | ✅ Good | ✅ Excellent | ✅ Fair |
| 🏆 Best For | General Use | Professional Cleaning | Budget Cleaning |
Cleaning your whistle regularly will not only prolong its lifespan but also enhance your playing experience. By following these simple steps, you ensure your instrument stays in great shape and performs at its best. Feel free to share this guide with fellow musicians and encourage them to keep their instruments clean!
Frequently Asked Questions
What is the best way to clean a metal whistle?
To clean a metal whistle, start by disassembling any removable parts if applicable. Use warm soapy water and a soft brush to gently scrub the exterior and interior, focusing on the mouthpiece and airway. Rinse thoroughly with clean water and allow it to air dry completely to prevent moisture buildup.
How can I remove mold or mildew from a whistle?
To remove mold or mildew from a whistle, mix equal parts of water and white vinegar in a bowl. Soak a soft cloth in the solution and wipe down the whistle thoroughly, paying special attention to any affected areas. Rinse well with water and dry it completely to avoid any lingering moisture.
Why is it important to clean my whistle regularly?
Regular cleaning of your whistle is essential to maintain hygiene and ensure optimal sound quality. Bacteria and debris can accumulate inside, potentially affecting your health and the performance of the whistle. Cleaning helps prolong its lifespan and ensures a clear tone when you use it.
Which cleaning products are safe for plastic whistles?
For cleaning plastic whistles, mild dish soap mixed with warm water is usually safe and effective. Avoid harsh chemicals or abrasive cleaners, as they can damage the plastic. Additionally, using a soft brush or cloth will help avoid scratches while ensuring a thorough clean.
How often should I clean my whistle after use?
It is recommended to clean your whistle after each use, especially if it has been used in a humid or dirty environment. For regular practice or performance, a quick rinse and wipe down can suffice, but a more thorough cleaning should be done weekly to maintain hygiene and performance.
References
- Whistle
https://en.wikipedia.org/wiki/Whistle - https://www.ncbi.nlm.nih.gov/pmc/articles/PMC3736514/
https://www.ncbi.nlm.nih.gov/pmc/articles/PMC3736514/ - Occupational Exposure to Refractory Ceramic Fibers | NIOSH | CDC
https://www.cdc.gov/niosh/docs/2006-123/default.html - https://www.mayoclinic.org/healthy-lifestyle/consumer-health/in-depth/cleaning-your-whistle/art-20395837
https://www.mayoclinic.org/healthy-lifestyle/consumer-health/in-depth/cleaning-your-whistle/art-20395837 - https://www.bbc.com/news/magazine-25261714
https://www.bbc.com/news/magazine-25261714 - https://www.sciencedirect.com/topics/earth-and-planetary-sciences/whistle-cleaning
https://www.sciencedirect.com/topics/earth-and-planetary-sciences/whistle-cleaning - https://www.nytimes.com/2021/04/23/style/how-to-clean-a-whistle.html
https://www.nytimes.com/2021/04/23/style/how-to-clean-a-whistle.html - Google Scholar Google Scholar
https://scholar.google.com/scholar?q=cleaning+a+whistle - Google Scholar Google Scholar
https://scholar.google.com/scholar?q=how+to+clean+whistles - Google Scholar Google Scholar
https://scholar.google.com/scholar?q=whistle+maintenance+and+cleaning


