
How to Clean Acrylic Tank
To clean an acrylic tank, first unplug all equipment and drain water using a siphon. Remove decorations and equipment for thorough cleaning. Use a non-abrasive sponge and acrylic-safe cleaner to gently wipe surfaces, avoiding scratches. Rinse the tank with fresh water to remove any residue. After reassembling, fill the tank with treated water and let it stabilize before reintroducing fish. Follow these steps for a healthy tank, and discover more tips for maintenance.
Preparation For Cleaning
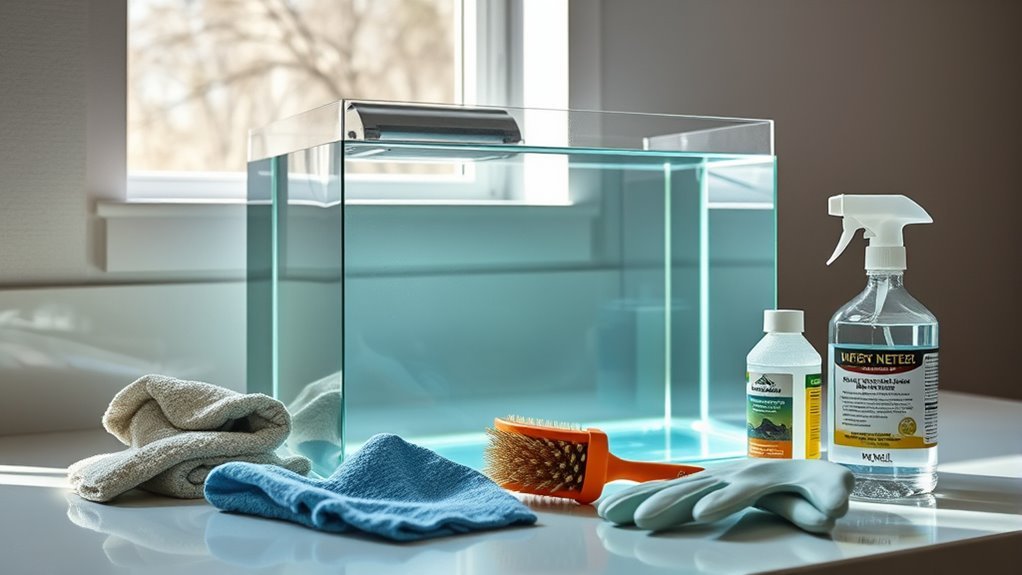
Before diving into the cleaning process, it’s essential to gather the necessary tools and materials to guarantee an efficient and effective clean. Start by creating a cleaning routine that fits your tank maintenance schedule. You’ll need a non-abrasive sponge, a siphon for water changes, and a soft-bristle brush to tackle stubborn algae without scratching the acrylic surface. Make sure to have a bucket handy for removed water and debris. If you’re using any cleaning agents, confirm they’re safe for aquatic life. Having these tools ready will not only streamline the process but also enhance the overall health of your tank. This preparation is key to maintaining a clean, vibrant aquarium that supports the freedom of your aquatic inhabitants.
Tools and Chemical Required
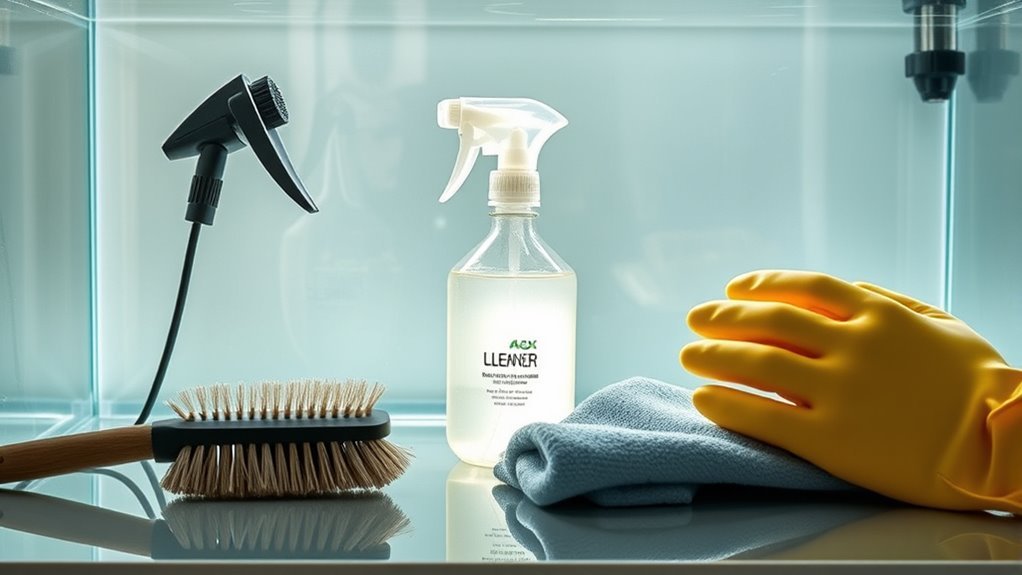
To effectively clean your acrylic tank, you’ll need a few essential tools and safe cleaning chemicals. Proper acrylic care involves using the right materials to avoid scratches and damage. Here’s a handy table to guide you on what you’ll need:
| Tool/Chemical | Purpose | Notes |
|---|---|---|
| Soft microfiber cloth | Wipe surfaces without scratches | Use for regular cleaning |
| Acrylic-safe cleaner | Remove algae and stains | Avoid ammonia-based products |
| Soft sponge | Deep cleaning | Ascertain it’s non-abrasive |
| Bucket | Hold cleaning solution | Use for rinsing |
| Gloves | Protect your hands | Choose latex or nitrile |
With these tools and chemicals, you’ll be ready to employ effective cleaning techniques that keep your acrylic tank looking pristine.
How to Clean:
Step 1: Drain the Tank
- Begin by unplugging any electrical equipment connected to the tank.
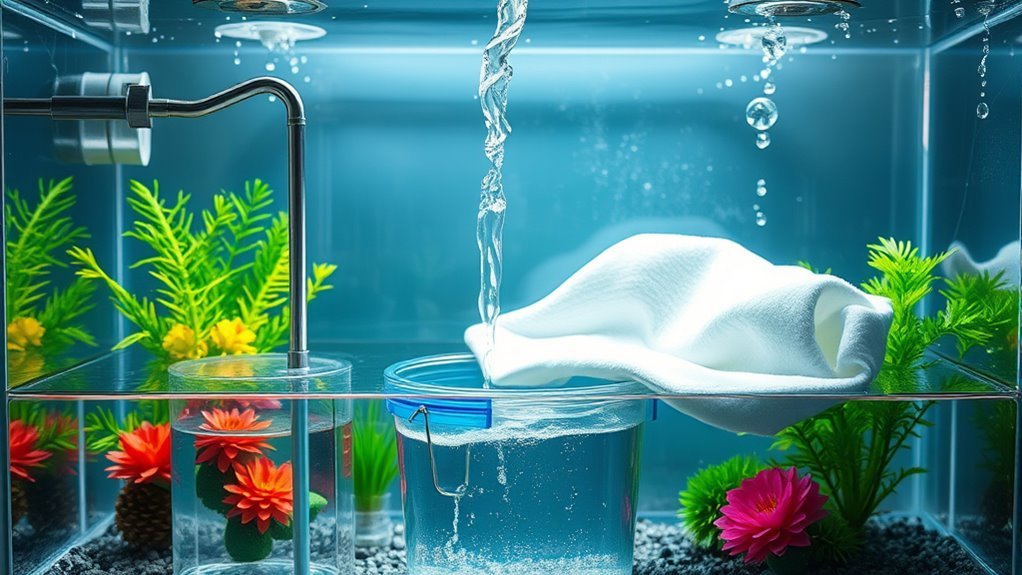
- Use a siphon or a hose to carefully drain the water from the tank into a bucket or drain. Be cautious not to disturb the substrate too much during this process.
- Ensure that you remove enough water to access the bottom and sides of the tank comfortably.
Step 2: Remove Decorations and Equipment
- Take out any decorations, plants, and rocks from the tank. This will allow you to clean all surfaces effectively.
- Disconnect any equipment, such as filters, heaters, and air pumps, and set them aside for cleaning later.
Step 3: Clean Acrylic Surfaces
- For tanks made from acrylic, select a non-abrasive cleaner specifically formulated for acrylic materials.
- Use a soft, lint-free cloth to gently apply the cleaner to both the interior and exterior surfaces of the tank. Avoid using paper towels or rough fabrics that could scratch the acrylic.
- Be mindful not to apply too much pressure while wiping to prevent scratching the surface.
Step 4: Rinse Thoroughly
- After cleaning, rinse the tank thoroughly with clean, fresh water to remove any residue from the cleaner.
- Ensure that all surfaces are well rinsed, especially corners and crevices where residues might linger.
Step 5: Inspect for Damage
- During the cleaning process, take a moment to inspect the tank for any signs of wear or damage, such as cracks or scratches.
- Address any issues you find, as they could lead to leaks or other problems in the future.
Step 6: Reassemble the Tank
- Once the tank is clean and dry, carefully reinsert the decorations and equipment you removed earlier.
- Make sure everything is securely placed and that any equipment is reconnected properly.
Step 7: Add Water and Stabilize
- Slowly fill the tank with fresh water, ensuring to treat it with a dechlorinator if necessary, to make it safe for your aquatic life.
- Allow the water to stabilize for a few hours, checking the temperature and pH levels to ensure they are suitable for your fish.
Step 8: Reintroduce Your Fish
- Once the tank is stable and conditions are optimal, gently reintroduce your fish back into the tank.
- Monitor them closely for any signs of stress or discomfort in the first few days after cleaning.
Step 9: Schedule Regular Cleanings
- To maintain a healthy environment for your fish, establish a regular cleaning schedule, typically once every few weeks, depending on the size of your tank and the number of fish.
- Regular maintenance will help prevent algae buildup and ensure a clean habitat for your aquatic life.
- Using gentle, non-abrasive cleaners designed for delicate surfaces like acrylic will protect your tank from scratches and dullness during routine cleanings.
Safety Consideration
While cleaning an acrylic tank can be a straightforward process, it is essential to prioritize safety to protect both yourself and your aquatic life. Always wear appropriate safety gear to minimize risk. When using chemical cleaners, make sure you’re aware of chemical safety guidelines to prevent any harmful reactions.
- Use gloves to protect your hands from harsh chemicals.
- Wear goggles to shield your eyes from splashes.
- Work in a well-ventilated area to avoid inhaling fumes.
- Keep a first aid kit nearby for any unexpected accidents.
Frequently Asked Questions
How Often Should I Clean My Acrylic Tank?
You should clean your acrylic tank every two to four weeks, depending on the tank’s size and the bioload from your aquatic life. Regular tank maintenance helps prevent algae buildup and maintains water quality. If you notice cloudiness or excessive debris, you might need to adjust your cleaning frequency. Always use acrylic-safe cleaners and soft sponges to avoid scratching the surface, ensuring your tank stays clear and visually appealing.
Can I Use Vinegar to Clean Acrylic Surfaces?
Using vinegar to clean acrylic surfaces is like using a sledgehammer to crack a nut—it’s too harsh. While vinegar solutions can be effective for many surfaces, they can damage acrylic. Instead, opt for gentle cleaners specifically designed for acrylic care. These solutions are less abrasive and will keep your tank looking pristine without scratching or clouding the surface. Always test any cleaner on a small area first to guarantee it won’t harm the acrylic.
Is It Safe to Use Scrubbing Pads on Acrylic?
No, it’s not safe to use scrubbing pads on acrylic. These pads can scratch and damage the surface, compromising its clarity. For effective acrylic care, use soft cloths or non-abrasive sponges with gentle scrubbing techniques. If you need to remove tough stains, consider using specialized acrylic cleaners instead. This approach guarantees you maintain the integrity of the acrylic while keeping it looking pristine and clear, allowing you the freedom to enjoy its beauty.
What Should I Do if My Acrylic Tank Scratches?
What if those pesky scratches on your acrylic tank are ruining your view? First, assess the depth of the scratches. For light scratches, try polishing techniques with a plastic polish or a fine abrasive compound. Apply it gently with a soft cloth in circular motions. For deeper scratches, you might need to sand the area lightly, then polish it. Remember, the goal is clarity—your aquatic world deserves to shine without distraction!
How Can I Prevent Algae Growth in My Tank?
To prevent algae growth in your tank, focus on algae control through effective light management. Limit your tank’s lighting to 8-10 hours daily, and utilize a timer for consistency. Choose low-wattage bulbs and avoid direct sunlight exposure. Regularly check and maintain water parameters, as imbalances can encourage algae. Additionally, introduce live plants or algae-eating fish; they can help keep algae levels in check while enhancing your tank’s aesthetics and ecosystem.


